Today’s post is a continuation of yesterday’s post which you can find here. I made 3 more cards using the same punch. And I also have step-by-step directions on how to get the correct length when using these punches. Yes, I said punches because there are two more just like it!
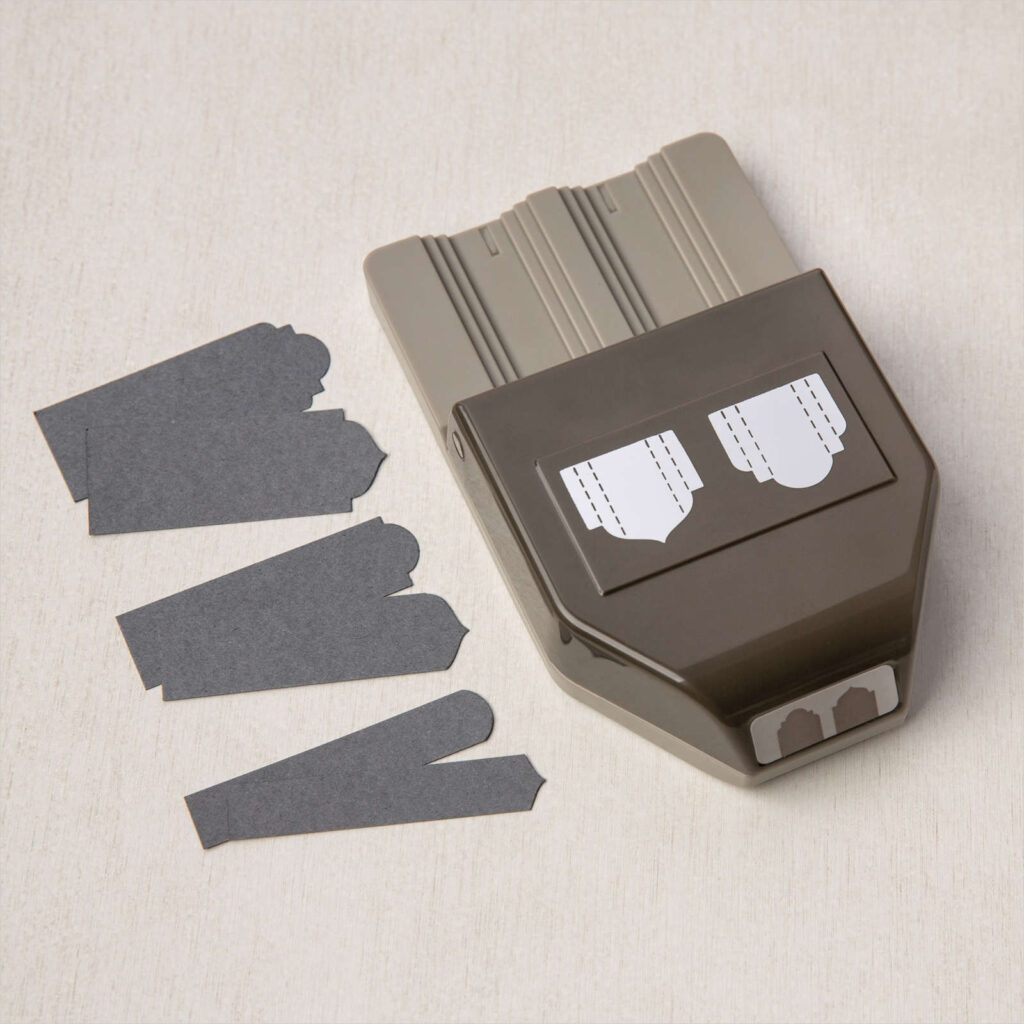
Treasured Tags Pick A Punch
This is the punch I used to make my cards. I like that I can get a half-inch strip with a perfectly round end. I also like the ‘shoulders’ on the middle image from the rounded punch. And both the one-inch strips have a fancy look to them.
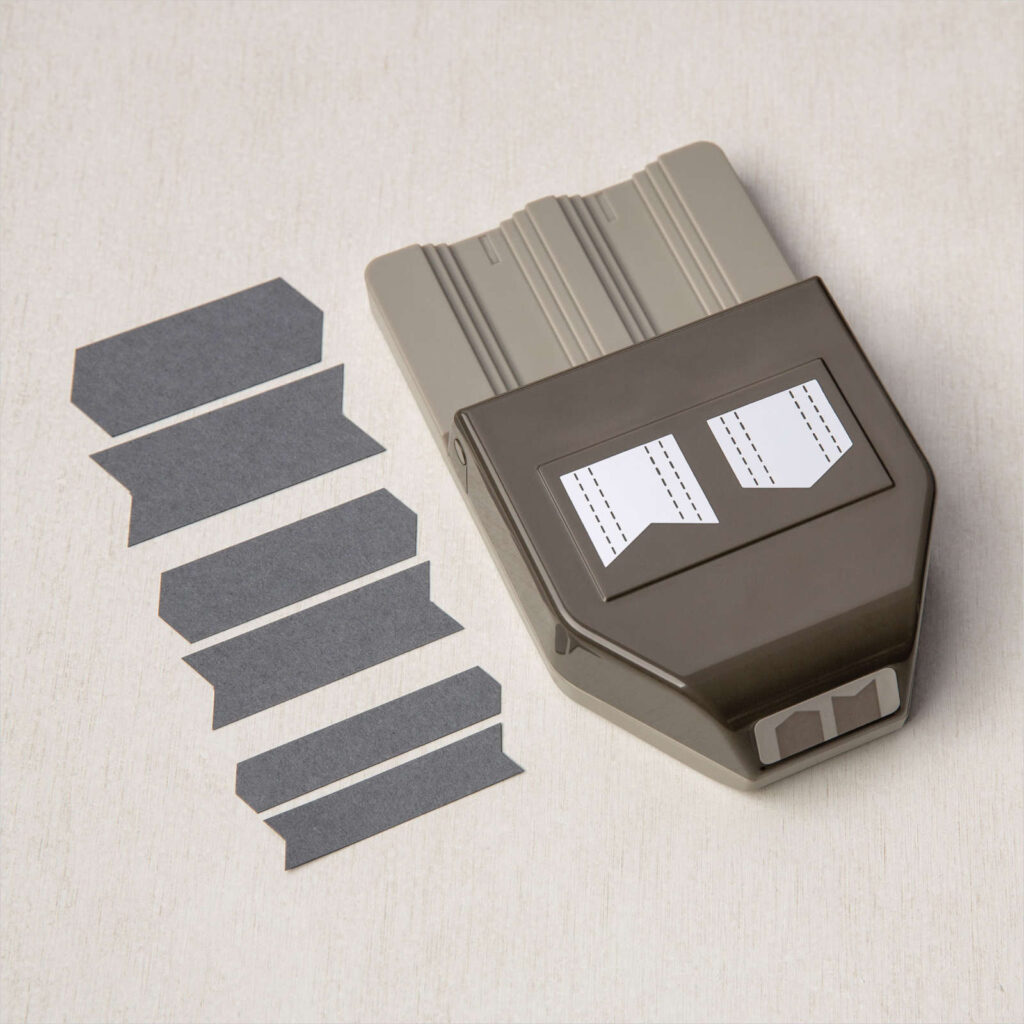
Banner Pick A Punch
This one is quite simple with either an inny or outy banner. And, yet you can get a perfect banner for a sentiment or accent piece in 3 widths one-inch, three-quarters inch, and one-half inch.
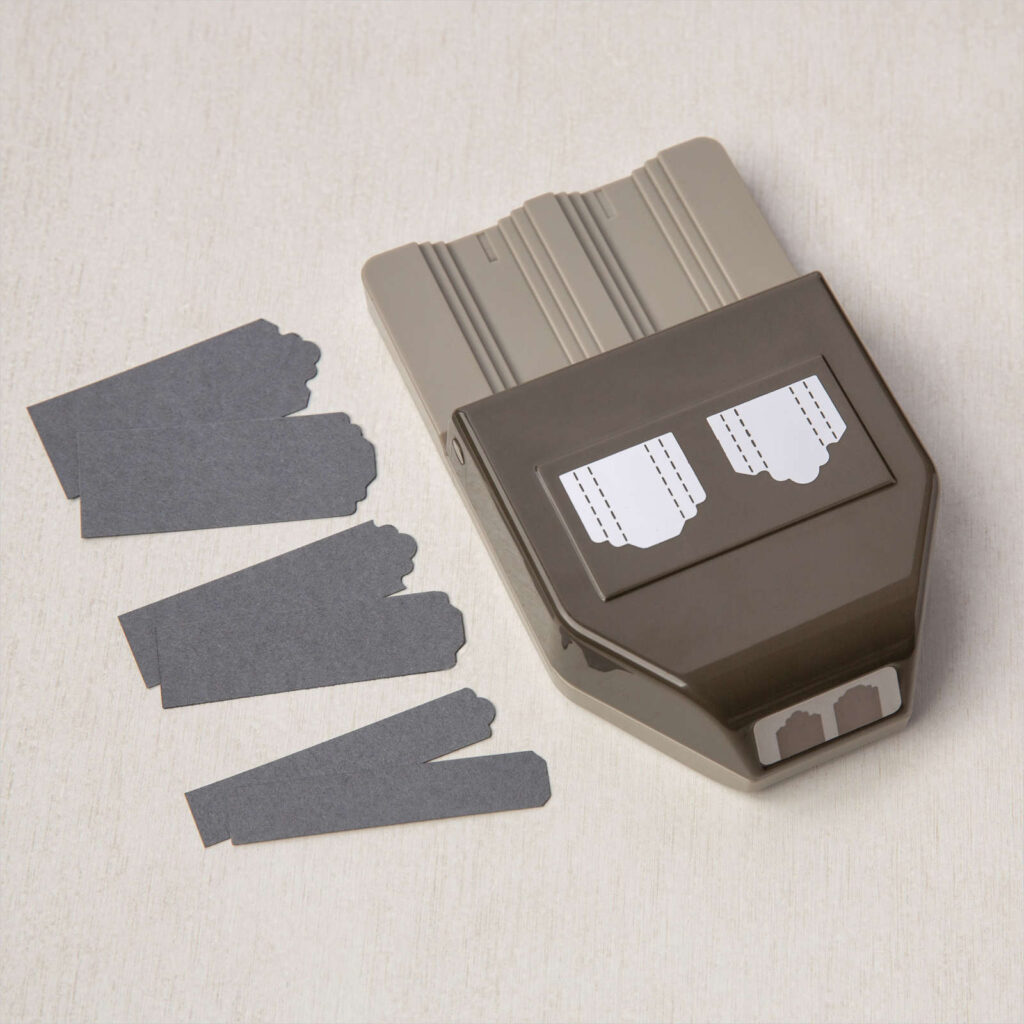
Lovely Labels Pick a Punch
This is one of my all-time favorite punches. I just love the way the ends on each size strip look. If I could only afford one punch, this is the one I’d pick because of its versatility!
Today’s Projects
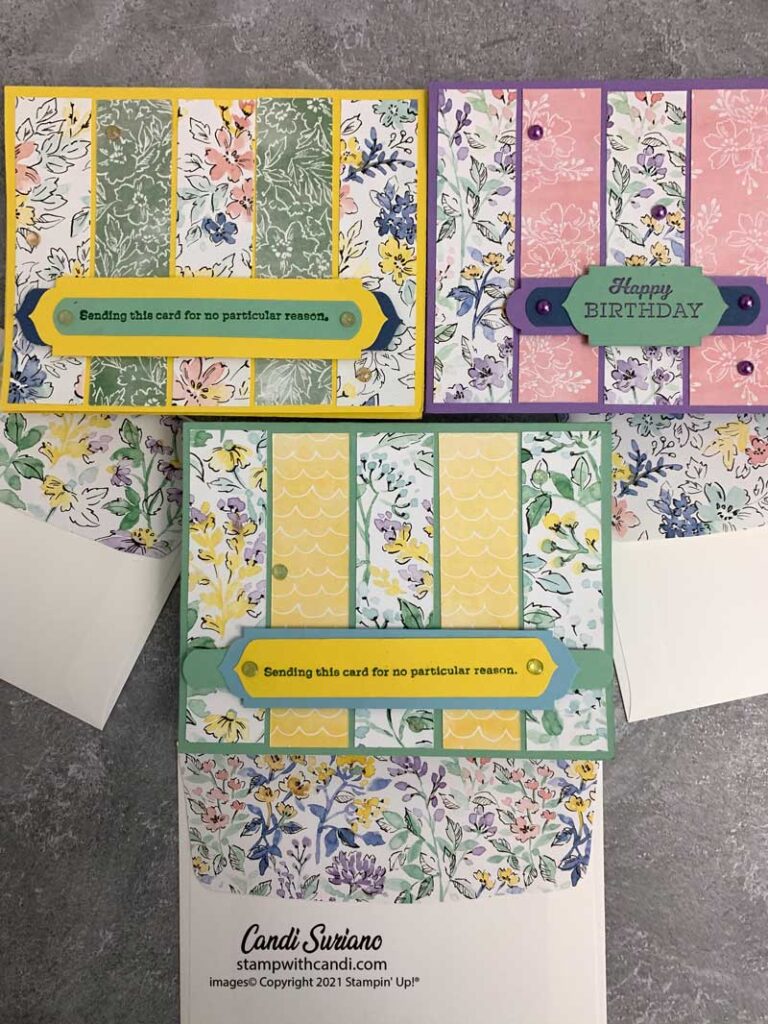
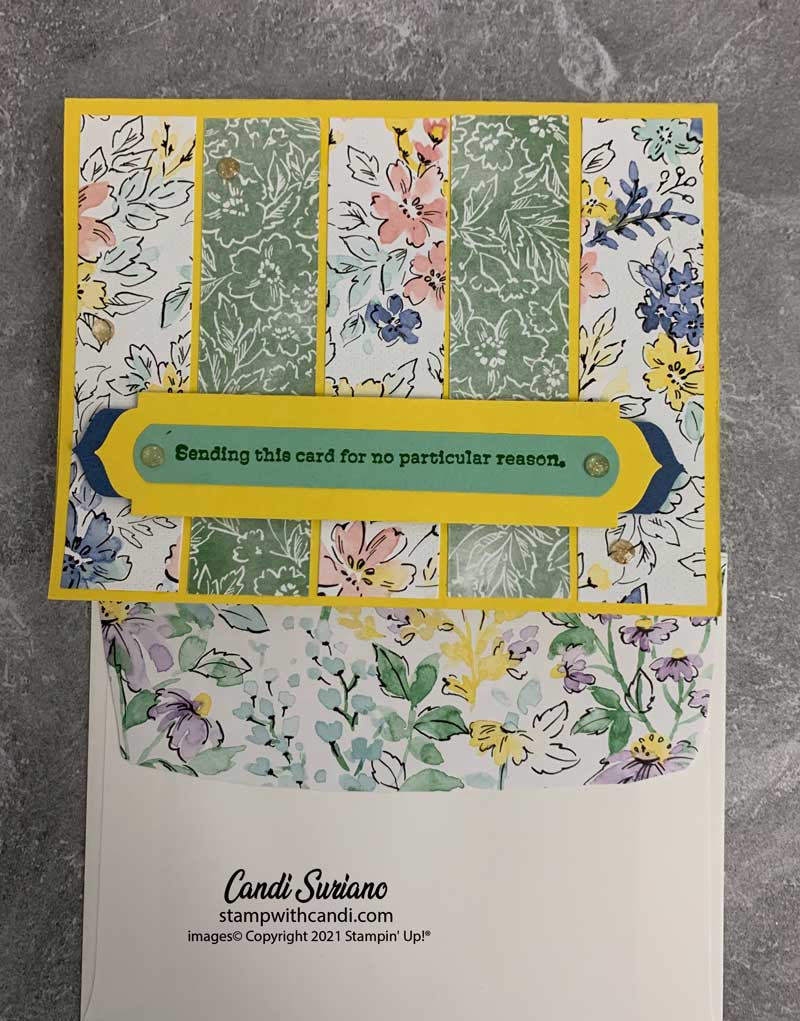
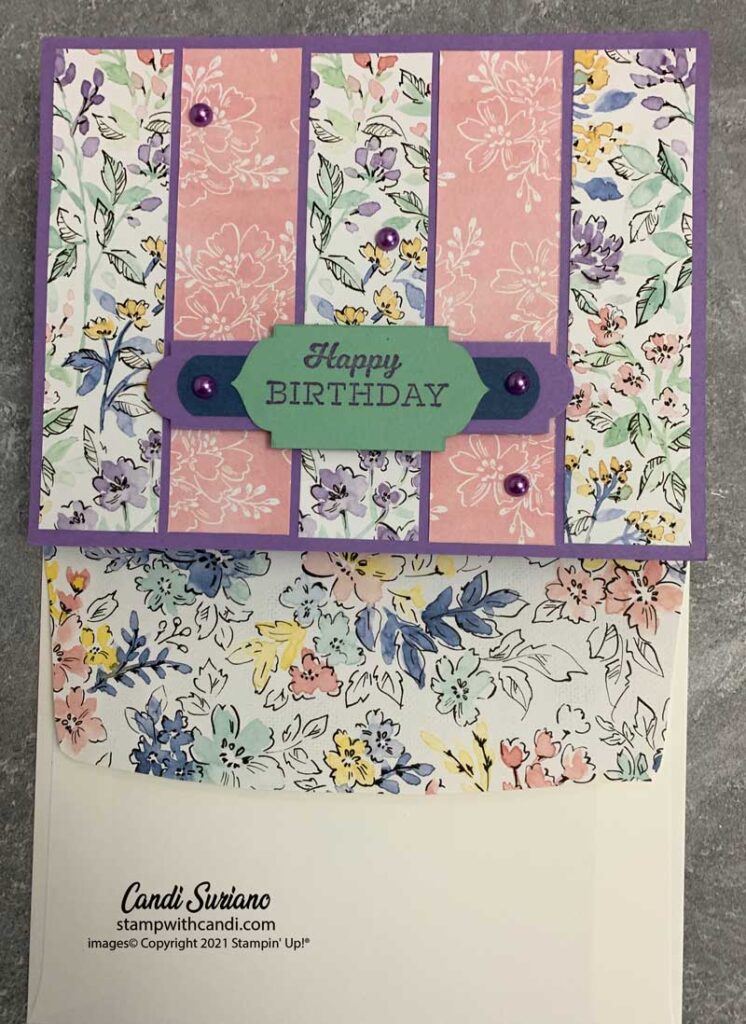
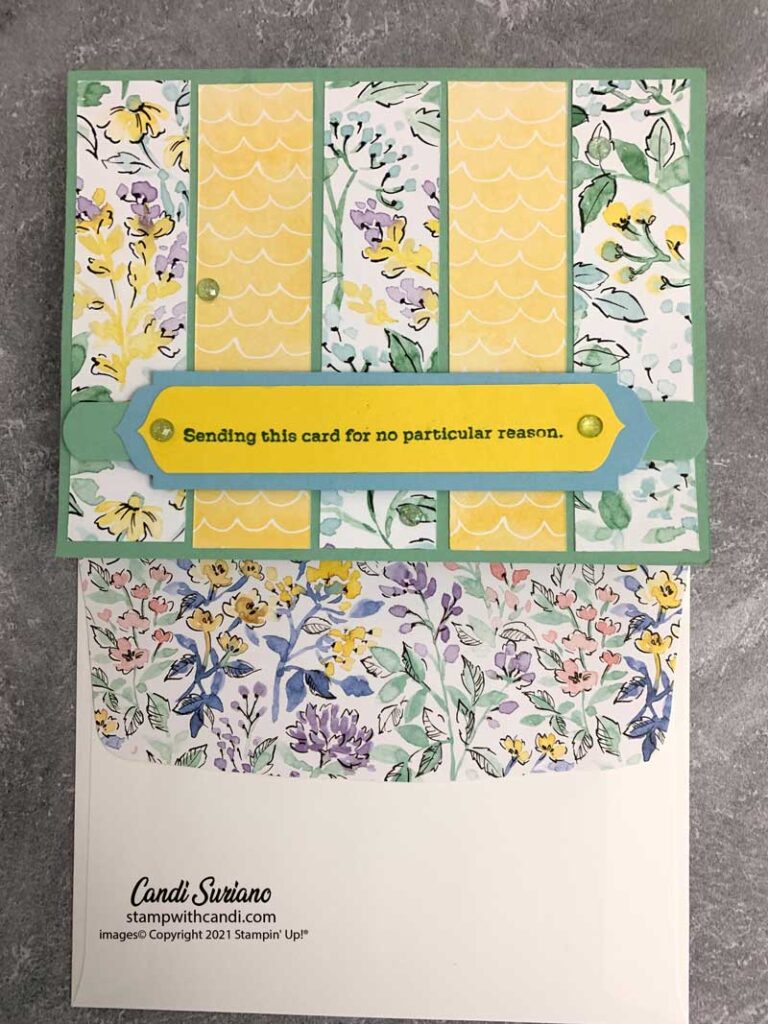
As I mentioned at the start of this post, I created 3 more cards using the Hand-Penned DSP, the Treasured Tags Pick A Punch and matching cardstock. This is such a quick and easy way to make cards to have on hand. The sentiments from the In Your Words stamp set fit perfectly onto these punched strips.
How To Perfectly Size Your strip
In yesterday’s post, I gave verbal instructions on how to size the strip. Today, I’m showing you step-by-step pictures of how to perfectly size your strip.
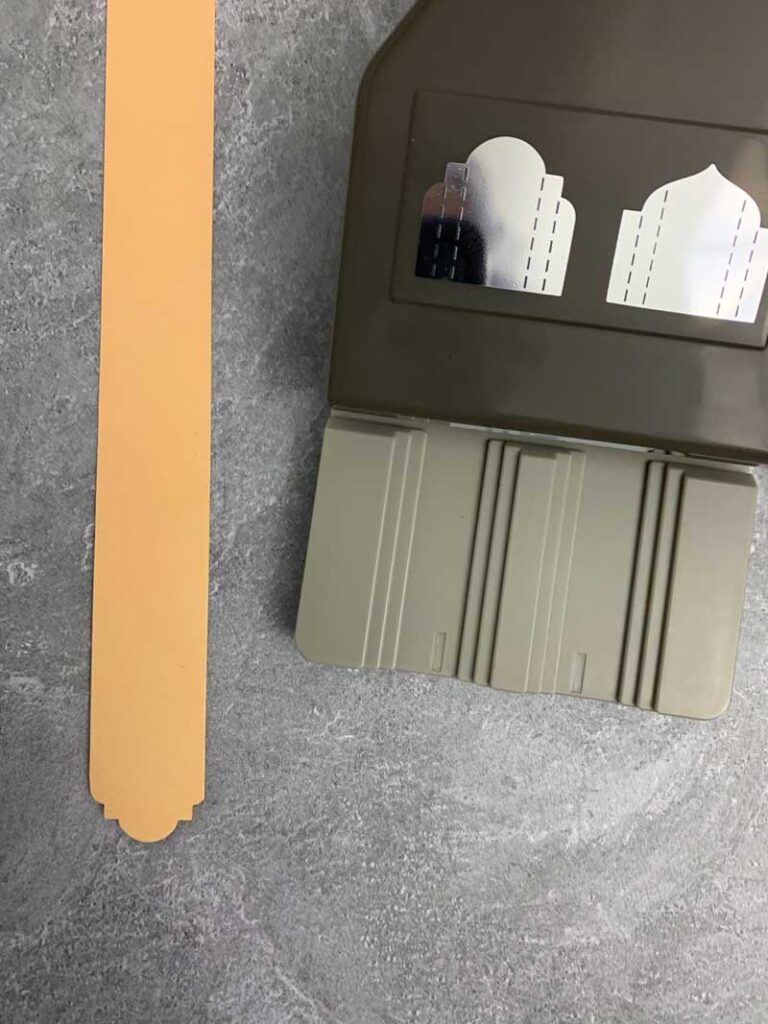
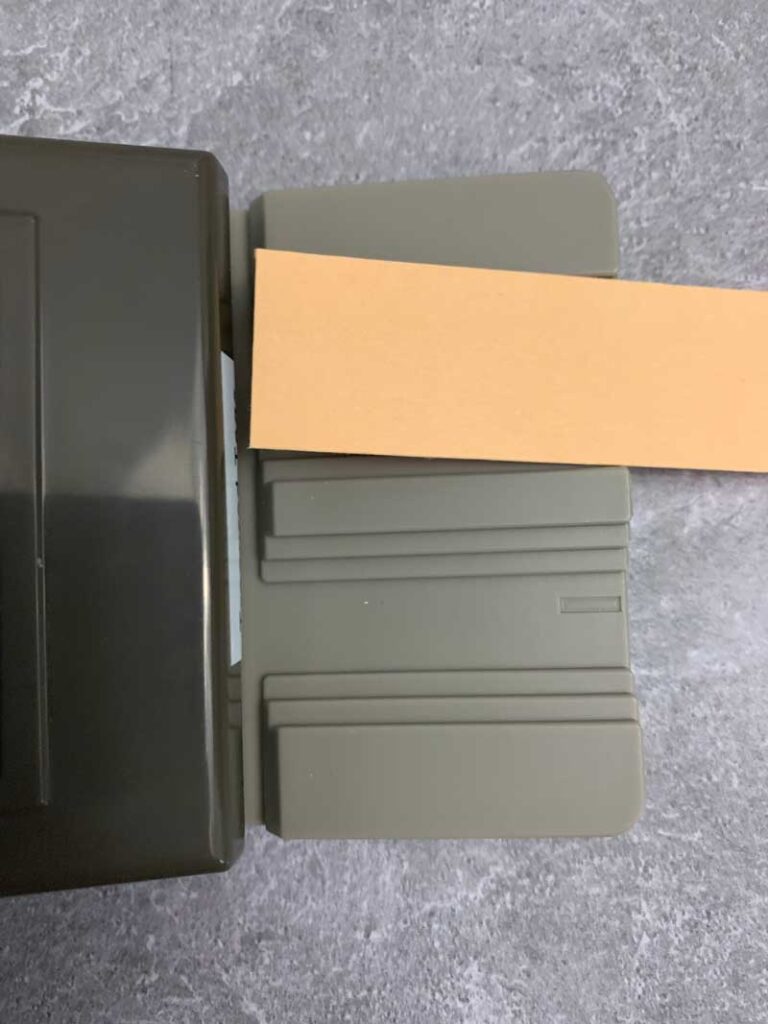
Step 1
Insert a strip of the correct size (1/2″, 3/4″, 1″) into the desired size and punch. In the above example, I used a 1″ strip on the left side of the punch.
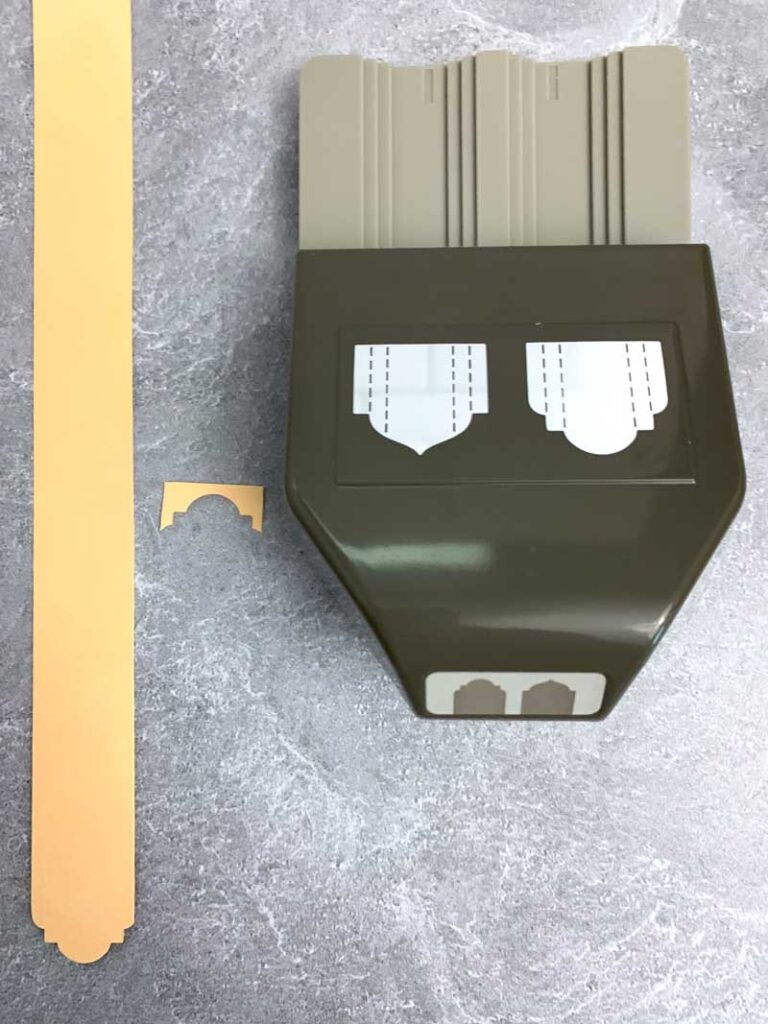
Step 2
After punching, save the scrap from the punch. You’ll use it in the next step.
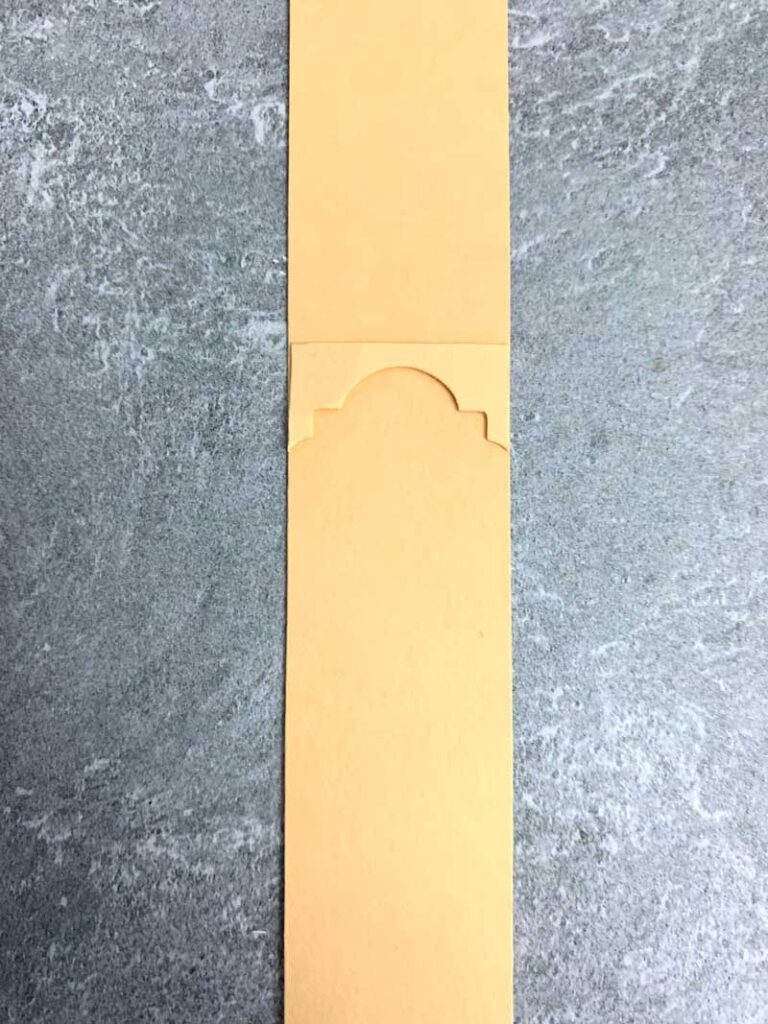
Step 3
Lay the scrap from the previous step on the banner at the length you want the final banner to be. I usually stamp before this step so I can get my image centered perfectly and so I know how long I want my finished strip to be.
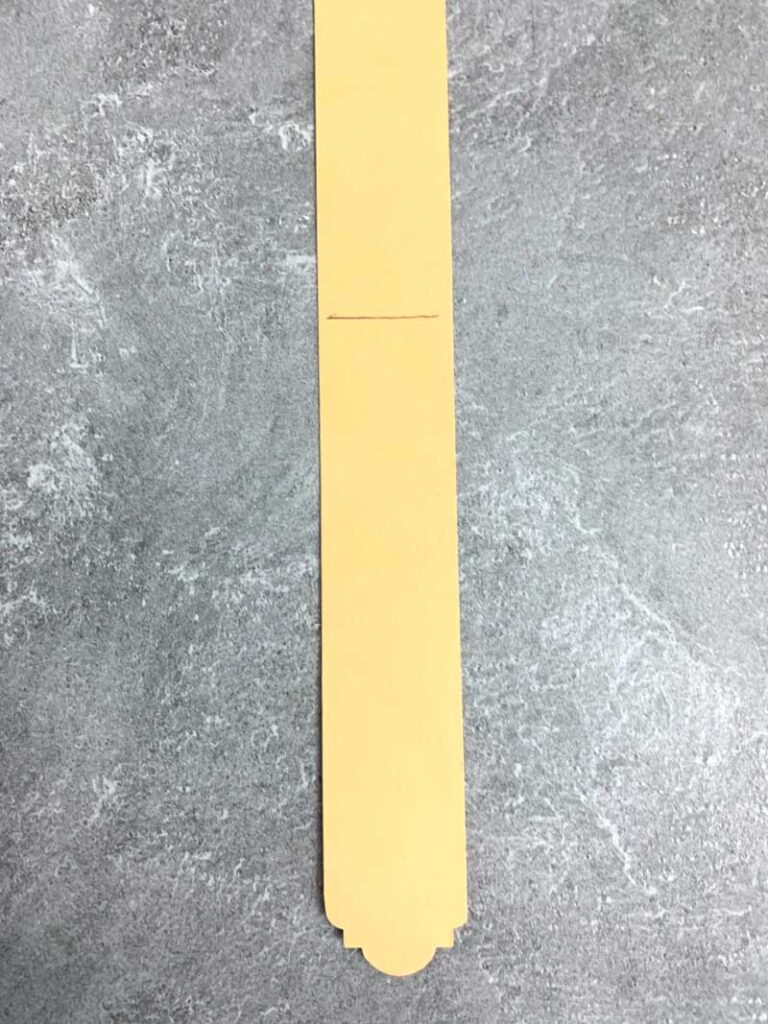
Step 4
Draw a line using a pencil at the straight edge of the scrap.
Step 5
Using scissors or your paper trimmer, cut the strip on the line from the previous step.
Step 6
Insert the straight end into your punch and punch it.
Step 7
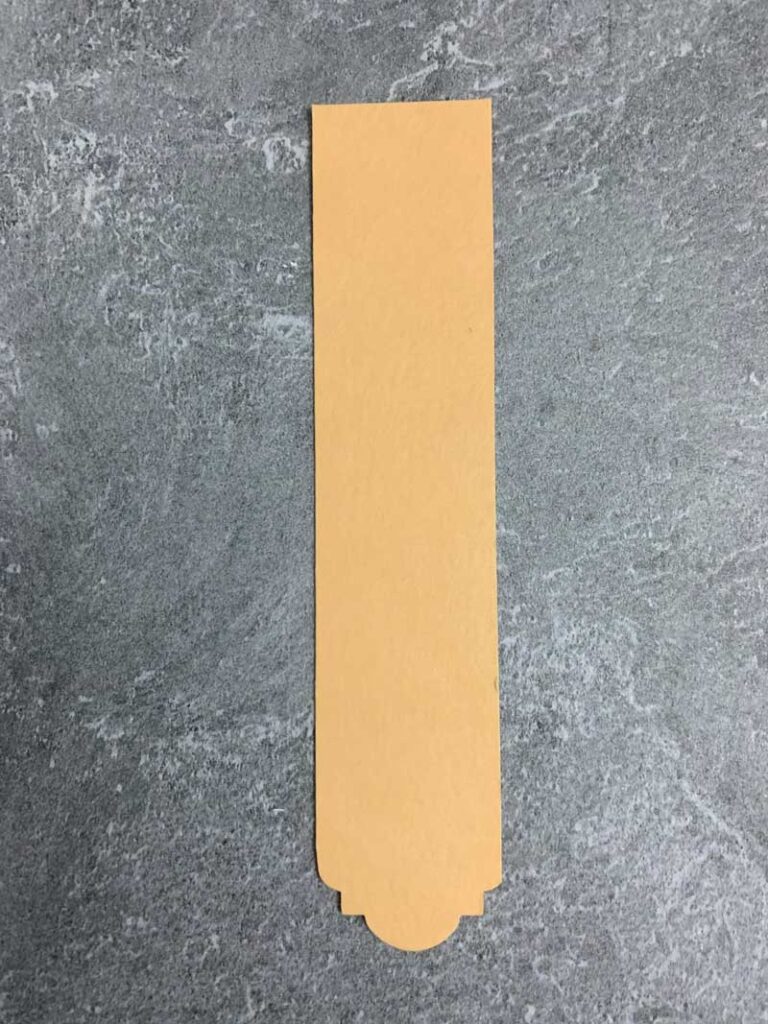
Now you have a banner of the correct size! Can you spot the mistake in this banner? I punch one end with the left side of the punch and the other with the right side. Which do you like better?
Make the Inside pretty
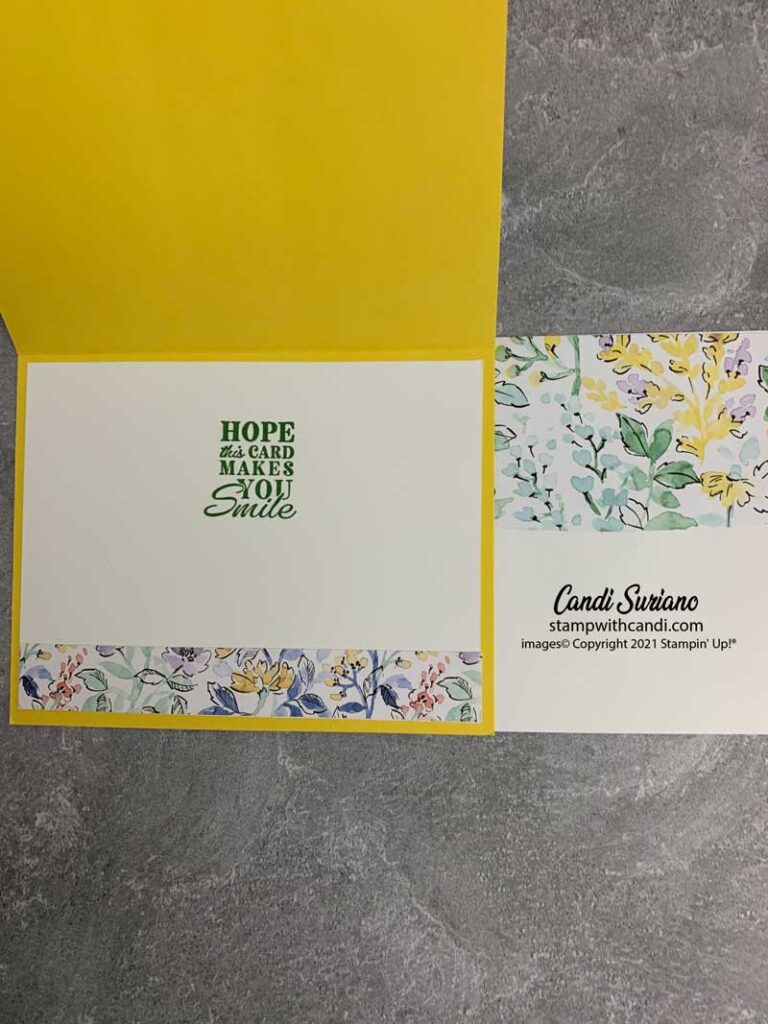
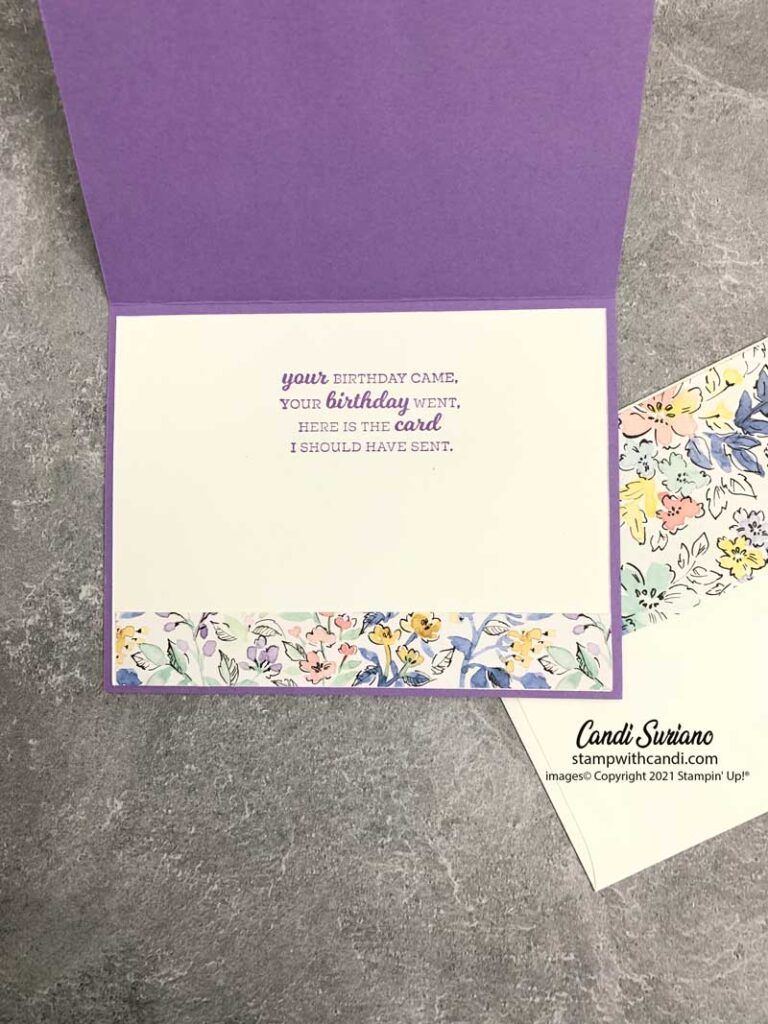
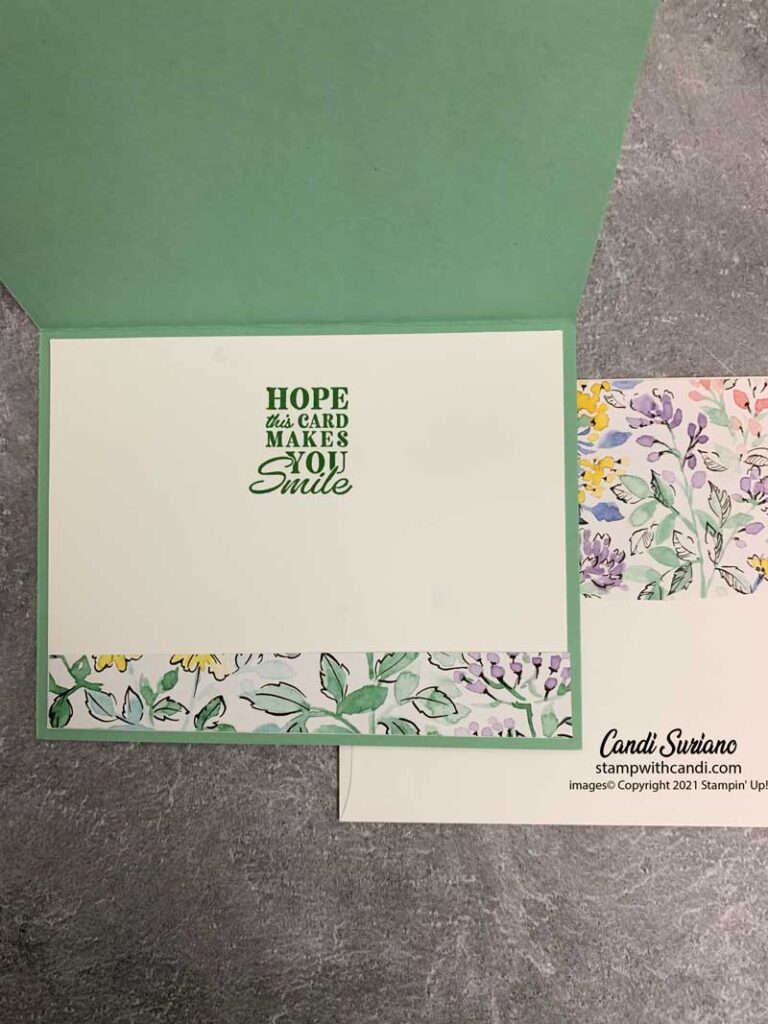
For each of my additional cards, I stamped the Basic White liner with a coordinating stamp in a coordinating color. To finish it off, I added a strip of matching DSP. Take a look.
I really like the sentiments in this set, especially the birthday one. I am almost always late with my birthday cards, so that sentiment is perfect for me. Did you know you can get the stamp set for free? All you need is to have a party or order of $300 before tax and shipping to get it for free during Sale-A-Bration.
Don’t Forget the Envelope
For the envelope, I added a piece of 6″ X 2 3.8″ DSP to the envelope flap and trimmed it to fit. These images also give you a closeup of the 3 cards and how I layered the banners.
If you’d like to try to recreate this card, you can find a list of the products I used at the end of this post. Need a demonstrator or a catalog? Drop me a line and I’ll put one in the mail. And, f you ever have any questions, please feel free to comment or email me. And, don’t forget to Pin this post so you can find it again!
