Crafty Collaborations is a worldwide group of Stampin’ Up! demonstrators who love to challenge each other and share our creativity with you. Today’s challenge is to make alternates from any kit in Stampin’ Up!’s kit collection. Since I can always use thank you notes, I chose the Million Thanks Kit!
If you haven’t yet, you really have to check out the Kits Collection. Most of them are all-inclusive meaning that everything you need to complete the kit is included including ink and a block to mount your stamps. And, the projects are so cute, you may not even want altenates.
Today’s Project – A Million Thanks Kit
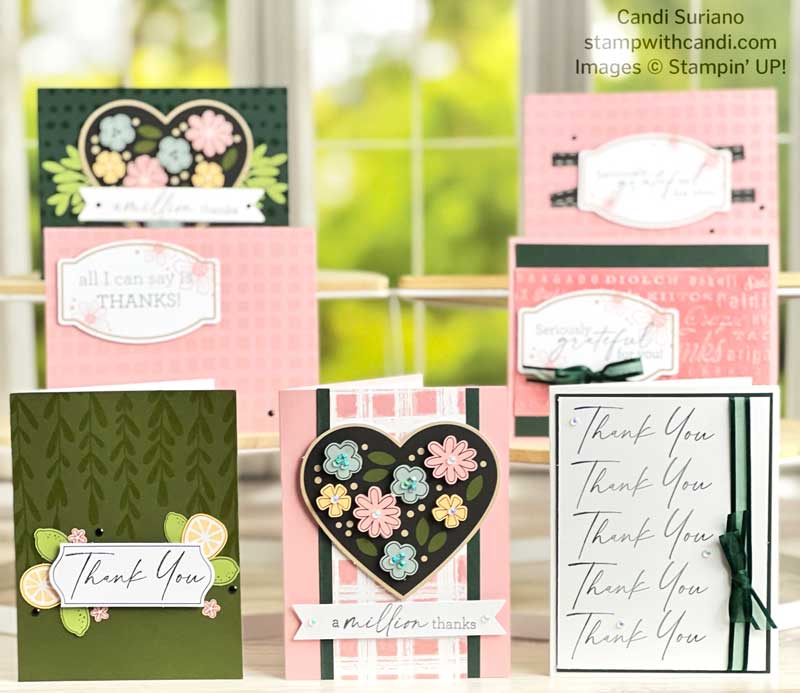
I made 3 cards exactly as designed in the kit. The top two and the bottom left are directly from the kit and aren’t they cute?? The thing that stood out for me was the clear embossing on the card fronts. You can really see it on the Thank You card on the left. It add so much to the card!
A million Thanks Kit
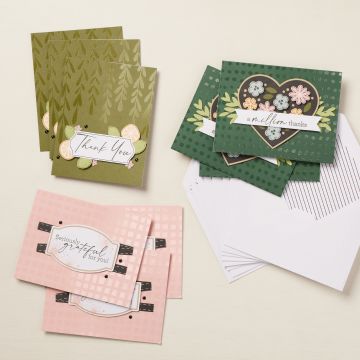
Here’s a peek at the 3 different designs included in the kit. I bet you can guess which is my favorite! Of course, it’s the heart with the flowers. I also like the simple Grateful card. Actually, who am I kidding? I like them all!
A Million Thanks Kit Contents
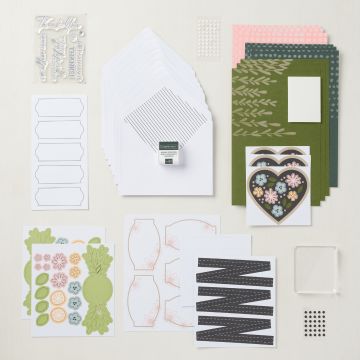
Here’s a look at the elements in the kit. As you can see, you get a block, an Evening Evergreen Stampin’ Spot, envelopes with liners, card bases, a lot of die cuts, and a stamp set with 4 different ways to say Thanks!
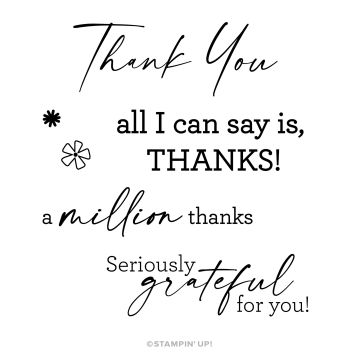
A million Thanks Kit Stamp Set
I love this little stamp set. There’s a traditional ‘Thank You’ in a great script. Plus three other ways to say thanks, all of which I would use. And the two cute little flowers are great for adding a little extra to your cards.
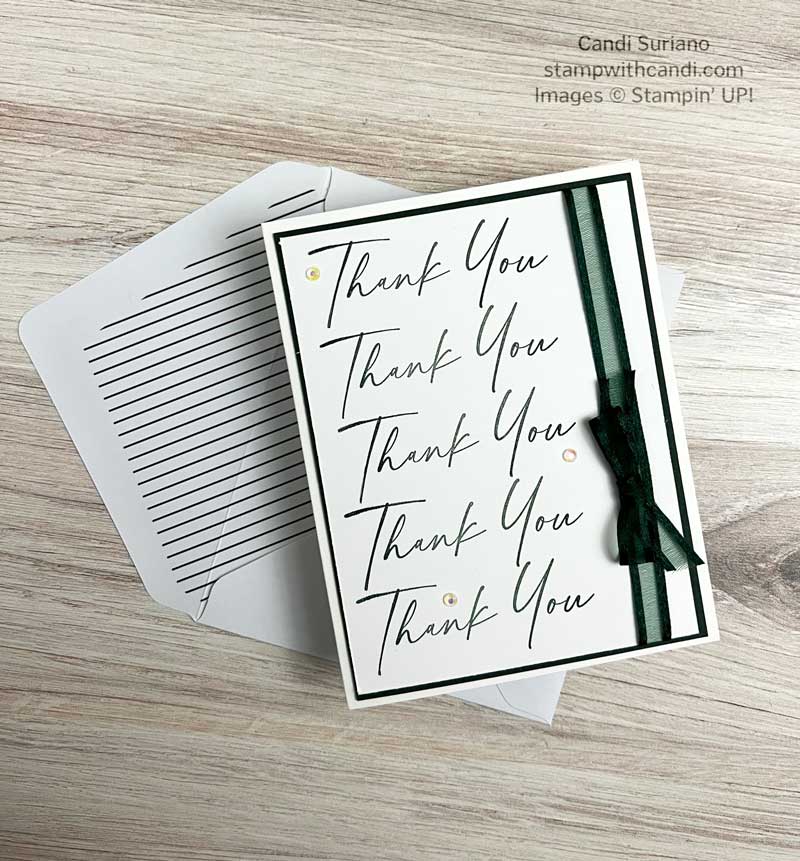
Alternate #1 – A million Thanks Kit
For my first alternate, I stamped the ‘Thank You’ 5 times on a 5 1/8″ X 3 7/8″ piece of Basic White cardstock which was layered on a 5 1/4″ X 4″ piece of Evening Evergreen. Before putting it on a Basic White card base, I wrapped a piece of Evening Evergreen ribbon around it and topped it with a bow. Very simple yet effective. For some bling I added some Iridescent pearls.
Alternate #2 – A million thanks Kit
For my second alternate, I used one of the included card bases, one of the die cuts, and the included embellishments. I used a different sentiment and layout but the basics are the same.
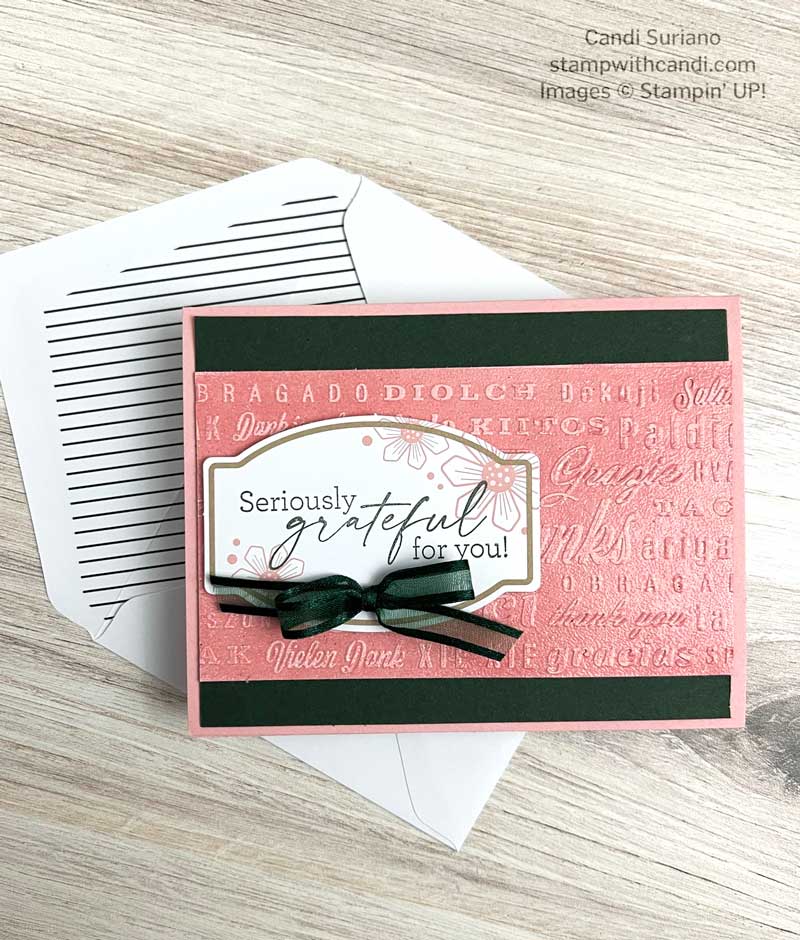
Alternate #3 – A Million thanks Kit
As I mentioned earlier, I liked the way the kit’s card bases had elements that were clear embossed on them. So, first I tried to duplicate that effect using an embossing folder. I inked up the folder with Versamark ink, added the cardstock, and ran it through the Stampin’ Cut and Emboss machine. After sprinkling it with clear embossing powder and heat setting it, I layered it on a piece of Evening Evergreen cardtock. Although I like it, it’s not what I was looking for.
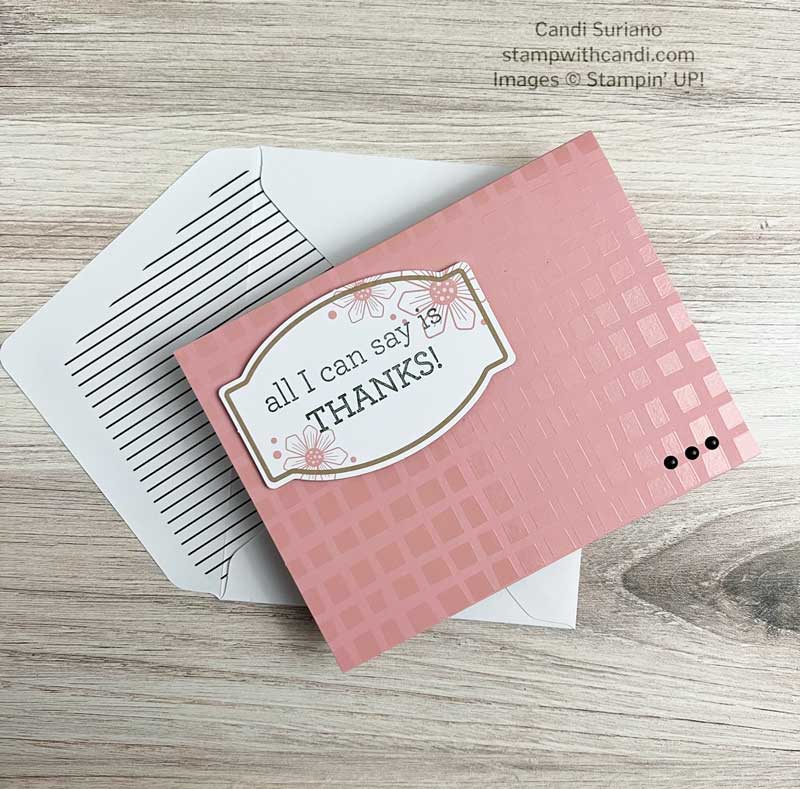
Alternate #4 – A Million Thanks Kit
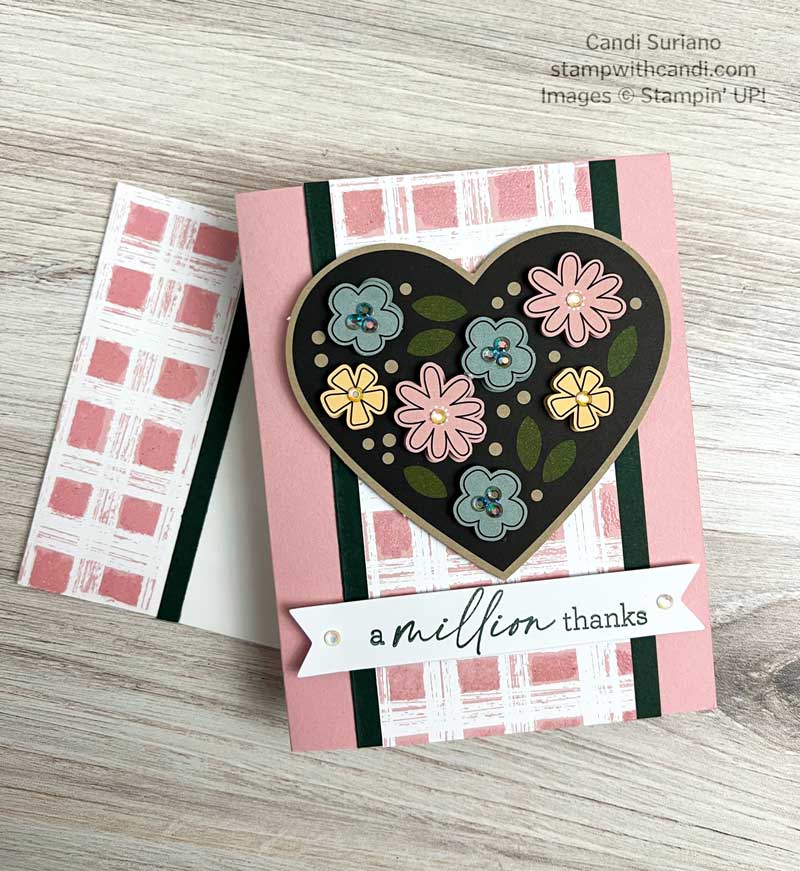
I finally achieved the effect I wanted in Alternate #4. I used a Q-Tip coated with Versamark ink to color the Blushing Bride squares on the Gingham Cottage DSP. Then I added clear embossing powder and heat and they shine! It was really hard to get it to photograph, but in person, they are shiny just like the cards in the kit!
I also added a lot of bling on this card. I love the Iridescent Pearls because they change based on the colors they’re near. These are a must-have in my crafting stash.
Today’s Color Palette
The A Million Thanks kit has a lot of colors in it, but I focused on just Blushing Bride and Evening Evergreen for my alternates. It’s one of the first times I’ve used this combo and I like it so much that I’m sure it won’t be the last!
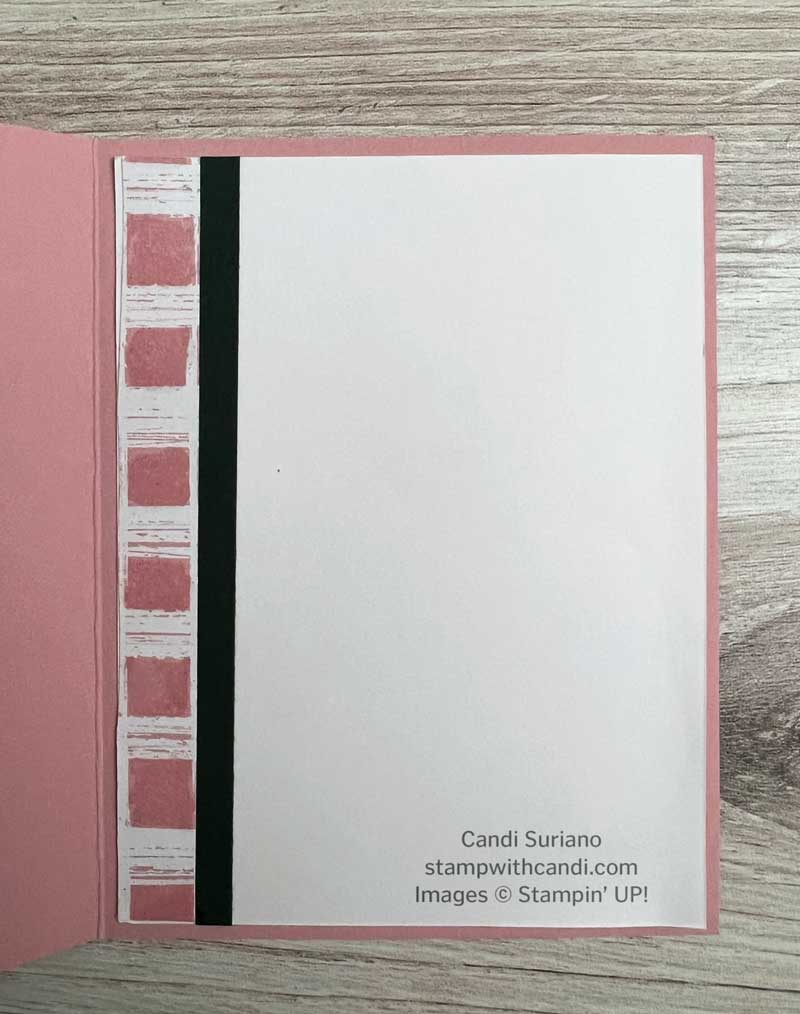
Make the inside Pretty
The inside involved more coloring with QTips dipped in Versakar, embossing powder, and heat setting. I love the way the 1/4″ Evening Evergreen strip sets off the DSP.
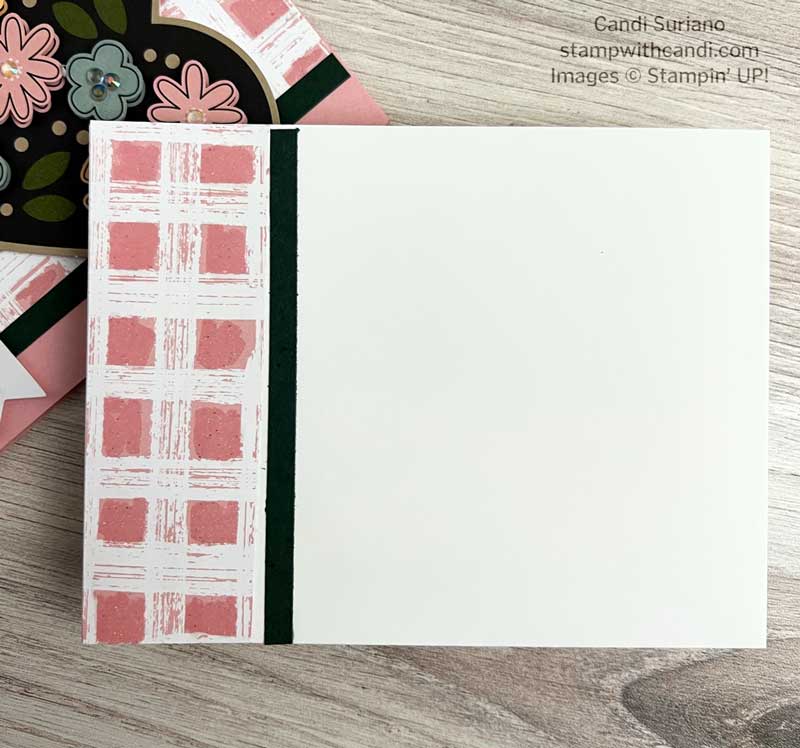
Don’t Forget the Envelope
For the envelope, I used the same idea as the inside to carry the theme. I have to confess that I had to redo the envelope because I put it on the wrong side the first time. Ooops!
Join During Sale-A-Bration
Do you have a wish list that’s more than $125? How about getting your hands on new products before it’s available to everyone? Maybe you want to attend fun events with other Stampin’ Up! demonstrators? Or perhaps a discount on the products you buy tempts you? (My favorite!) Well, these are all perks of being a Stampin’ Up! demonstrator. And, if you join during Sale-a-bration, not only do you get $125 worth of products for $99, but you’ll also get a fabulous planner to keep you organized and enjoy a 20% discount on future purchases.
And if after your first quarter or two, you decide that Stampin’ Up! isn’t for you, then you can leave with no questions asked. I have to tell you, I’ve never regretted joining! Some of my closest friends are people I’ve met through Stampin’ Up! If this appeals to you, click Join at the top of this page!



That embossing folder works perfect with this kit. Great alternatives. Thanks for the inspiration.
I love that idea for getting shiny squares on your paper. Great alternative cards