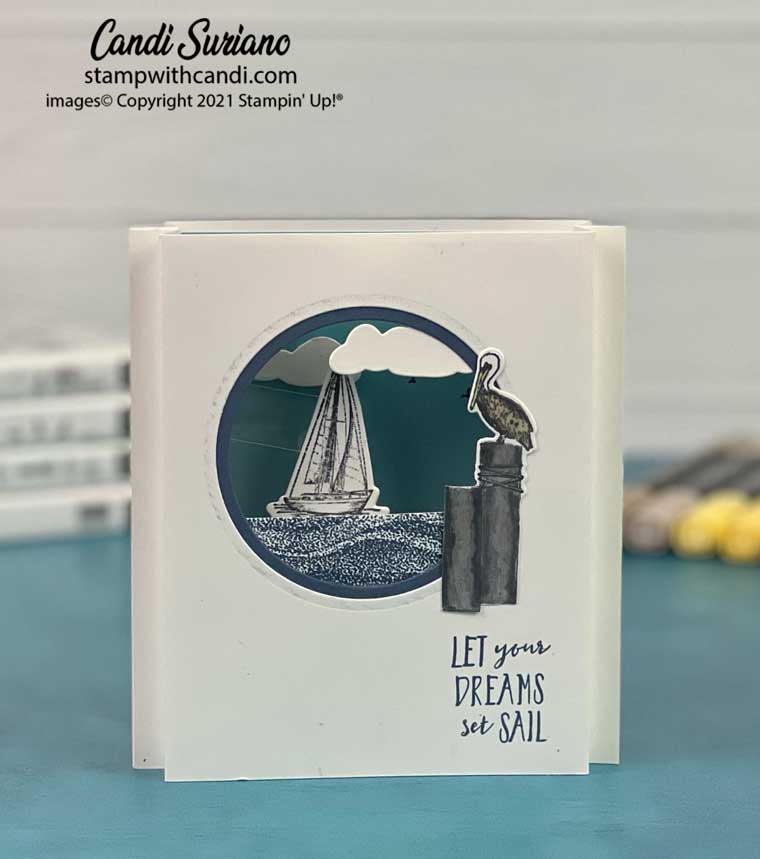
It’s the last Sunday of the month and the Crafty Collaborations group is showing off whatever they’re working on. That’s right – no theme just a bunch of inspiration. I recently found this shadowbox card from Jennifer McGuire ink and had a play with it.
Today’s Project – Shadowbox Card
You really have to see this card to see what makes it so interesting. The boat is mounted on a Window Sheet and when you push and pull the side tabs, the boat seems to sail across the water. And the best part of this card is that it’s pretty easy to make and fits in a regular envelope!
Today’s Color Palette
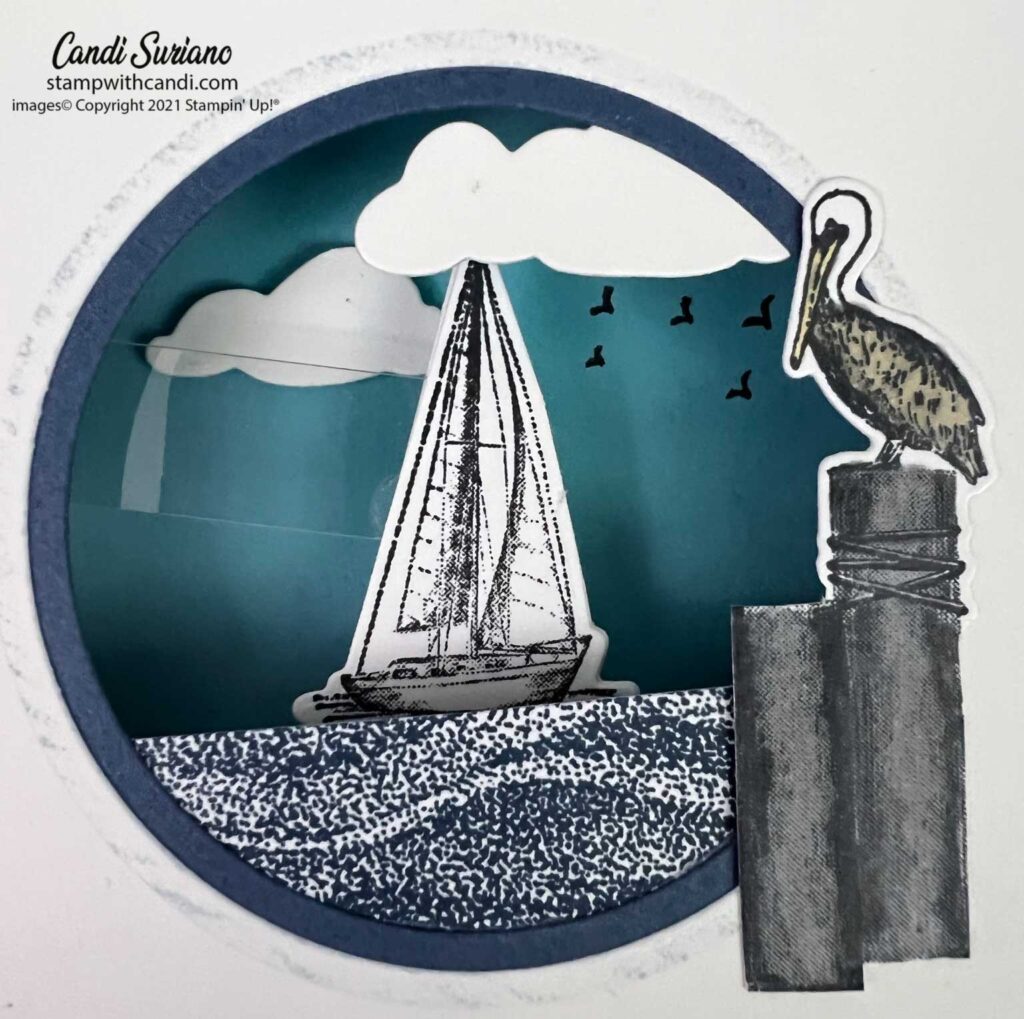
These blues set the nautical tone that I was looking for with this card.
The image above clearly shows the ship attached to the acetate strip.
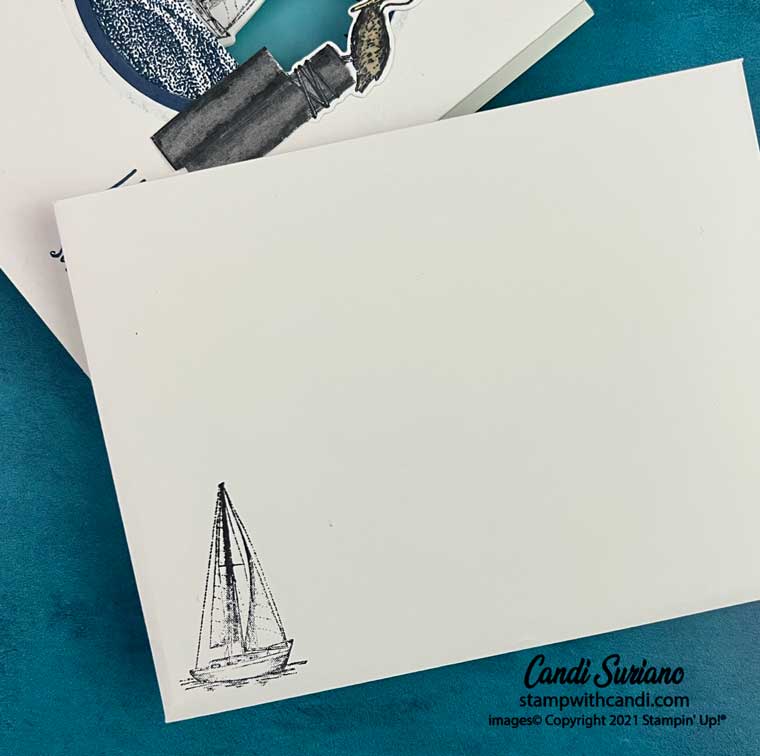
Don’t Forget the Envelope
For the envelope, I stamped the same boat image as on the card.
You Can make it Too – Shadowbox Card
This card is soooo easy to make, although it looks tricky. So, I made a video to show you how. (My first one!)
ShadowBox Card Cutting Measurements
- Two pieces of thick Basic White 6 1/4″ X 5 1/2″
- A piece of MIsty Moonlight 4″ X 5 1/4″
- A piece of Balmy Blue at 4 X 5 1/4″
- A piece of Window Sheet 1/4″ X 4 3/4″
ShadowBox Card Stamping Part 1
- Stamp the Pelican image from Waves of Inspiration using Tuxedo Momento Black ink. Color the beak with Daffodil Delight Blends. Color the body with Crumb Cake blends. Color the pillar with Smoky Slate Blends.
- Stamp the Sailboat Image using Tuxedo Momento Black ink on a scrap of Basic White and on the envelope front.
- Stamp the Gentle Wave on a piece of Basic White.
ShadowBox Card Die Cutting
- Cut out the pelican.
- Cut out the stamped sailboat and an unstamped sailboat.
- Cut out a large and smal cloud.
- Cut a circle out of the Gentle Wave piece.
ShadowBox card Scoring
- On both of the 6 1/4″ sides on both 61/4″ x 5 1/2″ pieces, score at 1/2″ and 1″ You’ll have made 8 score lines, 4 on the front piece and 4 on the back.
ShadowBox Card Front
- Using the largest Layering Circle die, cut a hole in in the upper part of the card between the inner most scroe lines.
- On one side using liquid glue attach the Misty Moonlight layer. It will temporarily cover the hole you cut in the step above. You need this layer for stability. In my card it shows as a frame. In another card, you might not want a frame, but you still need the layer.
- Place the 2nd largest Layering Circle die in the hole and run it through the Stampin Cut & Emboss machine. You could try to cut it out and line it up, but I’m not coordinated enough to do that!
- Stamp the sentiment on the lower right corner taking care to keep it left of the score line.
- Cut the lower 1/3 of the Gentle Waves circle off.
- Glue the cut piece to the inside of the card using liquid glue.
ShadowBox Card Inside
- Using a blending brush, ink the Balmy Blue layer with Bermuda Bay about where it would show through the hole in the front. You don’t have to be exact and you don’t want too much ink, just enough to add some depth so the sky doesn’t look so flat.
- Stamp the birds using Tuxedo Momento Black ink. I just eyeballed about where I want them.
- Attach the small cloud by eyeballing where it looks good. You can always move it later. (As I did in the video.)
- Fold along the scorelines making sure they are very crisp. Us a bonefolder. The innermost score is mountain and the outermost score is valley.
- Glue the stamped sailboat to the end of the Window Sheet strip.
- Glude the non-stamped sailboat to the back of the stamped sailboat. The Window Sheet strip is sandwiched between them.
- Attach the Window Sheet to the top fold of the back of the card using Tear N Tape. You want to make sure that it doesn’t slip out as this is what gives the boat its movement.
ShadowBox Card Final Assembly
- Glue the front of the card to the back.
- Attach the pelican to the front using liquid glue along the bottom.
- Attach the cloud to the inside of the front using liquid glue.
- Done!
I hope you enjoyed my card today. Now it’s time to see what inspiration the other collaborators have in store for you. Grab a beverage ad sit back and enjoy the hop!
The new annual catalog goes live on May 3rd. If you’d like me to mail one to you, please use the Contact Me form to request one. I’ve seen a sneak peek and well, let’s just say, I need another part time job to pay for all the stuff I want. There are some amazing and different things in this catalog. You don’t want to miss it!


Beautiful! Thanks for sharing
Wow – amazing card. Love the Nautical theme. Thanks for sharing
Wow, what a great technique. I love it, will have to CASE.
Great card design. I will definitely try this. TFS
Love this card Candi and a great video x