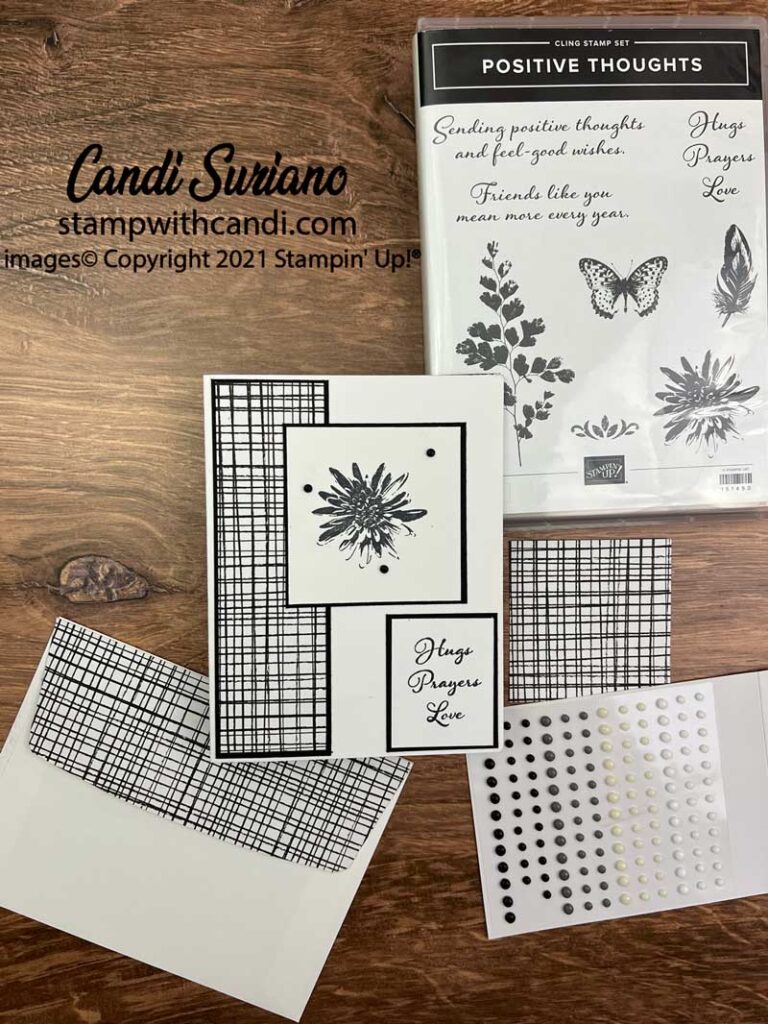
I needed a sympathy card recently for a fellow demo. After looking through my stamps, Positive Thoughts had all the elements I needed for a sympathy card. Crafty Collaborations was having a blog hop on Remembrance today so I thought I’d share this card.
Crafty Collaborations
Crafty Collaborations is composed of Stampin’ Up! demonstrators from around the world. Each month we participate in multiple collaborative projects including blog hops, like this one, tutorials, and swaps to inspire all of us in our passion for crafting. Our goal is to create, share, and inspire every crafter to keep our creative energy flowing.
Today’s Project
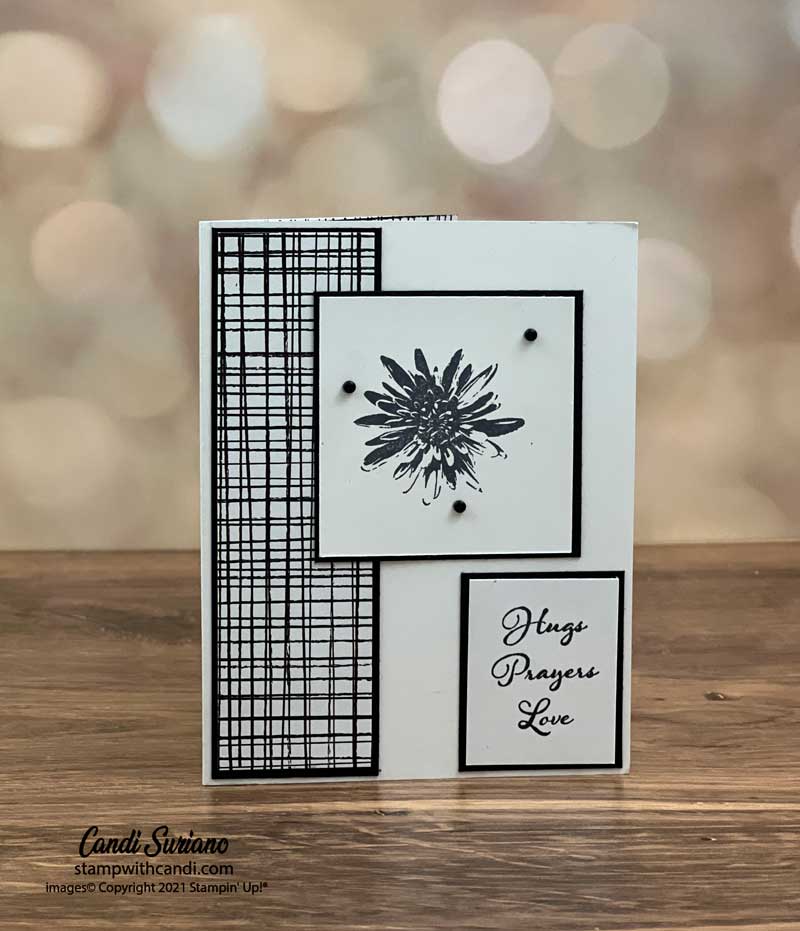
This card hits many of my favorite notes – clean & simple, graphic, floral. I don’t usually manage to get all of them in one card! I started with a Basic White card base. Then, I used a 1 1/2″ X 5 1/4″ piece of Pattern Party DSP which was matted with a Basic Black piece cut 1/8″ larger. This element was attached to the left side of the card front.
I stamped the sentiment from Positive Thoughts on a piece of 1 1/2″ x 2″ piece of Basic White cardstock which was matted with a Basic Black piece cut 1/8″ larger. This was attached to the lower right corner of the card front keeping the margins on the right and bottom the same as the margins on the larger, DSP piece.
The floral image from Positive Thoughts was stamped using Momento Tuxedo Black ink on the 2 1/2″ X 2 1/2″ piece of Basic White card stock which was also matted with a piece of Basic Black card stock 1/8″ larger. This piece was attached in the upper center of the card front.
I finished the card using 3 black Matte Dots on the floral image piece. I really love how this card turned out!
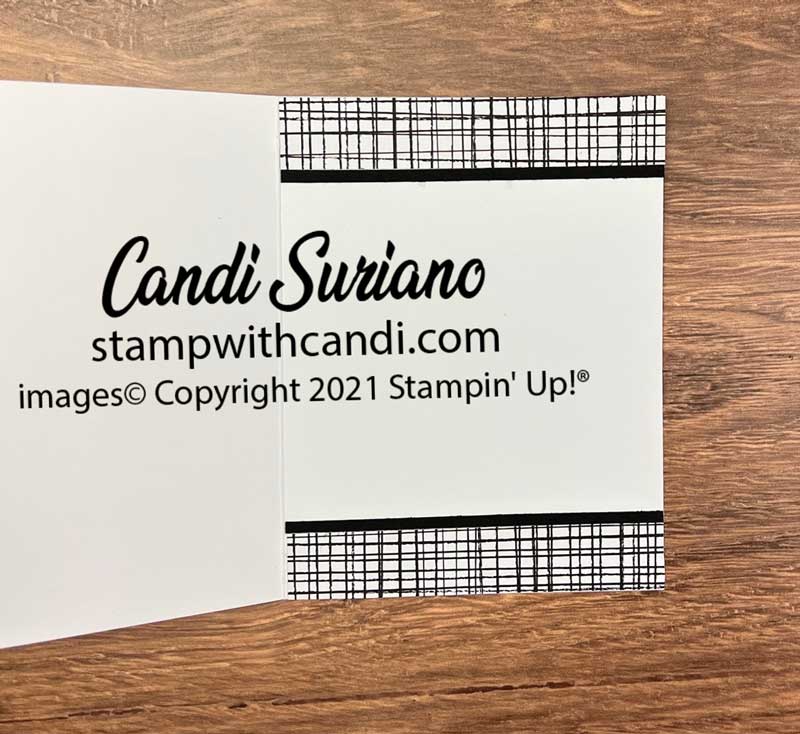
Make the Inside Pretty
For the inside, I cut strips of 4 1/4″ X 3/4″ of the DSP which were glued to the top and bottom of the inside. Then I edged them with a 4 1/4″ X 1/8″ piece of Basic Black cardstock.
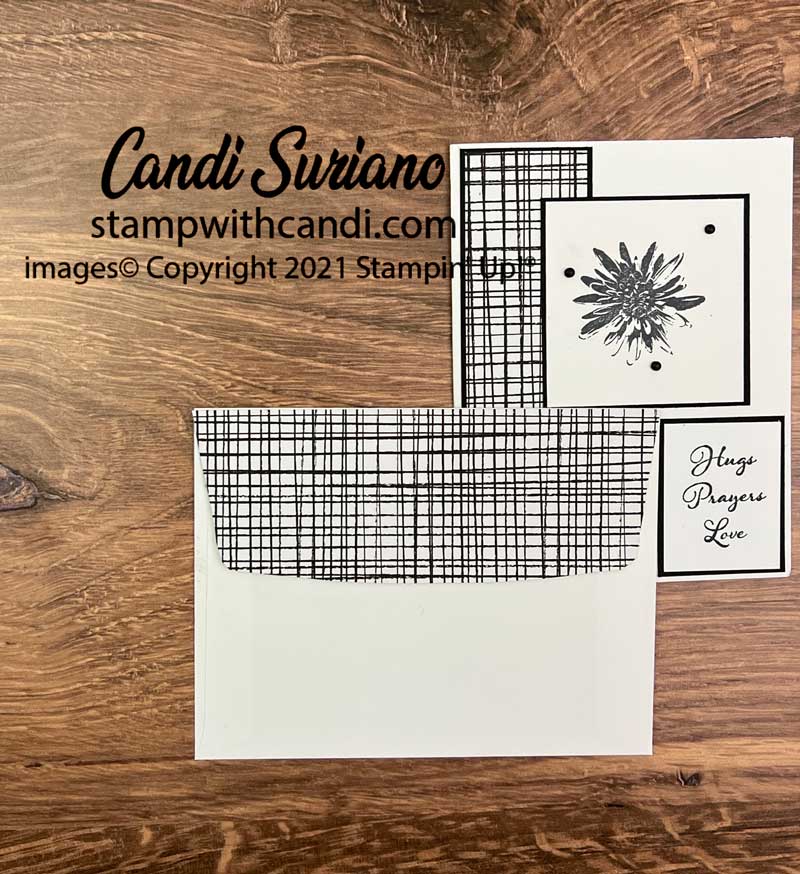
Don’t Forget the Envelope
I kept the envelope simple by using one of my favorite envelope decorating methods – add the DSP from the card to the envelope flap. Cut it to 6 x 2 3/8. Glue it to the flap, Then, trim to fit. Easy but impactful!
Now it’s time for some more collaborative fun. Grab a beverage, sit back and enjoy the hop! You should find some awesome ideas and inspiration as others share their projects made with the Waves of the Ocean suite.
If you’d like to try to recreate this card, you can find a list of the products I used at the end of this post. Need a demonstrator or a catalog? Drop me a line and I’ll put one in the mail. And, f you ever have any questions, please feel free to comment or email me. And, don’t forget to Pin this post so you can find it again!



Beautiful card. Love this black and white design.
Great card!
Love this pretty monochromatic card Candi, so pretty x