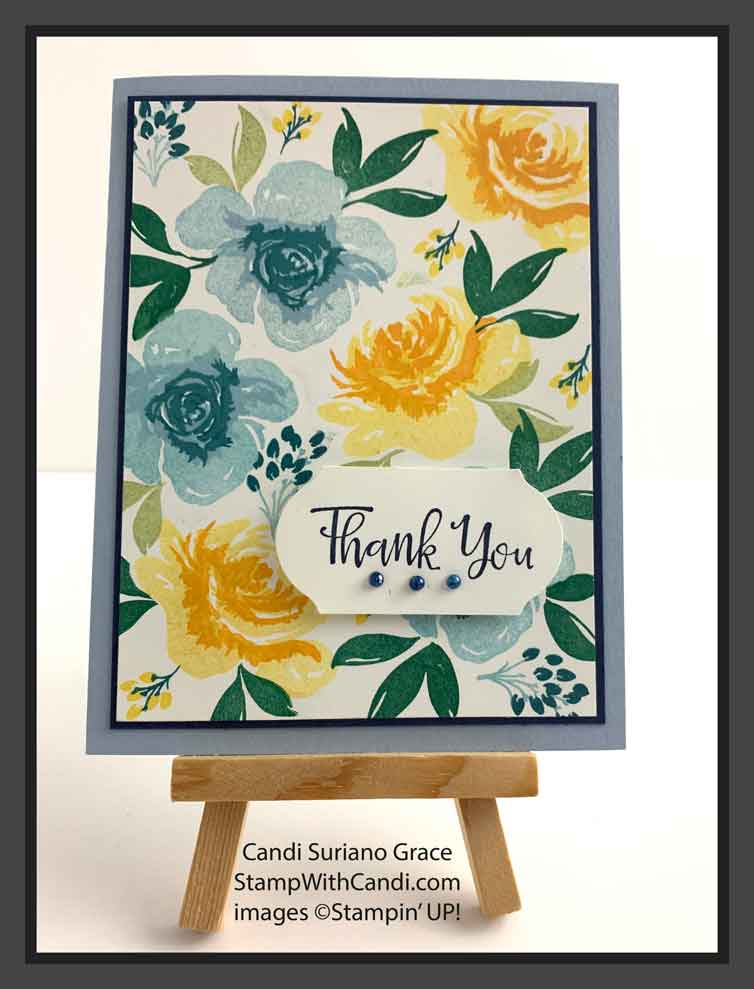
I needed a quick thank you card for a friend who went above and beyond for me. Since All Things Fabulous was on my desk ready to be inked, I went with it. Take a look.
So, how is this card different from the other two I poste? Well, it doesn’t use the dies, it uses many more ink colors, and it uses a technique called masking!
Today’s Project
Let’s explore the elements of today’s card.
First I pulled out a piece of Whisper White cardstock and began stamping the large flower images using the 3 step stamping technique I talked about here. For this card, I used shades of blue (Balmy Blue, Seaside Spray, and Pretty Peacock) and yellows (Daffodil Delight and Crushed Curry). I do love the pairing of blue & yellow, don’t you?
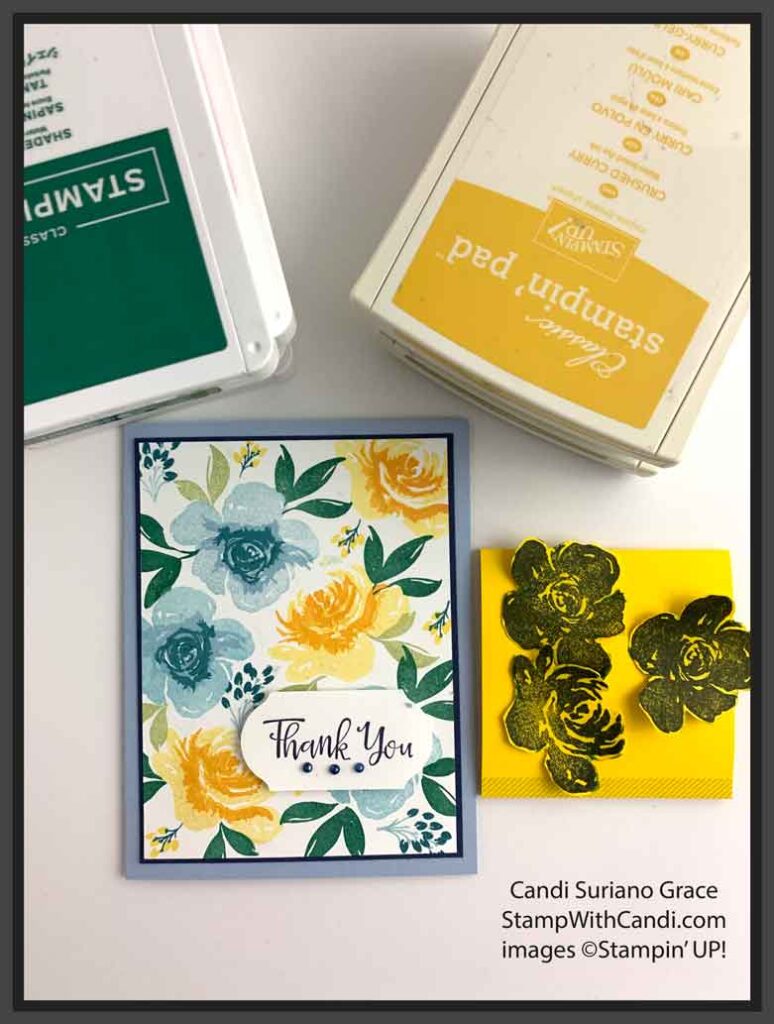
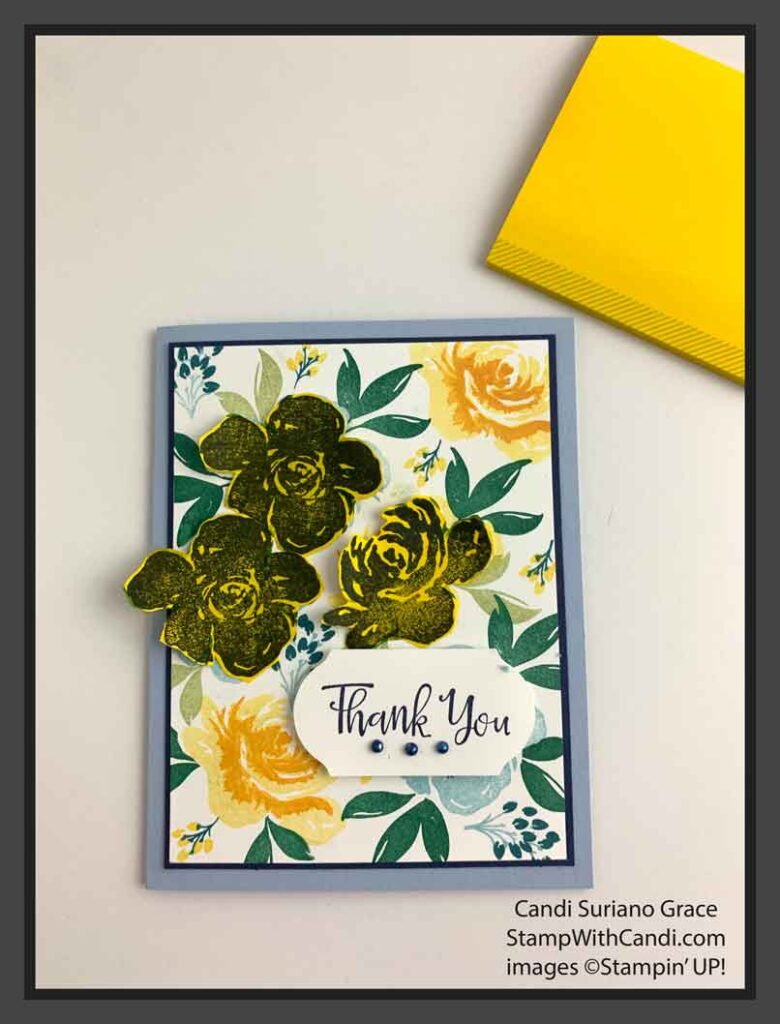
Second I cut masks of the floral images from a post-it-note. You can use regular post-it-notes. If you do, you need to make sure you stamp on the part that is sticky in the back. I used these special post-it-notes that are sticky all over, which you can find on Amazon here. Once the mask is cut, you put it on the flowers so that you can stamp the leaves around them without getting any on the flowers, like shown below.
Can you see how the mask covers the flower? I use this technique a lot when I do all over stamping. It’s like making your own Designer Series Paper! Once you use this technique, you’ll use it again and again to make beautiful backgrounds for your cards!
After I masked my flowers, I stamped the leaves using Shaded Spruce ink. Notice how the leaves and flowers seem to extend beyond the paper? I do this because it gives the stamped image a more natural feel.
Third, I stamped the large and small fill-in flowers and stems using Shaded Spruce with Daffodil Delight and Balmy Blue with Shaded Spruce. These fill-ins are essential so that the design doesn’t feel empty or incomplete.
Finally, I stamped the sentiment on a piece of Whisper White and punched it out using the Timeless Label punch. To highlight the sentiment, I attached 3 pearls underneath it. As you can see, I colored the pearls with a NIght of Navy Dark Blends using the small end. I always use the small or nib end to color embellishments as it’s less likely to get damaged than the large or brush end.
One last point. Can you see how I framed the stamped image? I used a narrow 1/8″ border in Night of Navy, but a larger 3/8″ border from the card base. These borders make the focal image look like it’s framed. I love to use this spacing on my cards. You’ll see it in a lot of my designs.
Today’s Color Palette
Make the Inside Pretty
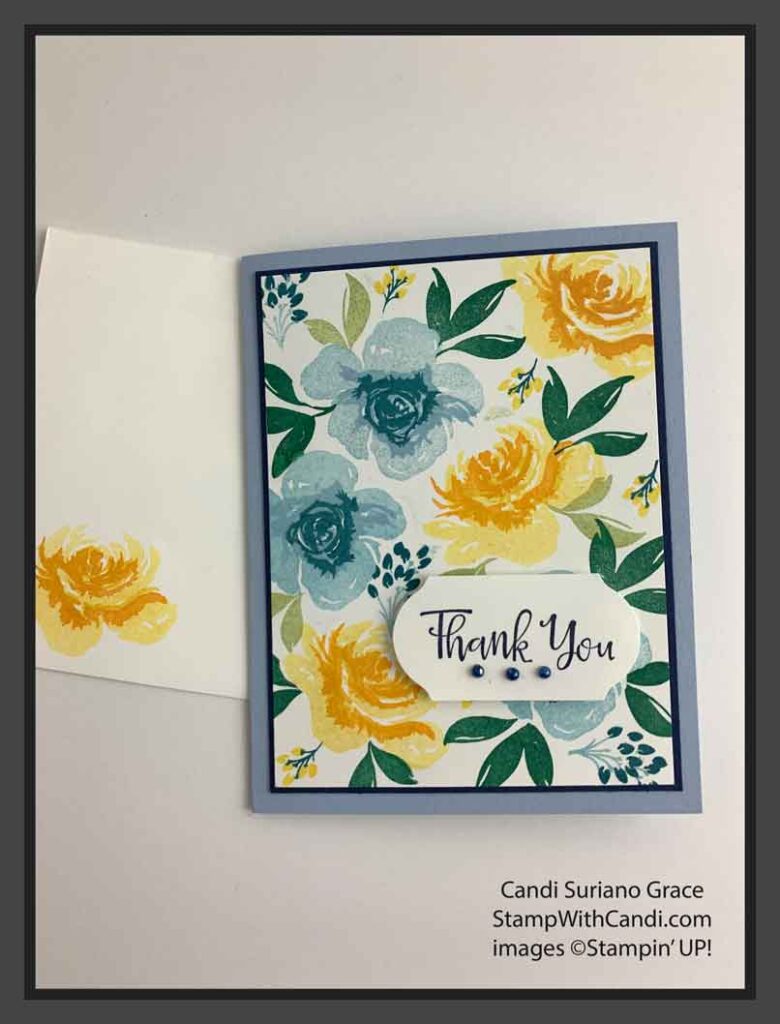
I can’t believe I forgot to take a picture of the inside! But, rest assured, I did decorate the inside with one of the yellow flowers from the front! I also matted the Whisper White piece with Night of Navy.
Don’t Forget the Envelope
I used the same yellow flower on the envelope as I did on the inside. The flower is stamped with Daffodil Delight stamped off once, then Daffodil Delight, then Crushed curry. I think these yellow and blue flowers are my favorite combinations, although the purple ones are up there too!
I hope you enjoyed today’s card. If you don’t yet have a demonstrator, I’d love to be yours. If you do order from me, please use the Host Code in the right sidebar. For every $50 purchase (before tax and shipping), I will send you a gift as a token of my appreciation. However, if your purchase totals more than $150, please don’t use the Host Code and get the host benefits for yourself instead!
If you ever have any questions or need a catalog, please feel free to comment or email me. And don’t forget to Pin this post so you can find it again!


