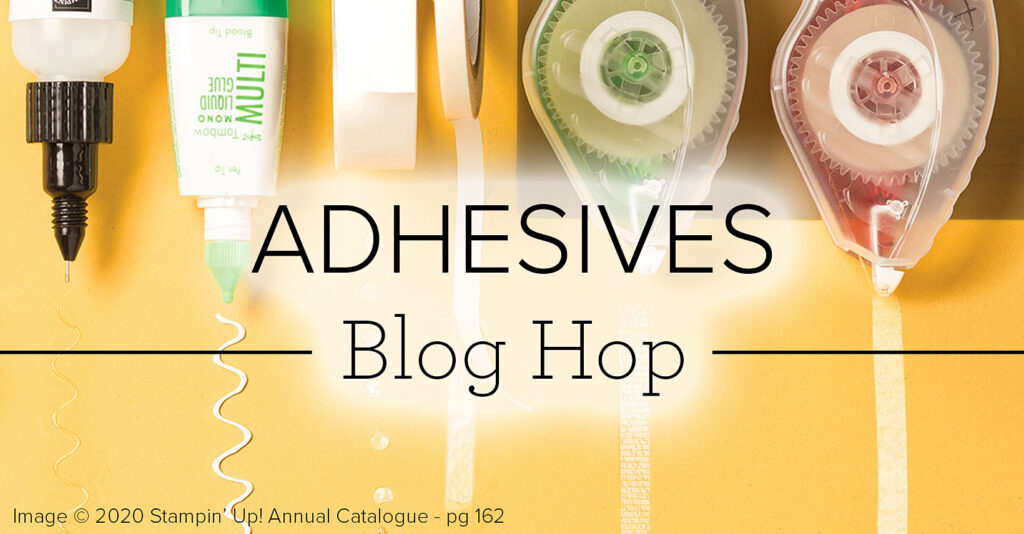
Today’s blog hop is going to be fun and interesting because today we’re featuring adhesives! I’m betting you’re going to get a lot of creative inspiration to use adhesives in a different way or as an introduction to new adhesives. I know I’m going to show you 3 different adhesives!
today’s Project – Adhesives
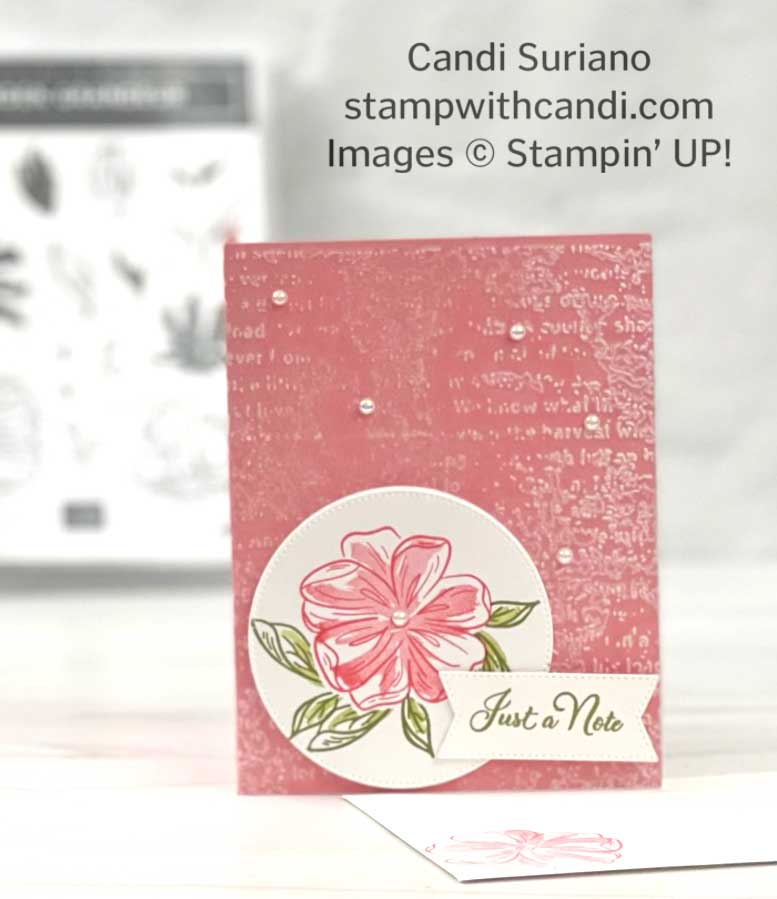
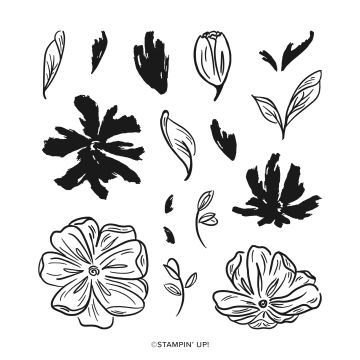
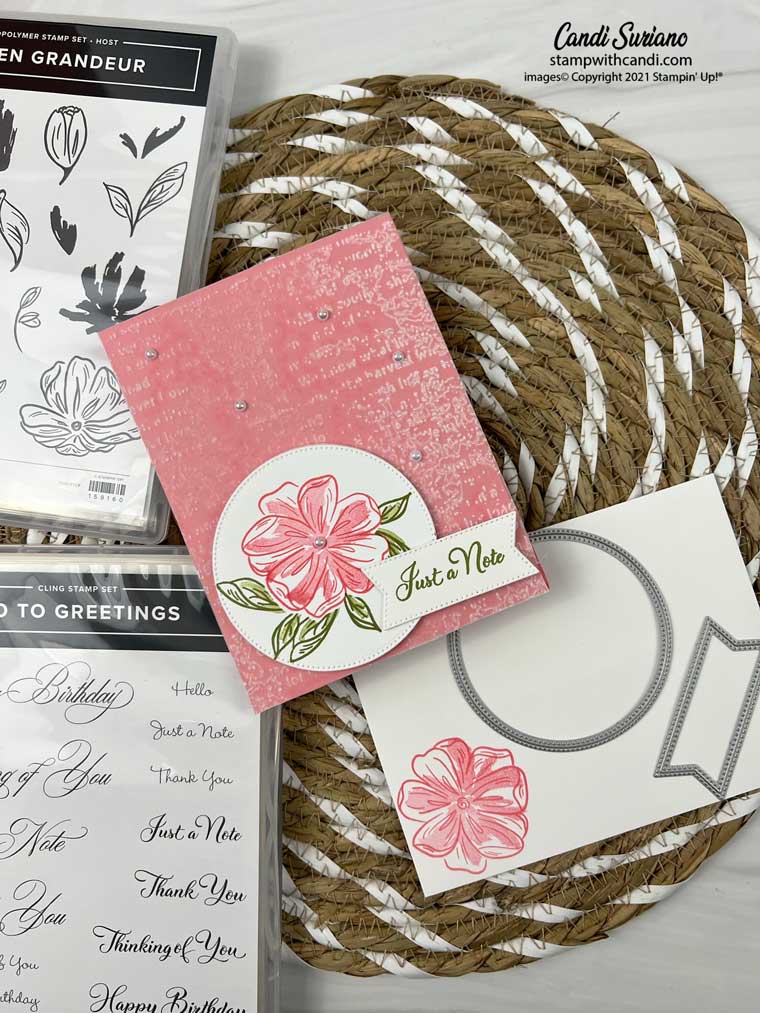
Today’s project uses a Host set called Garden Grandeur. It contains 16 photopolymer stamps of flowers and leaves. It’s a two-step stamp so you don’t have to color. And, as you can see, I didn’t. But, the line images could be colored making it very versatile. You can use Host dollars to purchase it if your order is more than $150.
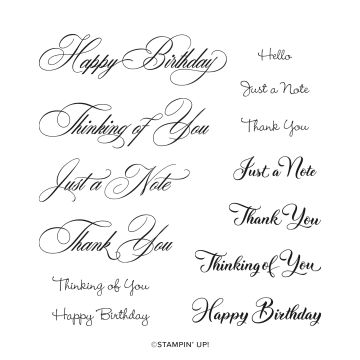
The greeting is from a new stamp set called Go To Greetings. I love this set because it takes a few greetings that you use all the time and put them into a variety of fonts and sizes. The greetings include Happy Birthday, Thinking of You, Hello, Just a Note, and Thank You, This was at the top of my wish list for the new Annual Catalog!
Finally, Can you spot the 3 adhesives I’ve used in this project? Read on as I describe them for you!
Today’s Color Palette
I find myself drawn to simple color palettes. They seem so much easier to design with. And, I do love this color palette. Flirty Flamingo and Old Olive were meant for each other!
Adhesives #1 – Adhesive Sheets
Back in the day, it was hard to use Vellum on a card front because the ‘glue’ would show through. So, we hid glue dots under the stamped image and anywhere else we thought they wouldn’t show. But now, we have adhesive sheets that are invisible under Vellum. The Stampin’ Up! adhesive sheets are great because they aren’t one long sheet. Instead, they have cuts in the back which makes it really easy to put them on the Vellum and then the Vellum on the card front.
When I’m doing a full card front or larger layers of Vellum, I cut the Vellum and the adhesive sheet slightly larger than the layer so that if I don’t get it lined up quite right, I can just trim off the excess. The trick to using Vellum is to expose a little of the adhesive at a time. Once you’ve got it started, then you can slowly remove the backing, adhering it to the Vellum.
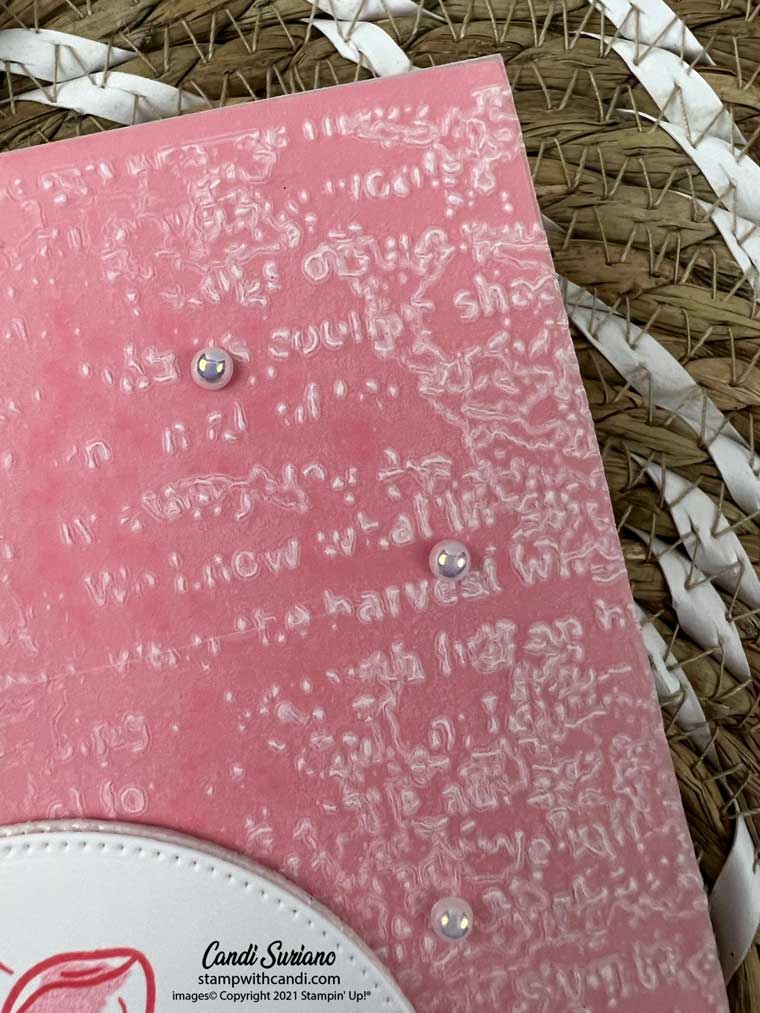
Once I’ve got the sheet on the Vellum, I move on to embossing it. As I’ve mentioned in previous posts, I love embossed Vellum on a card. It adds texture and interest but it’s softer than an embossed layer.
After embossing the Vellum, I use the same technique to apply it to the card front or layer. I get it started and then slowly roll it down the layer as I pull the adhesive off the vellum. If you’ve ever wallpapered or seen it done, it’s basically the same technique!
Adhesives #2 Foam Adhesive Sheets
I love these sheets whenever I want to pop up a large element Rather than putting on a lot of dimensionals, I cut one of the foam adhesive sheets to the same size and use it instead. these sheets do two things. First, they give a more solid element – no wavering here! Second, they pop that element up about twice as high as the dimensionals. In fact, to make the sentiment as high as the flower, I had to stack two dimensionals on the right side of the sentiment. Then I used a mini glue dot on the left side to adhere it to the circle.
Adhesives #3 – Masking Sheets
I was so excited to see Masking Sheets in the new Annual Catalog. No more Post-It Notes for me! The thing I like most about them is that they are sticky all over so you don’t have to worry about them shifting as you’re stamping or blending, or whatever you’re doing.
For this card, I stamped the line image o the flower using Flirty Flamingo ink. Then I stamped the color using Flirty Flamingo ink stamped off once so that it appears lighter than the line image.
Next, I stamped the flower image on a masking sheet. And, since this set doesn’t have dies, I had to fussy cut it. Masking is much easier to do when there are dies for the masked images! After the image is cut out of the masking paper, peel off the back and put it on your stamped image. Finally, stamp the flowers letting the stems overlap the flower. When you peel off the mask, it looks like the leaves are tucked under the flowers!
I used the new Stylish Shapes dies for the circle and the greeting. These dies are going to get a lot of use in my craft room. I finished off the card with five iridescent pearls to give it a little bling. I’m not crazy about their placement, but I do like them!
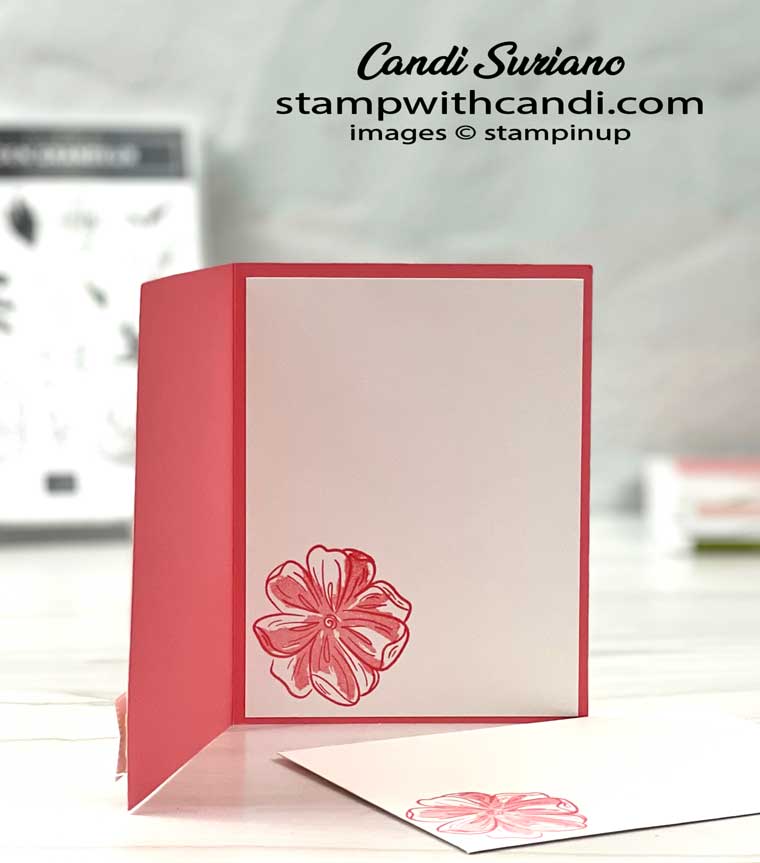
Make the Inside Pretty
I stamped the same image on the inside card liner as I did on the card front. This is one of my go-to moves and it just adds a little bit more to the card.
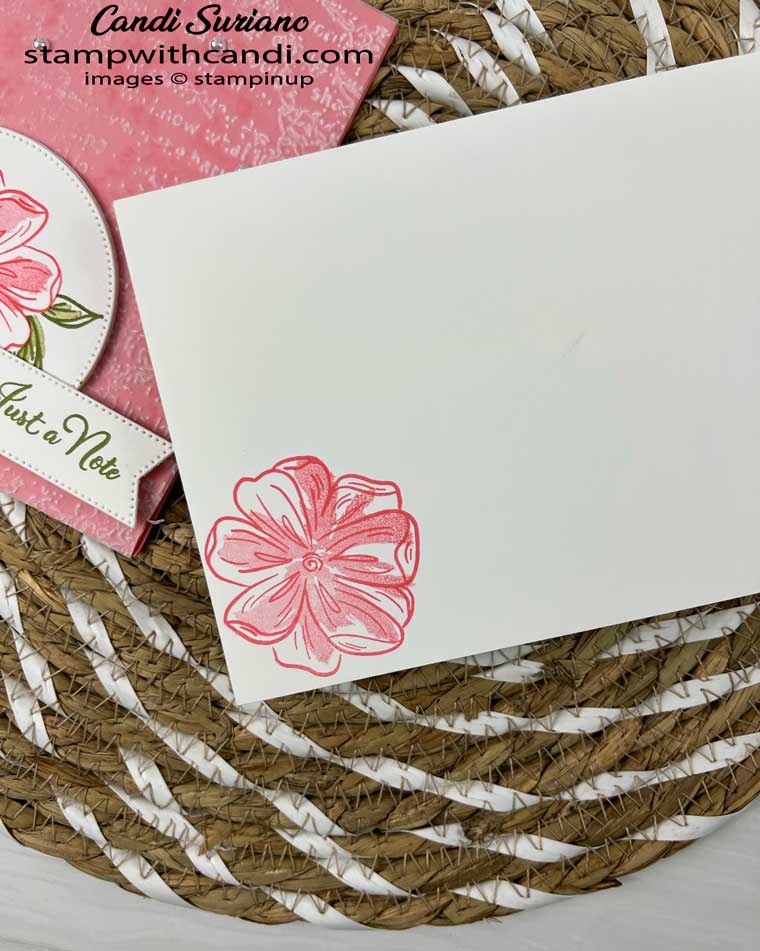
Don’t forget the Envelope
The same flower looks just as good on the card front, inside, and envelope. It’s a trifecta!
I hope you were inspired to try some adhesives that you hadn’t considered before. There are so many other things that you can do with them and I’m sure that the rest of the posts on this hop will inspire you too. So sit back, grab a beverage and enjoy the hop!



Wow great card and tips on the Adhesives. Too bad only 3 of this in the hop