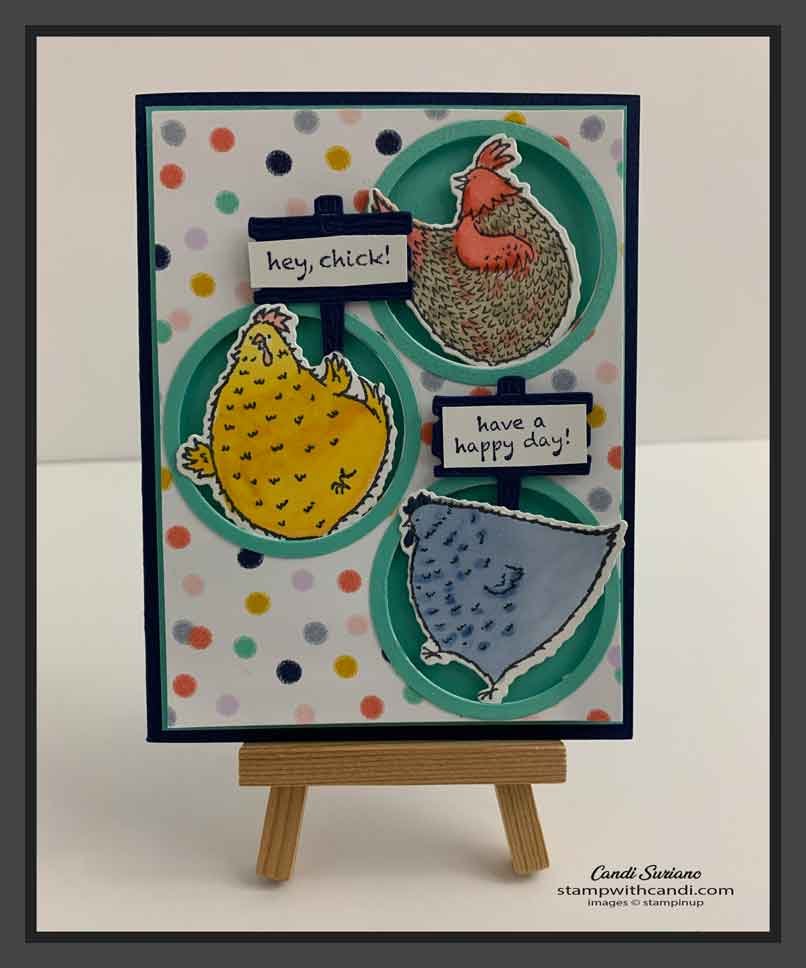
For this card I combined Hey Chick and Hey Birthday Chick to get 3 big chickens! Take a look.
Today’s Project
To create the frames for the chicks, use two layering circles dies nested in each other. The bigger the difference, the bigger the frame! I also used a piece of Basic White cardstock to attach to the DSP to give it some heft before cutting the windows in the DSP.
Use the smallest of the two to cut the holes in the designer series paper (DSP). Once the holes are cut, layer it on a piece of cardstock that is the same color as the frames using dimensionals. Actually, I used the edge strips from the dimensionals strategically placed. They give me more coverage and yet still allow the chicks to peak out of the frame. Then layer this piece of cardstock on the card base.
Today’s Color Palette
I used another sheet from Playing with Patterns DSP. The fun patterns in it are perfect for the slightly wacky chick sets! I pulled the colors for the chicks from the paper which I why I love Stampin’ Up!’s Designer Series Paper! It makes picking color combos sooooo easy!
I knew that I wanted to color these chicks with my blends, so I had to substitute Daffodil Delight for Crushed Curry in the DSP. I used both Daffodil Delight and Mango Melody to color the middle chick. The bottom chick was colored using only Night of Navy. Finally the top chick was colored using Calypso Coral, Soft Suede, and Crumb Cake.
Once, the chicks were colored and cut with the dies, I popped them up on dimensionals and then tucked them into their
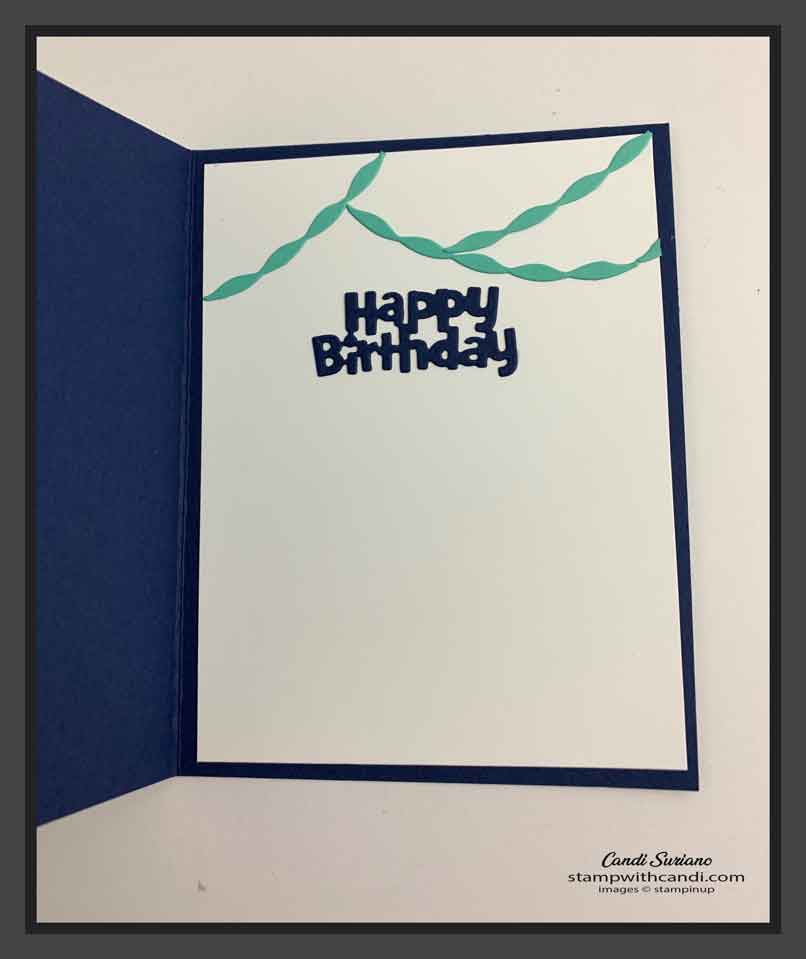
Make the Inside Pretty
The ‘Happy Birthday’ sentiment from the Hey Birthday Chick stamp set was stamped using Night of Navy ink. I cut the banners using the Birthday Chick dies and glued them onto the Basic White Panel.
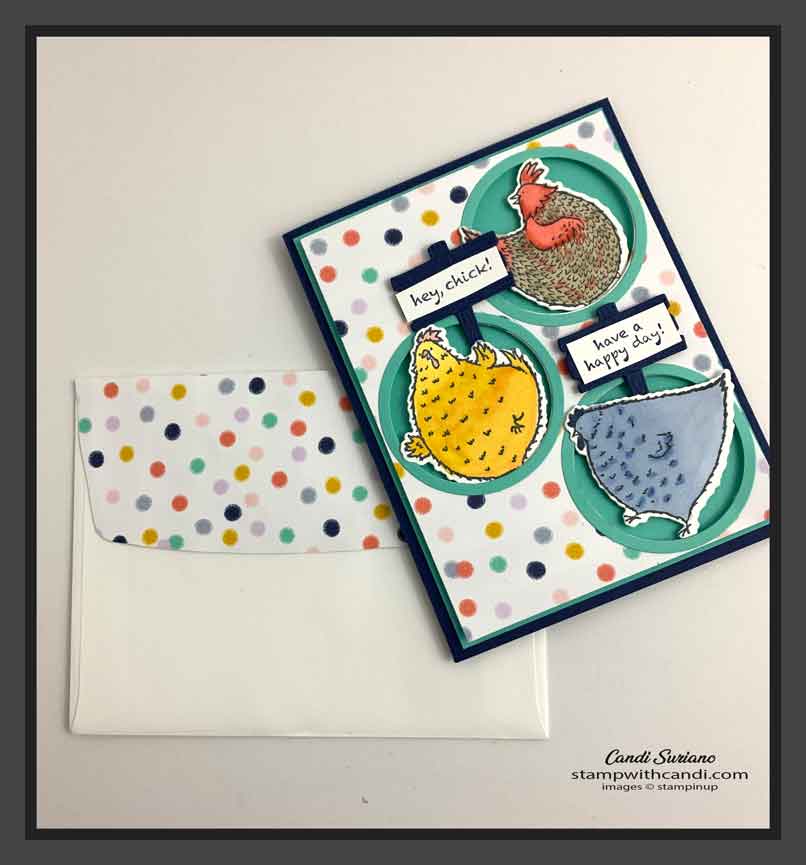
Don’t Forget the Envelope
As you can see, I used the same DSP on the envelope as I used on the card front. With the 6 X 6 paper, you can usually just use one piece and get the card front and the envelope. This is why I cut the DSP for the card front a little smaller than the normal 5 1/4″ x 4″. That smidge more let me get the envelope from the same piece of DSP.
I always attach the DSP to the envelope with liquid glue because it sticks so much better and holds up to the rough treatment it gets in the mail!
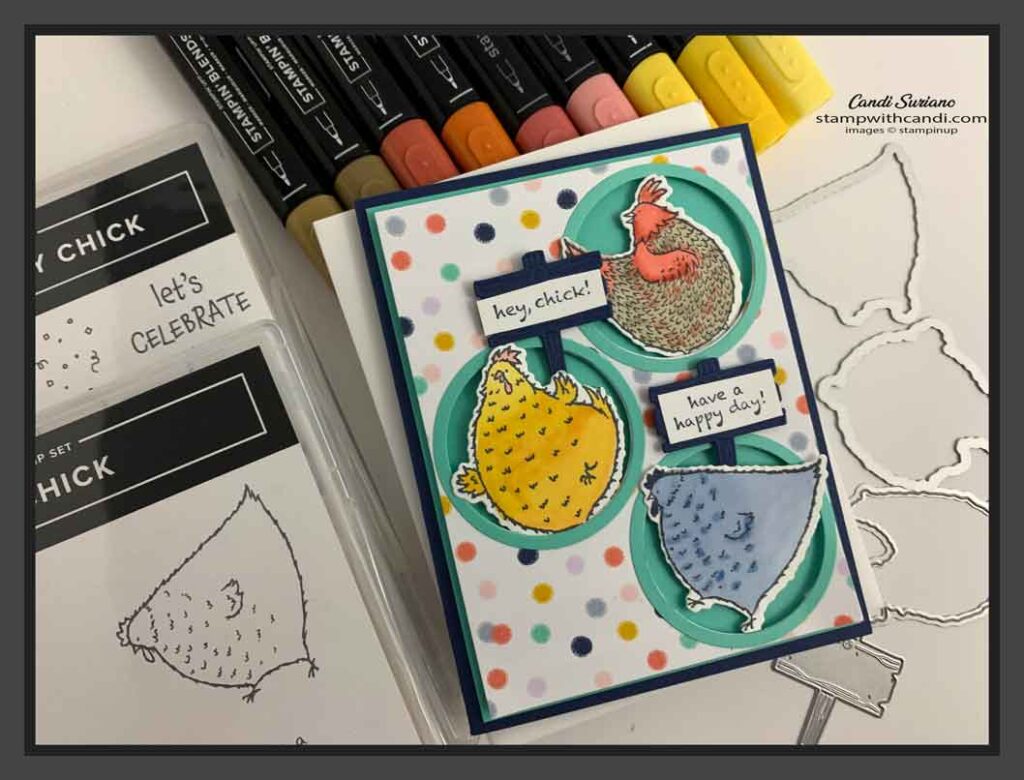
Here’s one last look at the card and some of the tools I used to create it.
If you’d like to try to recreate this card, you can find a list of the products I used at the end of this post. Need a demonstrator or a catalog? Drop me a line and I’ll put one in the mail. And, f you ever have any questions, please feel free to comment or email me. And, don’t forget to Pin this post so you can find it again!


