Today I’m hopping with Crafty Collaborations as we share the newest Stampin’ Up! promotion – Perfect Partners. Stampin’ Up! took 6 sets that didn’t have dies and created bundles with them! And I was so excited because I had 4 of the 6 stamp sets and had fussy cut the images when I used them. And now, I can just use the dies! One of those sets was Apple Harvest which I’m using today.
Today’s Project – Apple Harvest
I loved this set when I saw it. Such a perfect stamp set for fall. When my daughter was younger we’d always go to an orchard and pick apples and pumpkins and do hay rides and drink apple cider. Such fond memories.
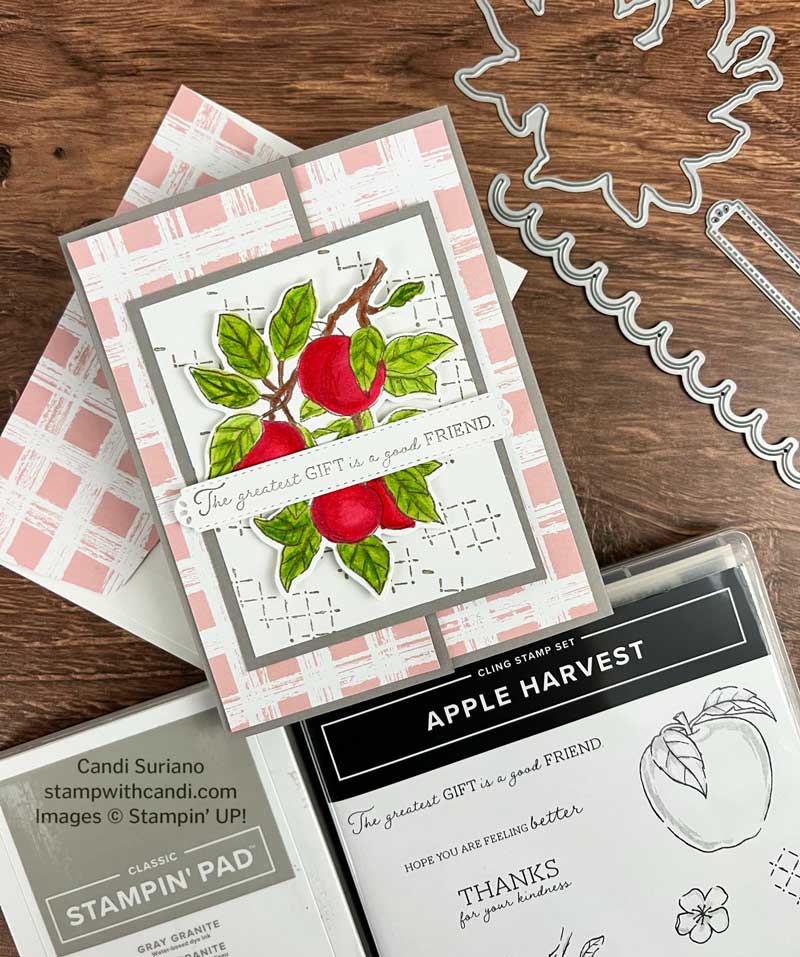
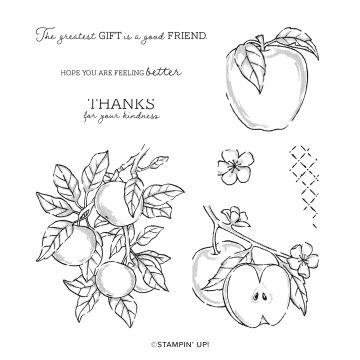
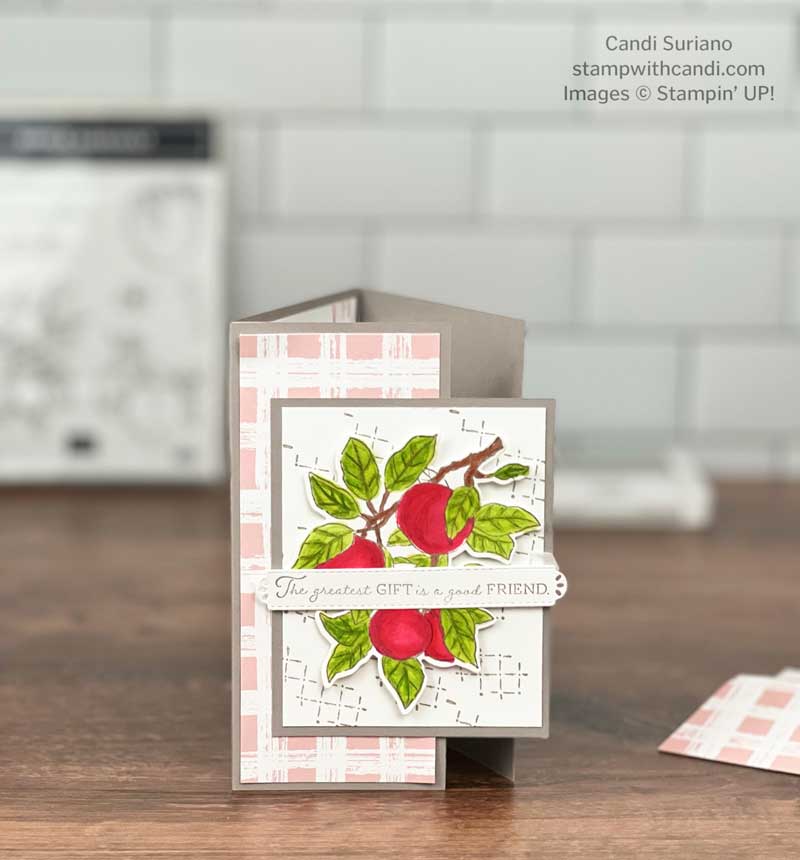
I also like this set because it has open-line images that are perfect for coloring! When I’m stressed, a little coloring helps me calm down. When coloring the apples and leaves on this card, I first colored them with blends, and then I used a watercolor pencil (without any water) to go over sections of the image to get some more depth and make the apples look rounder. I used 3 blends – Dark Sweet Sorbet, LIght Real Red, and Light Sweet Sorbet followed by Real Red and Cajun Craze watercolor pencils.
I used the same technique for the leaves, using Light Granny Apple Green and Dark Granny Apple Green blends paired with Garden Green and Early Espresso watercolor pencils. My leaves look a little wonky because the brush tips on my Granny Apple Green blends were a little soft. Time for a new set!!!
Apple Harvest
I loved the little cross hatch stamp and used it on the backing panel for my focal image. It’s a perfect image to add some interest behind a popped-up focal image. The sentiments on this set are so sweet. I send a lot of friendship cards so, I especially like the one I used on my card.
Perfect Partners
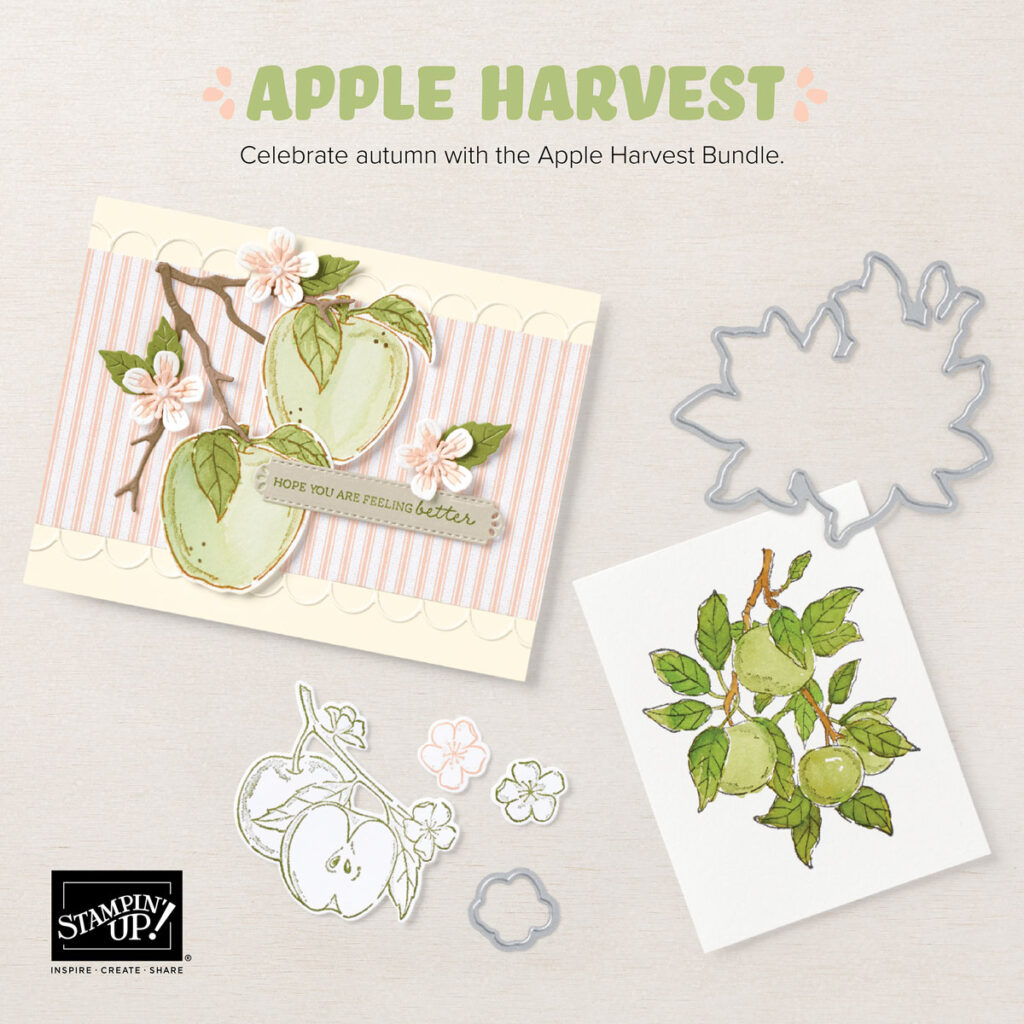
When Stampin’ Up! made dies for this set, they went all out. In addition to dies to cut all the images in the set, including two of the sentiments, there are additional dies for a variety of flowers and leaves and a branch to attach them to. . You could build a cute card just from the dies without any stamping!
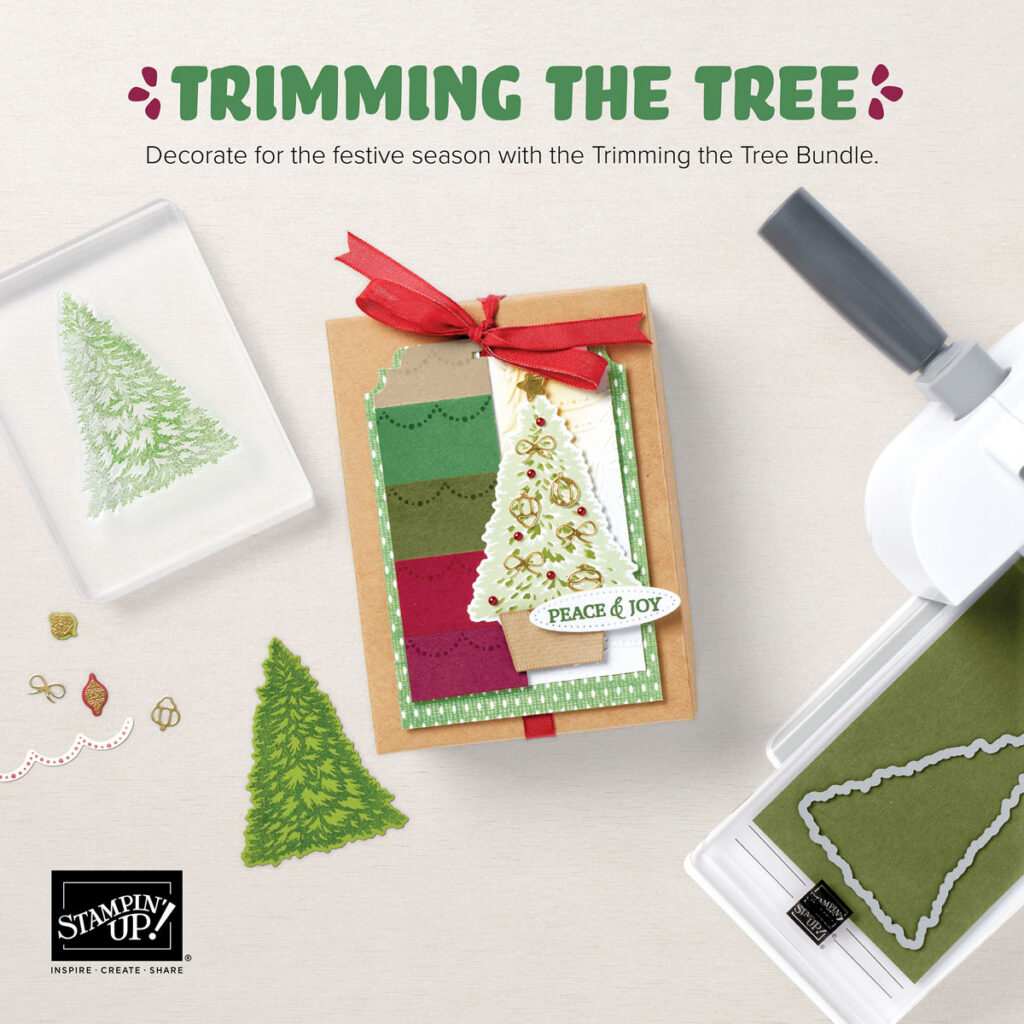
I also love this set of dies. Because, well, they cut out Christmas images. There are dies to cut out the sentiment, the tree, two different stands for the tree, and a lot of ornaments. There’s also a garland die that could also be used for an interesting edge. These dies can also make a card without any need for stamping!
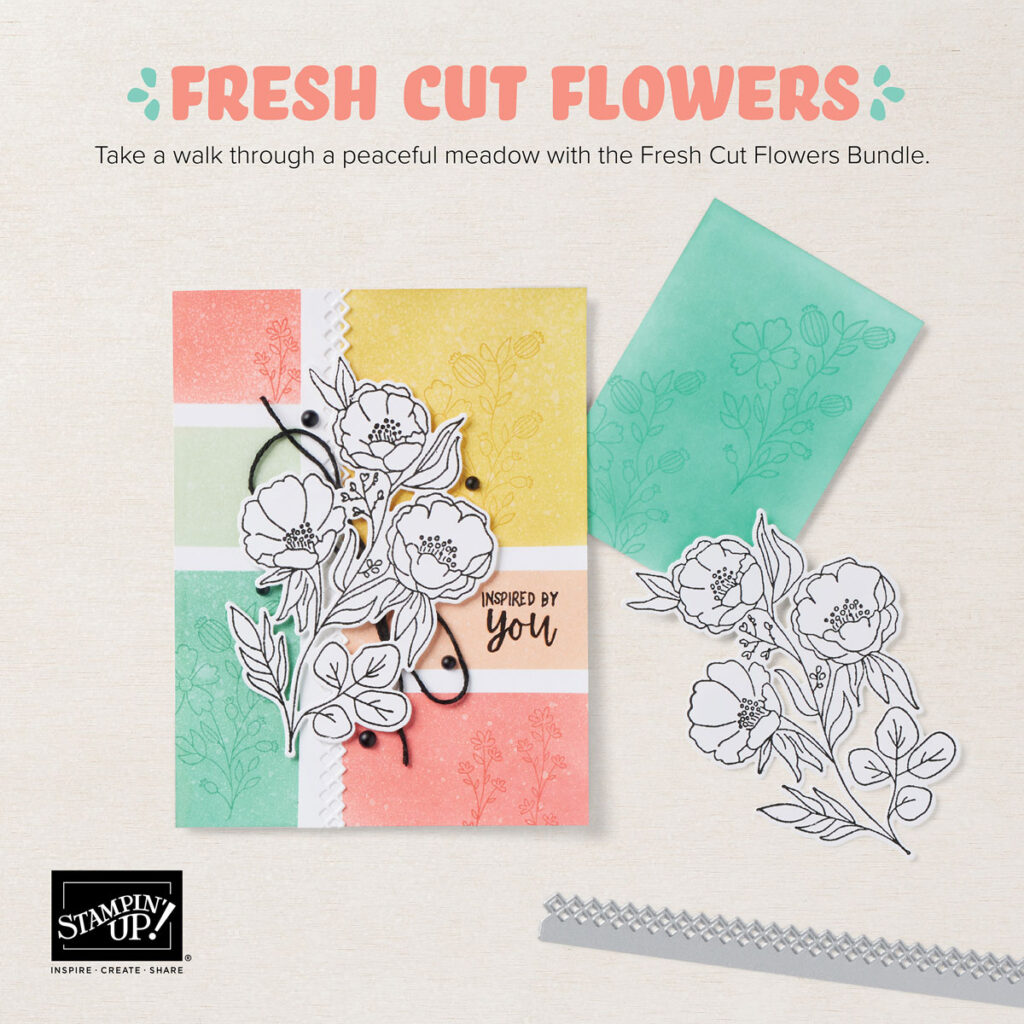
The Perfect Partner dies for this set also do more than just cut out the stamped images. There’s the edge die, additional flower dies, and floral elements.
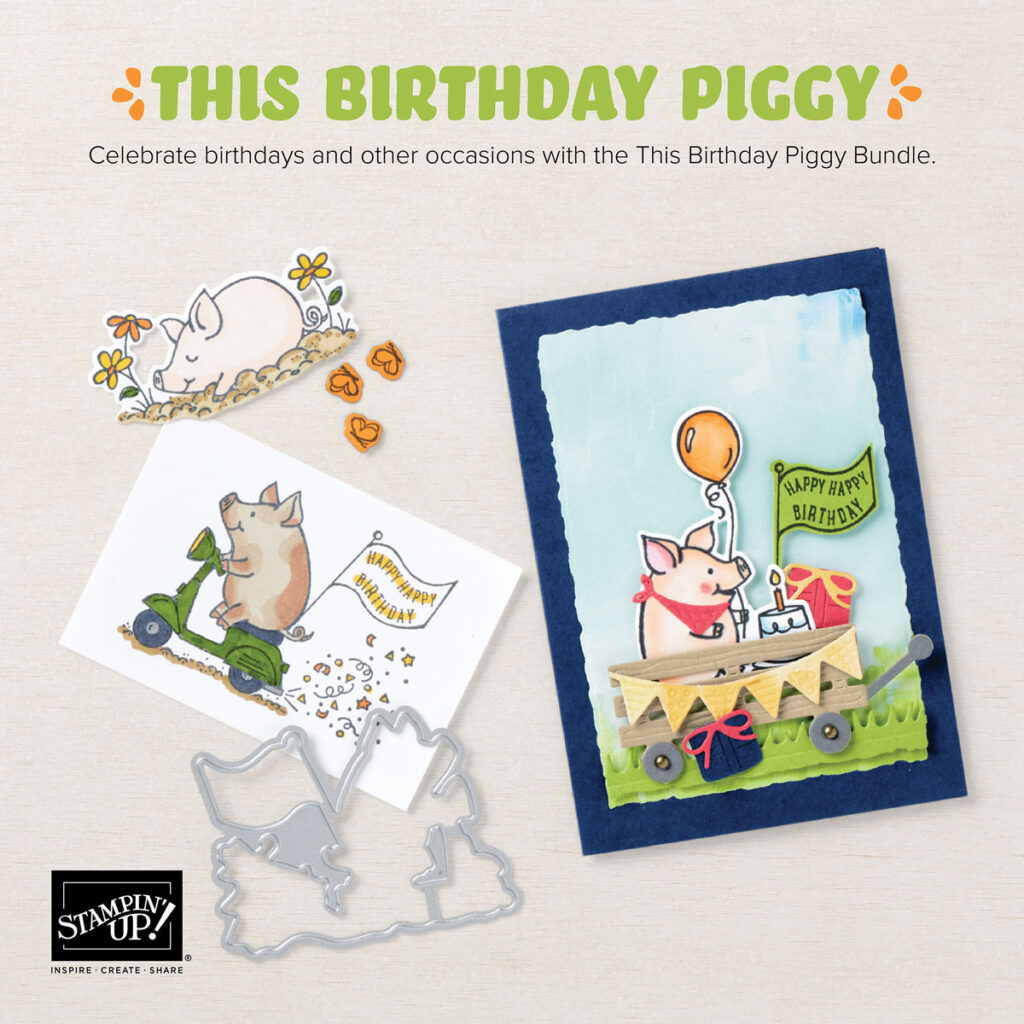
I was really excited to see this die set. I love these pigs. They are so much fun! And the dies make them even better. There’s a grass die, a wagon, banners, flowers, and a bow! So many possibilites!
I don’t have this stamp set, so I didn’t get the dies. So I can’t really speak to what’s in them. But, I’m sure they are as awesome as the prior 4 die sets.
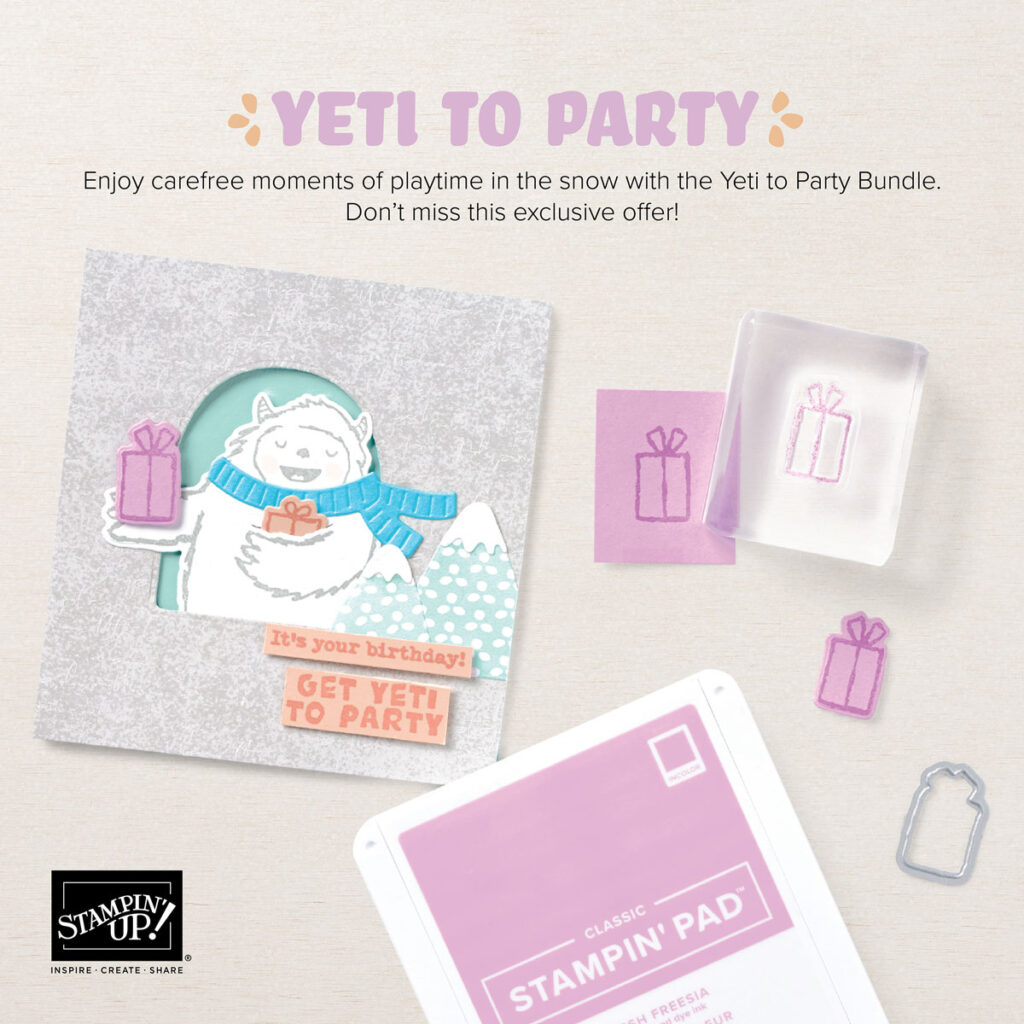
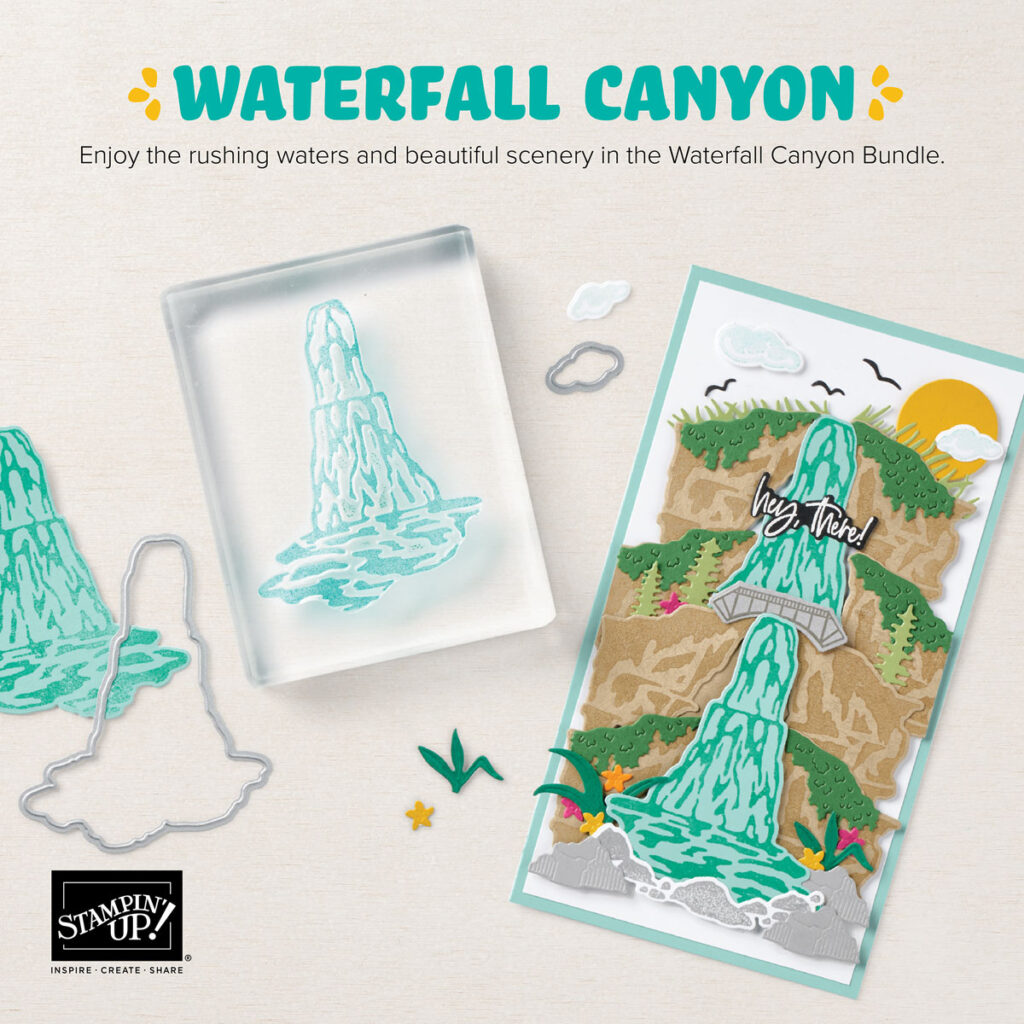
Look at this card! It’s amazing! The dies allow so many more creative opportunities like the sun, clouds, and trees.
Today’s Color Palette
I wanted a soft color palette that wouldn’t overwhelm the focal image. Gray Granite and Blushing Bride fit my vision. Plus I stamped the focal image using Gray Granite ink for an almost no-line coloring technique. The crosshatch behind the focal image was also stamped with Gray Granite to add some interest.
Make the Inside Pretty
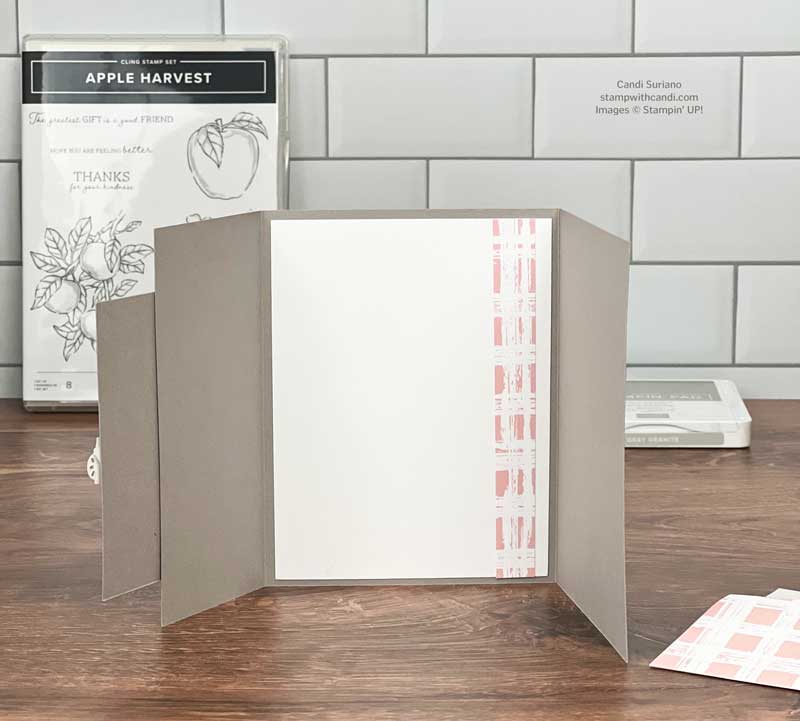
For the inside, I used a strip of DSP from the Gingham Cottage Designer Series Paper. I offset it from the side by 1/4″ instead of lining it up with the edge of the inside liner.
Don’t Forget the Envelope
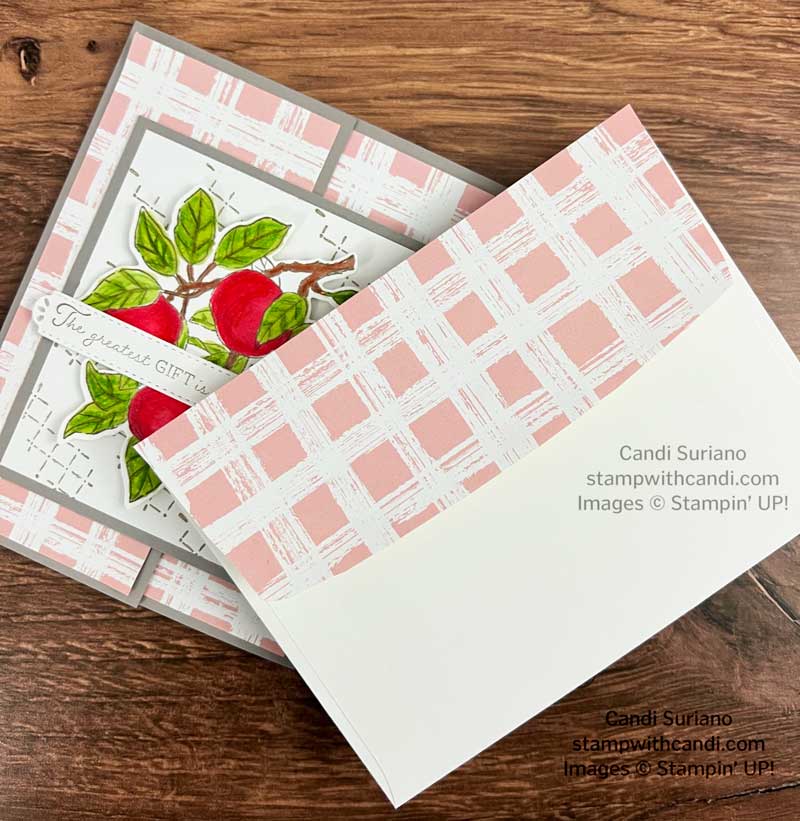
For the envelope, I also used a piece of the Gingham Cottage DSP.
You can Make it, Too! – Apple Harvest
What may not be obvious from the pictures is that this is a fun fold and it used more than a half sheet of cardstock. I think it was from a card by Rich Adkins.
Cardstock Cuts
- Card base – 5 1/2″ x 11″
- Basic White inside liner – 4″ x 5 1/4″
- DSP for right card front – 4″ x 5 1/4″
- DSP for left card front – 2 1/4″ x 5 1/4″
- Gray Granite Mat for focal image – 3 1/4 x 4″
- Basic White panel for focal image – 3″ X 3 3/4″
- Basic White strip for sentiment – 3/4″ X 4 1/2″
- Basic White panel for stamping – 3″ X 3 3/4″
- DSP for envelope – 2 1/4″ X 6
Score the Card Base
- Score the card base along the 11″ (long) side at 2 1/2″ and 6 3/4″.
- Mountain fold on the score lines and crease with a bone folder.
- If the card doesn’t fold cleanly, cut a small bit off the left side.
Stamp & Color
- Stamp the sentiment using Gray Granite ink. Cut with die.
- Stamp the focal image using Gray Granite ink. Color as described above. Cut with die.
- Stamp the crosshatch image on the Basic White focal panel using Gray Granite ink.
Assemble the Card
- Attach the small piece of DSP to the left front side of the card.
- Attach the large piece of DSP to the right front side of the card.
- Attach the strip of DSP to the Basic White panel.
- Attach the Basic White panel to the inside of the card.
- Attach the Basic White panel with the crosshatches to the Basic Gray mat.
- Attach the Basic Gray mat to the card front making sure to only put adhesive on the left side.
- Attach the apples to the card front using dimensionals.
- Attach the sentiment using dimensionals only on the ends.
- Attach the DSP to the envelope flap. Trim to fit.
I hope you liked my fun fold and are inspired by all the new bundles with the new Perfect Partners! I know I was so excited because I love dies! But now, it’s time to hop. So grab a beverage, sit back and relax, and enjoy the hop!



What a great card Candi
Thank you, Diane.
Pretty card Candi!
Thank you, Melva.
Very pretty card! I love your color palette!.
Thank you, Katrina.