I’m happy to be back blogging today with a Balcony Card for the Stamping with Friends blog hop. Stamping with Friends is a group of worldwide Stampin’ Up! demonstrators who hop twice a month to share our projects with you. On the first Saturday of the month, we focus on a technique and on the third Saturday, we focus on a theme. Today’s technique is a Balcony Card which is a very cool unfold, especially if you like making ‘scene’ cards.
Today’s Project
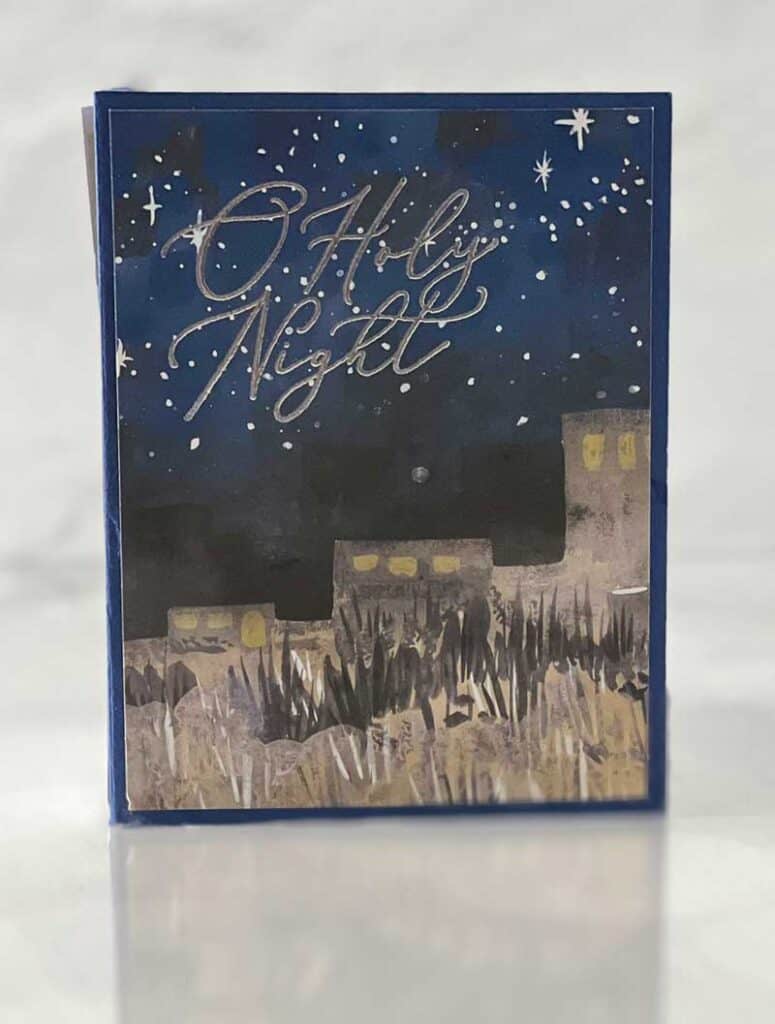
I used the Night Divine bundle and the Oh, Holy Night DSP for my card. As you can see from the above image, the card will fold flat and fit in a standard envelope. The card front was easy to make. A piece of DSP and a silver embossed sentiment is all it takes.
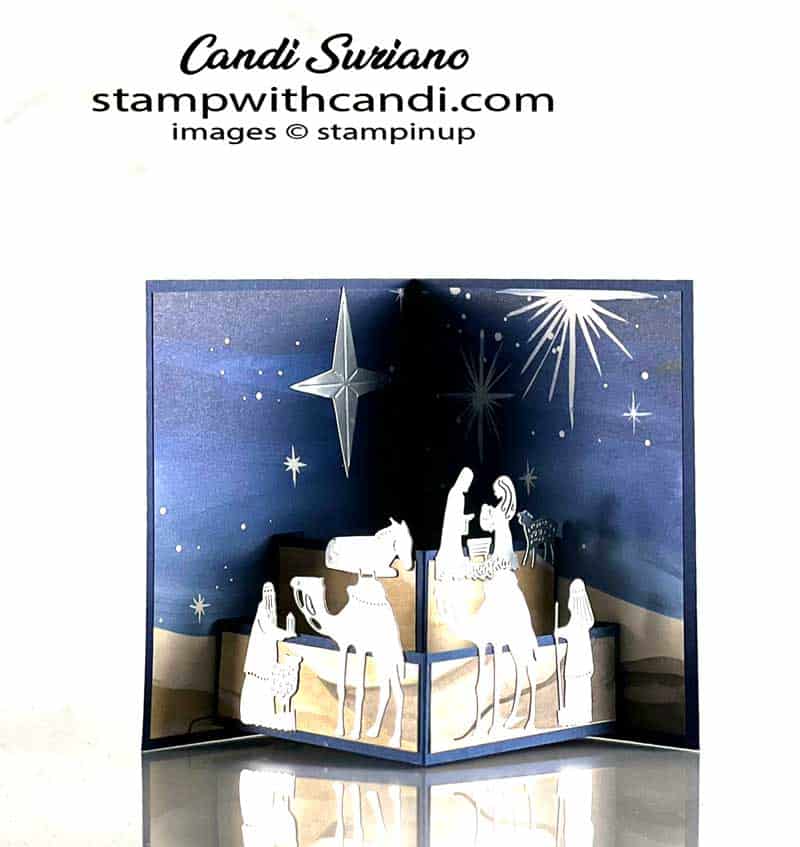
And here’s where you see the balcony. There are two layers that pop up when you open the card. The Oh, Holy Night DSP is perfect for this card. It makes a wonderful background for the die cuts of the holy family, the wise men, and the camels.
Today’s Color Palette
The color palette is simple so allow the elements to really shine. Night of Navy is prominent in the DSP and the Silver Foil adds a bit of shine. I did play with using a Basic White card base instead of Night of Navy, but found it to have too much contrast which distracted from the overall card.
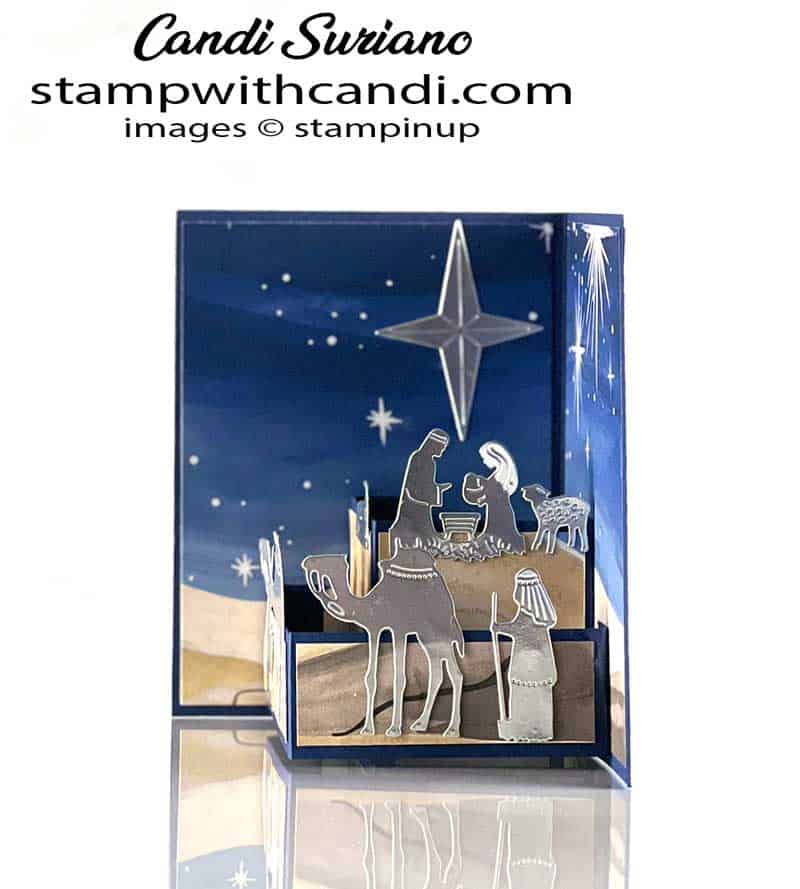
Here’s a look at the inside from the right. On the top insert of the Balcony Card are die cuts of Mary, Joseph, and baby Jesus Note the placement of the silver foil star pointing right at the baby. The camel and wise man are cut from silver foil and then glued to the lower pop-up of the Balcony Card.
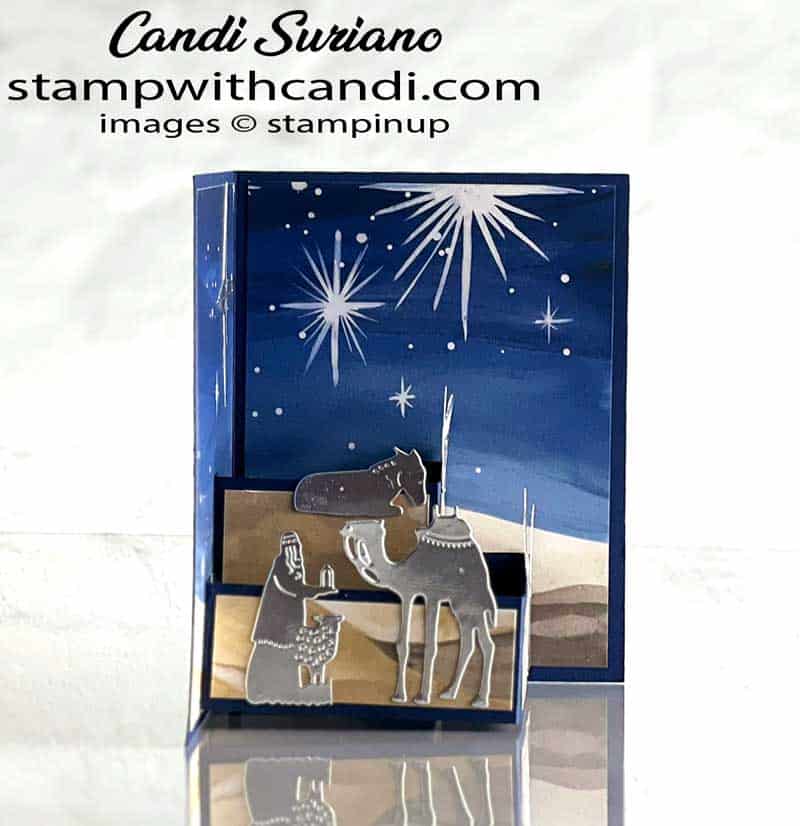
Here’s a look at the inside from the left. There’s another camel and a different wise man on the lower level of the balcony card.. And on the top level of the balcony card, we have a sleeping animal. Again, the paper and dies made this card pretty easy to make,
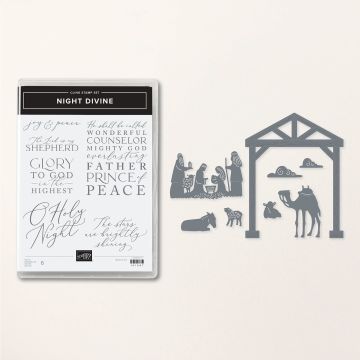
Night Divine Bundle
Here’s a look at the Night Divine bundle. First the sayings are gorgeous, especially the script saying. And second, the dies make it easy to make a scene. I used them for a Balcony Card, but they’d also work well in a double z-fold card or just on a plain card front! As you can see, I did some surgery on my die-cut. I separated the two wise men from Mary, Joseph and baby Jesus with a snip of my scissors to make them fit on the card.
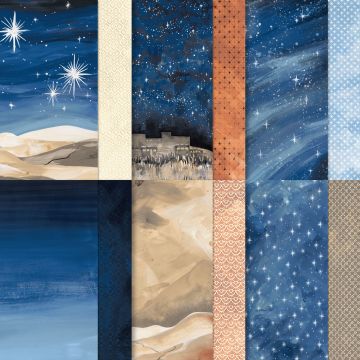
Oh, Holy Night DSP
This DSP is perfect for scene cards. As you can see, I used the sky & desert pattern for the inside of the card and the sky and desert village pattern for the card front. The star patterns with the sentiments from Night Divine will make quick, simple, beautiful cards.
Make the inside Pretty
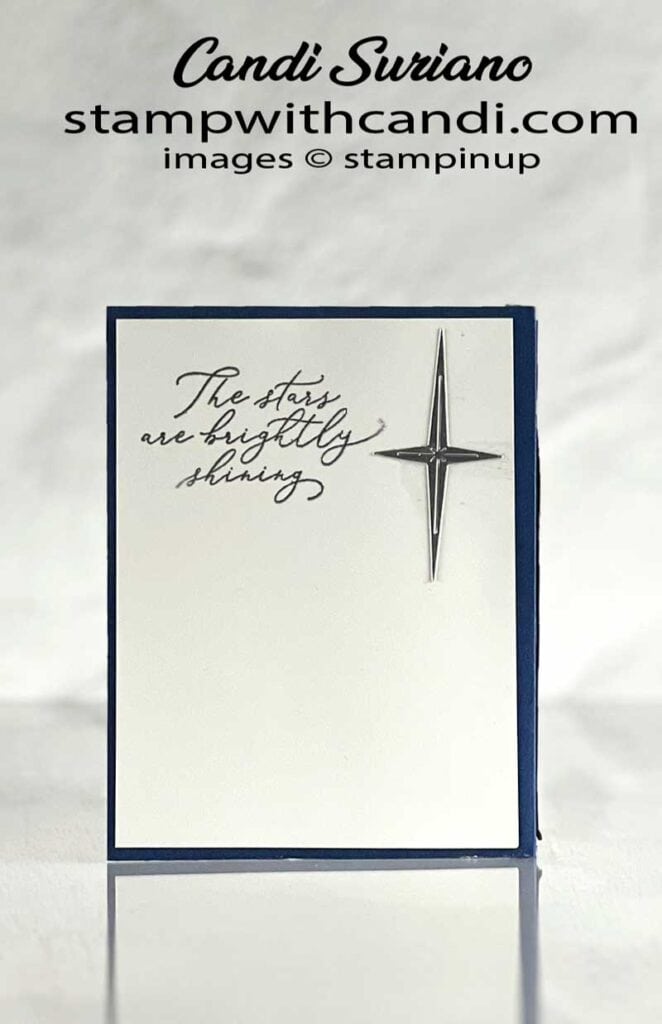
Well with the Balcony Card, the inside is already pretty, However, there’s nowhere to write a message or sign the card. I solved that problem by decorating a piece of Basic White cardstock and attaching it to the back. The sentiment was embossed using silver metallic embossing powder. Then I attached a silver foil star.
Don’t Forget the Envelope
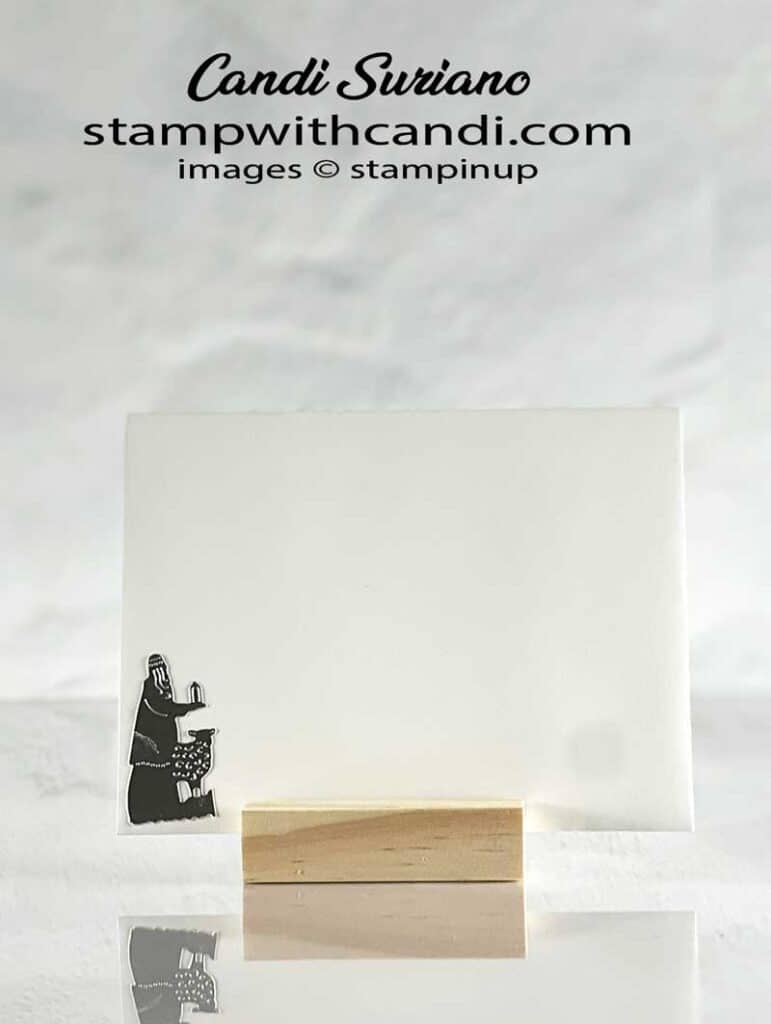
I had a few die cuts leftover, so I glued one to the envelope front. When doing this you have to take care that there are no loose edges to catch on the post office equipment. That’s why I use liquid glue or adhesive sheets to glue a die cut to the envelope.
You can Make it, Too!
Make the Cuts
- Card base – Night of Navy 5 1/2″ x 8 1/2″ Score at 4 1/4″
- Front Layer – 4″ x 5 1/4″ from DSP
- Inside Layers – 4″ x 5 1/4″ from DSP. Cut 2 Start 2 1/2″ from the bottom – save for next steps
- Top Balcony DSP – 2″ x 2 1/4″ Cut 2
- Lower Balcony DSP – 1 1/4″ x 3″ Cut 2
- Back – Basic White 4″ x 5 1/4″
- Upper Balcony – Night of Navy 2 1/2″ x 5 1/2″ Score at 1/2″, 2 3/4″, 5″
- Lower Balcony – Night of Navy 1 1/2″ x 7 1/2″ Score at 1/2″ x 3 3/4″, 7″
Die Cut & Stamp
- Stamp the front sentiment on the DSP using Versamark ink. Sprinkle with Silver embossing powder. Heat set.
- Stamp the back sentiment on the Basic White layer using Versamark ink. Sprinkle with Silver embossing powder. Heat set.
- From silver foil, die cut the 2 camels, the donkey, the manger scene, and 2 stars.
Time to Assemble
- Attach the front DSP, inside DSP, and back Basic White piece to the card,
- Attach the DSP to the balcony structure.
- Fold the balcony structure on the score lines and crease with a bone folder.
- Put glue on the tabs of the upper balcony structure. Line up the center fold with the center of the card and the bottom of the card. Press down on the glued tabs to attach them to the card.
- Put glue on the tabs of the lower balcony structure. Line up the center fold with the center of the card and the bottom of the card. Press down on the glued tabs to attach them to the card.
- Attach the stars and the other die-cuts to the card using liquid glue.
Time To HoP
I hope you enjoyed my card and that it inspires you to make a Balcony Card. They are really quite easy and have a WOW! factor. Now it’s time to see what the rest of the friends have in store for you. So, grab a beverage, sit back and relax, and enjoy the hop!
You may have noticed that I haven’t been blogging for a few months. I needed to make some changes in my life so I could have more time for the things I love – creating and sharing. So, I sold my house and downsized into a smaller space in a senior living community. I love it here. I never have to cook again, I always have someone to eat with and housekeeping is included. So, I’m back blogging and hope you will continue to enjoy my blog and support my Stampin’ Up! business!




BEAUTIFUL! 😍
Gorgeous card Candi x
A perfect suite of products to use with this Fun Fold! Beautiful!