The demonstrators in Crafty Collaborations are hopping today to inspire you with Mother’s Day cards. I chose to use some soon-to-retire products – Beautiful Thistle, Marigold Moments Dies, Fancy Flora DSP, and Potted Succulents Dies. The Marigold Moments stamp set is already sold out! So if you like any of the other products I’m using today – get them while they’re still available!
Today’s Projects – Beautiful Thistle
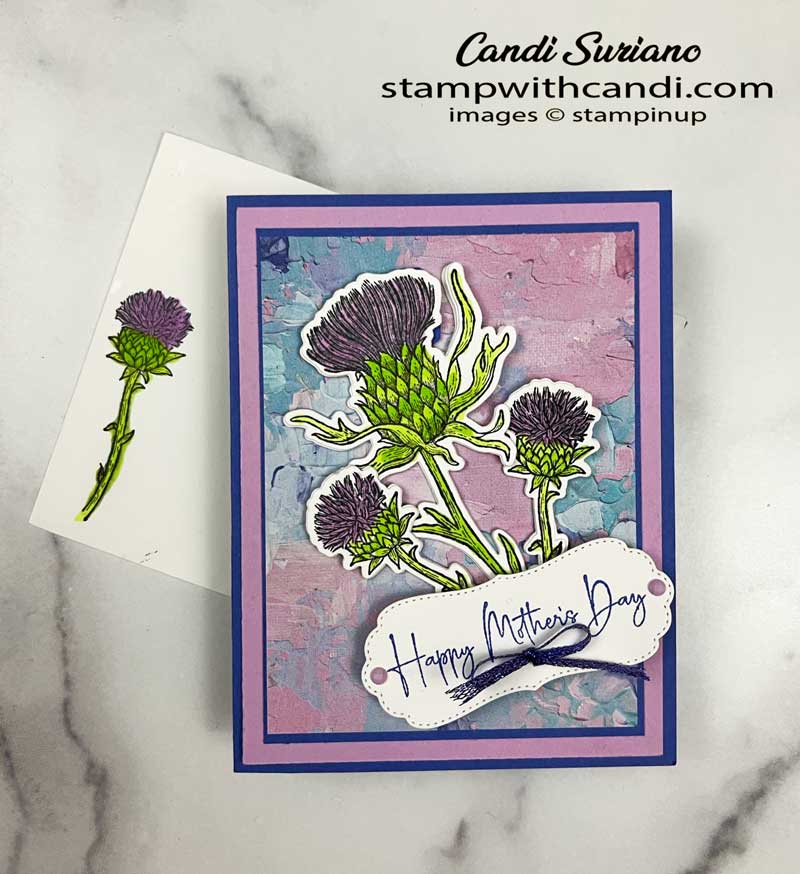
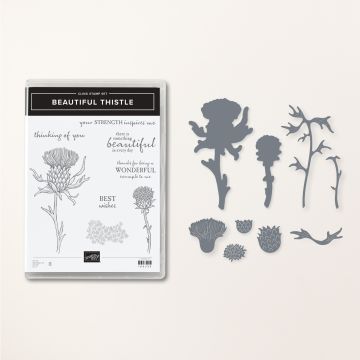
I wanted to use the sentiment from Marigold Moments because it’s just so elegant, but I’d already used Marigold Moments here. So, I was glad to have an opportunity to use the Beautiful Thistle Bundle.
Fresh Freesia is a perfect color for the flower on the thistle and Granny Apple Green for the leaves and stems pairs well with Fresh Freesia.
After stamping and coloring the thistles, I wanted to give them some dimension, but it’s hard to fit a dimensional over those skinny stems. So I cut 3 extra of each flower using the Beautiful Thistle dies. Then I glued them together before attaching them to the card front. That gives them a lot of dimension. Of course, now, I had to pop up the sentiment on two stacked dimensionals so that it would all lie flat.
Today’s Color Palette
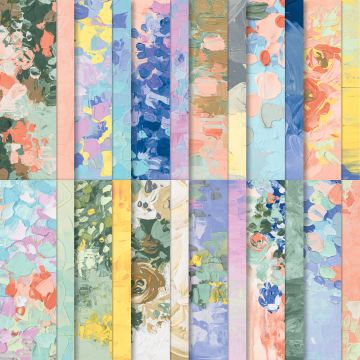
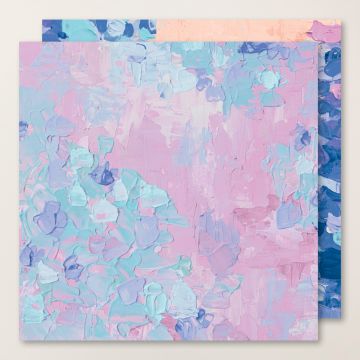
Once again, my color palette comes from the DSP. I wanted to use a cardstock color that would make the DSP pop. And Orchid Oasis does it beautifully. I also knew I wanted a smaller focal point because the DSP is a little busy, so I need another color layer – Fresh Freesia was perfect. Then to color the flowers, I needed a green that works with the rest of the colors. Granny Apple Green for the win!
Beautiful Thistle
I’m glad I got to use this bundle before it retires in a couple of weeks. I think the flowers are very striking. But, I will admit, I don’t like seeing them in my yard!
Potted Succulents
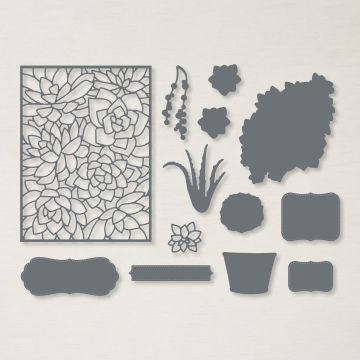
I’m so sad this is retiring for a couple of reasons. The first is that die, is perfect for use as a stencil as I did here. The second is that those four label dies are so versatile. They are great for larger sentiments. We don’t have many of those types of sentiments dies once these retire. Finally, The matching stamp set lets you make some very cute cards. But, I get it! Things have to retire to make room for the new!
Fancy Flora DSP
This DSP is just gorgeous. But, initially, I was intimidated by it. What do you do with it? And then I realized I could just use a smaller piece and find something large and attention-grabbing to put over it. So, that’s what I did!
Make the inside Pretty – Beautiful Thistle
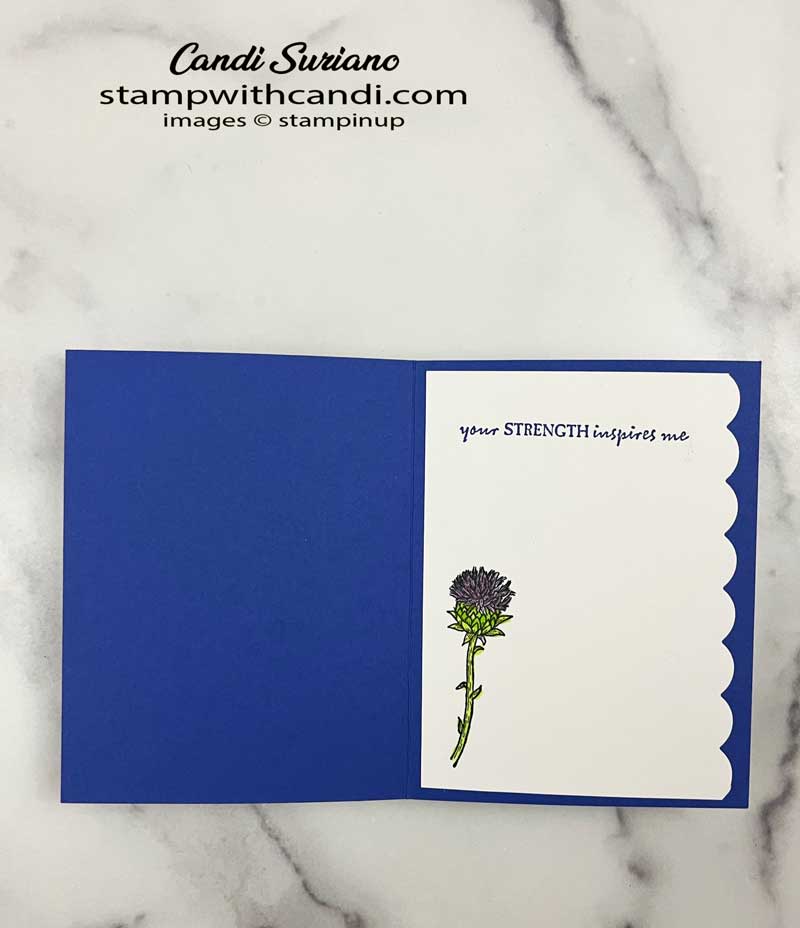
For the inside, I used the edge die from the Marigold Moments Dies. The cool thing about this edge die is that you can use it to put a scalloped border on a piece of cardstock or DSP and you can also use the piece that it cuts off as an accent piece on a different card. And the accent piece has cutouts on it.
I also added a sentiment because this one is going to a person who is such a good mother and a strong woman, and I want her to know that.
Finally, I stamped the smaller thistle and colored it using the same colors as on the card front.
Don’t Forget the Envelope – Beautiful Thistle
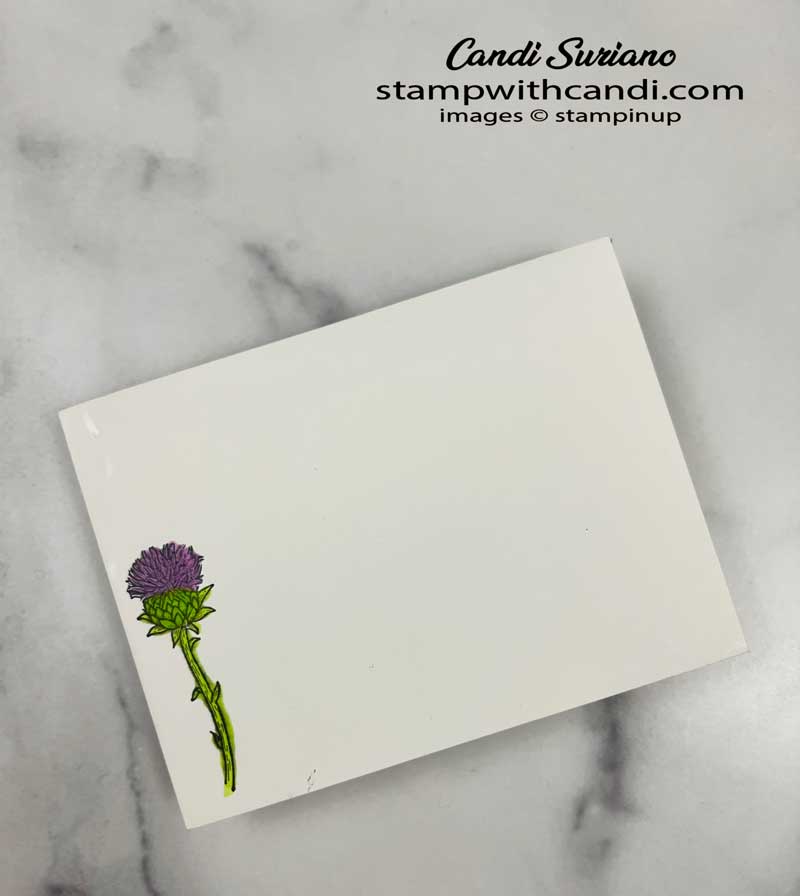
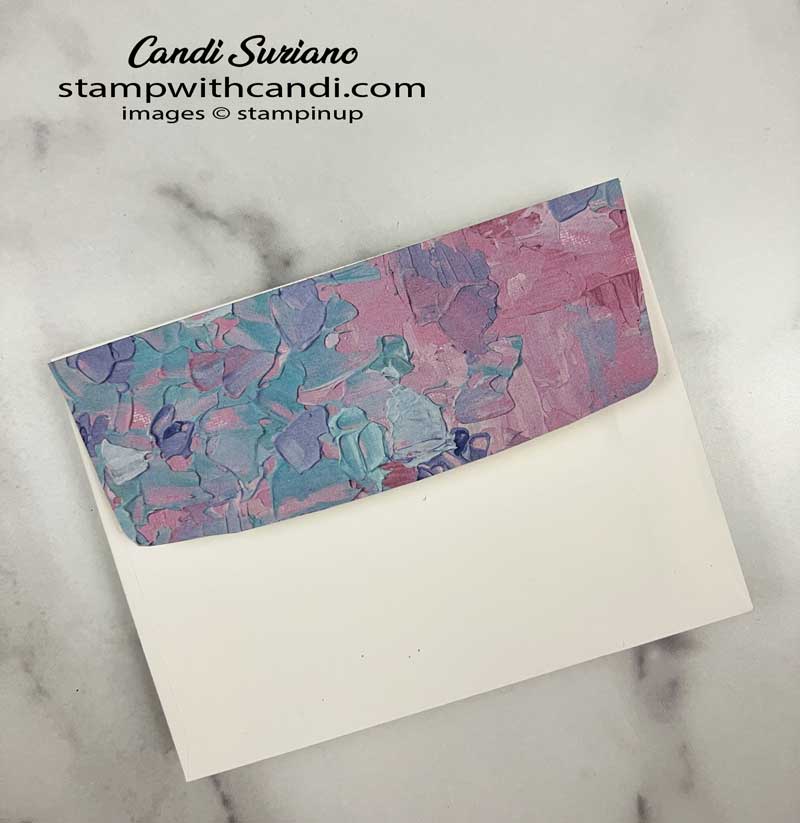
In addition to stamping and coloring on the front of the envelope, I added the leftover piece of DSP on the envelope flap and trimmed it to fit. Here’s a tip: when coloring with blends on the envelope, put a piece of scrap cardstock in the envelope so that the colors don’t bleed through to the back.
You can Make it, Too! – Beautiful Thistle
This card came together pretty quickly once I had decided on the DSP. It did take me a while to find one of the retiring DSPs that I thought would work well with Beautiful Thistle. But once I looked at Fancy Flora, I found 3 different patterns that would have worked!
Make the Cuts
- Card base (Orchid Oasis) – 5 1/2″ x 8 1/2″. Score at 4 1/4″.
- Layer 1 (Fresh Freesia) – 5 1/4″ x 4″.
- Layer 2 (Orchid Oasis) – 5: x 3 3/4″.
- Layer 3 (DSP) – 4 7/8″ x 3 5/8″.
- Inside Liner (Basic White) – 5 1/4″ x 4″.
- Sentiment (Basic White) – 3 1/2″ x 2″.
- Flowers (Basic White) – 5 1/2″ x 8 1/2″.
- Envelope Flap (DSP) 6″ x 2 3/8″.
Stamp, Color, and Die Cut
- Stamp the large Thistle and two small thistles using Momento Tuxedo Black ink, Color using the Fresh Freesia and Granny Apple Green Blends. Die cut the stamped images and 3 more for each flower.
- Stamp the sentiment using Orchid Oasis ink. Die cut.
- Die cut the edge of the inside with the border die from Marigold Moments Dies.
- Stamp the sentiment on the inside of the card using Orchid Oasis dies.
- Stamp the small flower on the envelope and the inside liner. Color with the blends.
Assemble
- Attach the DSP to Layer 2. Attach Layer 2 to Layer 1. Attach Layer 1 to the card front.
- Glue the flower die cuts together using liquid glue. Attach to the card front using liquid glue.
- Attach the sentiment to the card front using two stacks of two dimensionals. Embellish with two Fresh Freesia Opaque Adhesive Backed Gems.
- Tie a bow using the Orchid Oasis Glitter ribbon. Attach to the bottom of the sentiment with a min glue dot.
- Attach the inside liner to the inside.
- Attach the DSP to the envelope flap. Trim to fit.
I hope you enjoyed today’s project and that it inspires you to create something pretty. If you ever have a question about my projects feel free to drop me an email at candi@stampwithcanid.com. Now it’s time to see inspirations from the other Crafty Collaborators. So, grab a beverage, sit back and relax, and enjoy the hop.
Have an order ready to go? Please put it in on Wednesday and get an 11% discount because that’s how much shipping costs. I use free shipping to stock up on cardstock and adhesives! Anyone who places an order with me on April 19, 2023, that qualifies for free shipping and uses host code TXUYYF7X will get a free embellishment from me. So, get those orders in!




Gorgeous card Candi, love this stamp set x