It’s May’s Technique Tuesday Blog Hop and our topic today is texture. To me, texture is what takes a card up to the next level. And with the tools that Stampin’ Up! gives us, it’s so easy to add texture to a card. Today, I’m using the new Bottled Happiness Bundle to show you a few ways to add texture to a card.
Today’s ProJect – Bottled Happiness
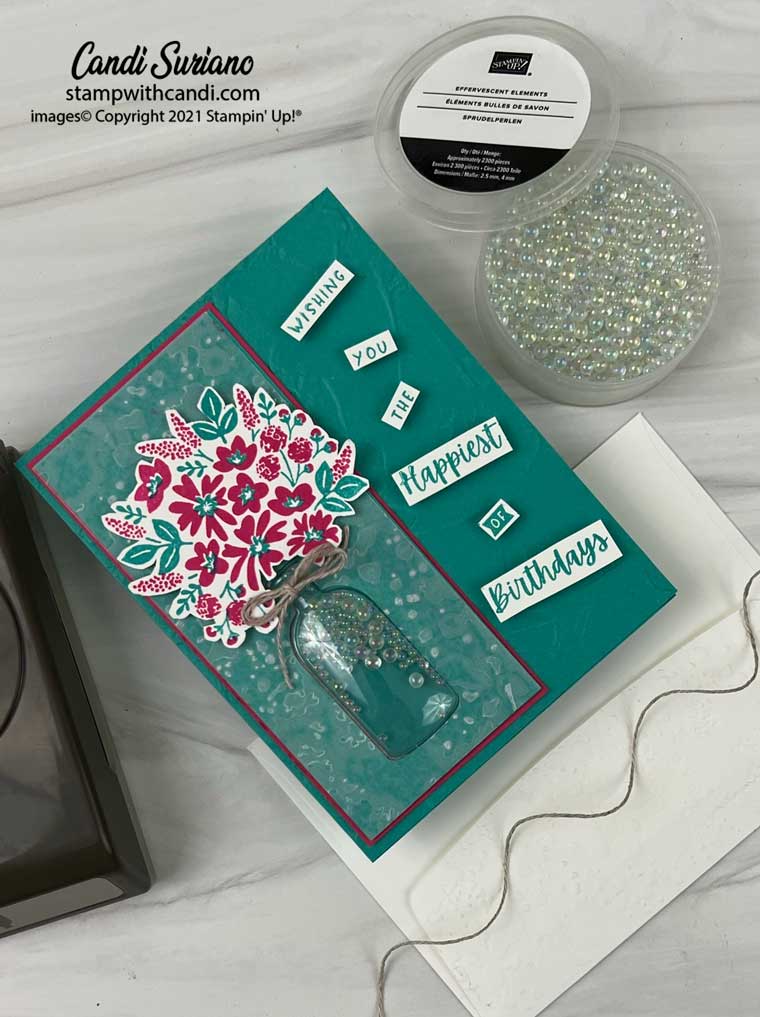
Let’s see how many ways I added texture to this card. The first is on the Bermuda Bay which I embossed with the Painted Textures 3D embossing folder. I used this folder because I wanted texture but a more subtle texture than on the focal piece.
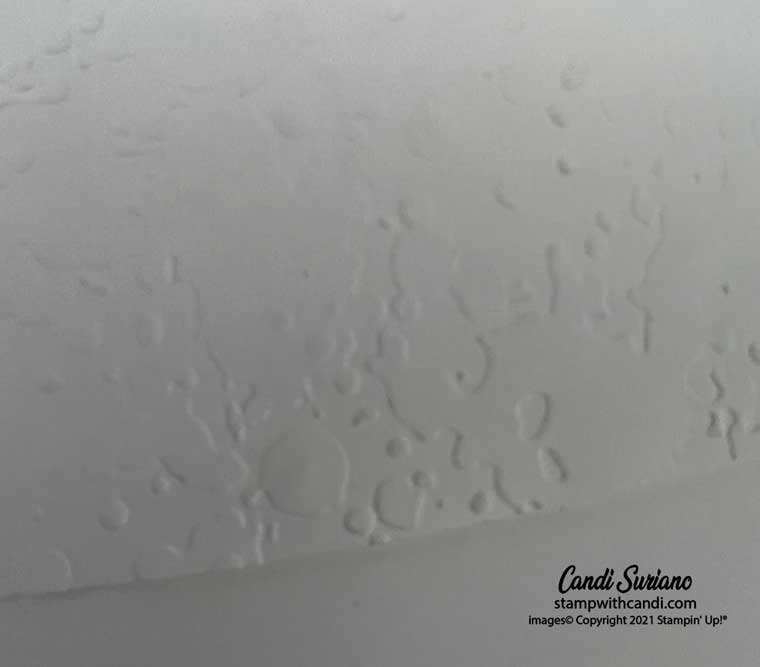
The base on the focal image was overlayed by a layer of Vellum which was embossed with the Splatter embossing folder. It adds a lot of texture and makes the Bermuda Bay look lighter. TIP: Adhesive Sheets are essential for this technique to avoid adhesive showing through. Attach the Adhesive Sheet to the Vellum before running it through the embossing machine.
The focal image itself has a lot of texture inside the bottle – the Efferervescent Elements. I love these – they are so sparkly. And, the Vintage Bottle Shaker Domes make it so easy to make this shaker card.
The linen thread also adds texture to this card. It’s a different element. And finally, the way I cut apart the sentiment and popped it up using foam adhesive strips also adds texture. Each word becomes an element and the way they’re popped up and not straight adds a lot of visual appeal.
Today’s Color Scheme
This color scheme is so bright and cheery! And, the flowers were so easy to stamp. Stamp the leaves with Bermuda Bay and then stamp the flowers with Melon Mambo. With the photopolymer stamps, it’s so easy to get two different colors for the image.
Make the inside Pretty
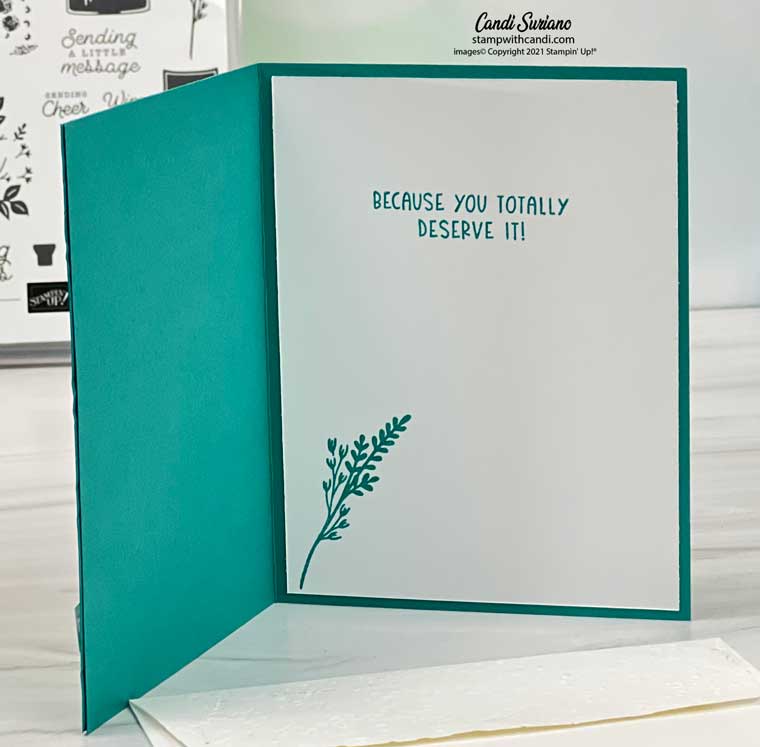
I stamped the other floral image from the Bottled Happiness stamp set on a Basic White panel and attached it to the inside of the card. I have to admit, I considered embossing a border around the Basic White panel but decided that would be too much.
Don’t Forget the Envelope
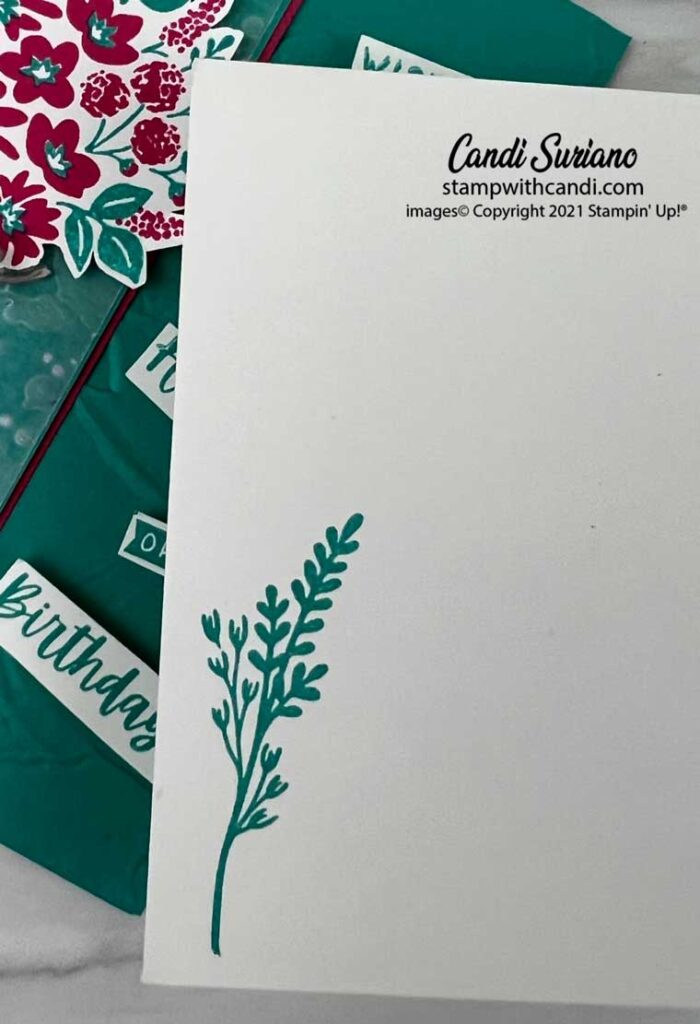
For the envelope front, I stamped the same floral image as on the inside of the card.
And for the envelope flap, I used the same Splatter embossing folder that I used on the focal image. Embossing the envelop flap is one of my favorite ways to add texture and interest to a plain Basic White envelope.
I hope you enjoyed my project today and learned a few new ways to add texture to a project. Now it’s time for some more collaborative fun1 Grab a beverage, sit back, and enjoy the rest of the projects on the hop.
How would you like $125 of Stampin’ Up! products plus $66.50 In Color products for $99 including shipping? Join Stampin’ Up! during the month of May, and that deal is yours. There is no commitment to purchase anything more, ever. However, you’ll enjoy a 20% discount on all further purchases as long as you meet the quarterly minimum of $300 which is $100 per month. Want more info? Contact me here.
It’s also new catalog time. Do you need a catalog? I’d be happy to send you one along with some new catalog goodies. Contact me here and I’ll pop one in the mail for you.



Candi. I love this and the Colours! Amazing
Pretty card
I never would have thought to use the adhesive sheets for the vellum. Great tip!
Such a pretty card Candi, love your colour combo and all the little details x