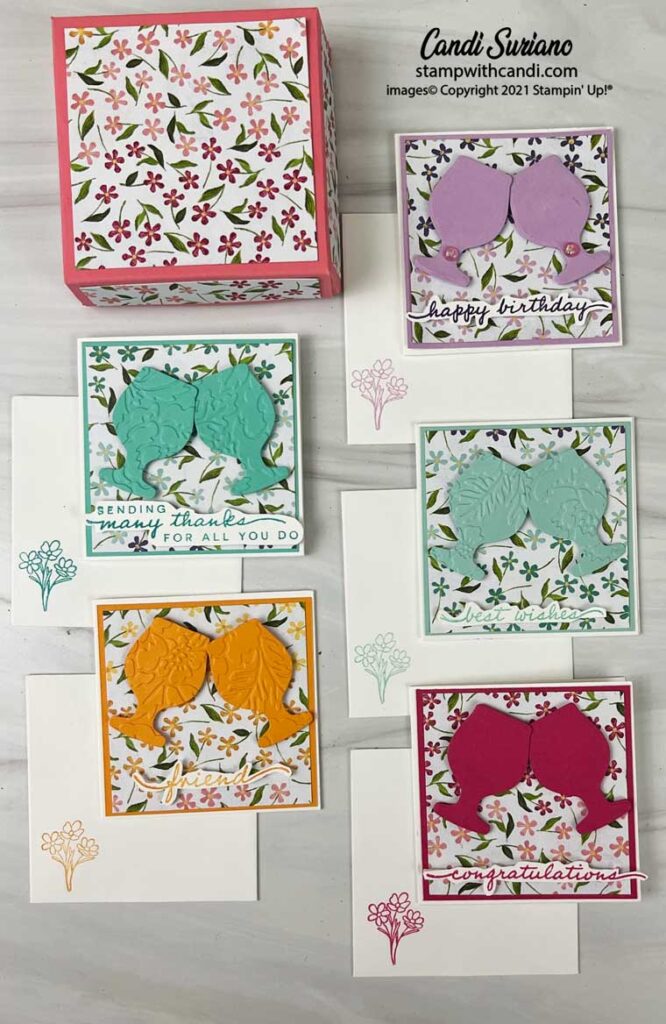
While I was playing with Brewed for You and Hues of Happiness, I got the idea to make a sweet little box of 3 X 3 note cards. It was really quite easy and came together beautifully. Take a look.
Flirty Flamingo makes a perfect background for this design from the Hues of Happiness DSP. The box base is 3 1/4″ X 3 1.4″ X 1″ which is a perfect size to hold the 3″ X 3″ cards. The trick to making boxes is to figure out the base size and then add 1/16″ for the top. This is a sturdy box because the sides fold into the box. And, because of this design, Stampin’ Seal is all you need to hold it together. The downside of this design is that you need more paper so it’s a little difficult to make larger boxes.
Pieces of the DSP were added to the top and sides.
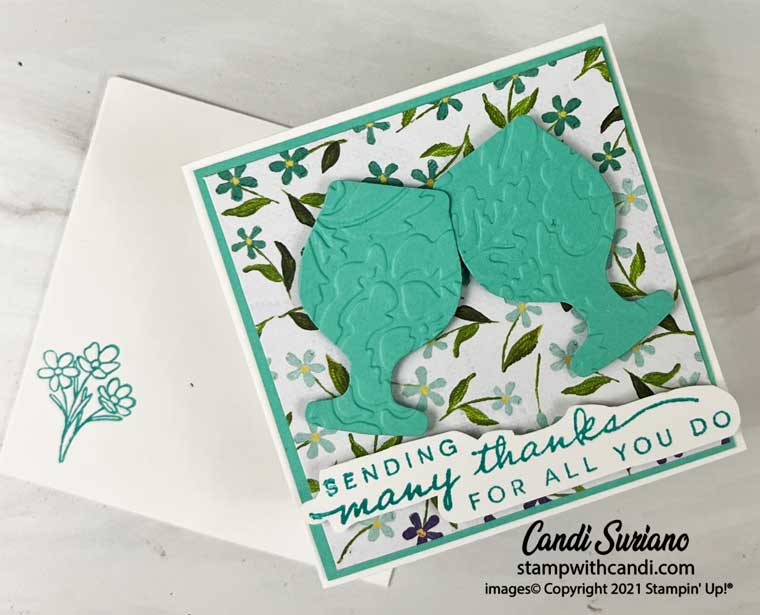
Card #1 – Pool Party
Each card was cut from Thick Basic White measuring 3″ x 6″ and then scored at 3″. I attached a 2 3/4″ X 2 3/4″ DSP matted with Pool Party to the card front. After stamping the sentiment using Pool Party ink, I fussy cut it and attached it to the card front. Finally, I cut two wine glasses using the Brewed dies from Pool Party and then embossed them using the Pretty Flowers Embossing folder before attaching them to the card front with dimensionals.
For these cards, I did not decorate the inside since their intent was to be used as gift cards and I wanted to leave plenty of space for a message. I did stamp the sweet flower image from Happiness Abounds on the envelope.
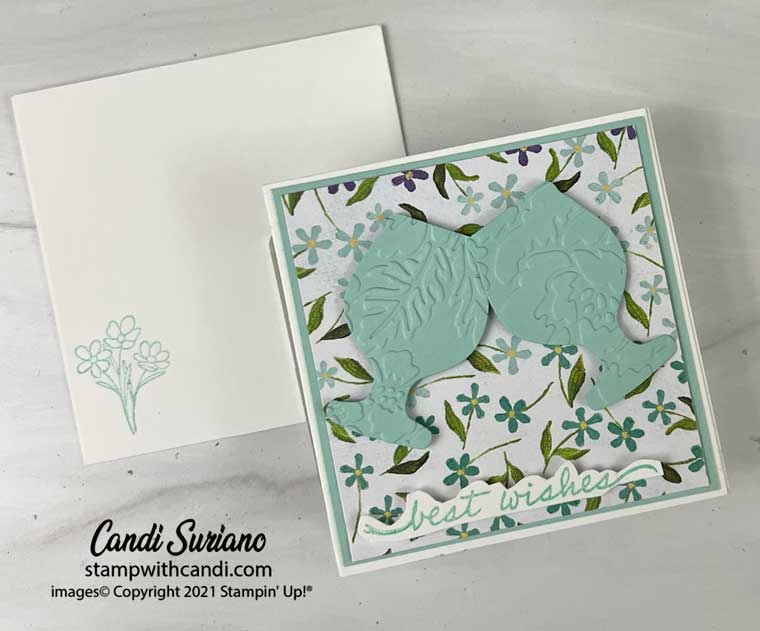
Card #2 – Melon Mambo
All the cards follow the same pattern, just substituting a different color and sentiment. The difference in this card is that I didn’t emboss the wine glasses. Which do you like better?
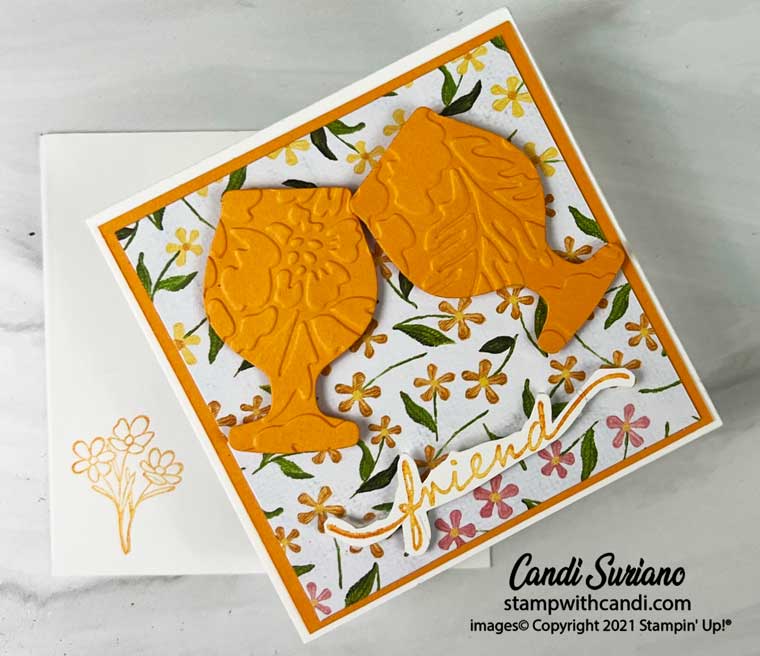
Card #3 Mango Melody
For this card, I was back to embossing the wine glasses which means I must like embossing better since I continued with it.
Card #4 – Bermuda Bay
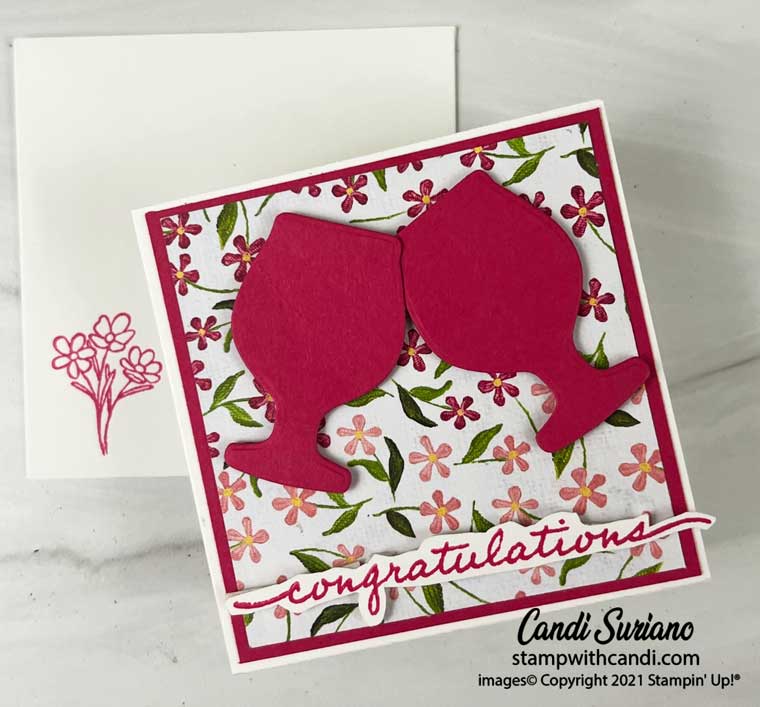
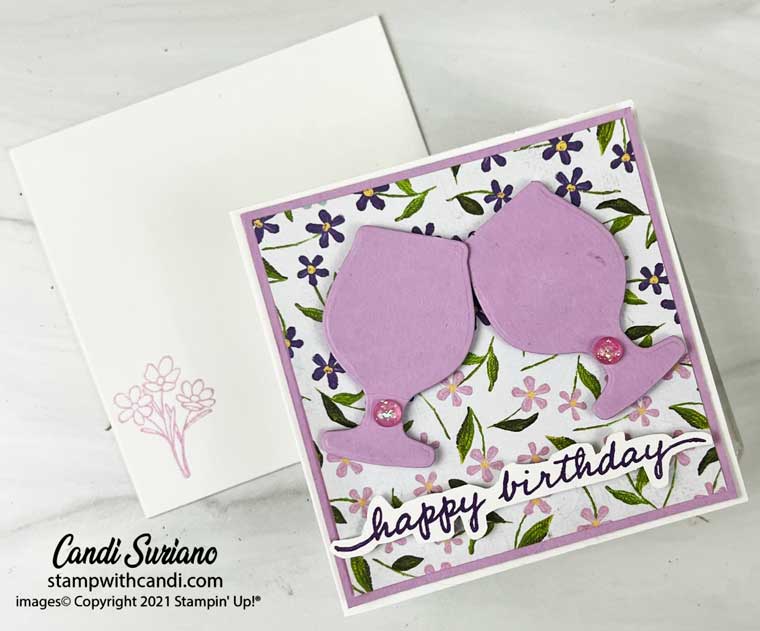
Card #5 – Fresh Freesia
For this card, I added a Glossy Dot to the stem of the class. I’m not sure I like this so I didn’t do it on any of the others. I also used a different color, Gorgeous Grape, on the sentiment because Fresh Freesia was just too light.
YOu can Make it too
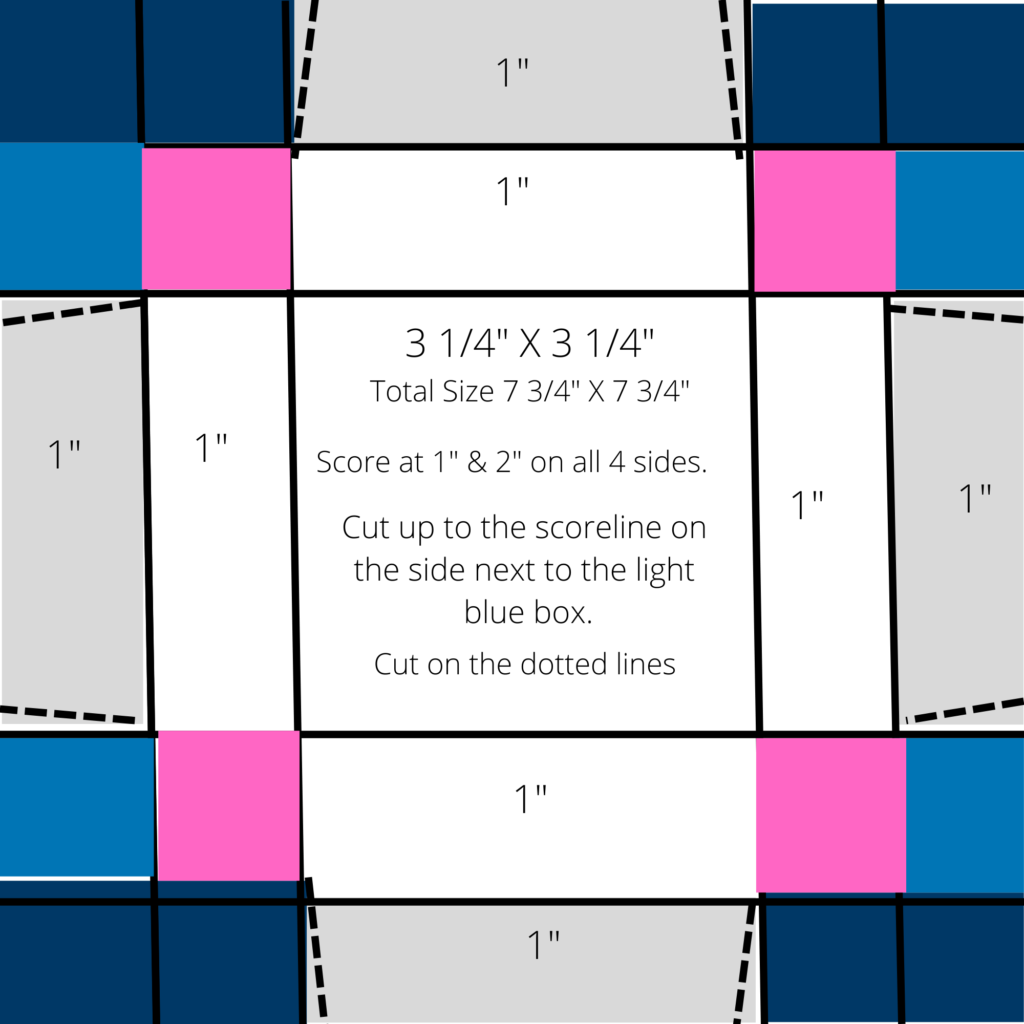
Here’s the template I used for the box bottom. Cut a piece of cardstock at 7 1/4″ X 7 1/4″. On the sides next to the lighter blue color cut up to the second scoreline. Remove the dark and light blue squares. Cut on the light blue lines. These don’t have to be exact, You’re just notching the edges so that they lay better. Fold on the remaining score lines. Put adhesive on the pink squares. Flip the box over and fold in the pink squares in attaching them to the adjacent side. Now put adhesive on the gray squares. Fold them over to meet the bottom of the box.
For the box top, cut a piece of cardstock at 7 5/16″ X 7 5/16″. Then folow the same instructions for the box bottom.
I hope you enjoyed today’s post. If you’d like to recreate it, there’s a supply list at the end of this post.
How would you like $125 of Stampin’ Up! products plus $66.50 In Color products for $99 including shipping? Join Stampin’ Up! during the month of May, and that deal is yours. There is no commitment to purchase anything more, ever. However, you’ll enjoy a 20% discount on all further purchases as long as you meet the quarterly minimum of $300 which is $100 per month. Want more info? Contact me here.
It’s also new catalog time. Do you need a catalog? I’d be happy to send you one along with some new catalog goodies. Contact me here and I’ll pop one in the mail for you.
