Today’s Project – Brushed Bouquet ONe Sheet Wonder
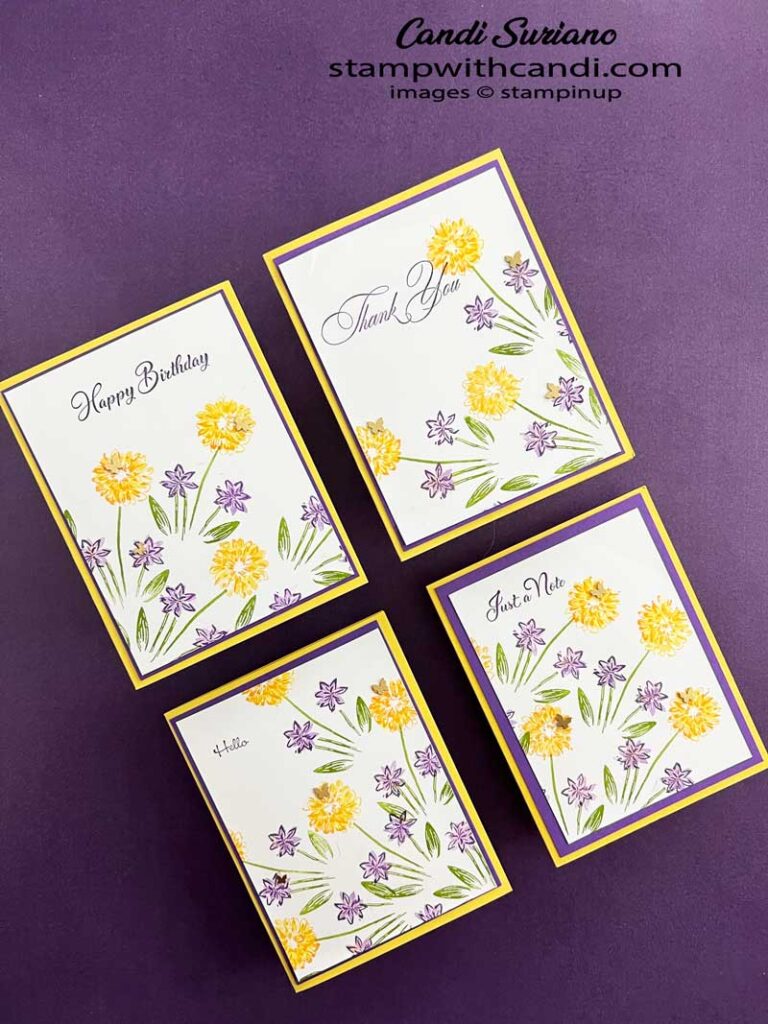
It’s another Share It Sunday blog hop with Crafty Collaborations, a group of Stampin’ Up Demonstrators from around the world who are sharing something they’ve been working on. Today I’m sharing a One Sheet Wonder made with the Brushed Bouquet bundle from the January – April Mini-Catalog that goes live on January 5.
I’ll be sharing many more examples using this fabulous bundle in Crafty Collaborations online launch party. This party spans multiple days and features samples from most of the bundles in the mini. You can register here.
What is a One Sheet Wonder? It’s multiple cards made with one sheet of DSP. Mine is a litle different in two ways. First, I stamped the DSP by using the stamp set on one shee of 8 1/2″ X 11″ piece of Basic White cardstock. And second, instead of creating an all over pattern like DSP, mine followed two pencil lines that divide the paper into quarters leaving white space and an interesting design. Read on for the details.
Today’s Color Palette
The first step is to pick a color palette. I’ve always liked yellow and purple together, so I chose Mango Melody and Daffodil Delight for the yellows and Gorgeous Grape and Highland Heather for the purples. Finally, I chose Granny Apple Green for the greens because it pairs nicely with my purples and yellows.
Make the inside & Envelope Pretty
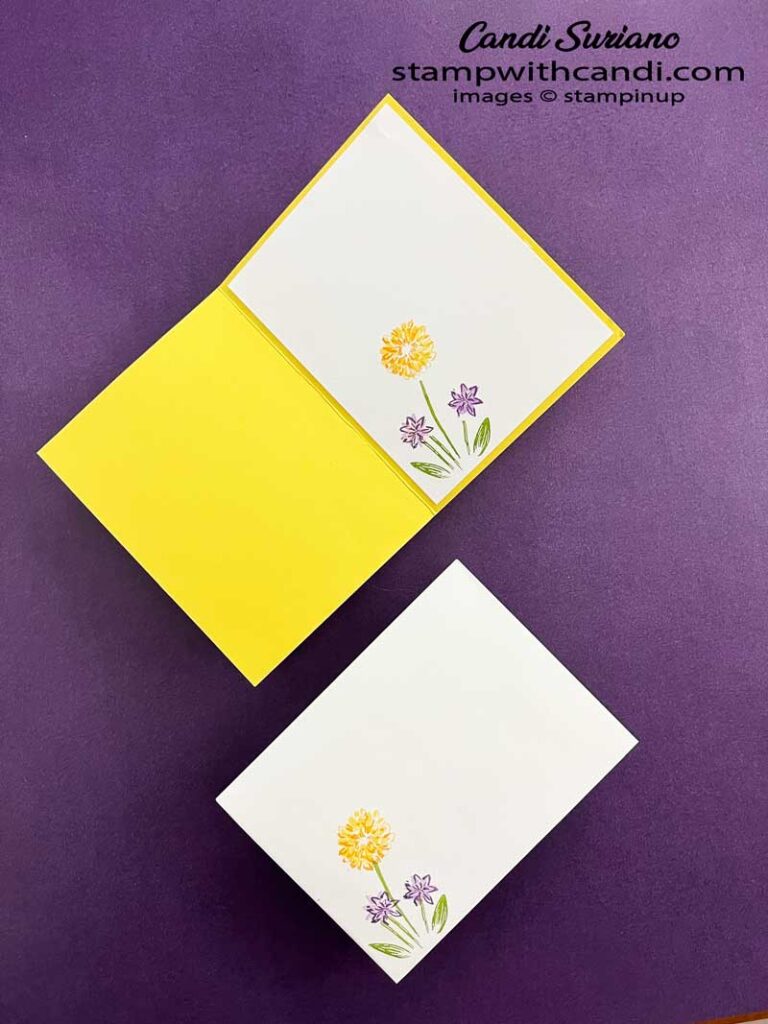
I made the envelope and inside look like the cardfront by stamping the same images.
You can Make It, Too!
Before I get into the details of making this card, let me give you a tip. Although you can line up the images exaclty and get really beautiful flowers, the purpose of this technique is to make 4 cards really fast. So, my images aren’t perfectly aligned,. They still look great and I wanted to demonstrate how they look when not perfectly aligned!
Step 1 – Brushed Bouquet
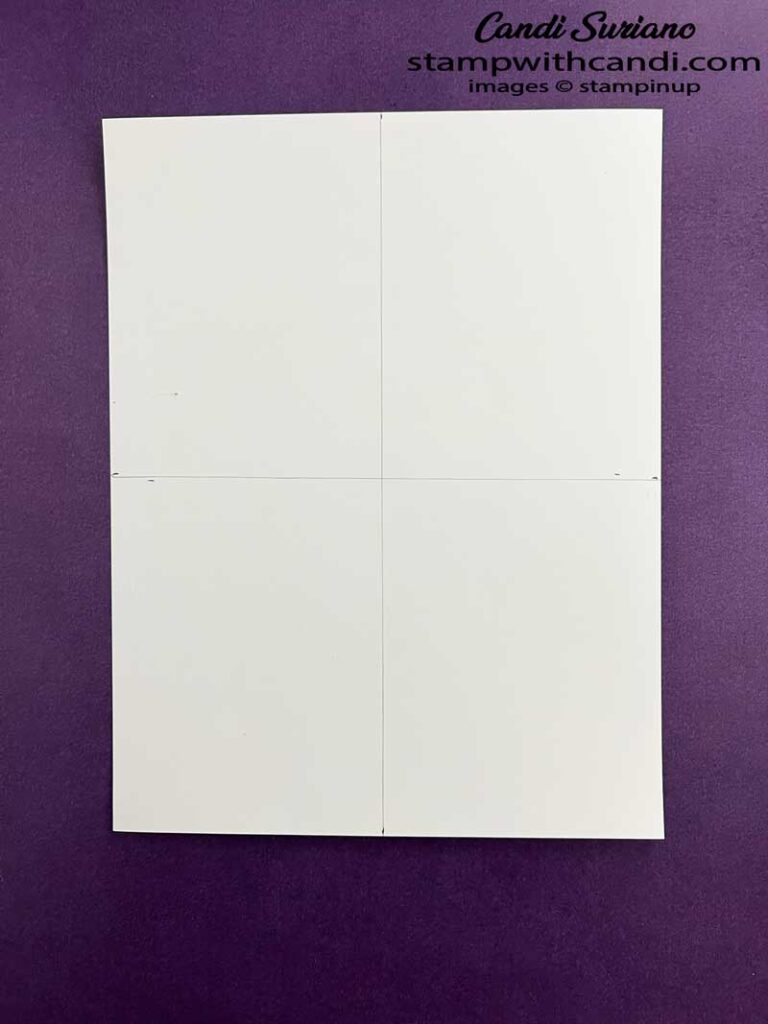
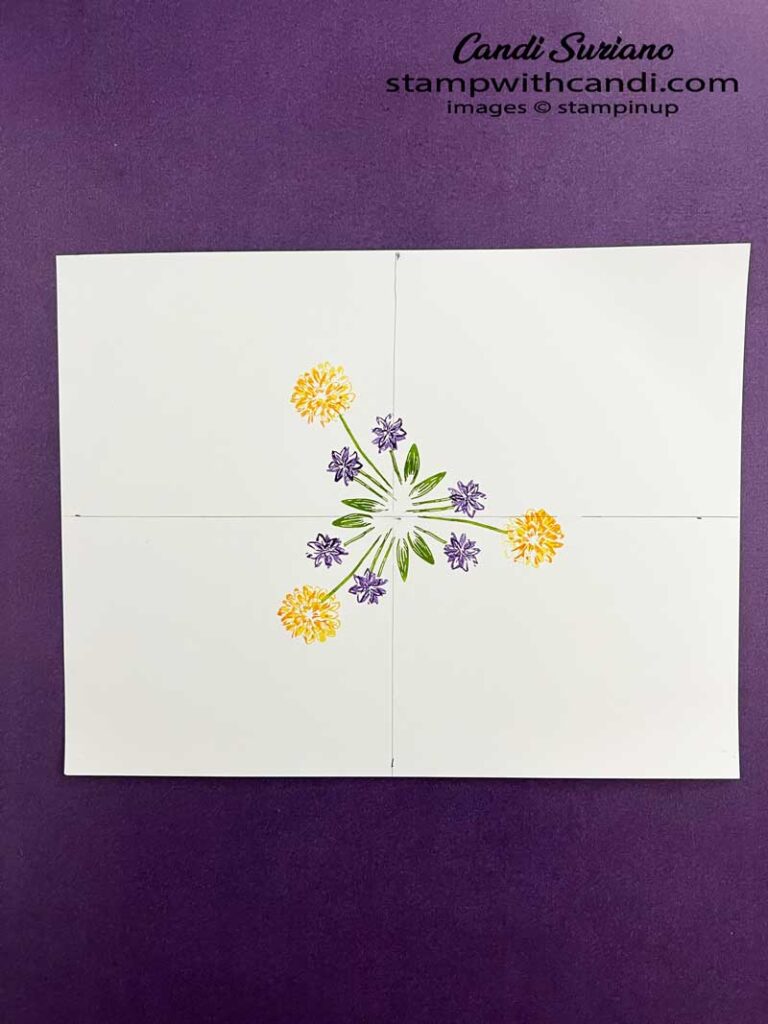
The first step is to draw two light pencil lines that meet in the center of the cardstock. So one line is at 5 1/2″ and the other is at 4 1/4″. You want the lines to be very light so that they don’t show through on your card front. My line above is darker than you want. I made it dark so that i could photograph it!
Step 2 – Brushed Bouquet
Stamp the first round of images centered on the middle as shown above.
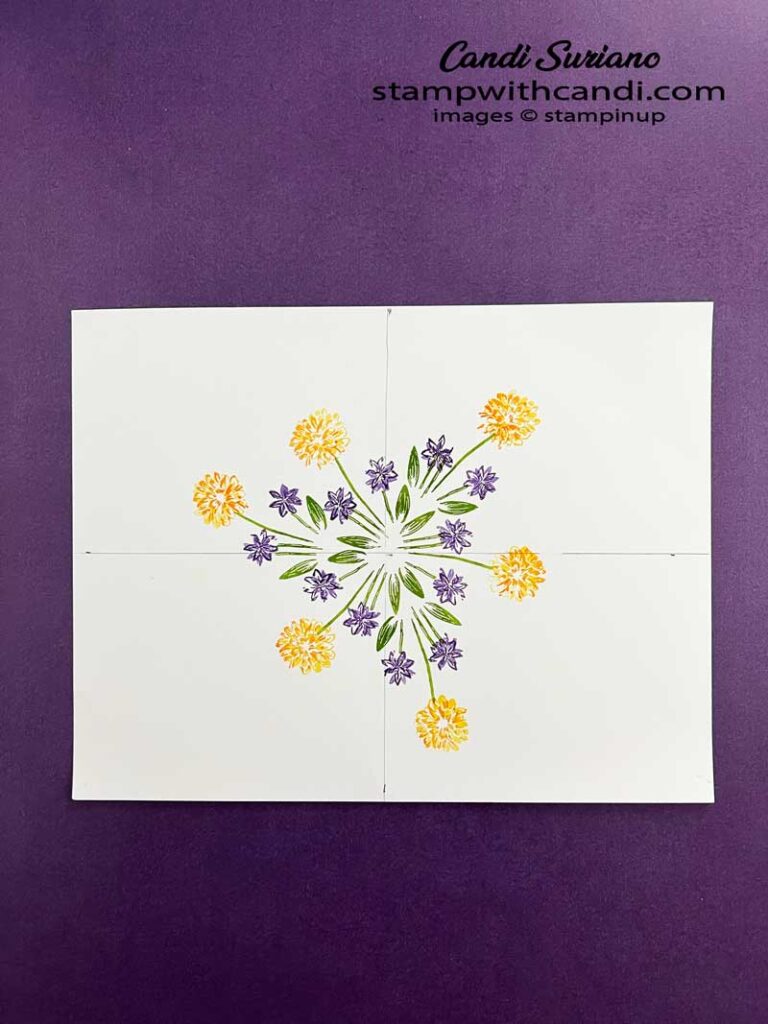
Step 3 – Brushed Bouquet
Stamp a second round of images around the first round as shown above.
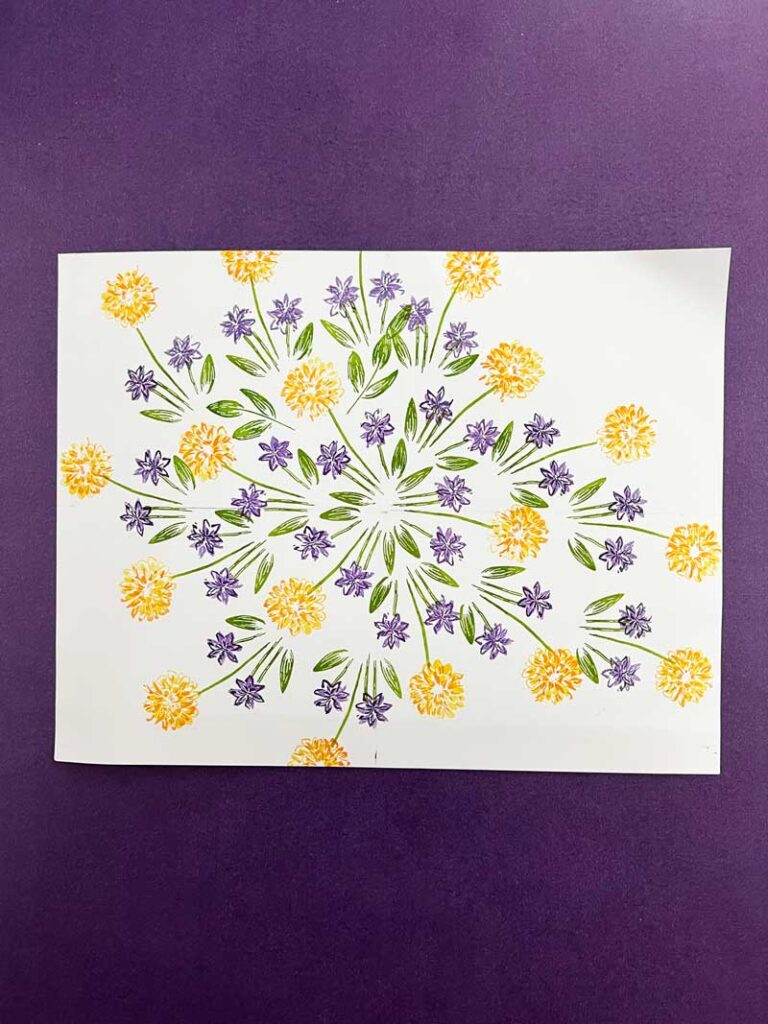
Step 4 – Brushed Bouquet
Stamp a final round of images around the previous images. Fill in any gaps and leaving some whitespace on the outside as shown above.
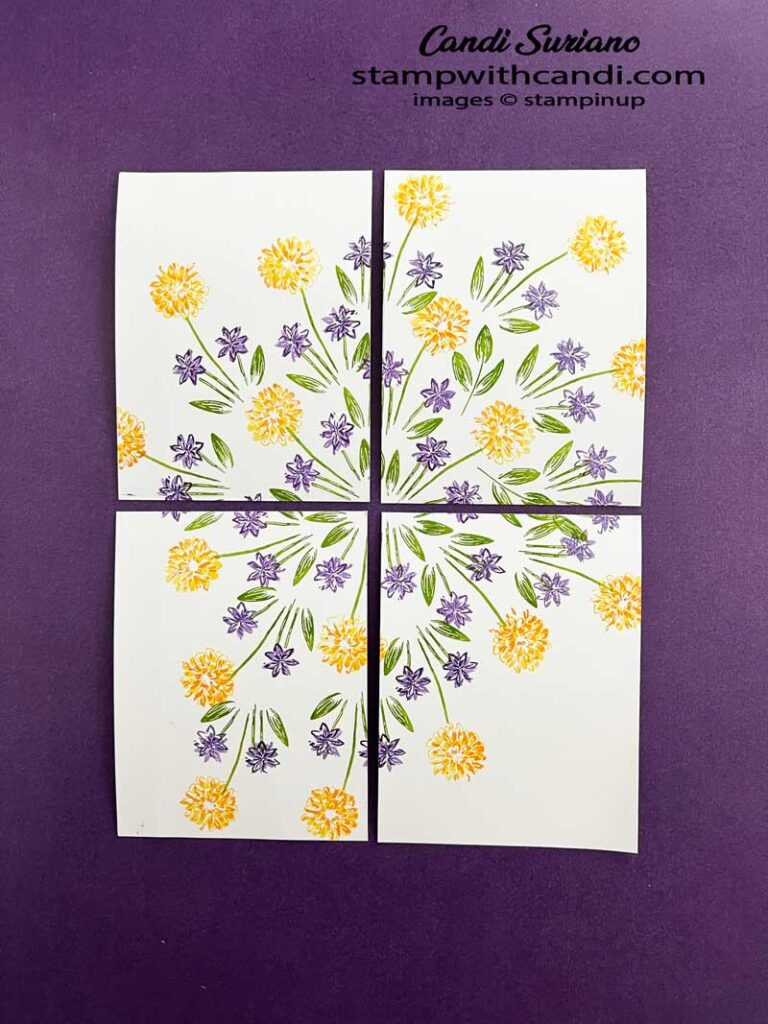
Step 5 – Brushed Bouquet
Cut the paper into quarters along the line as shown above.
Step 6 – Brushed Bouquest
Now it’s time to assemble the cards. I used a Daffodil Delight card base and a Gorgeous Grape first layer cut at 5 1/4″ x 4″. Then for three of the cards. I cut down the quarter panel from Step 5 to 5 1/8″ X 3 7/8″ which leaves a very narrow Gorgeous Grape frame. For the last layer, I cut the panel down to 5″ X 3 3/4″ to leave a larger Gorgeous Grape layer. Which do you prefer? Please let me know in the comments.
Finally, I stamped a sentiment from Go To Greetings in the remaining white space. Go To Greetings is a must have stamp set for sentiments. It thas the five most commonly used greetings in different fonts and sizes. I use it in my personal crafting and my in person classes. My in person ladies always want a different sentiment than I designed the card with. So, I keep Go To Greetins on the counter with the boxes of supplies and they can pick their own greeting!
Did you like my cards today? Would you like to see more samples using the Brushed Bouquet bundle? Crafty Collaborations is holding a catalogue launch event on January 5th where I’ll be sharing more ideas for how to use the Brushed Bouquet bundle. You can register here.
And now it’s time to hop and see what the other have been working on. So, grab a beverage, sit back and relax, and enjoy the hop!
JANUARY 2023 PAPER PUMPKIN – KEY TO MY HEART
Subscribe by January 10 to get this cute & lovely Paper Pumpkin. This month’s kit includes: Everything you need to make 9 cards, a love-themed stamp set, a Fresh Freesia Ink Spot, and a unique padlock and key die cuts. Plus there is an add-on item – 10 heart-shaped boxes for $11. Not a subscriber? Click this link to subscribe
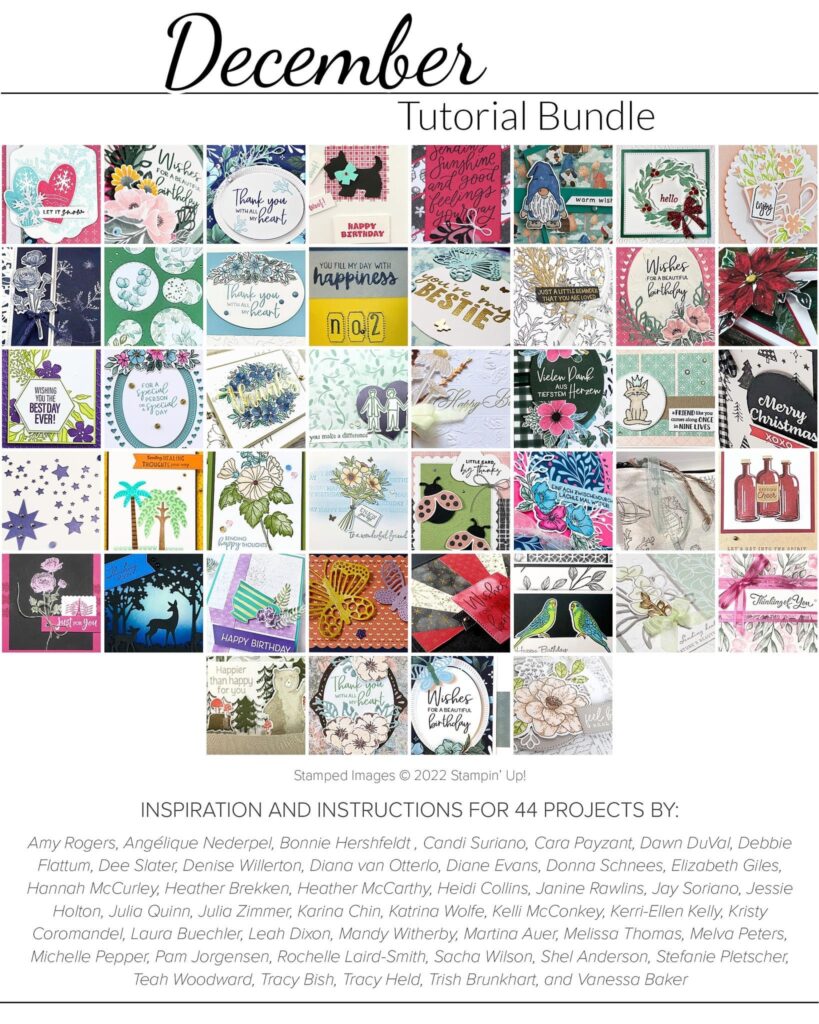
Can you imagine 44 step-by-step tutorials using current Stampin’ Up! products? And it’s yours for a $50 purchase in my online store! And, for the first 10 people who place an order, I will send you the supplies to make my project! Doesn’t get better than that!




Love a one sheet wonder Candi, these cards are lovely x
This is so cool! That’s for sharing this technique.
Very nice one sheet wonder cards!