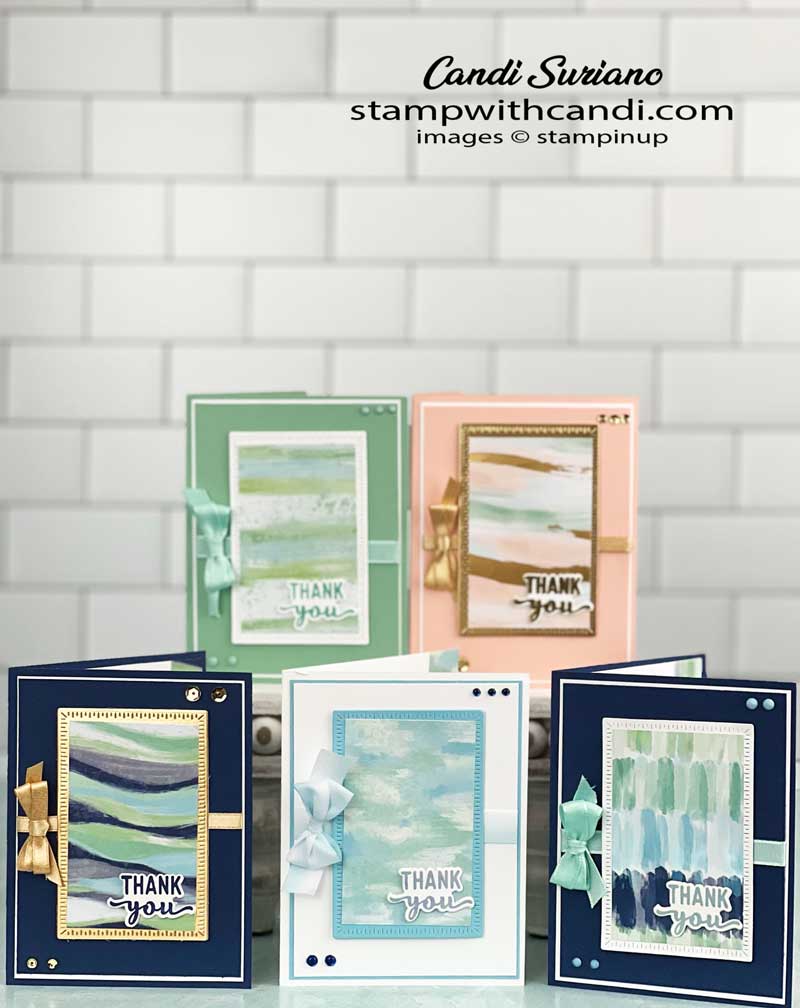
The theme of today’s Crafty Collaborations blog hop is to share whatever we’ve been working on. I love this hop because it allows me to show off some of my projects that don’t match a specific theme. Today I’m using the gorgeous By the Bay DSP in a bit of an unexpected way.
Today’s Projects – By the Bay
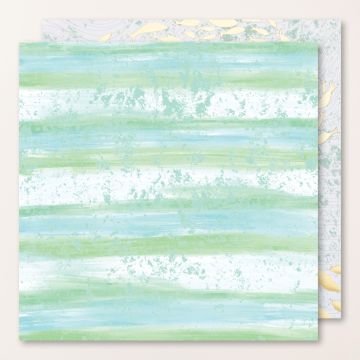
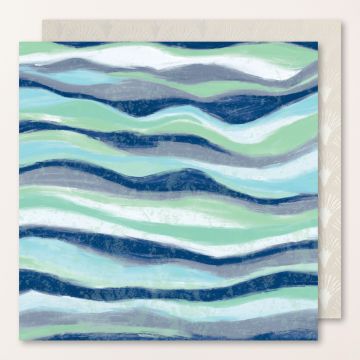
As I’ve already mentioned, this DSP is gorgeous and can be used for much more than beach-themed cards. At this point in the life of the January-April mini catalog, I’m looking through my stash and figuring out what I need to use before it retires on May 1, especially the DSP. I also needed some customer thank you cards. So I made 20 thank you cards using the By the Bay DSP with each using a sheet of this gorgeous paper.
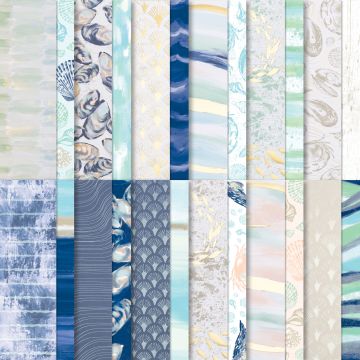
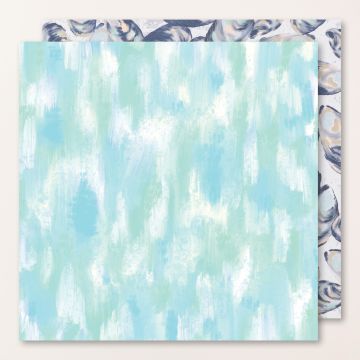
By The Bay – DSp
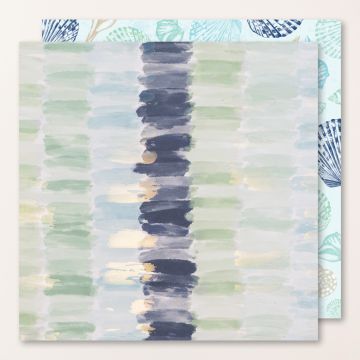
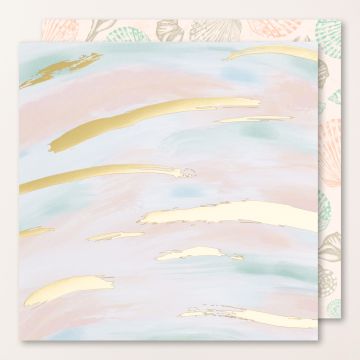
When you find this DSP in the online store or the catalog if all you look at is the image above, you can’t appreciate how gorgeous the paper is. You’re just seeing snippets and not the entire pattern. You really have to click into the description. on the online store and look at individual images to appreciate them. Using QuickView just doesn’t cut it!
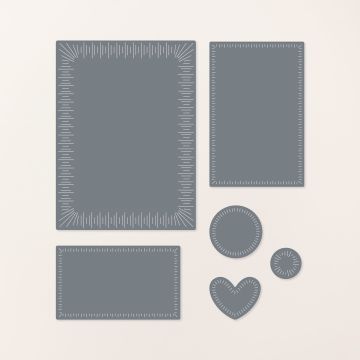
Radiating Stitches Dies
These dies are new and are part of the new Online Exclusives. Online Exclusives are new offerings by Stampin’ Up! (SU) that aren’t in a catalog. They are only available in the online store and will be released three times a year – March, July, and November. They allow SU to react to trends more quickly and give avid crafters, even more, to work with. These dies are an example of this. Stitched cards and faux stitching are really trendy right now. These dies are part of that trend and I’m thrilled to have them!
Today’s Color Palette
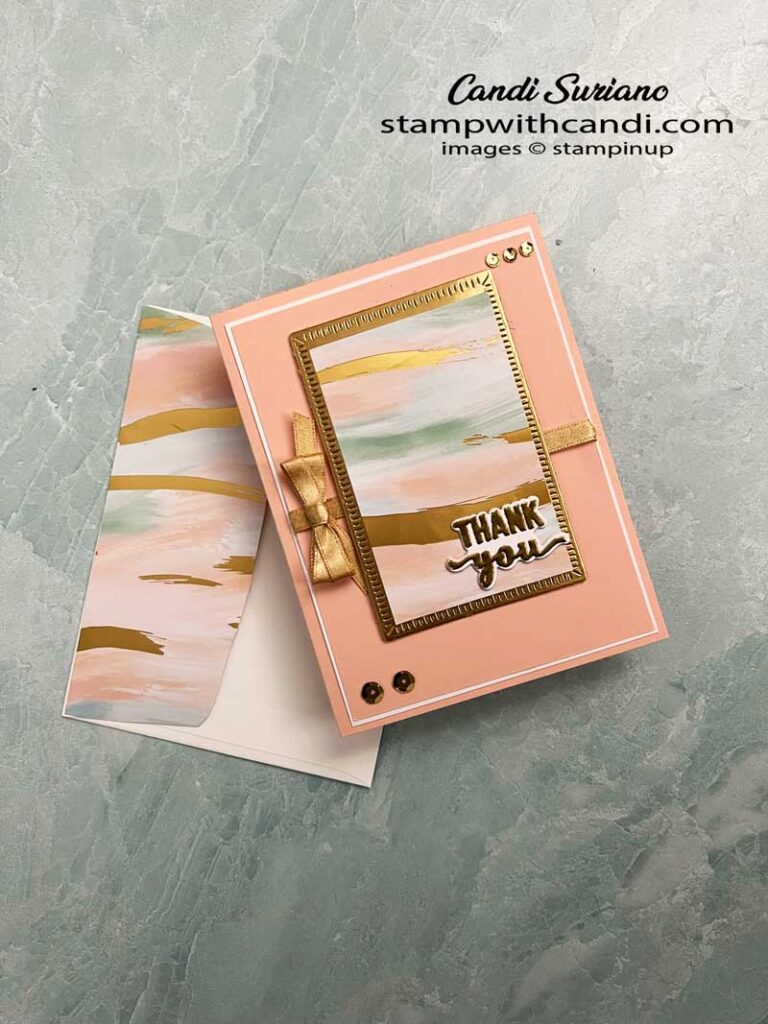
Each card uses colors that echo the DSP. First I chose the card base color, then I added either a contrasting color or white as a thin frame around another piece of the same color as the card base. For the frame, I tried to choose a coordinating color that makes the DSP pop. I love the two cards with the gold frames because the DSP really does pop. Obviously, not all the cards use all of the above colors. Instead, they use a subset based on the sheet of DSP used in that card.
Card #1 – By the Bay
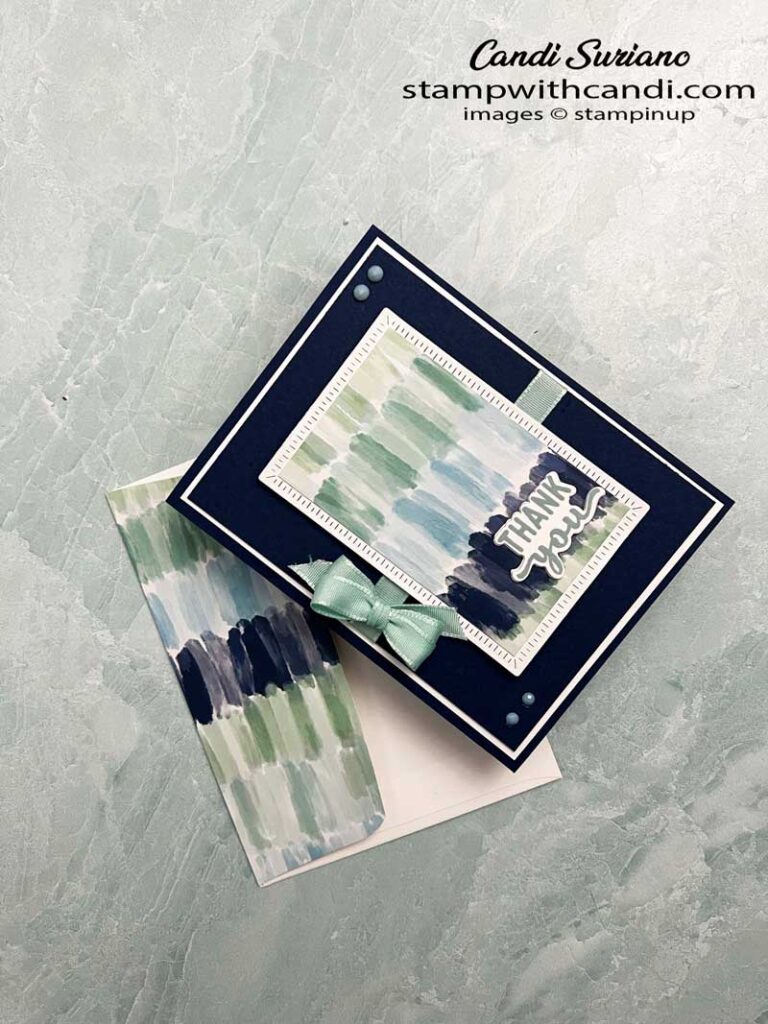
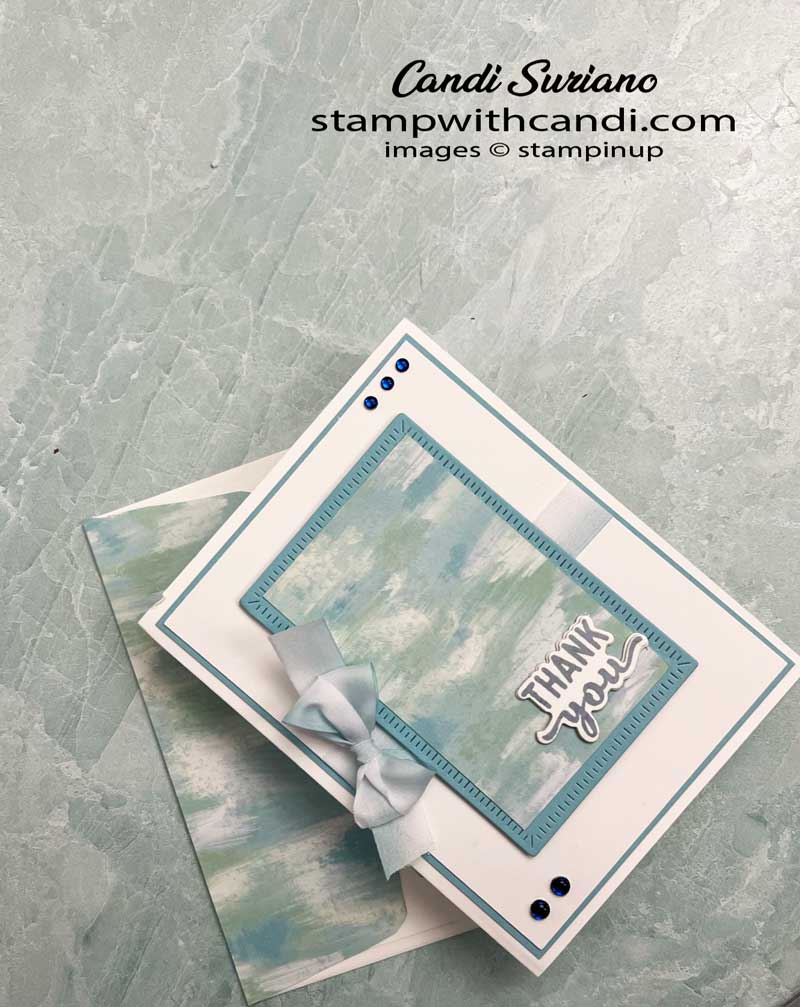
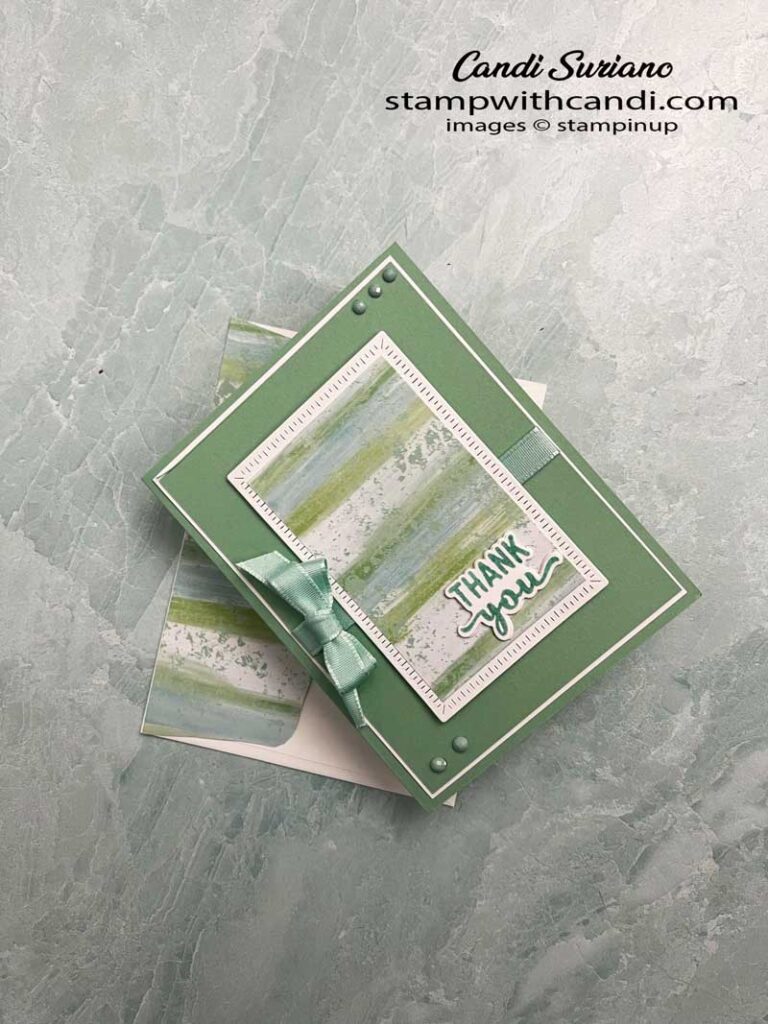
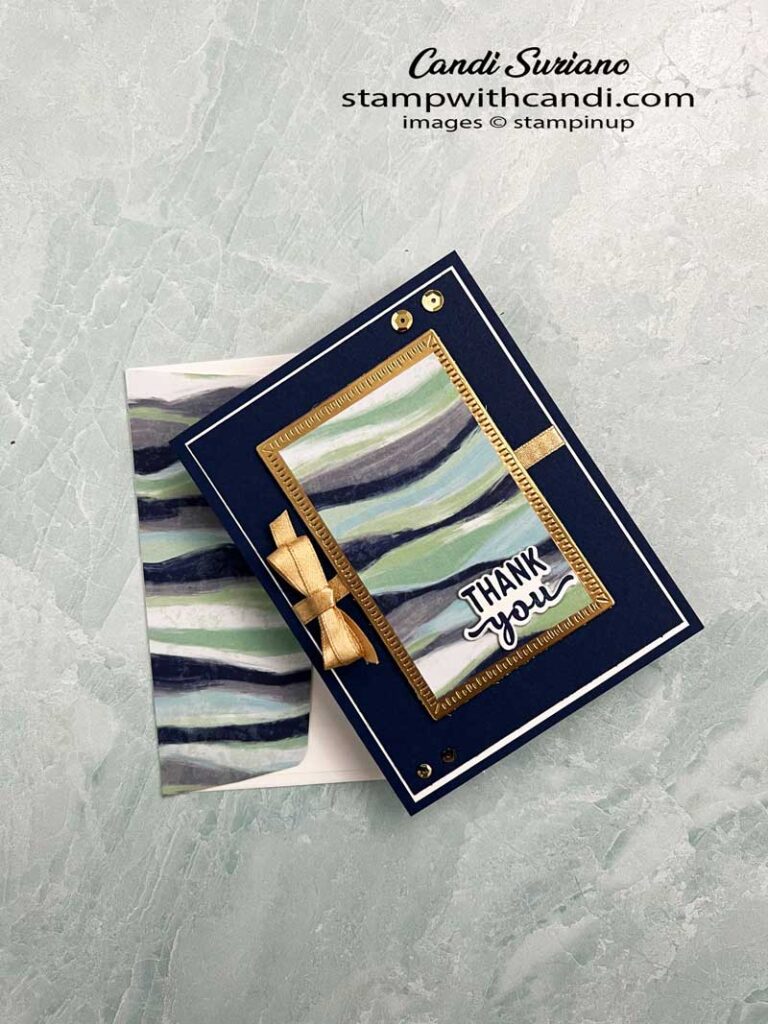
When I first saw this pattern, I had no idea how to use it. But it’s so pretty, I knew I wanted to use it. So, I thought why not ‘frame’ it using the Radiating Stitches Dies? And, it worked! I cut a 2 1/4″ X 3 5/8″ piece of the DSP and glued it on the die-cut, added some layers to the card base, and attached the die cut to the card using dimensionals.
Card #2 – By the Bay
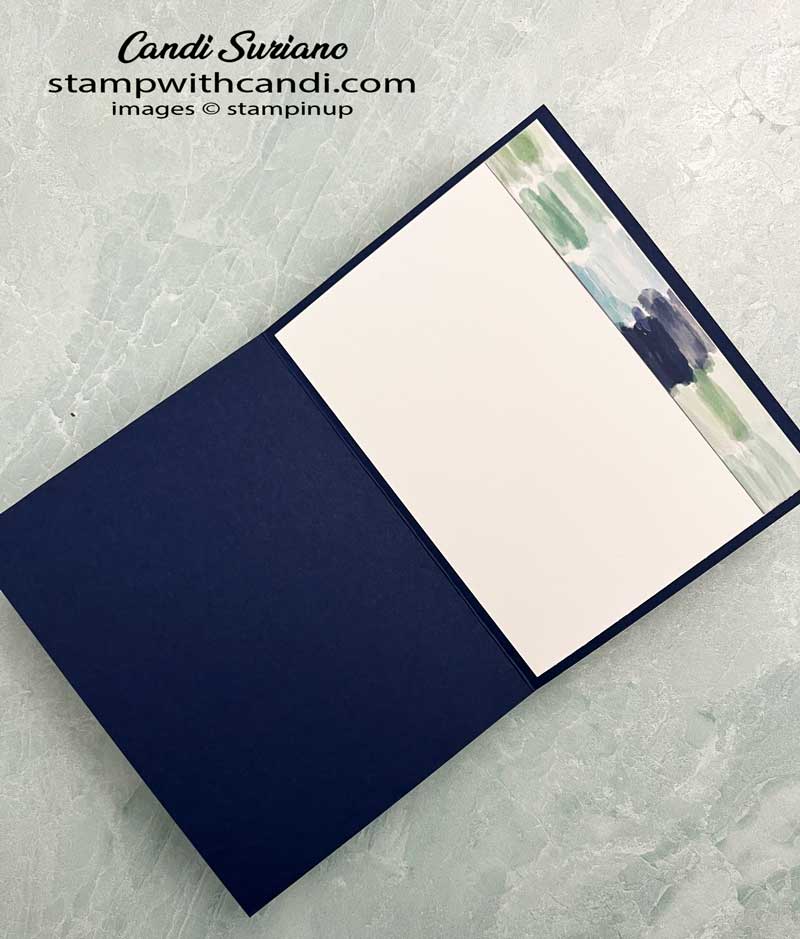
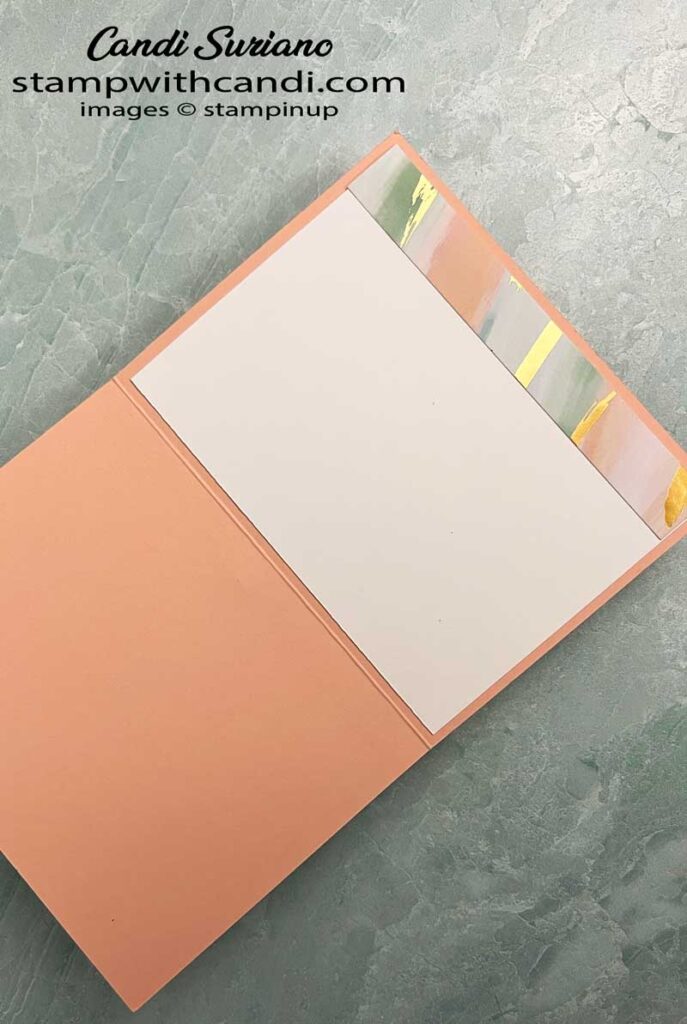
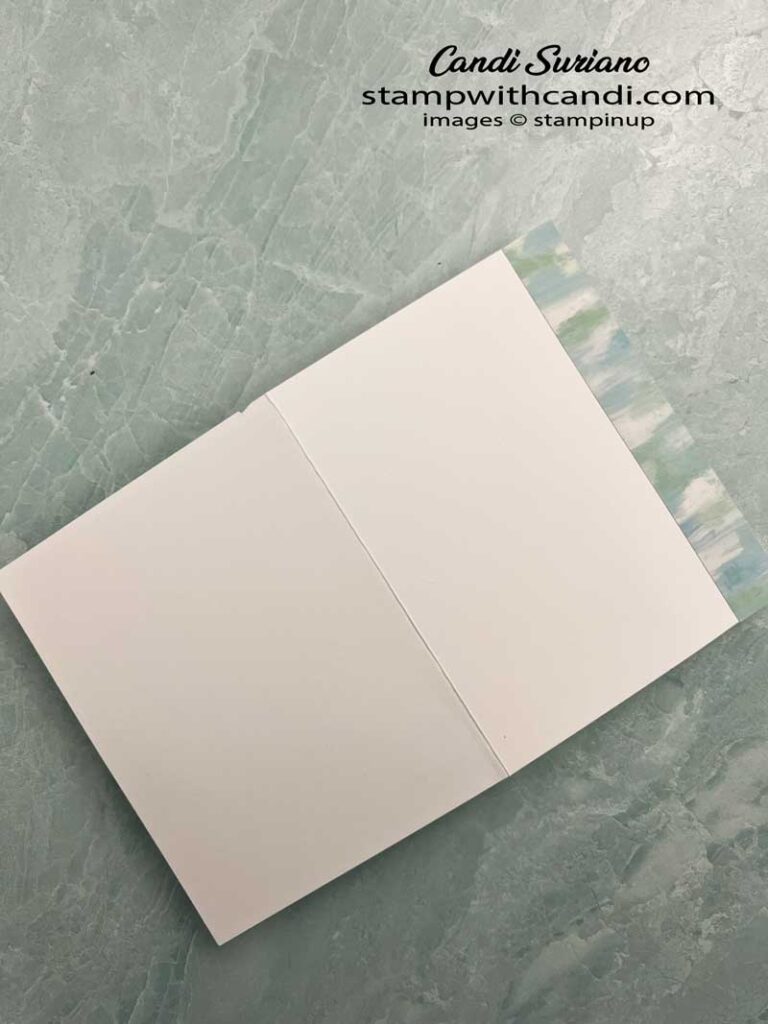
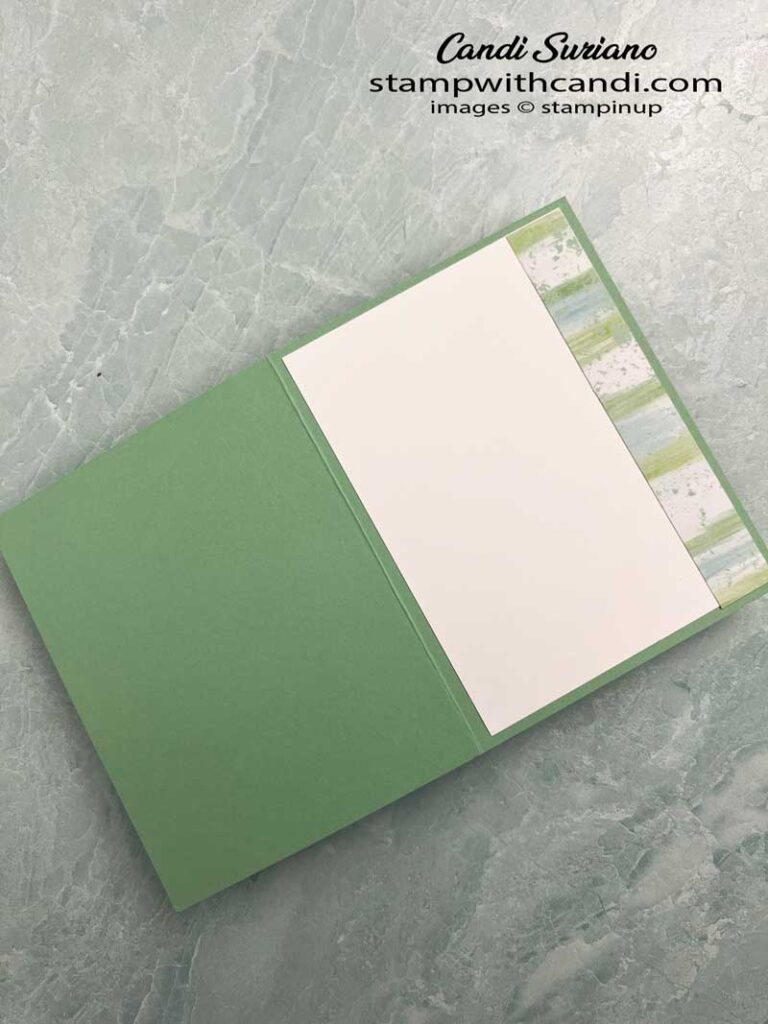
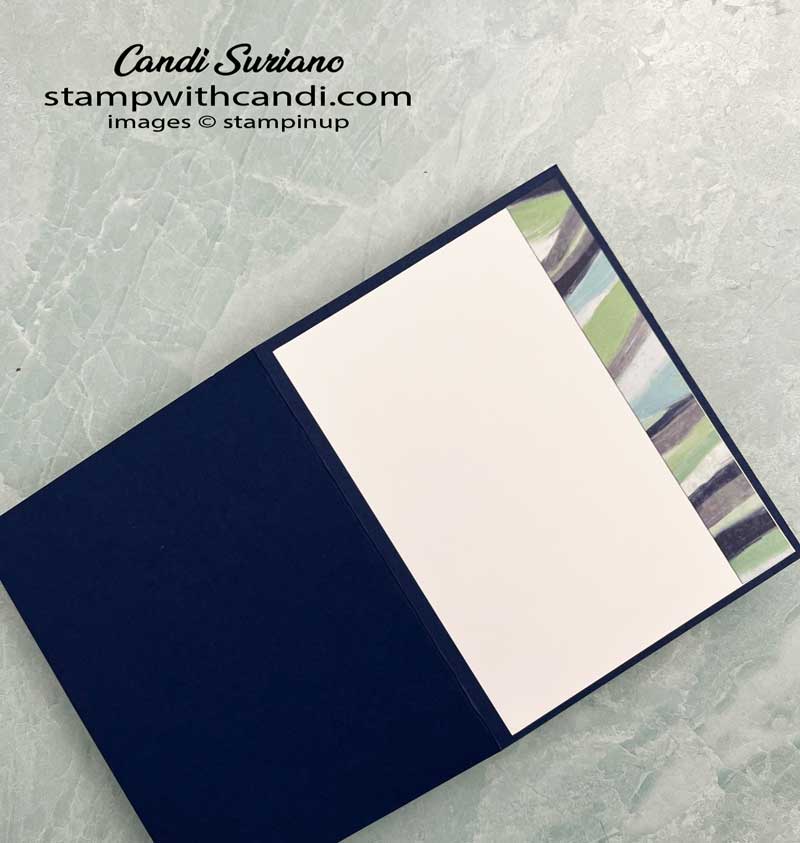
For this card, I picked up the gold in the paper and added it to the card by die-cutting the frame out of gold foil. For the inside of the card, I added a 3/4″ strip of DSP to the right side of the inside liner. The envelope flap was also covered with the DSP and trimmed to fit.
Card #3 – By the Bay
Each card starts with a coordinating card base and then a contrasting piece of 5 1/4′ x 4″ cardstock is attached. Then the card base color is cut at 5 1/8 x 3 7/8′ and attached to the previous layer to give a thin border. The frame is cut using the same color as the contrasting color or using foil.
Card #4 – By the Bay
To embellish the front, I used a coordinating ribbon, which is wrapped around the layer before attaching it to the matting layer. I can’t tie bows well, so I use a ‘cheater’ bow. In other words, I attach the ribbon strip, tie a bow using a bow maker and then use a glue dot to attach it to the strip of ribbon. So easy and perfect bows every time!
I also added coordinating embellishments to two corners of the finished card.
Card #5 – By the Bay
For the sentiment, I used a coordinating color. Some of the sentiments were embossed with either gold embossing powder or clear embossing powder to make them shine. If you notice that the sentiments have some dimension, I have to tell you they aren’t popped up on dimensionals. Instead after cutting out the sentiment with the die, I cut out two more blanks and then glued them all together. It gives solid dimension and doesn’t get squished going through the mail.
I hope you enjoyed my post today and that it inspires you to use up your stash in a beautiful way. Now, it’s time to see what the others have for you. So grab a beverage, sit back and relax, and enjoy the hop!




Gorgeous cards!
Thanks, Melva!
Candi – Your cards are so amazing! I love that you used the multidimensional trick for the sentiments! I hope you don’t mind my casing this lovely design for some sympathy cards!
Thanks, Bonnie.
These cards are stunning Candi, such a simple design but so striking x
Thanks, Mo!
Candi, your cards are stunning and your bows are perfection!!!! I would love to see how you create your bows !!!
Thanks, Denise. I use a bow maker which is a wooden base with two posts. Wrap the ribbon around it and tie a knot and you have a bow! Maybe I should do a video.
This is a stunning set of cards! So beautiful.
Thanks, Lorraine!
These cards just POP!
Great cards! You used some of my favorites-the paper and those dies!