Crafty Collaborations is hopping again today for Technique Tuesday featuring Coloring Techniques!
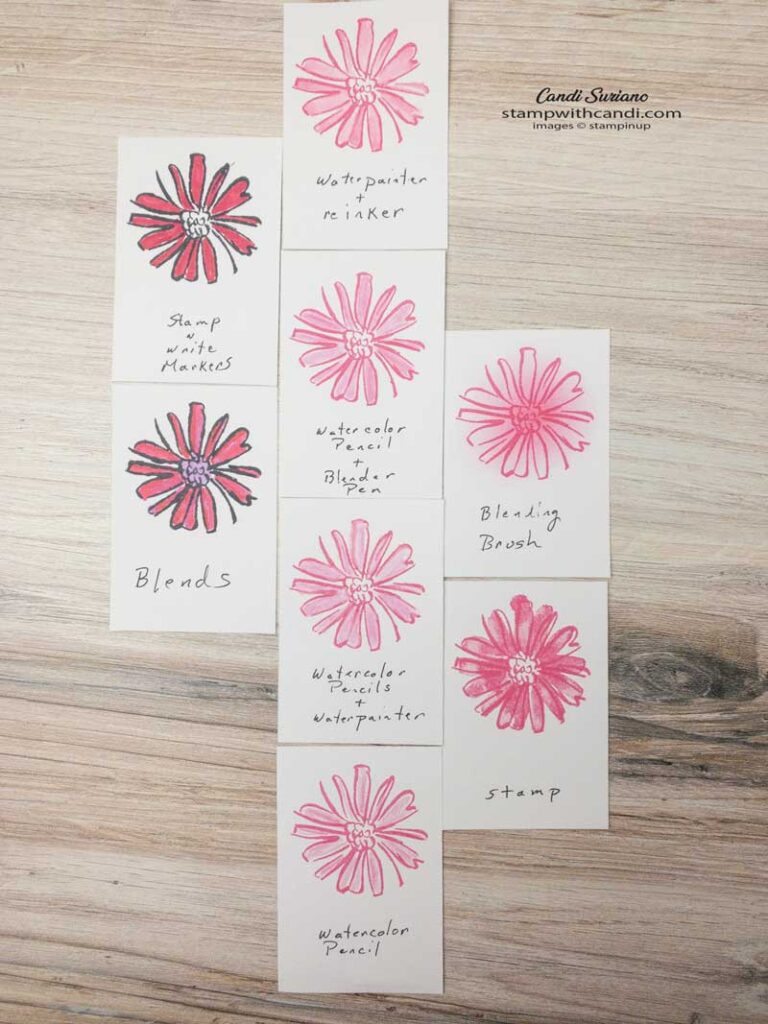
Have you ever asked yourself, How can I color this image?” Did you know how many different coloring techniques Stampin’ Up! has to offer? Well, read on because I’m about to show you. As I was thinking about this hop, I realized that there are 8 different ways to put color on an image. So, before we get to today’s card, let’s look at them.
Look at all these techniques! But, before you can color, you need an image to color! Line images with open spaces work best, especially for beginners. I chose this image from the stamp set Color and Contour which is aptly named! For each of the techniques I show below, I first stamped the image in Polished Pink (a new In Color) and then colored using Melon Mambo, Well, I lied, because I stamped two of them in Tuxedo Momento Black ink because they looked terrible stamped in Polished Pink for reasons I’ll explain later.
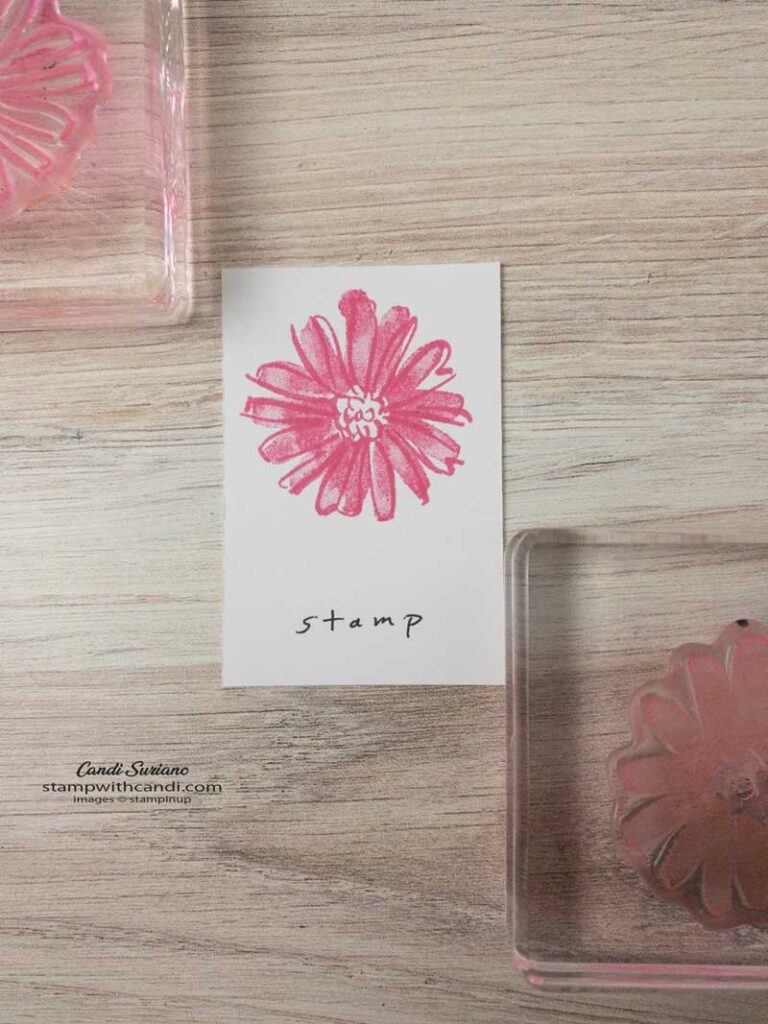
Stamping the Color
This set is a two-step set which means that the final image is made by using two different stamps. In this case, there’s the outline stamp that I used for all of the samples. Then, there’s the ‘color’ stamp which is the solid stamp that adds color. I love two-step stamping when I’m in a hurry. And, Stampin’ Up! has some really fabulous two-step stamps. Check out this post and this one to see some examples using Fabulous Florals.
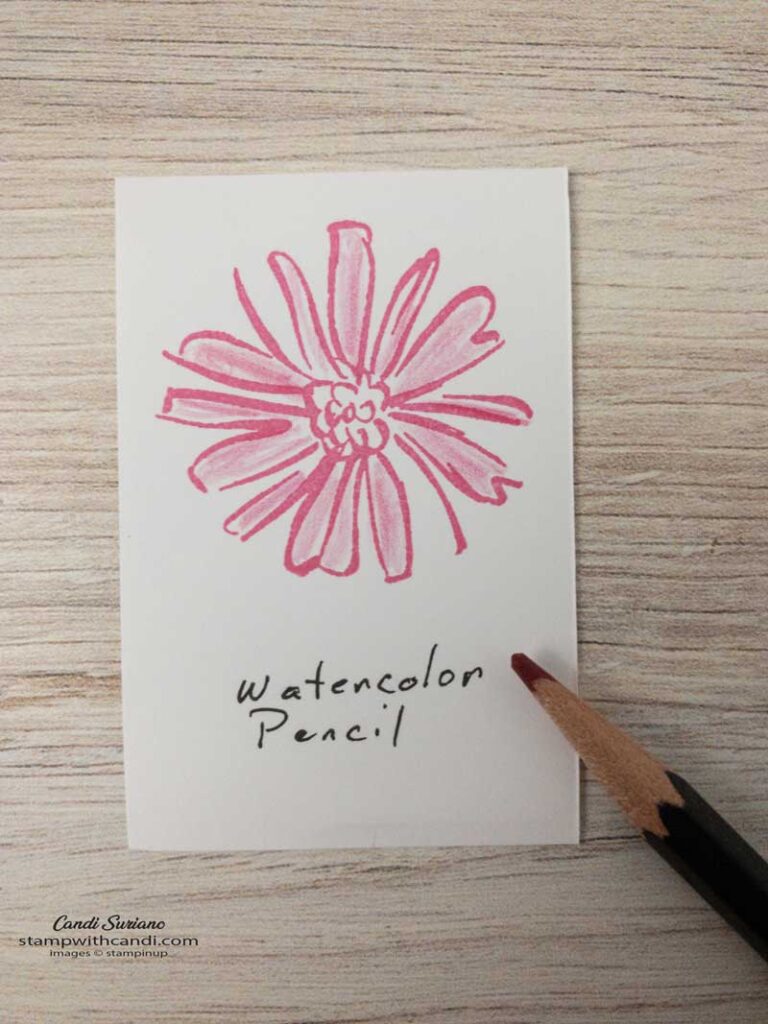
Color With Water Color Pencils
Stampin’ Up has some fabulous water color pencils. I used Melon Mambo to color this image. I used it as colored pencil. No water was involved. You can see that you can get some shading with this. This and the next technique are my favorites to use with my grandson because there’s no mess!
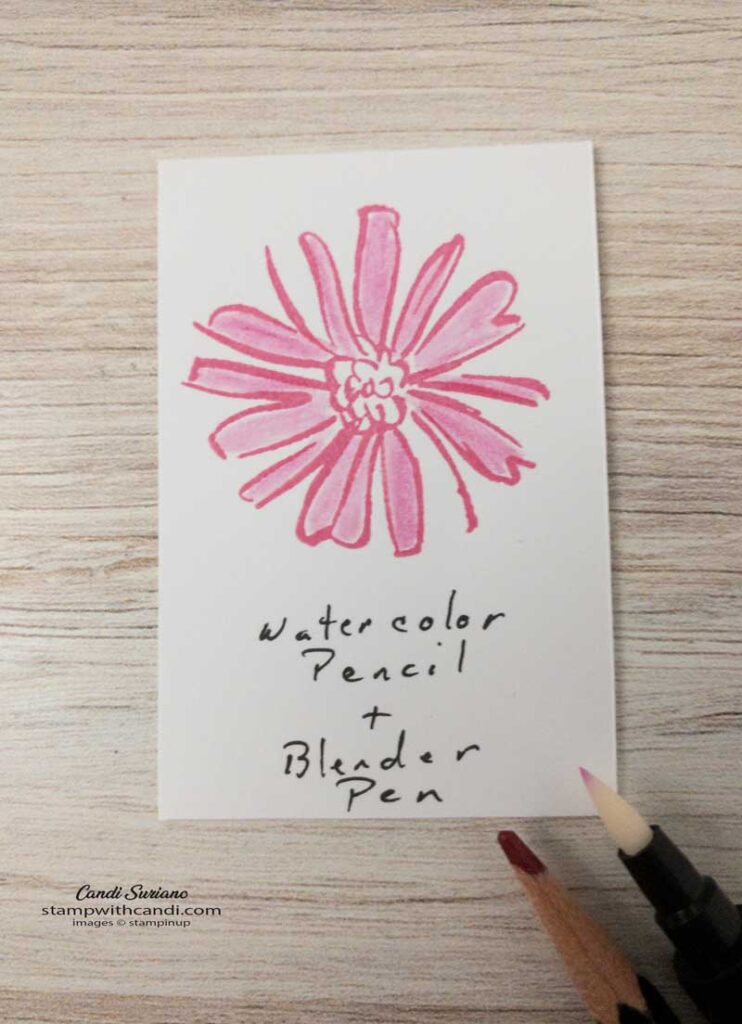
Color with WaterColor Pencil Plus Blender Pen
For this next sample, I colored with the color pencil and then used a blender pen to smooth out the color. What’s a blender pen? Well, to me it’s a little bit of magic. Basically, it’s a pen that’s filled with a clear liquid that blends colors. My most favorite use of it is when I stamp a solid image and a little bit of it didn’t stamp correctly. Take a little bit of ink on the blender pen and you can fill it in without it being noticed!
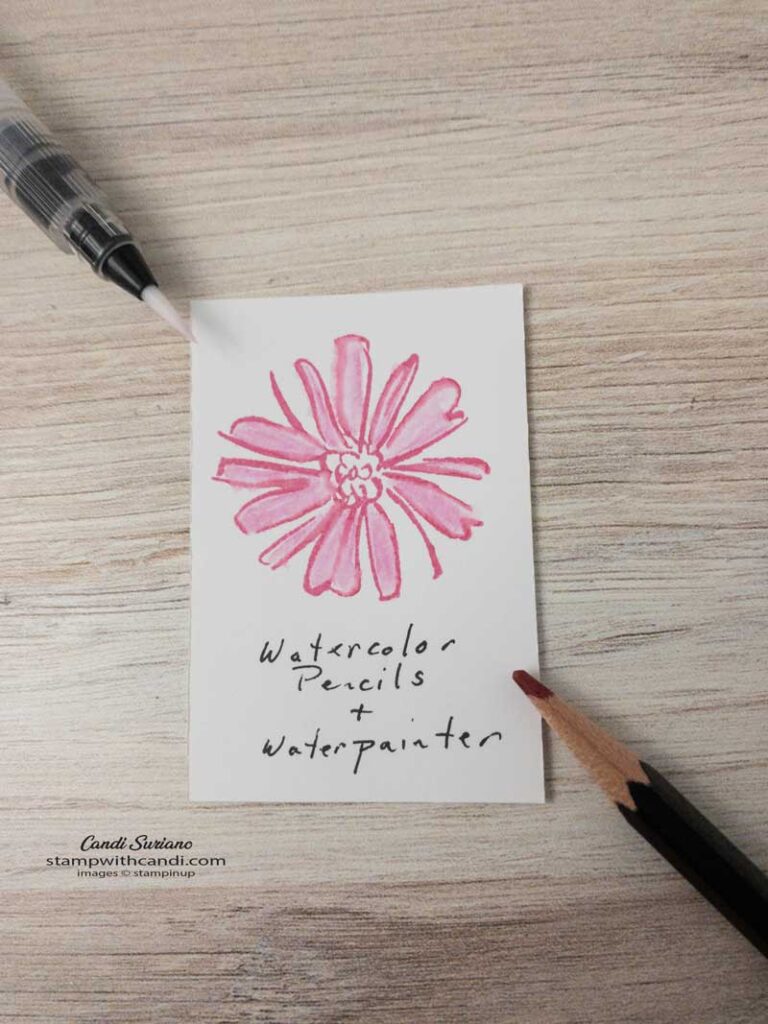
Color With WaterColor Pencil Plus WaterPainter
So, what’s a Waterpainter? It’s a tube filled with water and a brush on the end. I used it here to smooth out the color from the watercolor pencil , similar to using the blender pen. This is a little tricky, because if you squeeze too hard, water, water, everywhere! And, because the image is stamped in a water based ink, you can distort the image by making it bleed. So, I don’t use this technique very often.
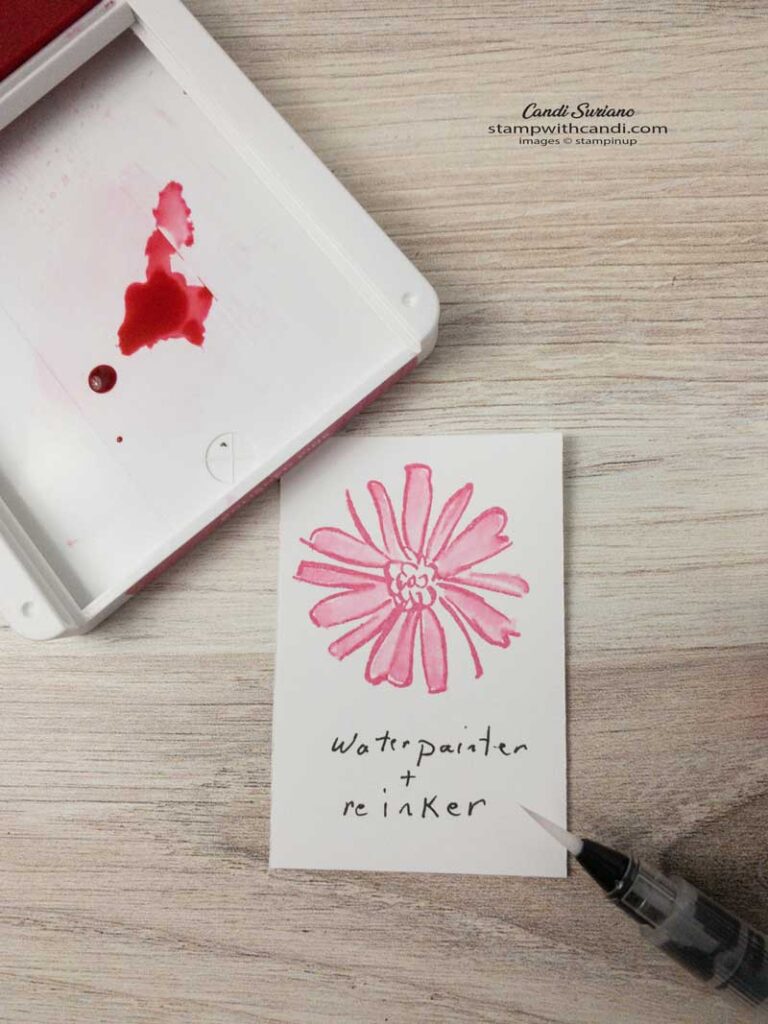
Color with WaterPainter Plus ReINKEr
There are two different ways to get some color on the top of the ink pad. The first is to press down on the top when the pad is closed. This will transfer the ink from the foam to the top. I’m usually not successful with that method. I must have weak hands! So, I use the second method which is to add a drop from the reinker on the top of the pad like I did here. Or you can add it to the top of a clear block. I usually do that when I’m coloring a larger image and I want to be able to build up color. For this small image, a drop on the top is enough.
Once you’ve got your ink, squeeze the waterpainter enough to make the brush wet. Then pull a little color out from the drop and swirl it around. Finally apply the color to the image.
On this small image, there’s not really enough room to get a great water color image, but on a large image you can create some beautiful water color effects.
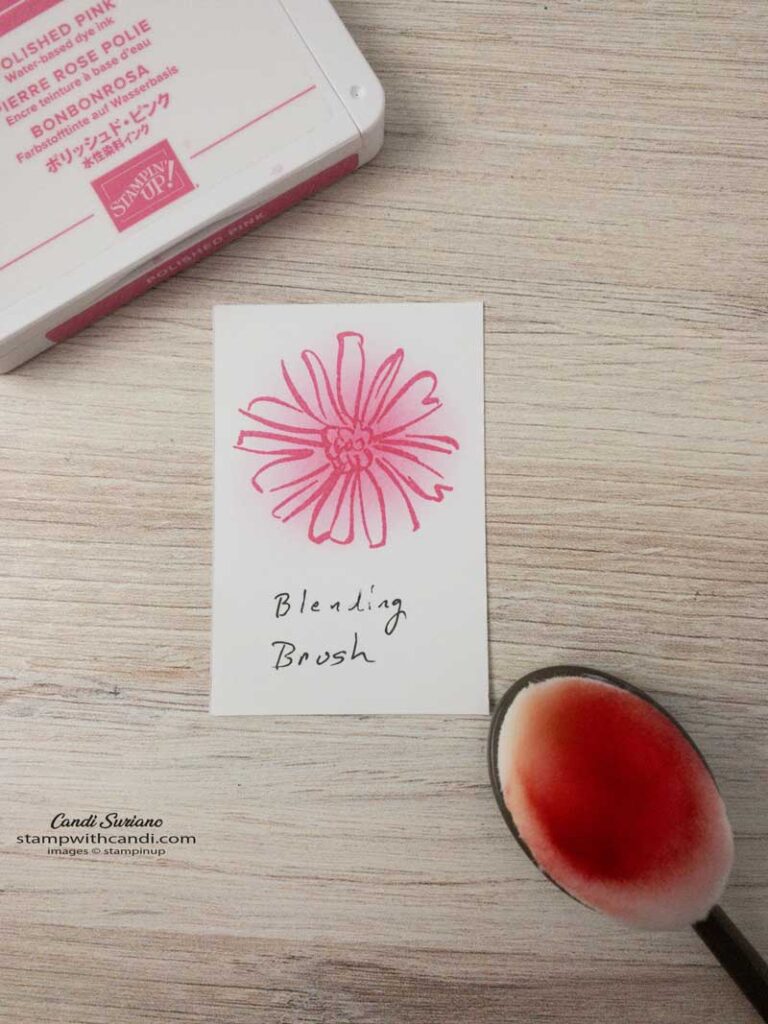
Color with A Blending Brush
I love these new Blending Brushes. I hope they are a permanent addition to the Stampin’ Up! inventory! To use them, you rub the brush lightly over the top of the ink pad and then rub it lightly over the image. Now, it helps if before you rub it on the image, you rub a little off on a piece of scrap paper. That will prevent ‘blobs’ of color.
This technique works well if you don’t need precise placement of the color. It’s a great technique for making sky, water, ground, or coloring Designer Series Paper.
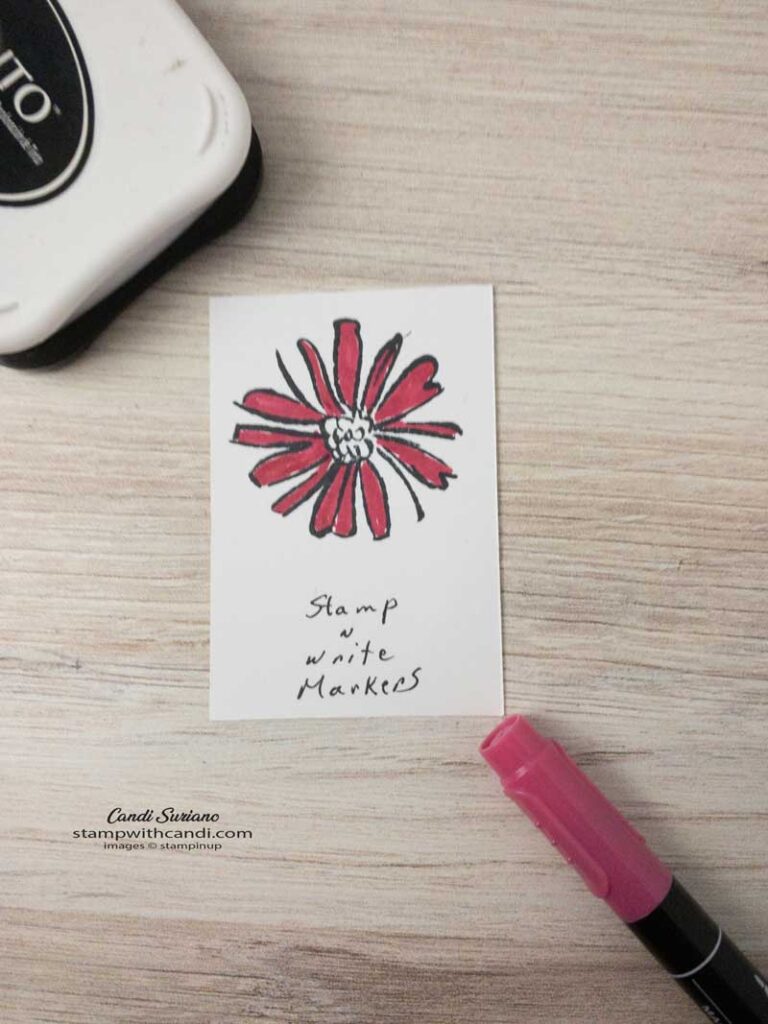
Color With Stampin’ write Markers
I have to confess that this is my least favorite method of coloring. In fact, the only time I use these markers is to color on a stamp when I want multiple colors. To me, they just give a streaky, solid color. I stamped this with Tuxedo Momento Black Ink because I wanted you to be able to see the difference between the markers and the Stampin’ Up! Blends which are a different kind of marker.
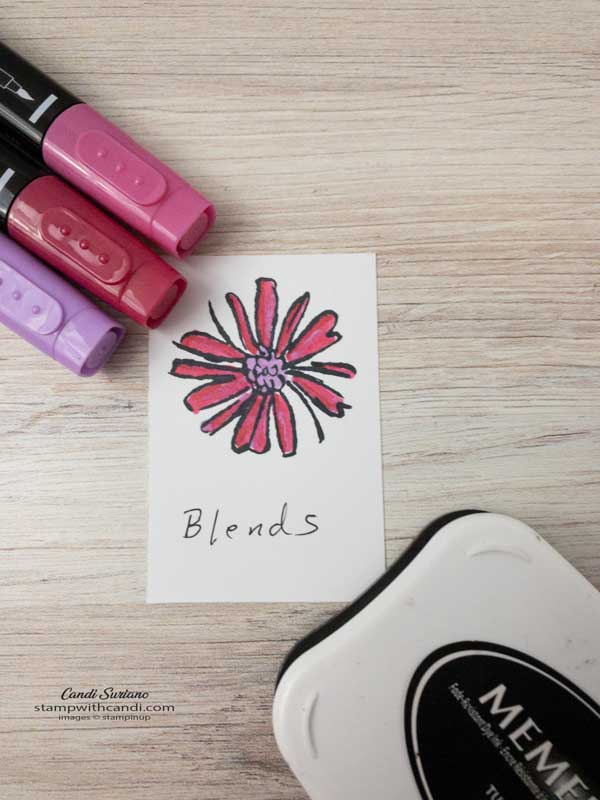
Color with Stampin’ Blends
This is my favorite way to color, although with this image it wasn’t so easy to get any blending in! The blends are alcohol markers and they blend like a dream. You can layer different colors to create some amazing colored samples. They look really great on large floral images. You can make them look 3-D. I used Tuxedo Momento Black ink, because when coloring with blends, that is what you must use! Otherwise, you’ll have bleed. You can also used any of the other water based inks. But, when I tried using the polished pink, you couldn’t really see the outline which I wanted to show.
The blends come in a light and dark. Usually you use the dark one first to add dimension. I typically just follow the shadings from the stamp. Then you go over it with the light to blend them together and even leave a little uncolored. They are addictive once you start coloring with them!
Let’s Talk About Paper
For all the samples, I used Basic White cardstock. However, for a project, I wouldn’t use Basic White if I was water coloring. Basic White will “pill” if you get it too wet. So, you want to use either Fluid 100 water color paper or Shimmery White paper. Fluid 100 is my favorite, but Shimmery White adds shimmer. So, which to use really depends on the project.
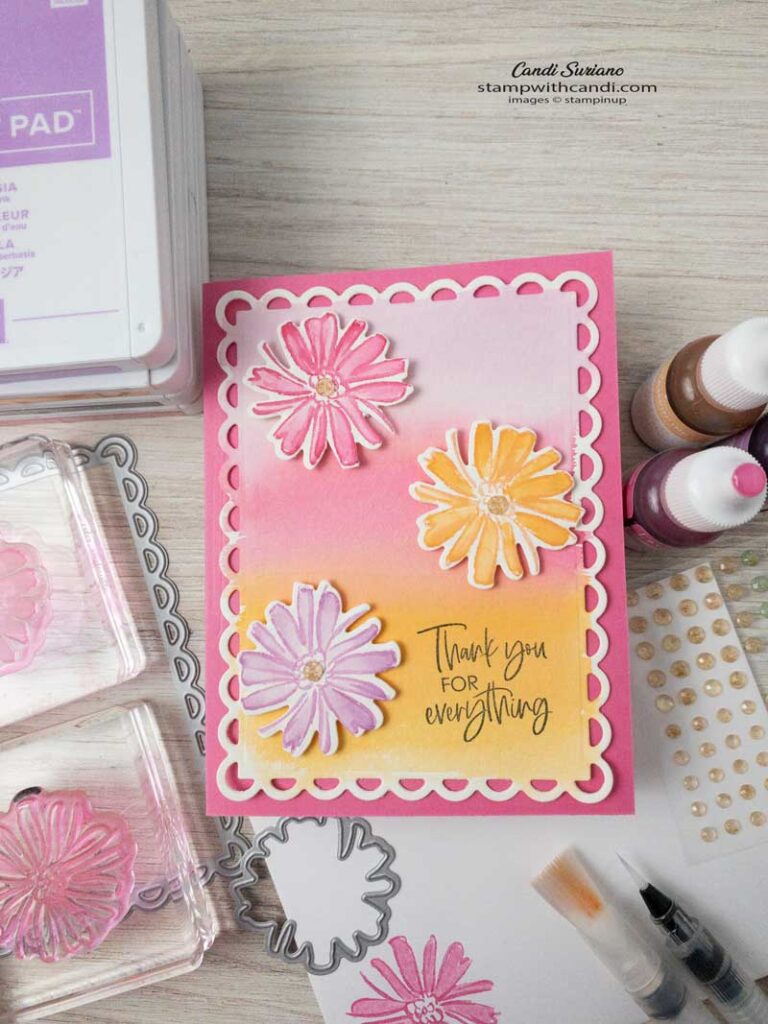
Finally, Here’s the Card
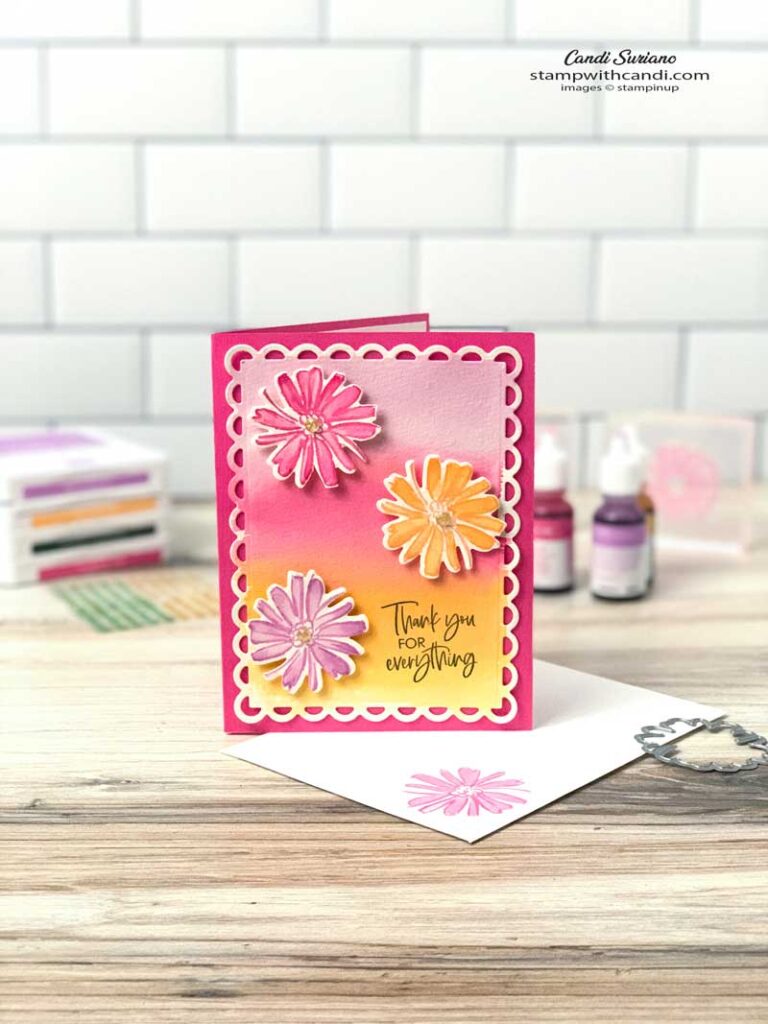
The card base is Polished Pink. I started the panel by cutting the largest Contour Die in Fluid 100 watercolor paper. Then I did a watercolor wash in Pale Papaya, Polished Pink, and Fresh Freesia. To do the wash, use the widest waterpainter and just apply color across the paper until it’s the desired color.
I stamped and watercolored using a water painter, a flower in each of the three colors. The contour die cut them out. I mounted them on the card front using dimensionals and then added a Genial Gem to the center of each.
Make the INside Pretty
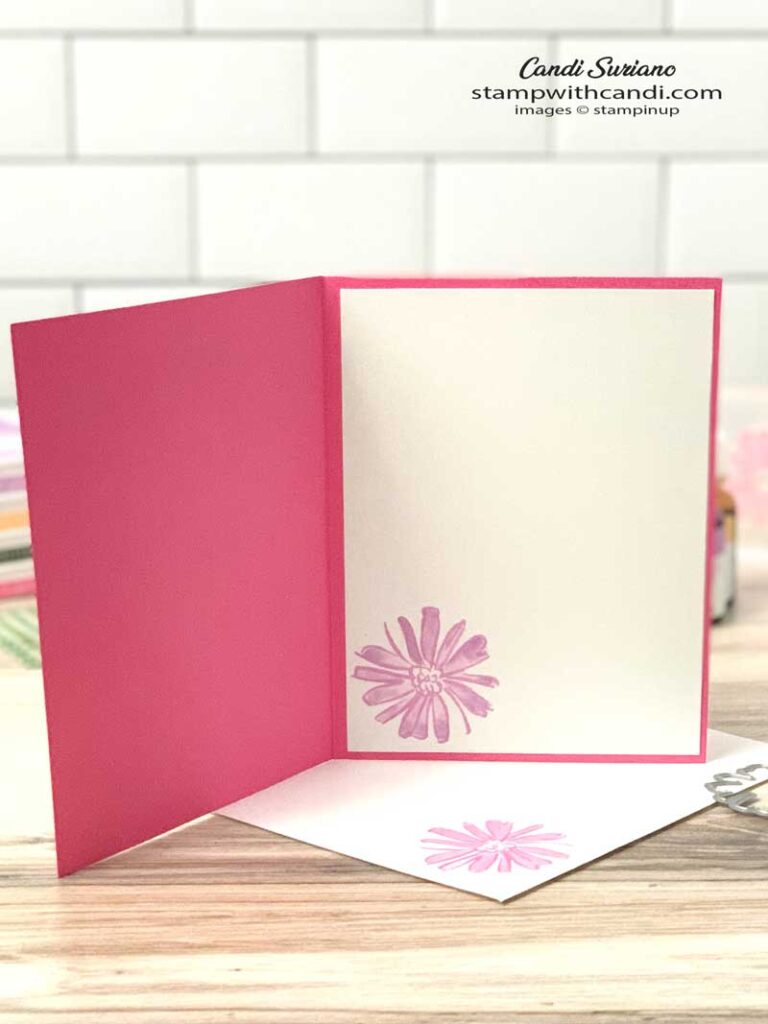
For the inside and the envelope, I stamped the outline and colored it using the waterpainter. The inside is Fresh Freesia and the envelope is Polished Pink.
Here’s one last look at the card. You can find all the supplies used for this post in the supply list at the end of the post. If you get here early on the day it posts, the list may not be there because the new catalog is going live and I can’t put the supplies on until it does!
Thanks for joining our hop today. The list of all hoppers can be found below. Please stop by and see other fabulous coloring techniques!
If you’d like to try to recreate this card, you can find a list of the products I used at the end of this post. Need a demonstrator or a catalog? Drop me a line and I’ll put one in the mail. And, f you ever have any questions, please feel free to comment or email me. And, don’t forget to Pin this post so you can find it again!


Love the comparison of the different techniques! Thanks for sharing!
Great card Candi and a fabulous walk through of different techniques x
Lovely techniques. Beautiful card
Lovely to show all the different ways to colour, thank you 🙂