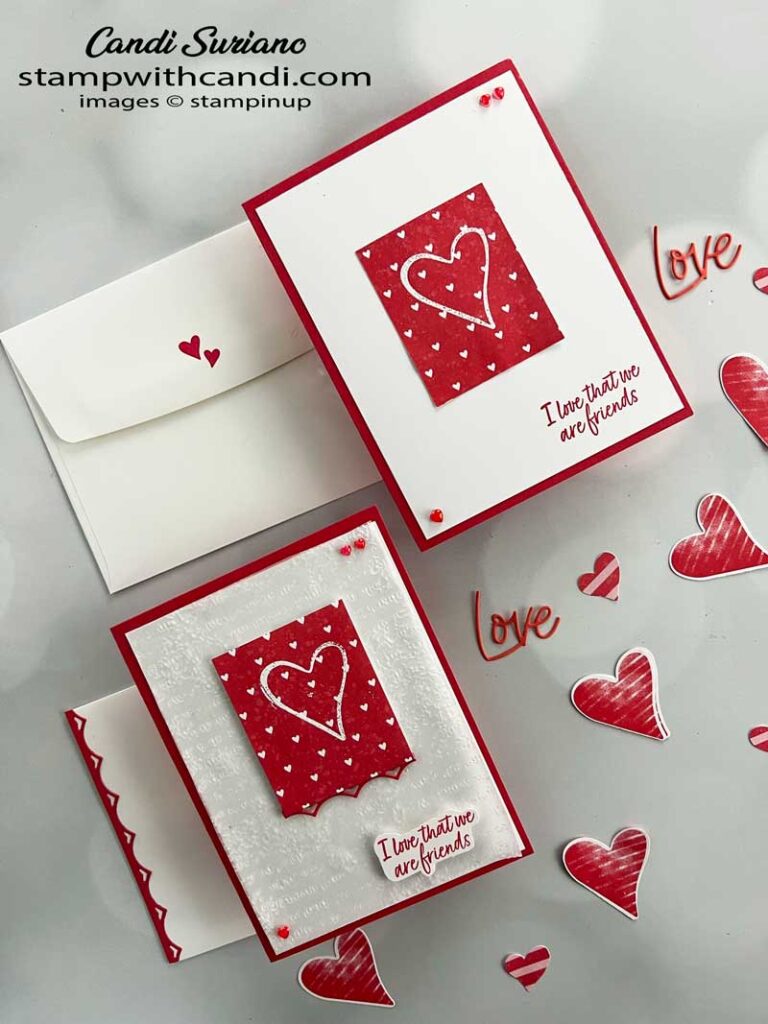
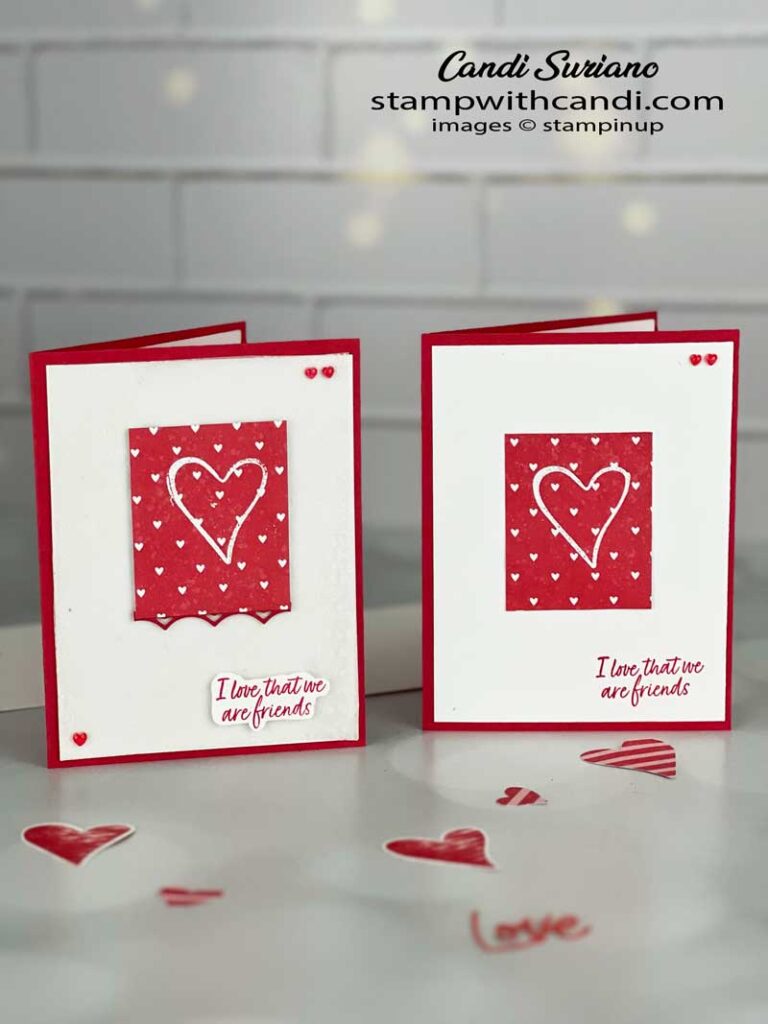
Crafty Collaborations ia a global group of demonstrators who work together to share our creativity with others. One of the activities is a blog hop like this one. Tody’s topic is Valentine’s Day one of my favorite days to make cards for. For this hop I’ve made a pair of Country Bouquet Valentines.
Today’s Project – Country Bouquet Valentines
The valentine at the top was my first card. There’s something about it’s simplicity that really appeals to me. And, for those that know me, I don’t usually make ‘simple’ cards. I ‘designed’ it by accident. I had that piece of DSP on my desk and it got laid on a piece of Basic White, and I though all I need is a sentiment and a card base. Of course, I embossed a Basic White heart on the DSP and added some heart pearls colored with a blends. Thiose heart perals from the annual catalog are just the cutest thing, especially when colored so they pop.
The card on the bottom is a stepped up version of the top one. It was a request by a friend because the top one is just too plain. So, I added a layer of embossed vellum, a stamped and fussy cut sentiment ,and a border to the DSP and then it’s not so plain.
Today’s Color Palette
Of course, I used traditional Valentine colors of red & white. Stampin’ Up! has a lot of reds that work for Valentine’s day – Poppy Parade, Sweet Sorbet, Real Red, and Cherry Cobbler. Some people also use pink for Valentine’s day. Again Stampin’ Up! has some good choices – Polished Pink, Melon Mambo, Flirty Flamingo, and Blushing Bride all work. I chose Sweet Sorbet since the DSP is Sweet Sorbet. It was a no-brainer choice.
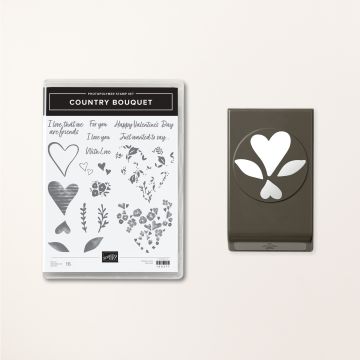
Country Bouquet Bundle
I embossed the open heart from the Country Bouquet stamp set on the DSP of my card. I used Basic White for my monochromatic color scheme. But it would have also looked good in Basic Black because it would have really popped!
This bundle was at the top of my list from this mini. The punch can be used on one of the sheets of the DSP. Plus I love the shape of the heart. It’s not the usual symmetric heart that we’re used to seeing. Another interesting thing about the punch and hearts is that they can make a bouquet where the heart is the flower with leaves surround it. And there is a two-part stamp with leaves and flowers that is absolutely gorgeous.
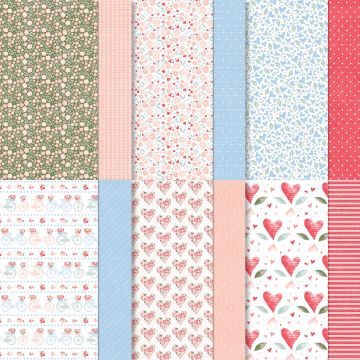
Country Floral Lane DSP
I love this DSP! From the tiny hearts on my cards, to the striped pattern, to the bicycles and the flower filled hearts, there are so many possibilities.
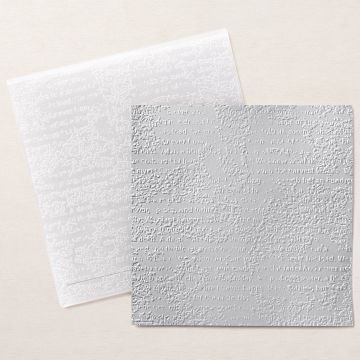
Timeword Type 3D Embossing Folder
One of the ways I step up cards is to add some embossing texture. And when I want some subtle texture, I emboss a piece of vellum and attach it to the layer. Now, you’ll hear it’s hard to attach vellum because the adhesive shows through. But, if you put an adhesive sheet on the vellum before embossing, then you peel off the liner, and adhere it, you won’t see any adhesive.
Make the inside Pretty – Country Bouquet Valentines
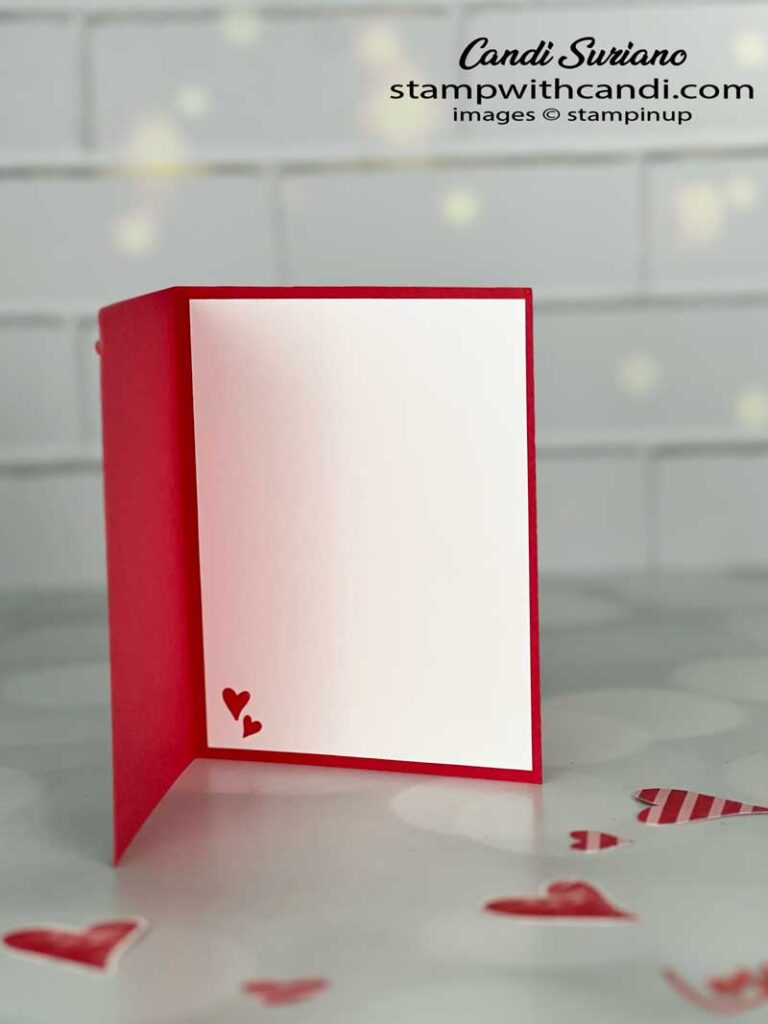
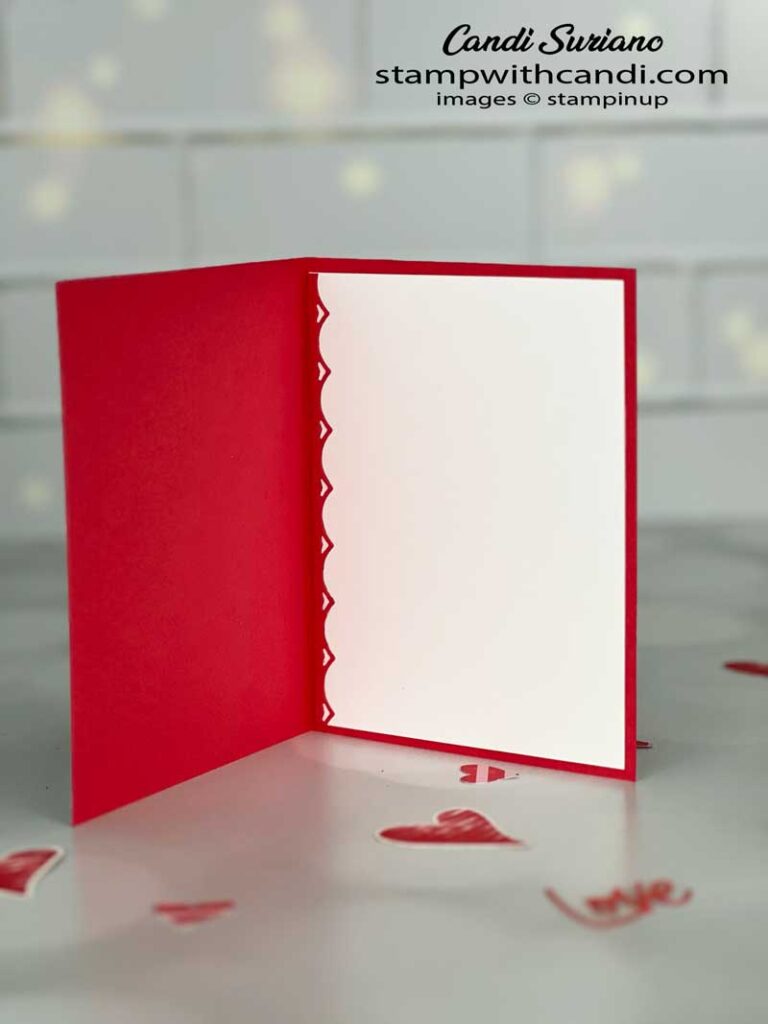
For the inside of the top card I stamped two small hearts from the stamp set. For the other card, I used the same border as I used below the DSP panel on the front. The border die is from Marigold Memories and in person almost looks like little hearts.
Don’t Forget the Envelope – Country Bouquet Valentines
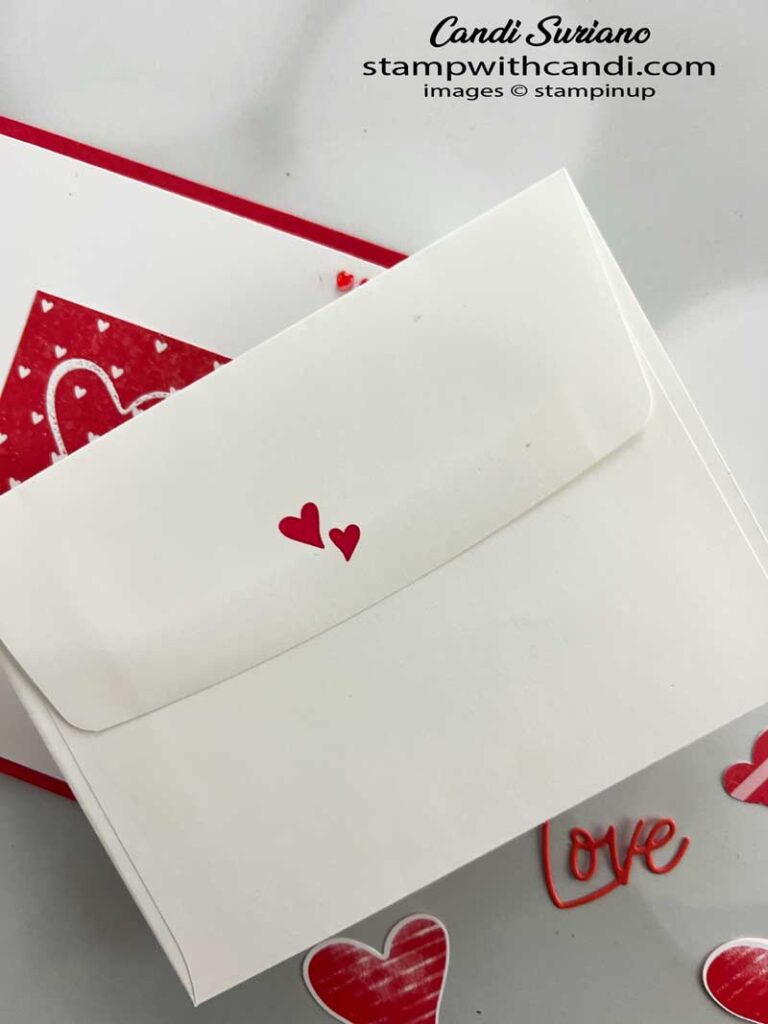
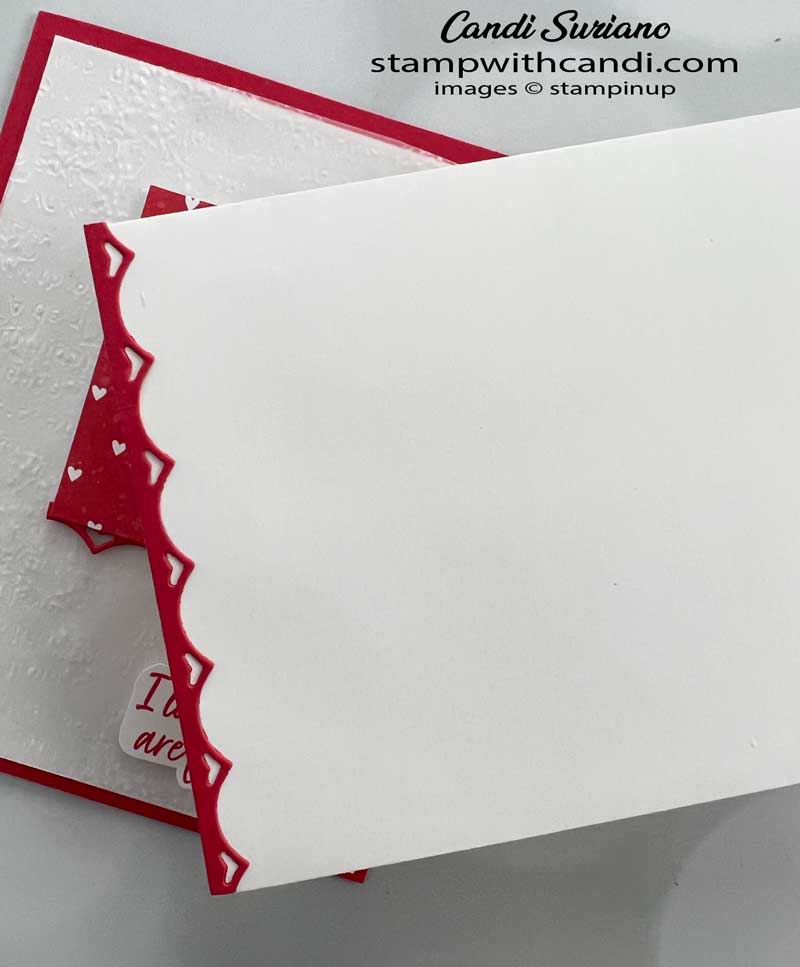
As I do most of the time, I used the same treatment on the envelope as I did on the inside. In this case, either stamping two hears ora piece of cardstock cut with a border die.
You can Make it, too! – Country Bouquet Valentines
These cards come together pretty quickly. The instructions below are for the simple card, with the alterations for the second card in parentheses.
Cut the Cardstock
- Cardbase – Sweet Sorbet – 8 1/2″ X 5 1/2″. Score at 4 1/4″
- First Layer – Basic White – 4′” x 5 1/4″
- (Vellum Layer – 4″ x 5 1/4″)
- (Adhesive Sheet – 4″ x 5 1/4″)
- DSP – 2″ x 2 1/2″
- Inside Liner – Basic White – 4″ x 5 1/4″
- (Scrap for Sentiment – Basic White )
- (scrap for border – Sweet Sorbet)
Stamp, Cut, & Emboss
- Stamp the sentiment using Sweet Sorbet ink on the Basic White first layer. (Stamp the sentiment using Sweet Sorbet ink on the Basic White scrap. Fussy cut the sentiment.)
- Stamp the heart using Versamark ink on the DSP. Sprinkle with Basic White embossing powder then heat set.
- Stamp the sentiment on the lower right Basic White layer using Sweet Sorbet ink.
- Stamp the two hearts on the inside liner and the front of the envelope.
- (Cut a 3″ border, a 5 1/2″ border, and a 5″ border from the Sweet Sorbet scrap)
- Color 6 pearl hearts using the Dark Sweet Sorbet blends.
Assemble
- (Attach the 3″ border to the DSP centering it using liquid glue. Trim to fit.)
- (Attach the 5 1/2″ border to the inside liner using liquid glue. Trim to fit.)
- (Attach the 5″ border to the left side of the envelope. Trim to fit.)
- (Attach the vellum to the front Basic White liner.)
- Attach the Basic White front layer to the card.
- Attach the DSP to the card front using dimensional.
- Attach the inside liner to the inside of the card.
- (Attach the sentiment using dimensionals.)
- Embellish with 3 heart pearls as shown.
I hope today’s cards inspire you to make some Valentines of your own. Now it’s time to get some more inspiration from the others on the hop. So, grab a beverage, sit back and relax, and enjoy the hop.
Need A Demonstrator?
If you don’t have a Stampin’ Up! demonstrator, I’d love to be yours. If you need a catalog, click here or email me at candi@stampwithcandi.com and I’ll pop one in the mail for you.
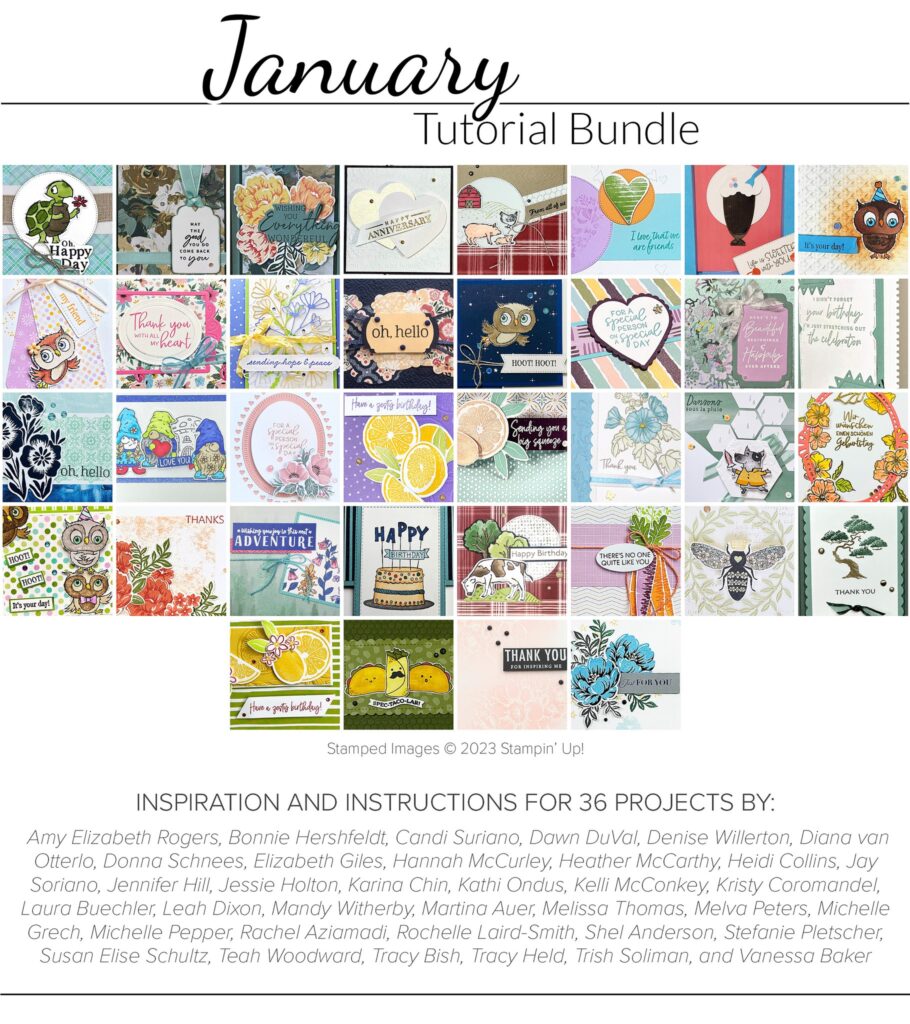
Can you imagine 44 step-by-step tutorials using current Stampin’ Up! products? And it’s yours for a $50 purchase in my online store! And, for the first 10 people who place an order, I will send you the supplies to make my project! It doesn’t get better than that! Plus, you’ll also be able to pick a free Sale-a-bration item which really sweetens the deal.




Lovely card and simple envelope being decorated.
Lovely cards! I never thought to use the adhesive sheets behind the vellum, will have to remember that trick the next time I use Vellum.