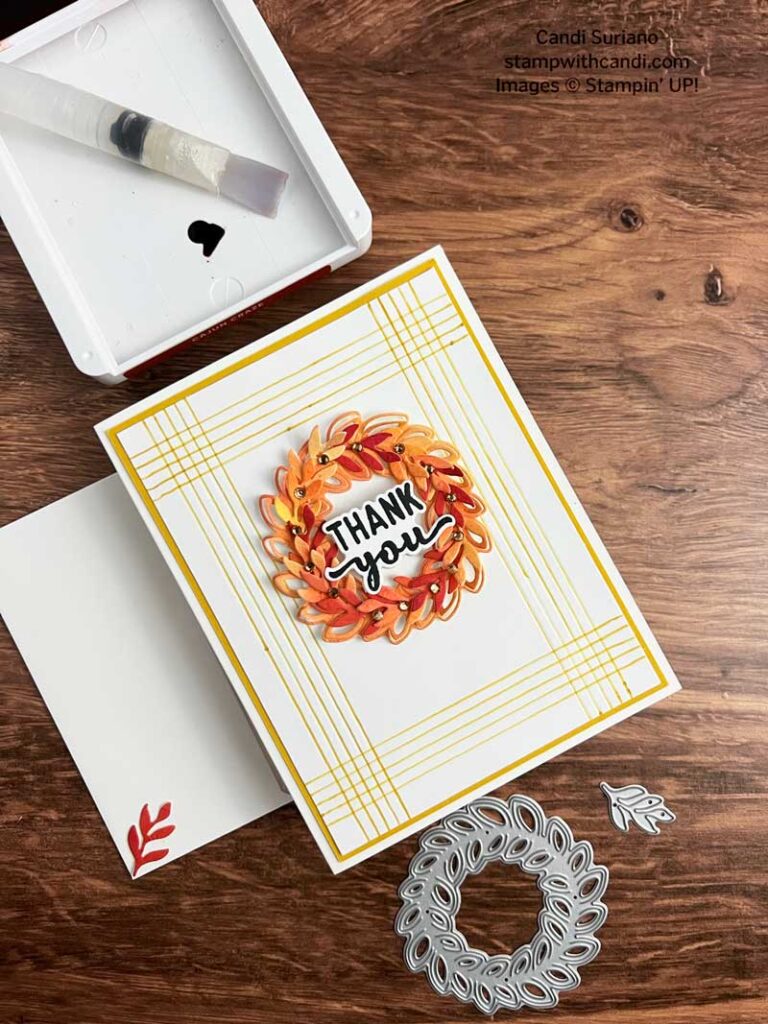
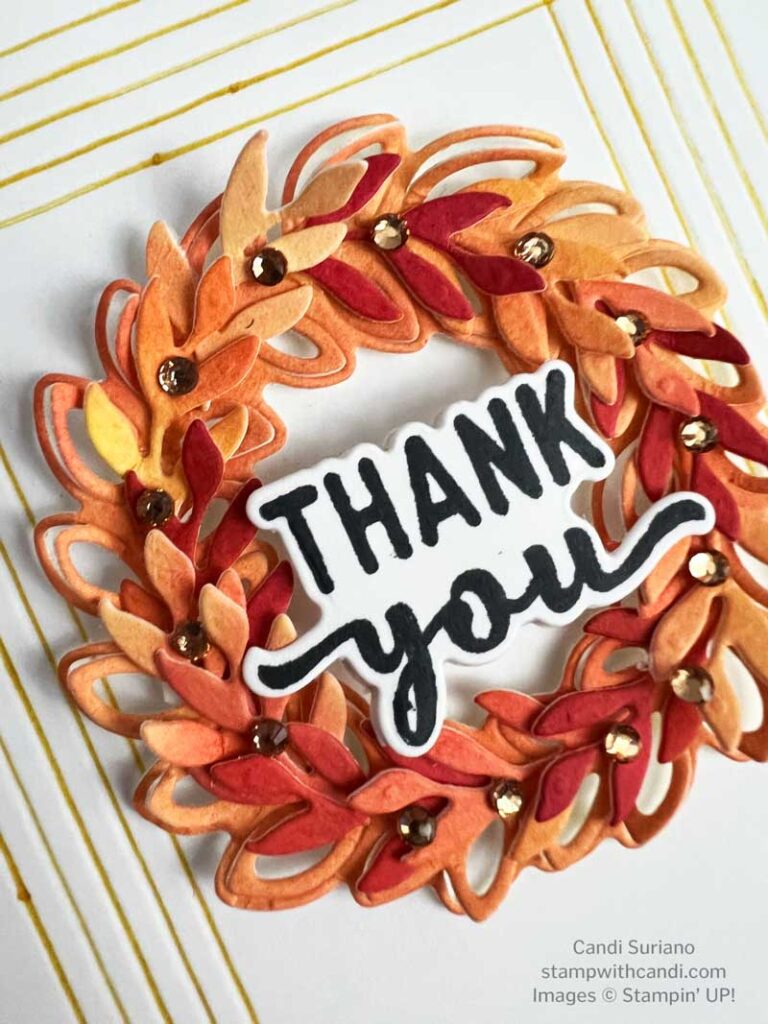
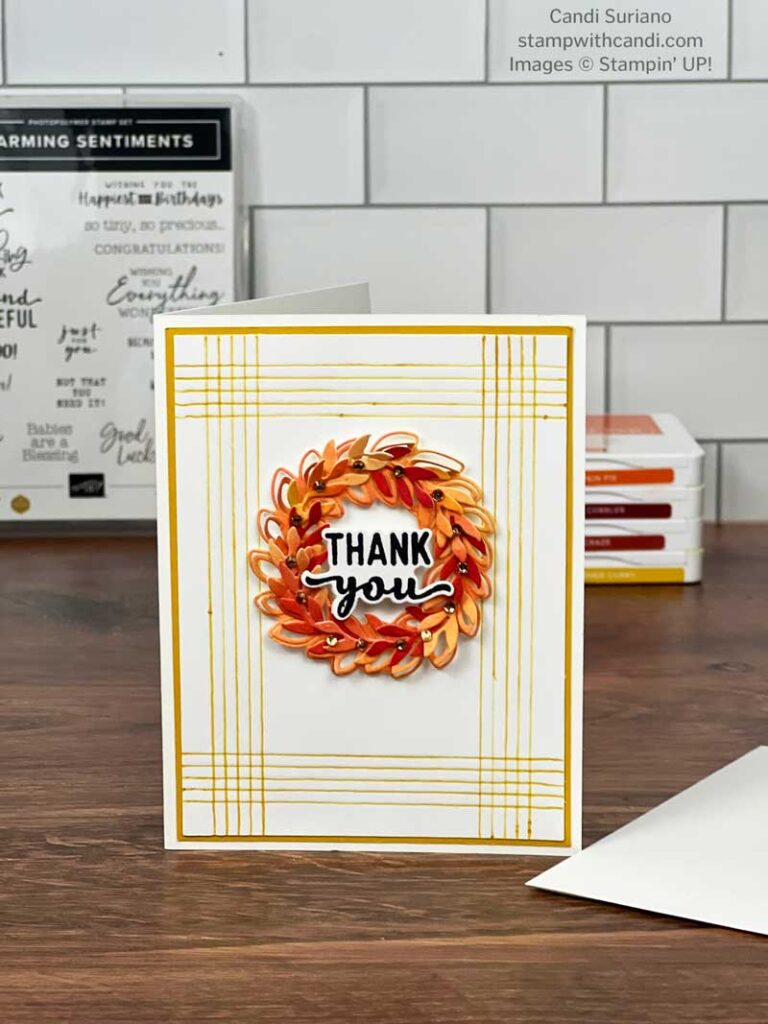
It’s another Crafty Collaborations Blog Hop. The theme of this hop is Thank You. I always like making Thank You cards because I need so many. I include one with each order I receive and for all the other occasions in my life where someone has done something for me or given me something. I’ve chosen the Country Wreaths Dies and used two different techniques for today’s card.
Today’s Project – Country Wreaths
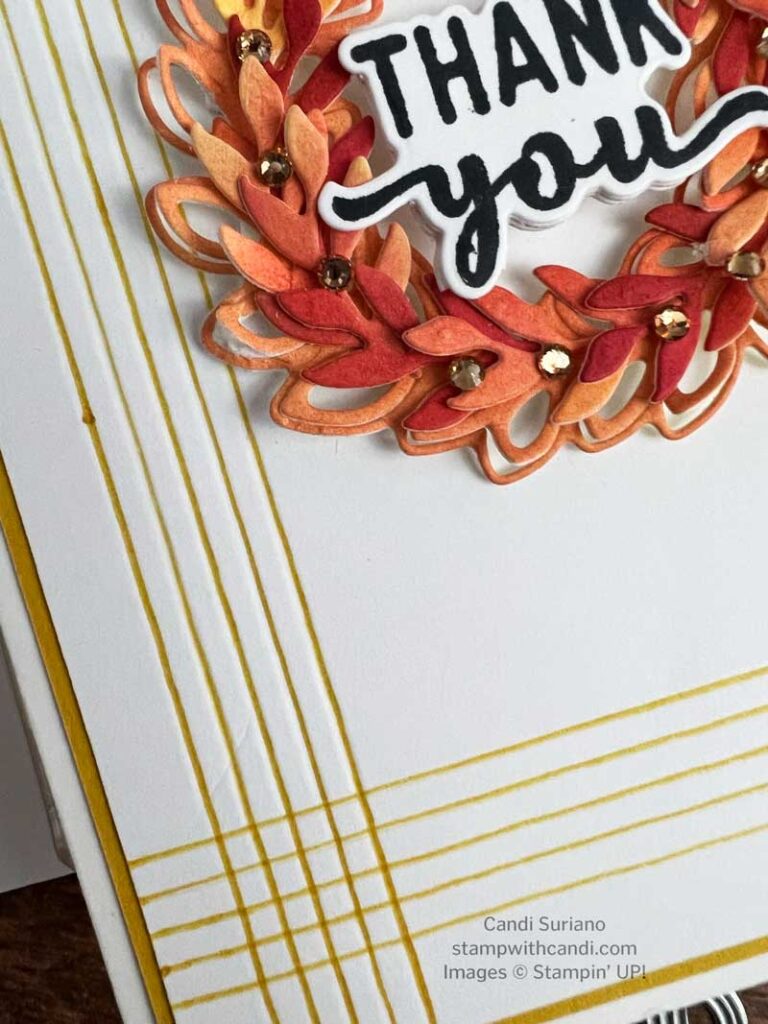
Let’s start by talking about the scored frame on the card. I used the Simply Scored Scoring tool to draw 5 score lines around the edge of the cardstock. Each score line is at 1/8″. The key is to do one side and then the opposite before turning to do the other two sides. Otherwise, it looks a little off. After scoring I used a Crushed Curry Stampin’ Write marker to add color to the scores. I love the way it looks despite the few little ‘blobs’ where I stopped the marker.
This is an easy technique and adds a lot to the card. And, you can be really creative with it. By putting the card on the diagonal, you’ll get diamonds. You can go over it with a brayer to have a solid color with white lines. By the way, this only works with a brayer. Blending Brushes get in the lines and so you don’t get the white lines. Another idea is to just leave the score lines plain. Not only is this easy, but it’s a subtle effect that works well on Clean and Simple cards.
Today’s Color Palette – Country Wreaths
To make the wreath and the leaves for the inside and envelope, I used a watercolor technique. First working on a silicone mat, I took a piece of Fluid 100 Water Color paper and got it very wet on both sides using a Water Painter. It’s important to get both sides wet so that it doesn’t curl. Next, I put a drop of each color on 4 stamping blocks. This is my palette. Then I took a little bit of Crushed Curry and put it all over the paper. Finally, I took some of each of the other colors and put them in rows across the paper allowing them to flow into each other. The last step is to either let it air dry or dry it with a heat tool.
You may not associate Cherry Cobbler with fall colors, but a little bit of it is perfect. And Cajun Craze, Crushed Curry, and Pumpkin Pie are traditional fall colors.
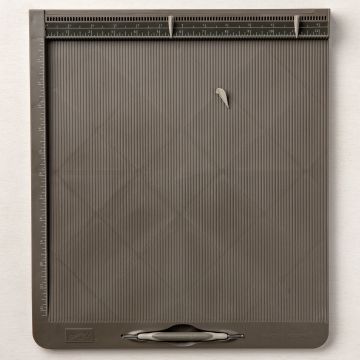
Simply Scored Scoring Tool
The Simply Scored Tool makes it easy to make evenly spaced lines. Of course, you could use the scoring blade on the trimmer, but the Simply Scored ensures you’ll have evenly spaced lines.
After scoring, I added color to the score lines using a Crushed Curry Stampin’ Write maker. I found it easier to keep the paper in the scoring tool and let it guide my hand. Much easier than doing it off the tool.
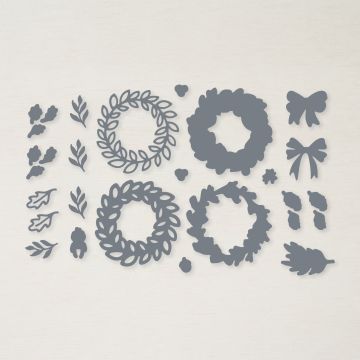
Country Wreaths
This set is so incredibly versatile especially when paired with the matching stamp set. The image above shows the die-cuts from the dies. . I used the fuller wreath and the open leaves. I was happy to see that the set has 4 open leaves which means fewer turns of the crank on the Stampin’ Cut and Emboss. The other interesting thing about the wreaths it that you can ‘fluff’ them to make them seem fuller.
After cutting the wreath with the dies, I cut a lot of extra leaves. I added them to the wreath to make it fuller and saved some for the inside and envelope. The wreath needed some bling so I added Champagne Rhinestones Basic Jewels. Mini dimensionals were perfect for attaching it to the card front.
Charming Sentiments
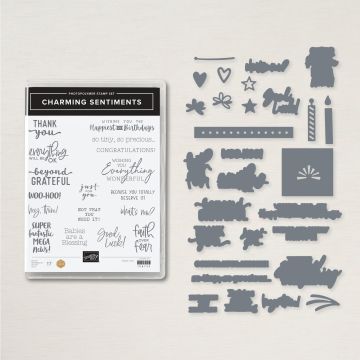
Charming Sentiments was at the top of my wish list from the Annual Catalog. I love having sentiments that have dies that cut them. It was a bit of a challenge to match the die to the stamp, but once done, they are simple to use.
After stamping the Thank You sentiment using Momento Tuxedo Black ink, I die cut 5 more blanks. I glued the blanks together and trimmed the sides so they would fit inside the wreath. Then I glued the sentiment on top of them. A dimensional on the back allowed the sentiment to nestle into the inside of the wreath.
Make the Inside Pretty
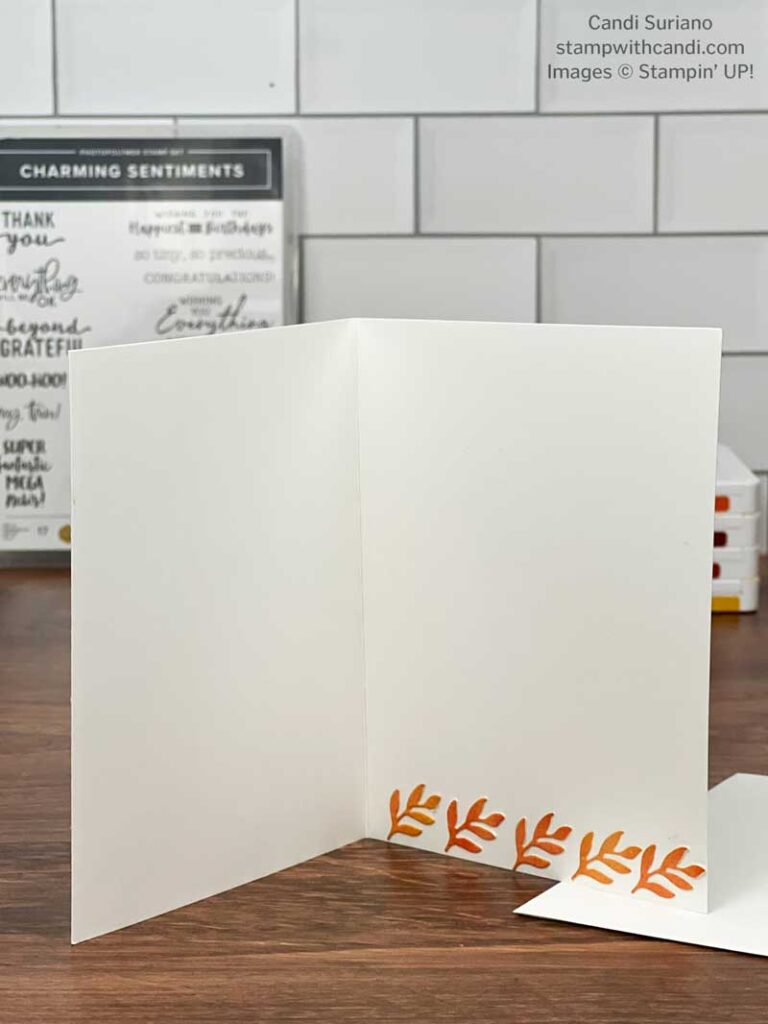
The leftover die cuts were put to use by gluing them with liquid glue in a line on the bottom of the inside.
Don’t Forget the Envelope
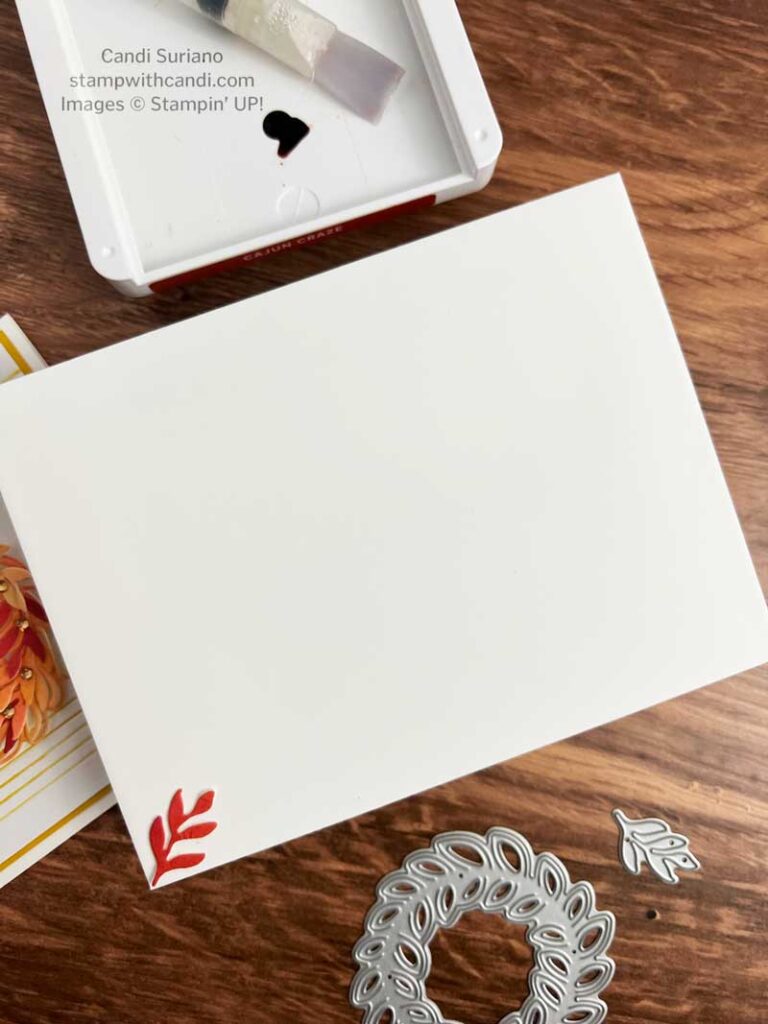
An additional leaf was glued to the envelope front.
You Can make it, Too! Country Wreaths
Although it looks complicated, this is a pretty straightforward card to make. But, I must confess, it’s not a card for a beginner. There are a lot of steps and frankly, some people may find it tedious. But, I love the details and so I’m willing to take some time with it.
Cut the Cardstock
- Cut the base of Thick Basic White cardstock at 5 1/2″ X 8 1/2″. Score at 4 1/4″. Fold and crease with a bone folder.
- Cut a piece of Crushed Curry at 4″ X 5 1/4″.
- Cut a piece of Basic White at 4″ X 5 1/4″.
Score and Color the Score Lines
- Put the 4″ side of the Basic White panel along the top of the scoring tool.
- Starting at 1/4″, score 5 lines 1/8″ apart.
- Starting from the right side at 3 3/4″ and working towards the left, score 5 lines 1/8″ apart.
- Turn the paper so that the 5 1/4″ side is along the top.
- Starting at 1/4″, score 5 lines 1/8″ apart.
- Starting at the right side at 5″, score 5 lines 1/8″ apart.
- Using a Crushed Curry Stampin’ Write Maker. score down each of the above score lines
- Trim the paper to 3 7/8″ X 5 1/8″ making sure to take a little bit off of each side.
Make the Wreath
- Wet both sides of a piece of Fluid 100 Watercolor Paper using a Water Painter. Work on a silicone mat so that the working surface isn’t ruined.
- Put a drop of reinker on either a stamping block or the lid of the ink pad for each of the colors: Crushed Curry, Pumpkin Pie, Cajun Craze, and Cherry Cobbler.
- Pull a tiny bit of Crushed Curry on the Water Painter and paint it across the watercolor paper.
- Take a little bit of each of the remaining colors and wash them across the paper in rows, letting them run together a little.
- Let dry or dry with a heat tool.
- Place the wreath die on the paper and cut.
- Cut 18 – 20 leaves from the rest of the paper.
- Separate the edges of the wreath to give it more volume.
- Using a little bit of liquid glue attach the leaf stems to the wreath overlapping them. The color will have variations which should be spaced as evenly as possible.
- Attach Champagne Rhinestones Basic Jewels to the wreath.
- Attach the wreath to the card front using Mini Stampin’ Dimensionals.
Make the Sentiment
- Stamp the Thank You sentiment on Basic White using Momento Tuxedo Black ink.
- Cut out the sentiment plus 4 blanks using the die.
- Glue the 4 blanks together, then cut off the sides so that they fit inside the wreath.
- Glue the sentiment to the top of the blanks. Add a dimensional on the bottom of the blanks. Attach to the card front nestling it into the middle of the wreath.
Finish the Inside and Envelope
- Attach 5 leaves to the inside using liquid glue. Either use 5 that are close to the same color, or use different colors. Play with what will look best before making the wreath.
- Attach 1 leaf to the envelope front using liquid glue.
I hope you enjoyed today’s project and that it inspires you to try adding some scoring to your projects. Or, perhaps you’ll try using watercolor paper and ink to make your own paper to give your image some color variation. Not it’s time to see what the others have done. So grab a beverage, sit back and relax, and enjoy the hop!
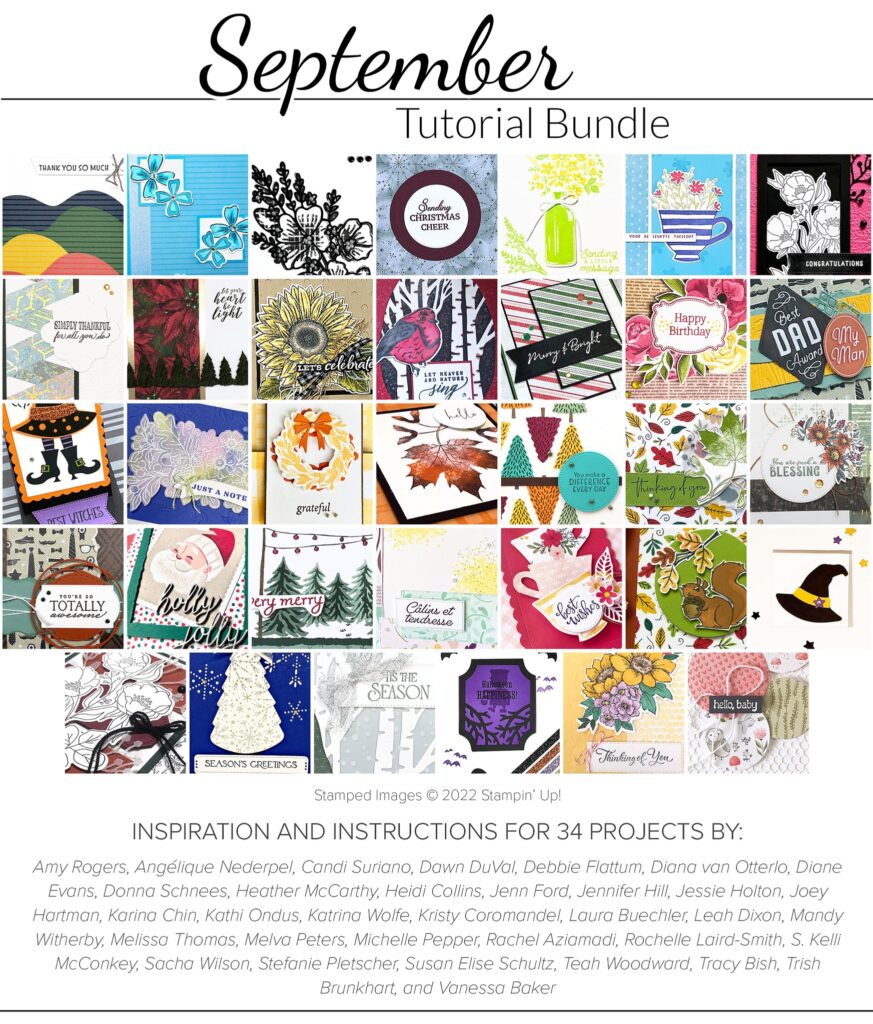
The Crafty Collaborations September Tutorial is simply amazing. Step-by-step instructions with pictures for 34 different projects using current Stampin’ Up! products. It’s free with a $50 purchase in my online store. You don’t want to miss this one!




I love your card Candi, love the watercolour wreath and the scored border x
Thank you, Mo!
Candi, your card is beautiful! I love the scored lines around the perimeter and the colors!
Thank you, Kathi!
What a fantastic way to use the scoreboard! I love it!!
Thank you, Dana!