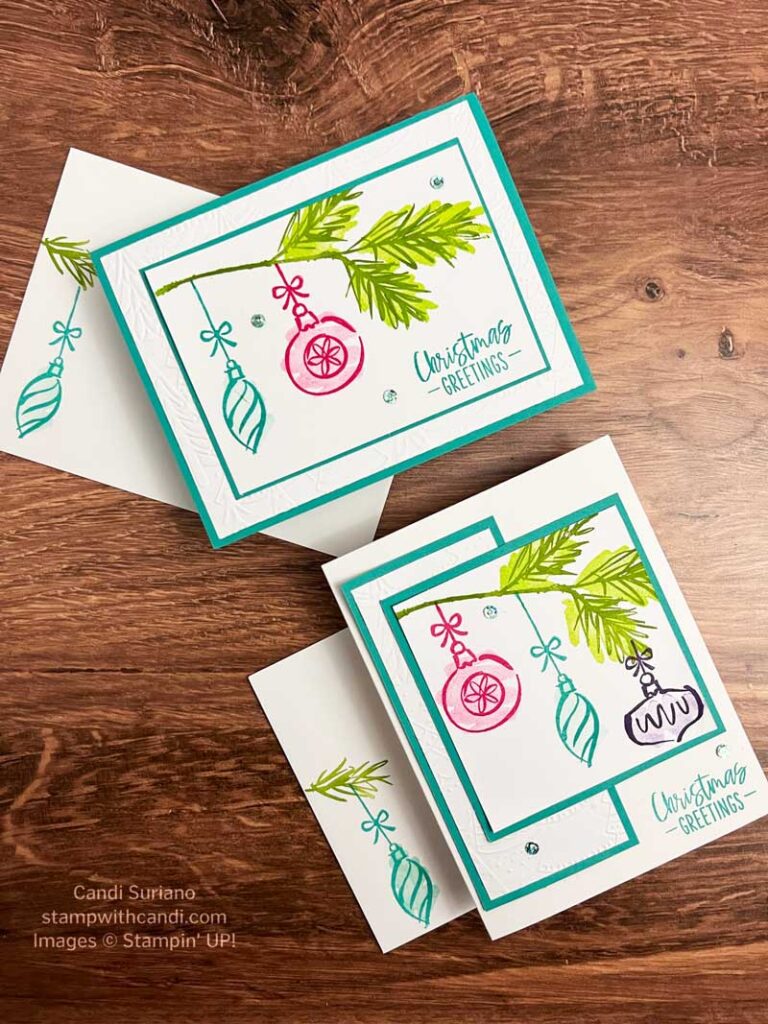
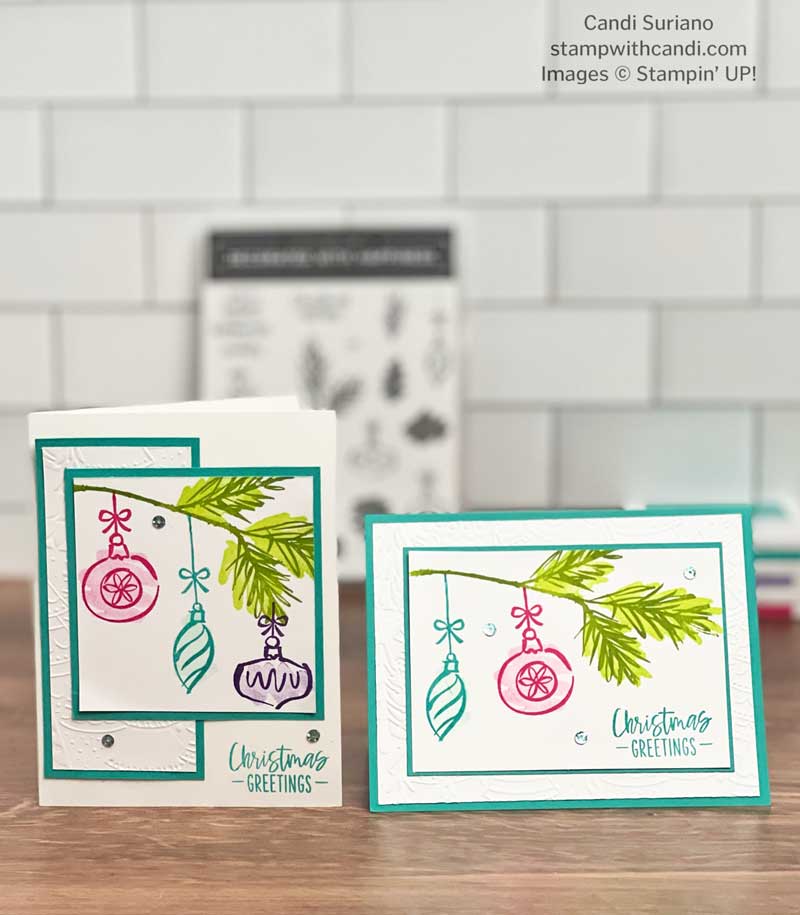
Today’s theme for the Crafty Collaborations Blog Hop is anything goes. It’s where we share whatever we’ve been working on. It’s one of my favorite hops because I get to see all kinds of different projects. For my project, I chose to share a couple of Christmas cards I made using the Decorated with Happiness stamp set.
Today’s Projects – Decorated with Happiness
The layouts for these cards are some of my go-to layouts. The landscape card has an embossed layer over the card base and another layer matted with the same Bermuda Bay color as the mat.
For the portrait card, I used two panels. The first panel has an embossed layer that is matted with Bermuda Bay and a second panel with ornaments. Again, this panel was matted with Bermuda Bay.
This stamp set has outline stamps that could be colored. Or, for a quicker card, you can use the fill stamp which is what I did on this card. I stamped off the outline color on the fill stamp to get a monochromatic look.
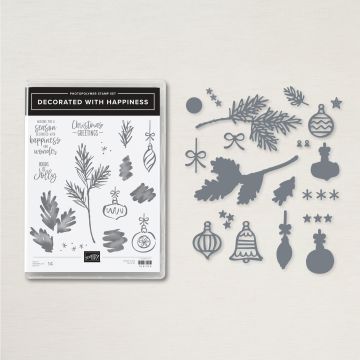
Decorated with Happiness Bundle
Although I only used the stamp set for my cards, dies are also available for the stamps. As you can see, the dies cut out morre & different ornaments than the stamp set. I love how you can layer the color on the stamps and then cut them out. I also love the 3 ‘line’ ornament dies. I’ve seen some stunning cards where they are cut from the metallics!
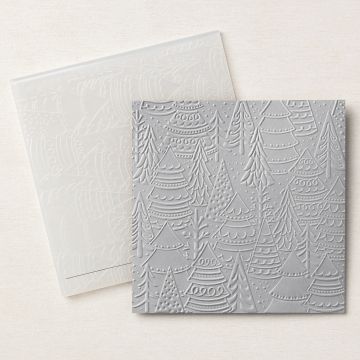
Whimsical Woodland 3D Embossing Folder
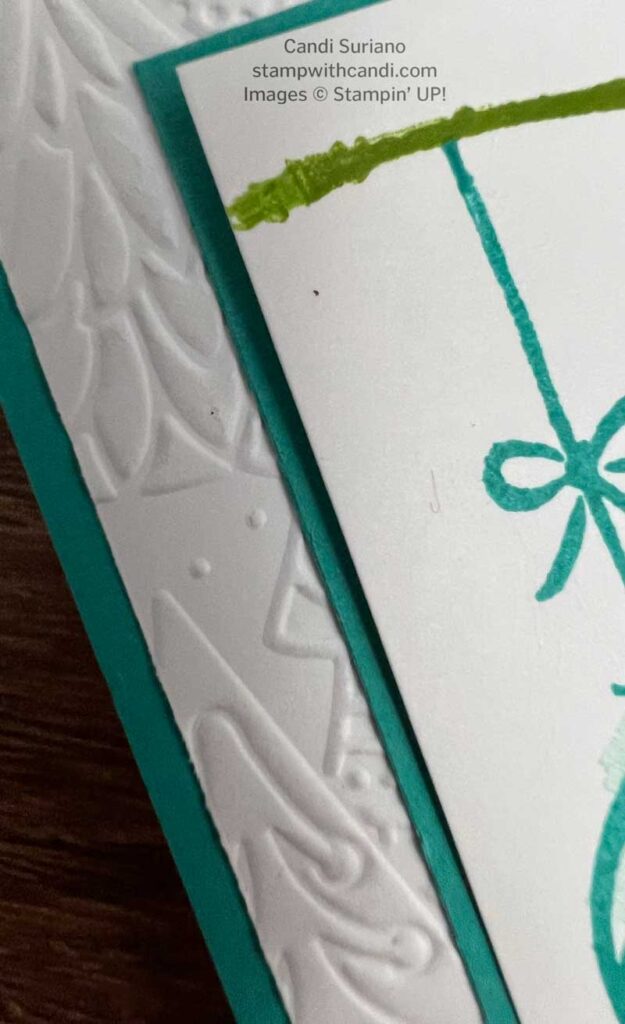
I just love this Whimsical Woodlands 3D Embossing Folder. It adds so much interest to the card without overpowering it. Check it out in the image below. I think a card made with the embossing folder inked would be stunning. Or just run a stamp pad directly on the raised part of the cardstock.
Today’s Color Palette
Lately, I’ve been attracted to non-traditional Christmas colors. I think because it’s been unseasonably hot here, I’m still loving the tropical colors. I’m pretty sure I’ll be back to tradition once the temperature drops.
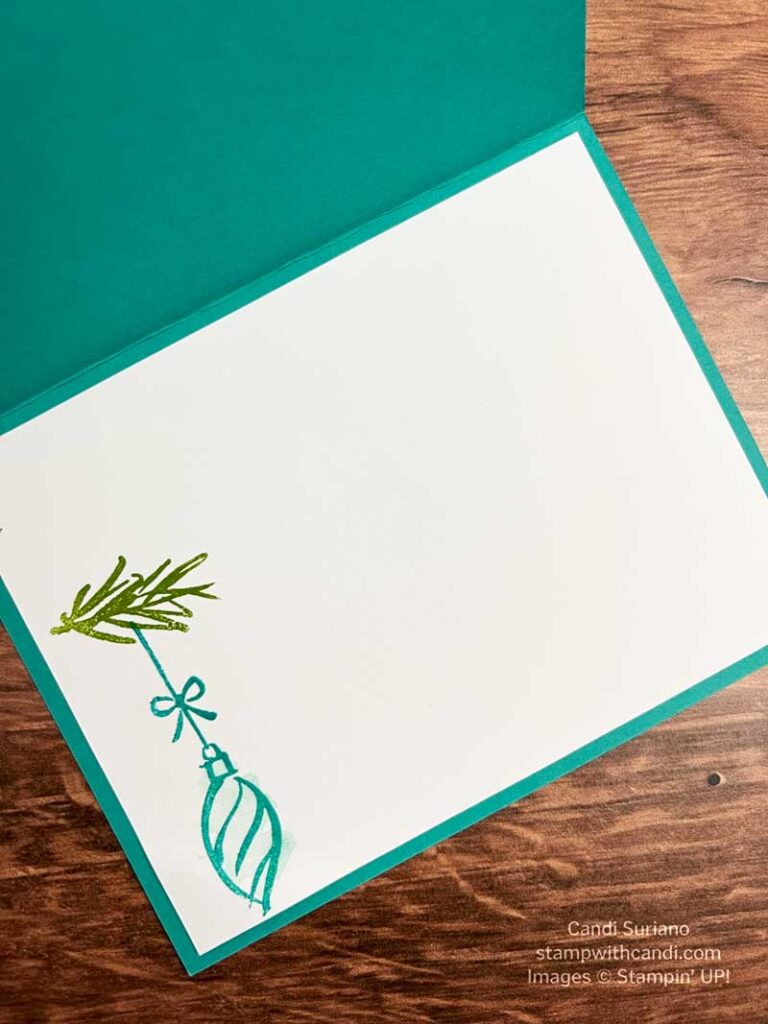
Make the Inside Pretty
I chose to put the small leaf and an ornament on the inside of both cards. Notice that the fill stamp is ‘artistic’ which means that it doesn’t line up exactly.
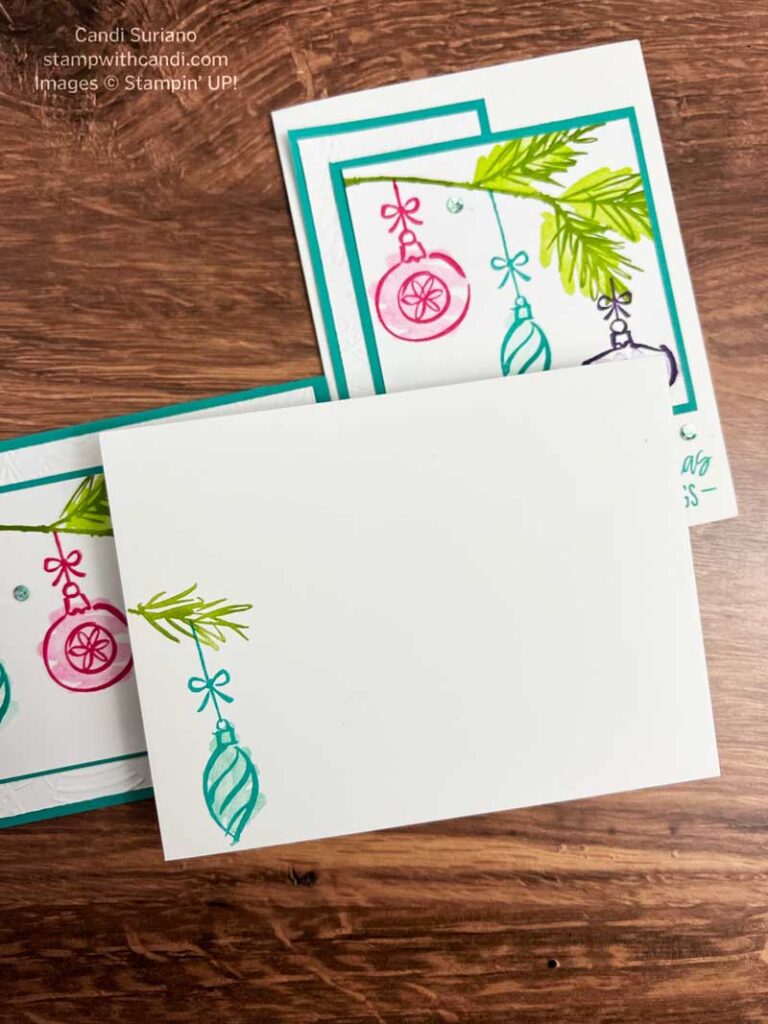
Don’t Forget the Envelope
I used the same stamps and colors for the envelope as for the insides. It’s a common theme with me. I want to decorate both but not have them overpower the card. So, I tend to do the envelope whatever I’ve done on the inside.
You can Make It, Too! – Decorated with Happiness
Card #1 – Decorated with Happiness Landscape
Cut the Cardstock
- Cut a piece of Bermuda Bay – 5 1/2″ x 8 1/2. Score at 4 1/4. Fold and crease with a bone folder.
- Cut a piece of Basic White – 4″ X 5 1/4″. Emboss with Whimsical Woodlands 3D embossing folder
- Cut a piece of Bermuda Bay – 4 1/2″ X 3 1/4″
- Cut a piece of Basic White- 4 3/8″ X 3 1/8″
- Cut a piece of Basic White – 4″ X 5 1/4″ for the inside.
Stamp
- Stamp the sentiment using Bermuda Bay ink in the lower right corner of the Basic White panel.
- Stamp the branch outline using Granny Apple Green ink.
- Stamp the branch fill using Granny Apple Green ink stamped off.
- Stamp the thin ornament using Bermuda Bay ink on the envelope, inside, and Basic White panel.
- Stamp the fill using Bermuda Bay ink stamped off on the envelope, inside, and Basic White panel.
- Stamp the round ornament using Melon Mambo ink.
- Stamp the fill using Melon Mambo ink stamped off.
Assemble
- Attach the stamped image to the Bermuda Bay mat.
- Attach the Bermuda Bay mat to the embossed layer using liquid glue. Tip: Liquid glue is best for embossed images because it gets into the valleys and holds better.
- Attach the embossed layer to the card base.
- Attach the inside panel to the inside of the card.
- Add 3 sequins from the Adhesive Backed Sequins and Gems.
Card #2 – Decorated with Happiness Portrait
Cut the Cardstock
- Cut a piece of Basic White – 5 1/2″ x 8 1/2. Score at 4 1/4. Fold and crease with a bone folder.
- Cut a piece of Basic White – 4 1/2″ X 2″”. Emboss with Whimsical Woodlands 3D embossing folder
- Cut a piece of Bermuda Bay – 4 3/4″ X 2 1/4″
- Cut a piece of Basic White- 3 1/4″ X 3 1/4″.
- Cut a piece of Bermdua Bay 3 1/2″ X 3 1/2″.
Stamp
- Stamp the sentiment using Bermuda Bay ink in the lower right corner of the Basic White carbase.
- Stamp the branch outline using Granny Apple Green ink.
- Stamp the branch fill using Granny Apple Green ink stamped off.
- Stamp the thin ornament using Bermuda Bay ink on the envelope, inside, and Basic White panel.
- Stamp the fill using Bermuda Bay ink stamped off on the envelope, inside, and Basic White panel.
- Stamp the round ornament using Melon Mambo ink.
- Stamp the fill using Melon Mambo ink stamped off.
- Stamp the last ornament using Gorgeous Grape ink.
- Stamp the fill using Gorgesou Grape stamped off.
Assemble
- Attach the embossed layer to it’s Bermuda Bay mat.
- Attach to card front.
- Attach the stamped image to the Bermuda Bay mat.
- Attach the Bermuda Bay mat to the card front.
- Attach the inside panel to the inside of the card.
- Add 3 sequins from the Adhesive Backed Sequins and Gems.
I hope you enjoyed today’s projects. They were so fun and easy to make. And I love the non-traditional colors. What do you think? Now it’s time for more inspiration! So, grab a beverage, sit back and relax, and enjoy the hop!
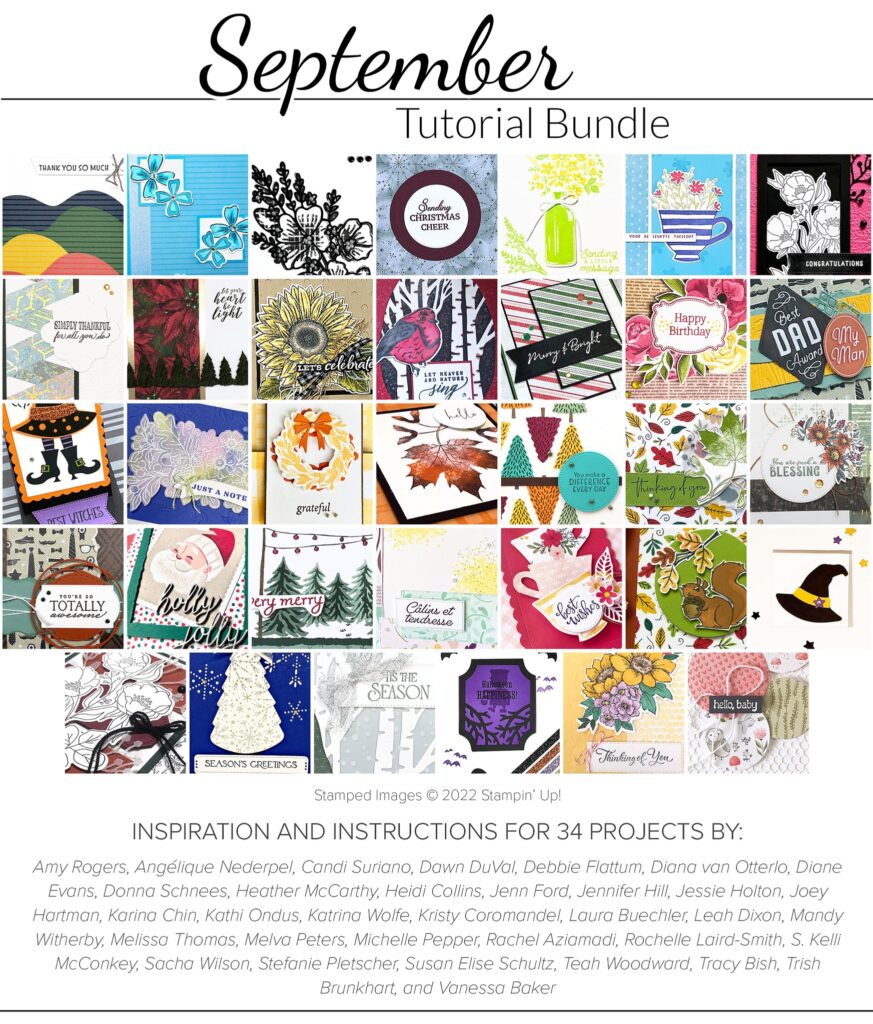
The Crafty Collaborations September Tutorial is simply amazing. Step-by-step instructions with pictures for 34 different projects using current Stampin’ Up! products. It’s free with a $50 purchase in my online store. You don’t want to miss this one!




Candi, I love your layouts for your cards. So pretty in Bermuda Bay! I would not have thought to use that for the holidays!
Love the bright colors for Christmas!
Great cards! Love the colors you used.
Pretty card! Love the colour combination!