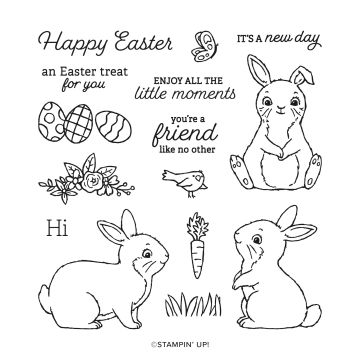
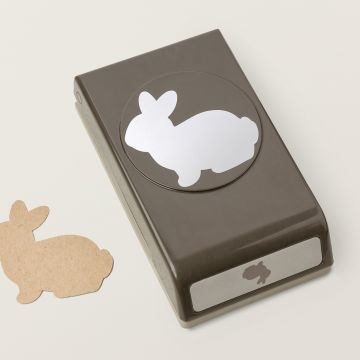
Crafty Collaborations, a group of demonstrators worldwide who love to share creativity with others, is having an Easter Themed blog hop today! I’m featuring the Easter Bunny stamp set. There is also a punch to go with the stamp set but unfortunately, it won’t be available until May. But no worries. This bunny is really easy to fussy cut as are the rest of the elements in this set!
Today’s Project – Easter Bunny
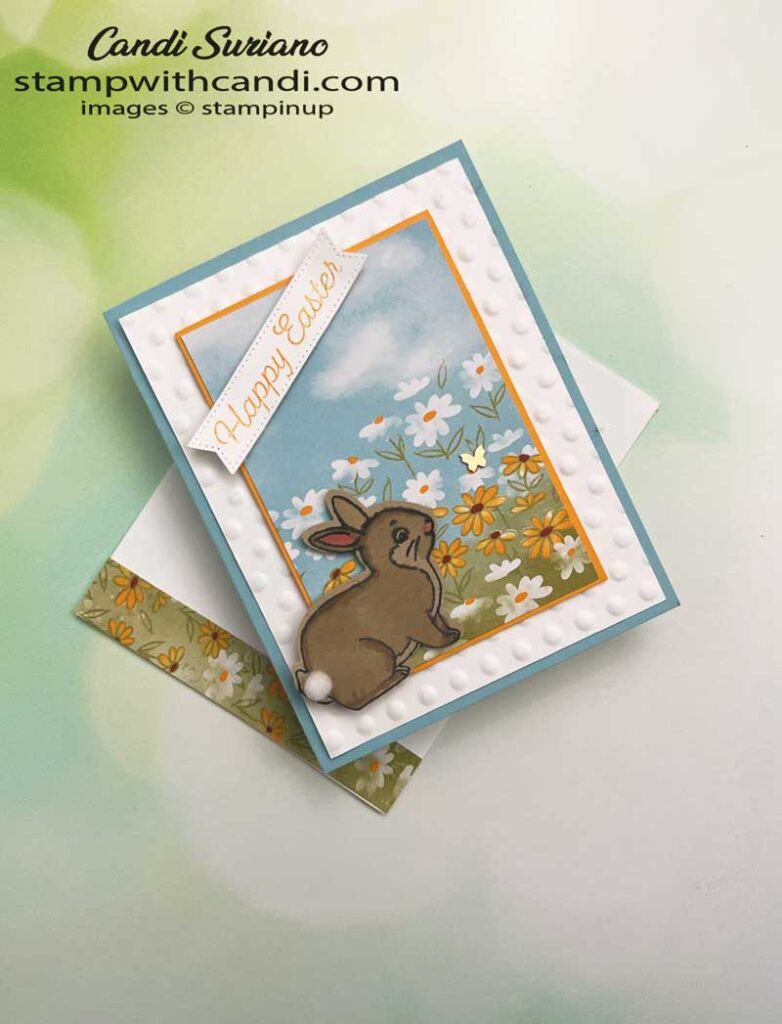
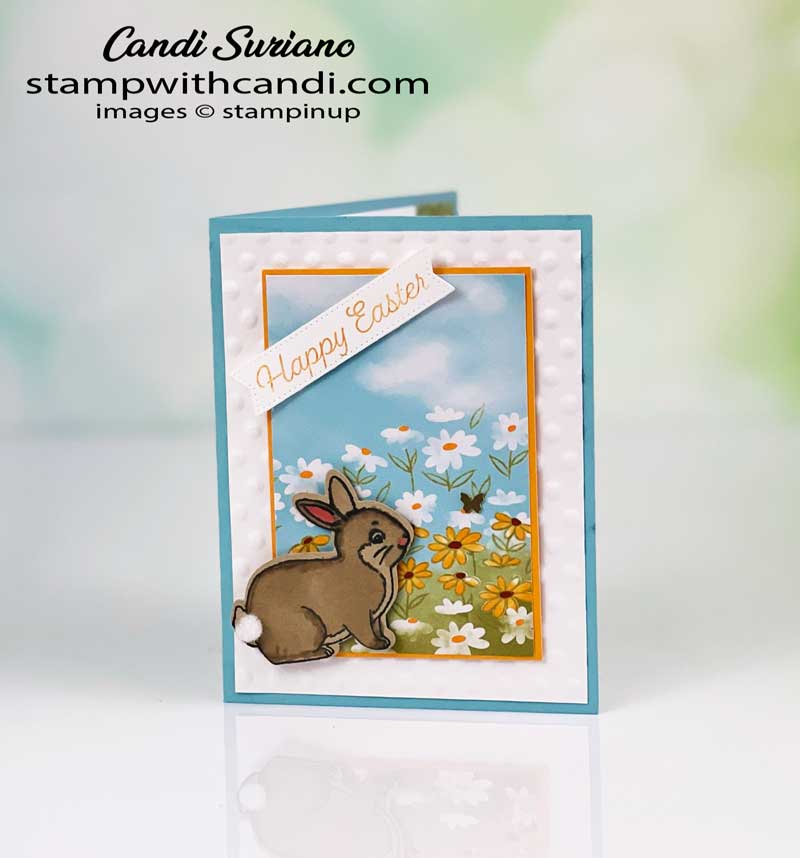
Isn’t the bunny just the cutest??? Doesn’t she look like she just wants to get that butterfly that’s flying over her wildflower garden? I stamped her on a piece of Crumb Cake cardstock and colored her with Flirty Flamingo and Crumb Cake Stampin’ Blends. I love her little tail which is a pompom that I got on Amazon.
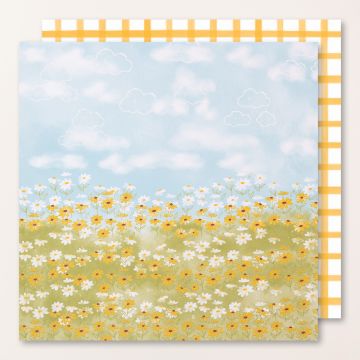
The background is from the Rain or Shine Designer Series Paper, which has to be one of my favorite papers ever. It’s fun and playful and versatile. You can make cards using just the designer series paper! I know I’ve used multiple packs of it!
The textured background was made using one of the embossing folders from the Basic Embossing folders that are part of the Online Exclusive offering. This is a new offering from Stampin’ Up! Three times a year, Stampin’ Up! will release new products that will only be available from my online store. They will not be in a catalog. This allows Stampin’ Up! to get trendy things to market faster and to offer niche products that would take up too much space in a catalog. In the future, we could see things like stamps & dies from many religions, stamps in different languages, and even some returning products. You can check out this new product offering here.
Today’s Color Palette
The color palette is taken straight from the DSP. I’d never thought of putting Balmy Blue and Mango Melody together, but they work. And of course, I wanted a brown bunny just like the ones who eat my lettuce!
Easter Bunny
Easter Bunny Punch
Rain or Shine DSP
Make the Inside PRetty – Easter Bunny
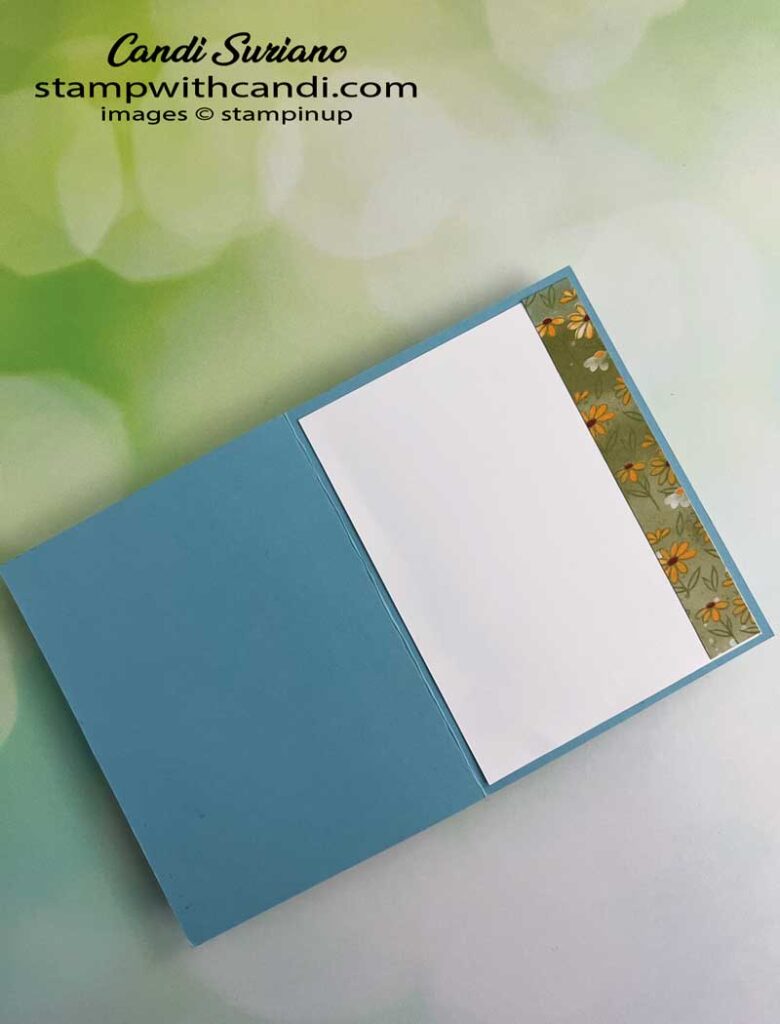
For the inside, I used a strip of DSP and put it on the right side of the liner. I saw someone else do this and liked it so I thought I’d try it, too. What do you think? Right or Left?
Don’t Forget the Envelope – Easter Bunny
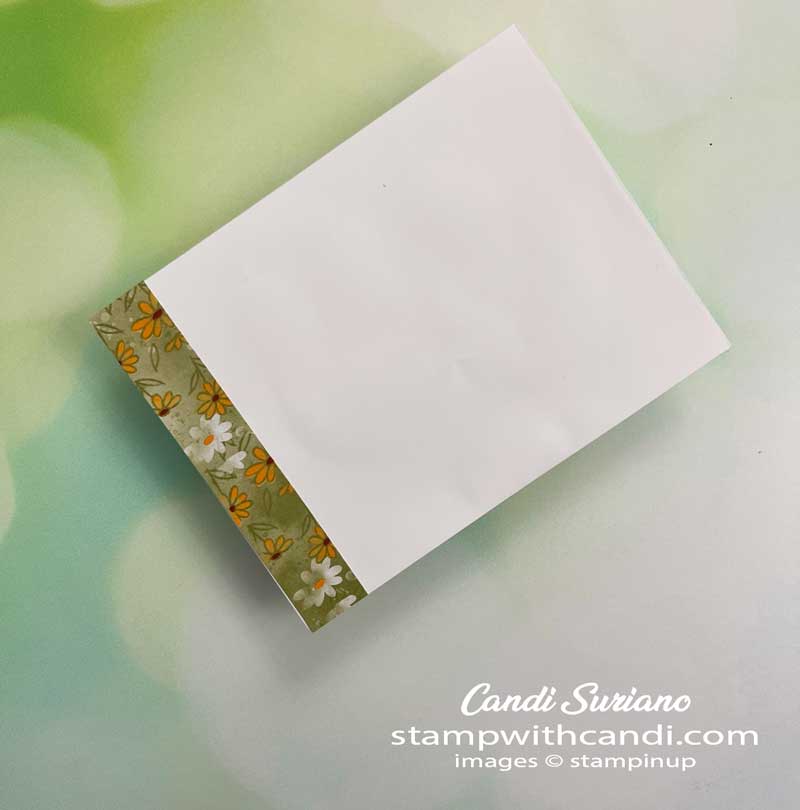
I used another strip of leftover DSP on the left side of the envelope. If I had only had a horizontal piece left, I’d have put it on the bottom.
You can Make It, Too! – Easter Bunny
This card is actually pretty easy. A few layers of paper, color the bunny, stamp a sentiment and you’re done.
Make the Cuts
- Card base (Balmy Blue) – 5 1/2″ x 8 1/2″ Score at 4 1/4″
- Layer 1 (Basic White) – 5 1/4″ x 4″
- Layer 2 (Mango Melody) – 3″ x 4 3/8″
- Layer 3 (DSP) – 2 7/8″ x 4 1/4″
- Scrap for Sentiment (Basic White) – 3 1/4″ X 1
- Scrap for Bunny (Crumb Cake) – 3″ x 3″
- Inside Liner (Basic White) – 5 1/4″ X 2″
- Inside Layer 1 (DSP) – 5 1/4″ x 3/4″
Stamp, Die Cut, Punch, & Color
- Stamp the sentiment on the Basic White scrap. Die cut with Stylish Shapes die.
- Stamp the bunny on Crumb Cake. Color with Blends. Punch out or fussy cut.
- Emboss the Basic White layer with the 3D dots embossing folder.
Assemble
- Attach the strip to the right side of the inside liner. Attach to the inside of the card.
- Attach the Basic White layer to the card front.
- Attach the DSP to the Mango Melody layer. Attach to card front using Stampin’ Dimensionals.
- Attach the sentiment to the card front using Stampin’ Dimensionals.
- Attach the bunny to the card front using Stampin’ Dimensionals.
- Attach the pom pom to the card front using liquid glue.
- Attach the DSP strip to the bottom of the envelope.
- Attach one Brush Brass Butterfly.
I hope you enjoyed today’s card and it inspires you to make a few Easter cards using this cute, cute, cute set! Now it’s time to see what the others have for you. So, grab a beverage, sit back and relax, and enjoy the hop!



Cute card!
Such a cute card! I love it!
Adorable card Candi, love this dsp x
Sweet card Candi ~ don’t you just love this DSP 🙂