I’m hopping again today with Crafty Collaborations and the technqiue for this hop is Envelope Techniques! Everyone in the hop will share ideas on dressing up an envelope. And, if you’ve looked at my blog before, you know I don’t like naked envelopes. I think decorating an enevelope just takes the entire presentation up a notch.Sso I’m going to focus on different ways you can dress up and envelope flap.
Today’s Project
Today, I’m going to share 3 different ways to decorate the flap of the envelope
ENvelope Technique #1 – DSP
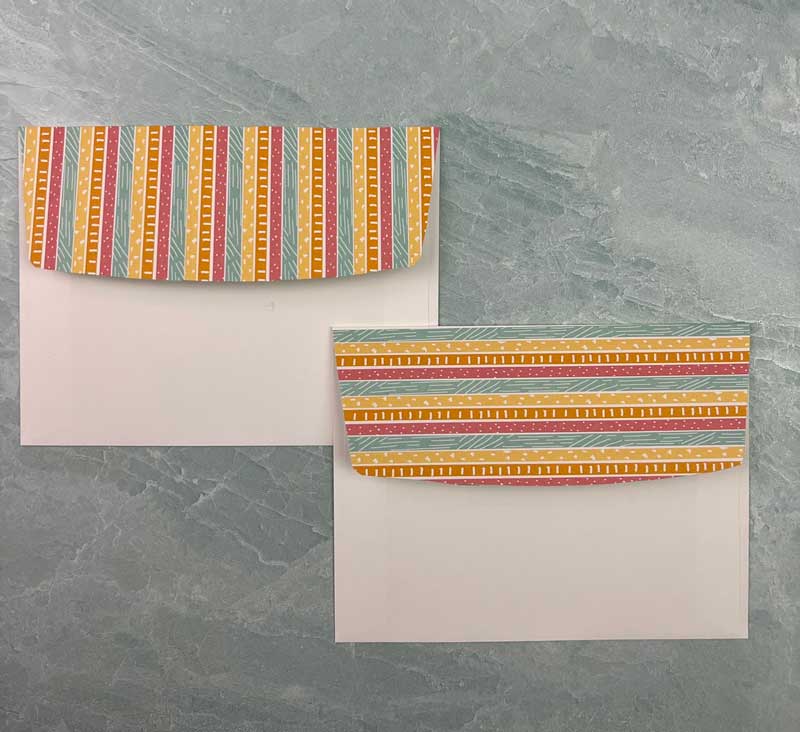
If your card uses Designer Series Paper (DSP), then a quick and easy way to decorate your envelope is to use a piece of the DSP as I show above. If your DSP has a direction, then make sure you take that into account. To use DSP, you need a piece that’s about 6″ x 2 3/8″. Attach the DSP to your envelope flap with Seal or liquid glue. When using Seal make sure you get it all to way to the edge. You don’t want the edge of the DSP to get caught on the sorting machines! Once you’ve glued the DSP to the envelope flap just trim to fit. I know it’s fussy cutting but it’s very easy fussy cutting.
Envelope Technique #2 – Embossing
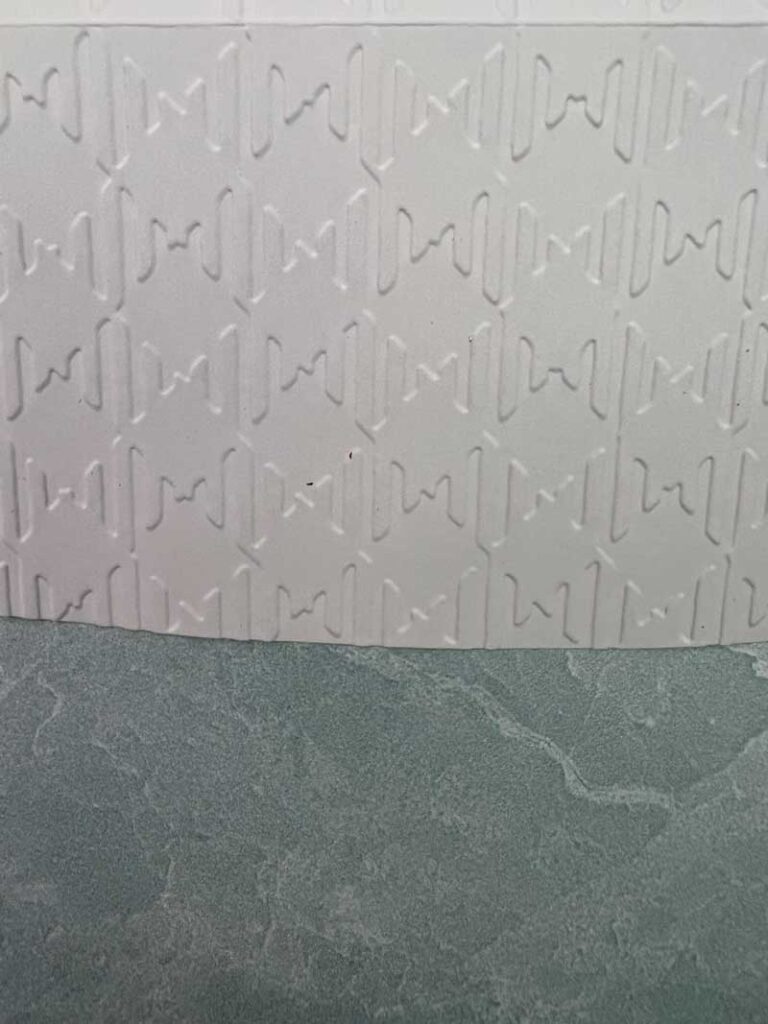
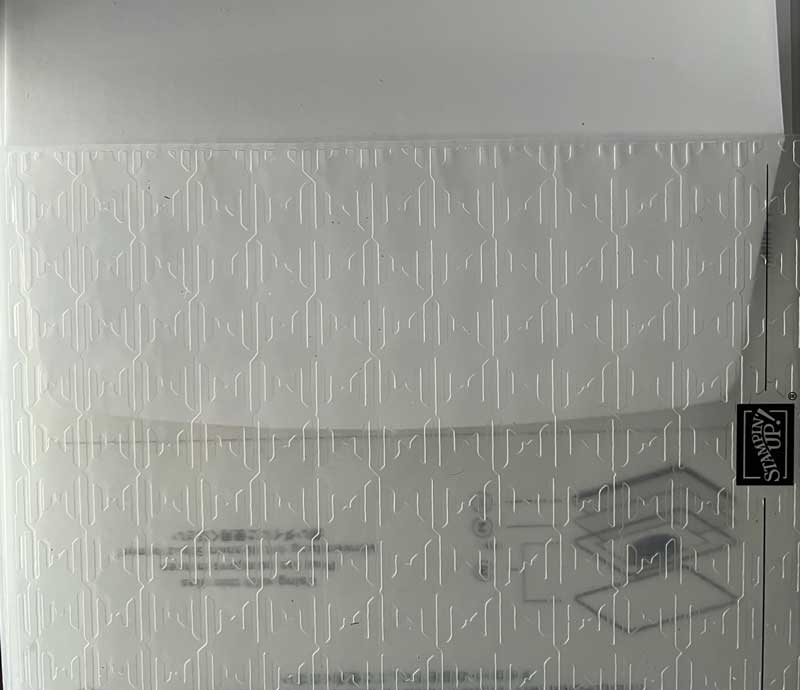
Another envelope technique is to emboss the flap using an embossing folder. It gives some nice texture to the envelope. Just line up the edge of the flap with the edge of the embossing folder and run it through a die-cutting machine as shown in the image below where I’m using the Gingham 3d Embossing Folder. I use this technique when there is embossing on my card.
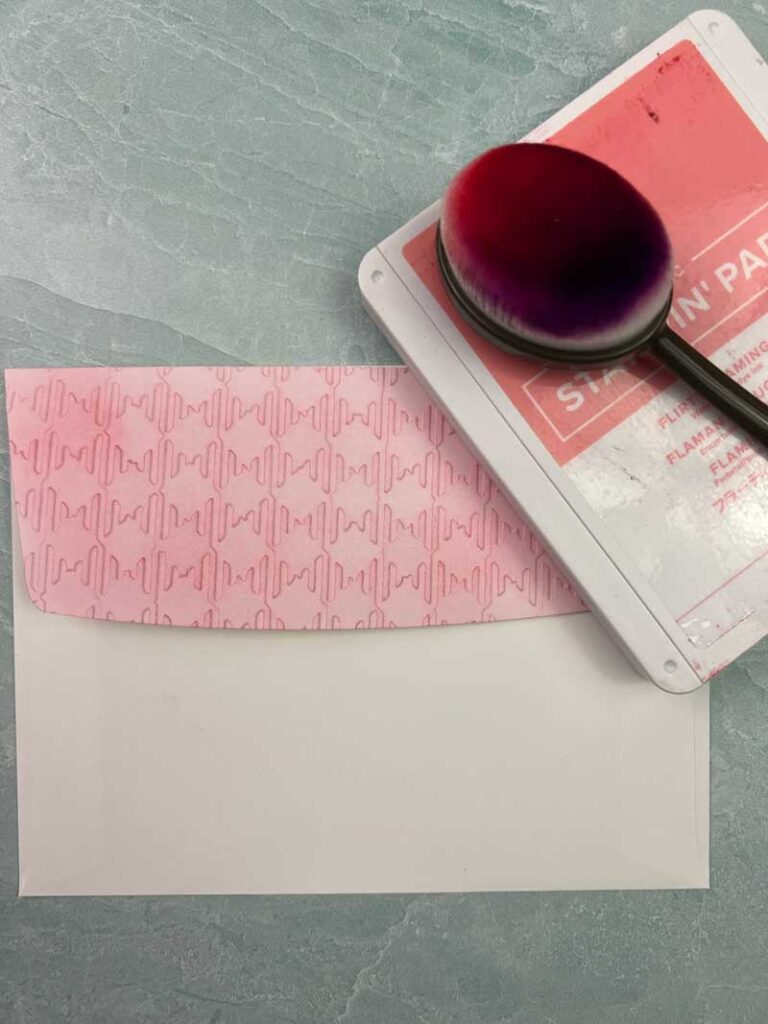
If you want a little color on your envelope, you can also use the blending brushes and some ink to color the embossed image as I show above. After adding the ink, I buff it with a tissue to remove any excess so that it doesn’t stain anything around it. Oh, and make sure your envelope flap is straight or you’ll have a crooked image. You’ll also need to mask the parts of the envelope that you don’t want to color.
Envelope Technique #3 – DSP & Border Dies
This technique is something I’ve only done a few times mainly because it’s something I’ve just thought of doing. And, although I’m using DSP in this technique, I’m pretty sure it would work without the DSP.
Envelope Techniques Die #1
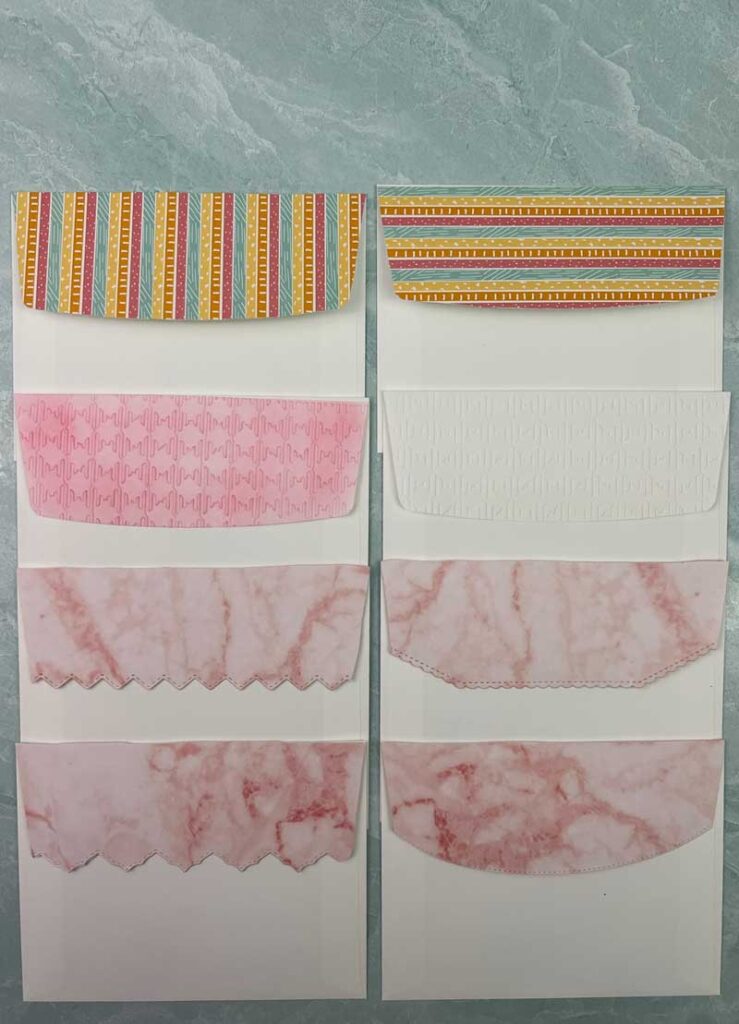
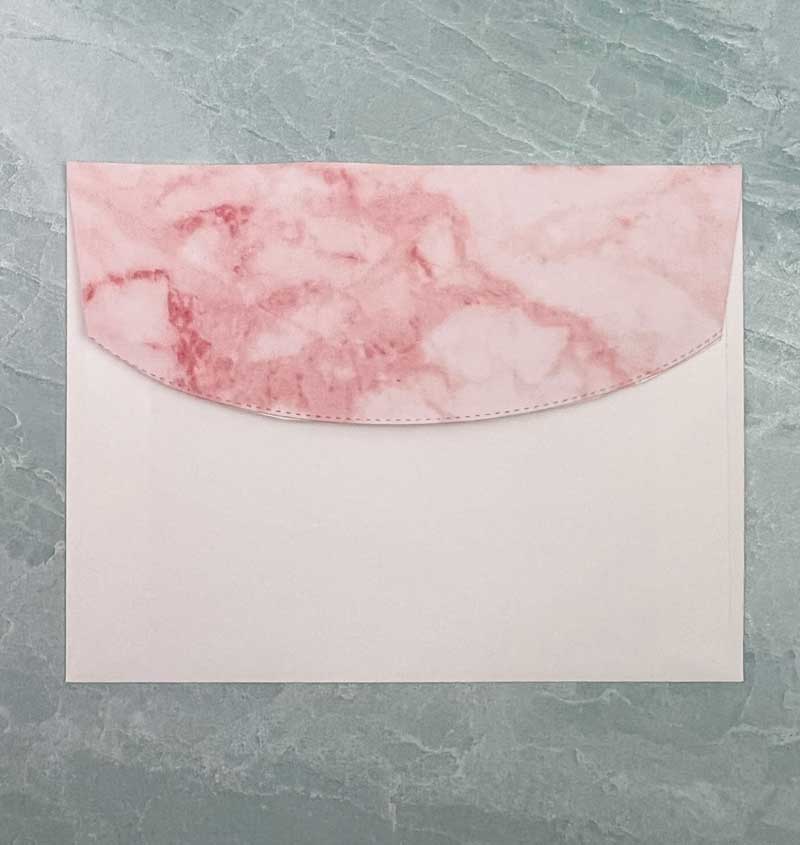
For this example, I used the rounded die from the Basic Dies. First, I put the DSP on the flap. Then I cut it with the die. When doing this, a little of the envelope is trimmed off and you lose a little of the glue section. Despite this, I love the way this envelope looks. That stitched edging is gorgeous especially if there are other stitched elements on your card,
Envelope Techniques Die #2
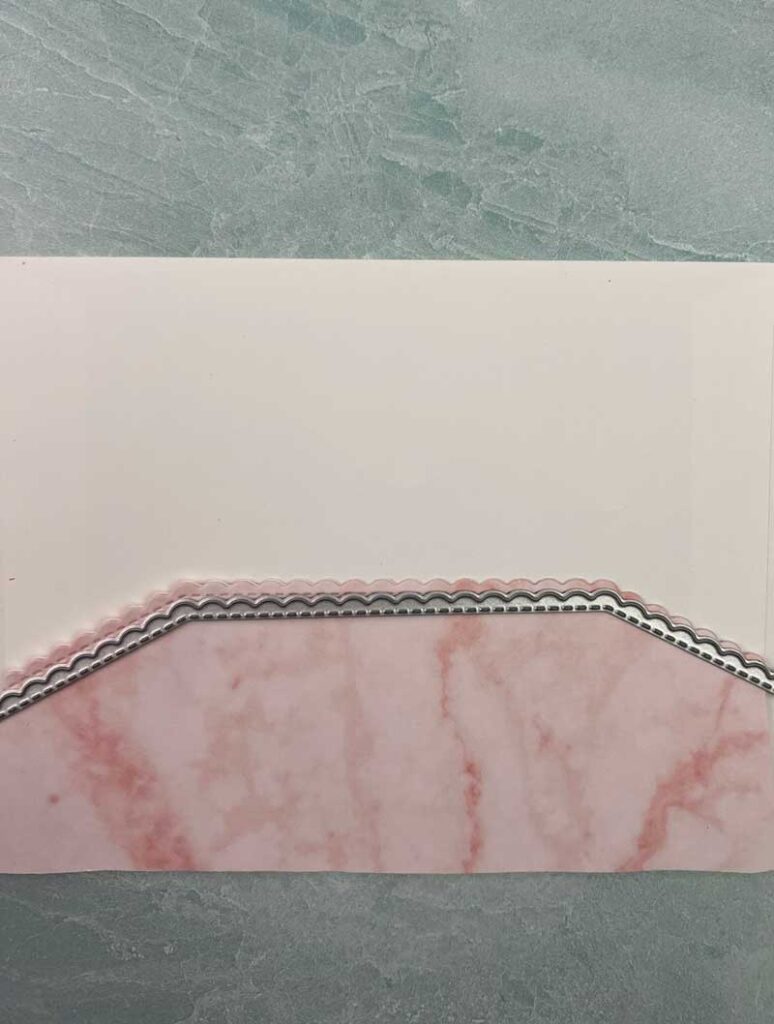
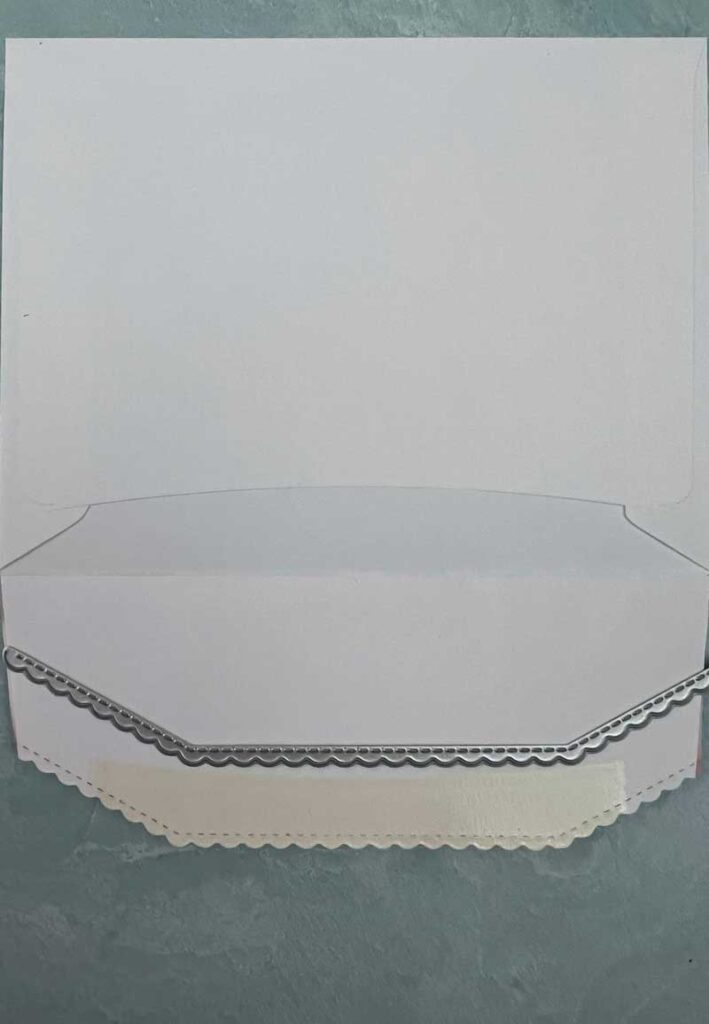
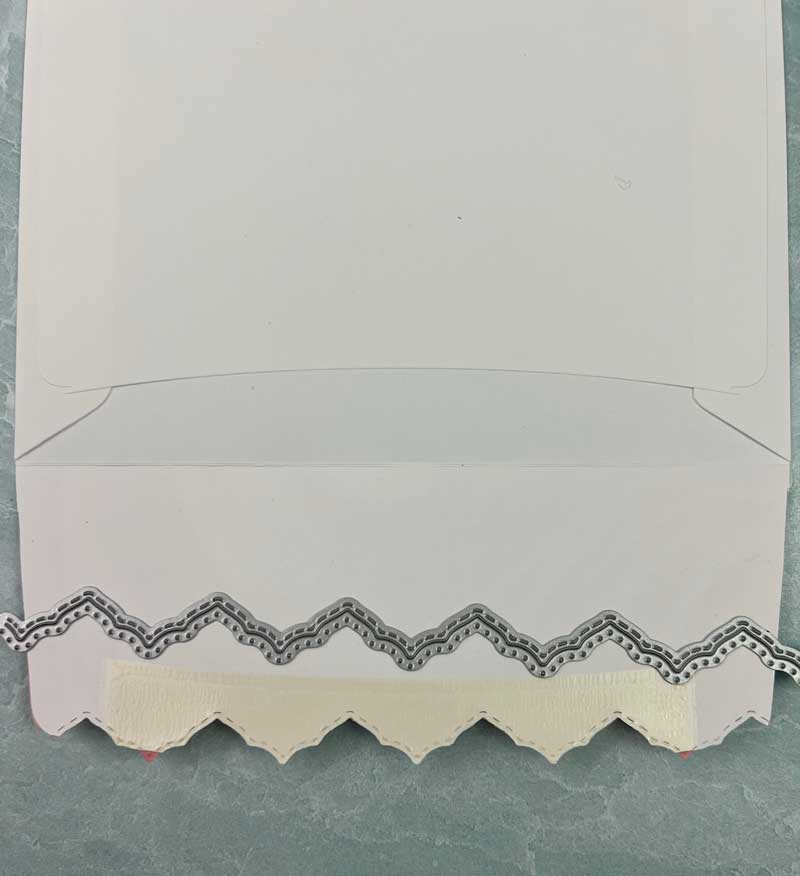
For this example, I used another of the dies from the Basic Dies. The image above shows the dies and the outside of the envelope while the image below shows how it looks on the inside.
As you can see, you do cut off some of the adhesive. And if this is a concern, you can Google “envelope adhesive” and find lots of options to add additional adhesive.
Envelope Techniques Die #3
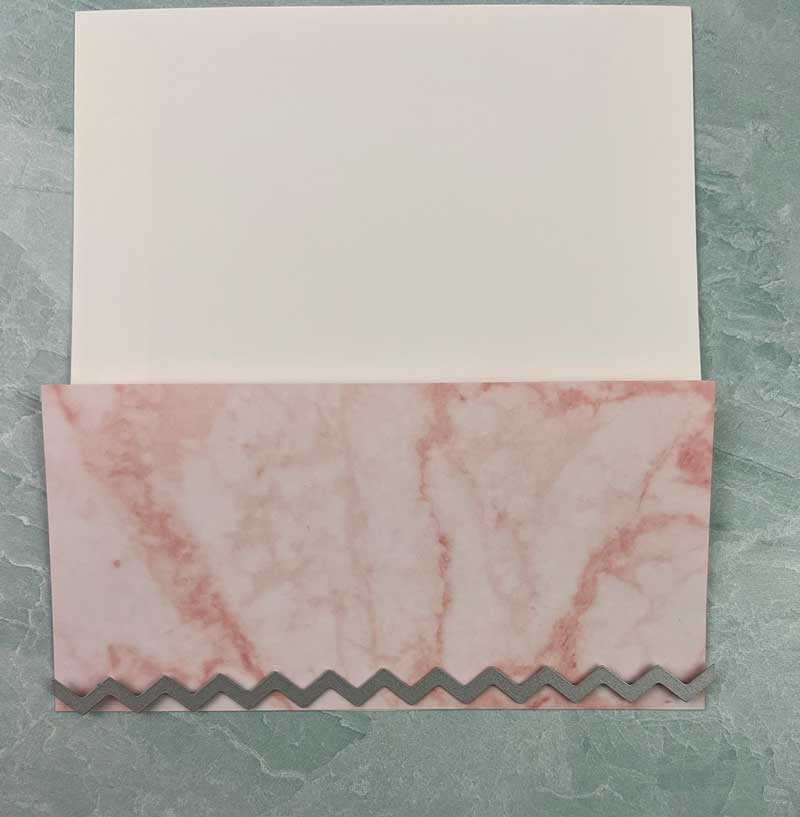
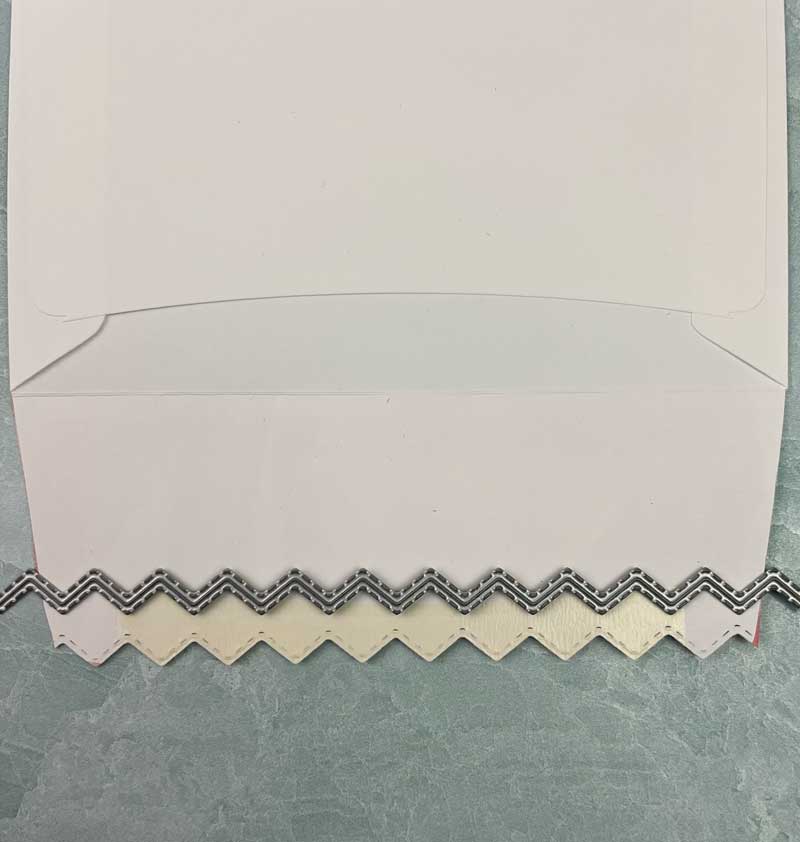
This image shows the outside of the envelope before die cutting. As you can see, I attached a 6 x 3 piece of DSP to the envelope flap. Then die cut it and finally trimmed to fit. The picture below shows how it looks on the inside of the flap. Again, you can see in the image below that you do lose some of the adhesive.
Envelope Techniques Die #4
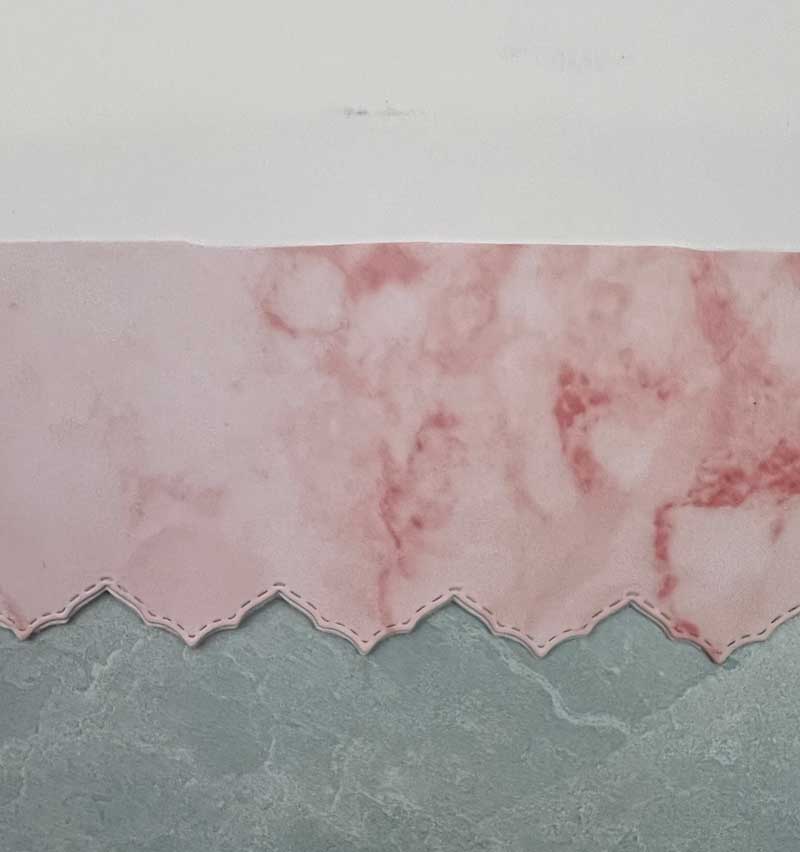
Finally, I tried a die that would make a more deeply cut edge. This one was really stunning, but I worried about it going through the mail. As you can see from the image below, some of the envelope ‘tips’ broke off. Yet, it’s still a stunning look for an envelope. For this one, I would definitely add some additional envelope adhesive to ensure those tips make it through the mail. Or, I might only use this die on those projects where I’m hand delivering the card.
As you can see from the examples above, almost any border die would work on the flap and you don’t need the DSP! The DSP just takes it up a notch!
Now it’s time for some more collaborative fun. Grab a beverage, sit back and enjoy the hop! You should find some awesome ideas and inspiration as others share their projects made with the Waves of the Ocean suite.
I hope you’ve enjoyed today’s post and learned something new about decorating your envelopes. And if you have any questions, please feel free to email me. Looking for a catalog or a demonstrator? Just let me know. I’ll pop a catalog in the mail to you.


Wow Candi, I love all of these and so helpful. Thanks for sharing
Great tips! TFS!
love decorated envelopes, lots of ideas Candi thankyou.
So many options! Thanks for sharing!
Beautiful!