Another blog hop today! And, this time it’s a color challenge. I find them to be the most challenging because there is no structure, just colors. Yikes!
Today’s Color Combo
So, the challenge today is to use Coastal Cabana, Highland Heather, and Flirty Flamingo. And, I have to admit that this stumped me for a couple of weeks. Then, I woke up this morning and realized that these are just spring colors. And, I can do spring colors! Easy Peasy!
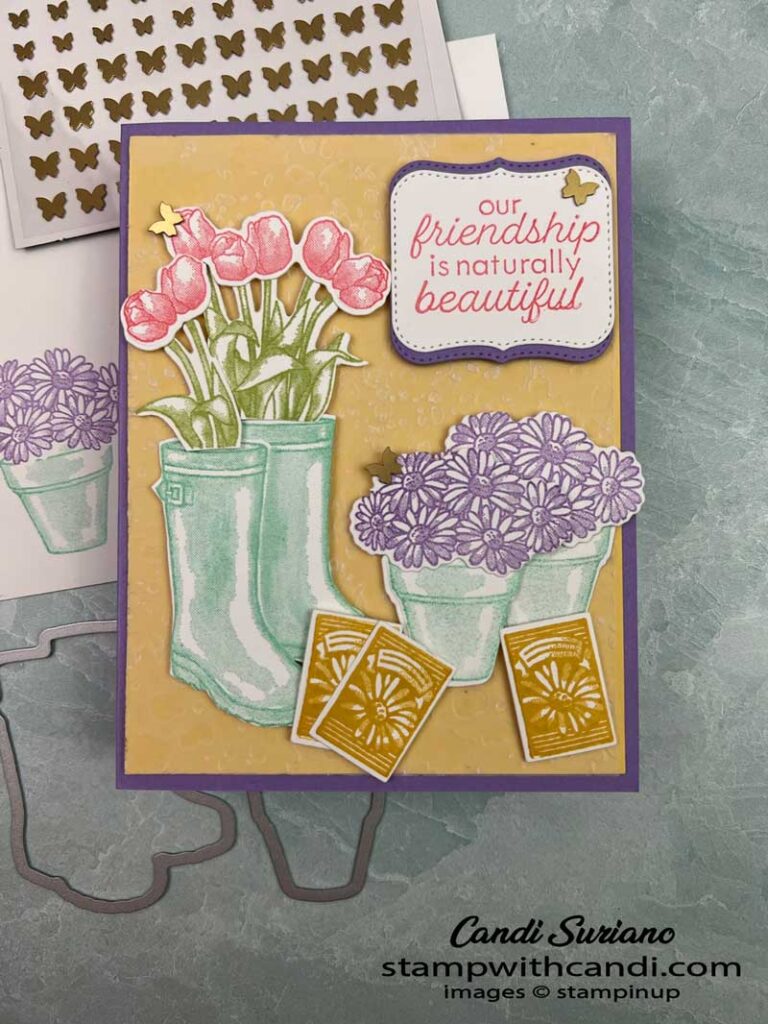
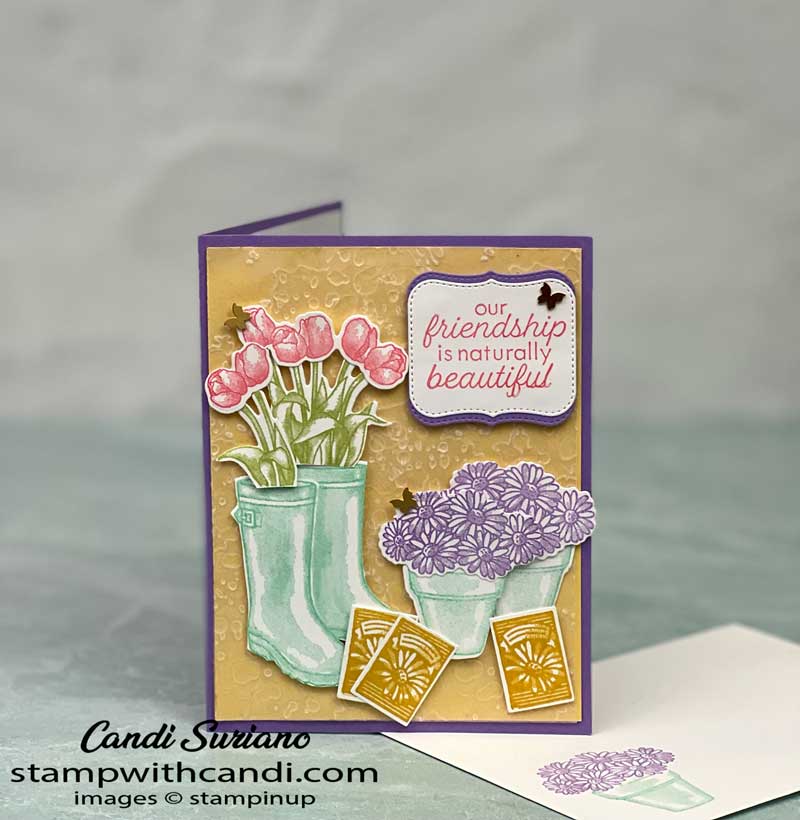
Today’s Project – Flowering Rainboots
I’ve been wanting to use the Flowering Rainboots bundle for a while. because it has images I love – flowers, flower pots, seed packets, rainboots, a trowel, and a watering can. Someday when the weather warms up I’ll post some pictures of my gardens. And this set reminds me of them!
Before I describe how I made this card, I have to confess that I made it twice. But the first time looked a little blah. Oh, it was a pretty card, with all the same elements except one. But that one takes it over the top! So let’s get to the description of that element!
Embossed Vellum Element
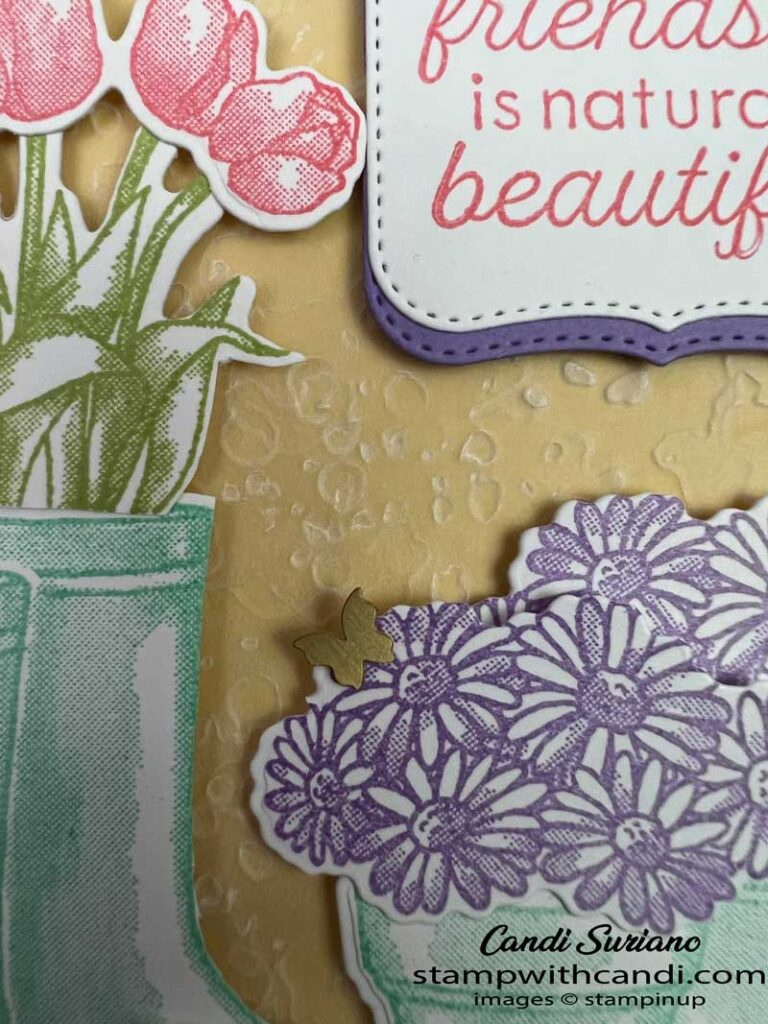
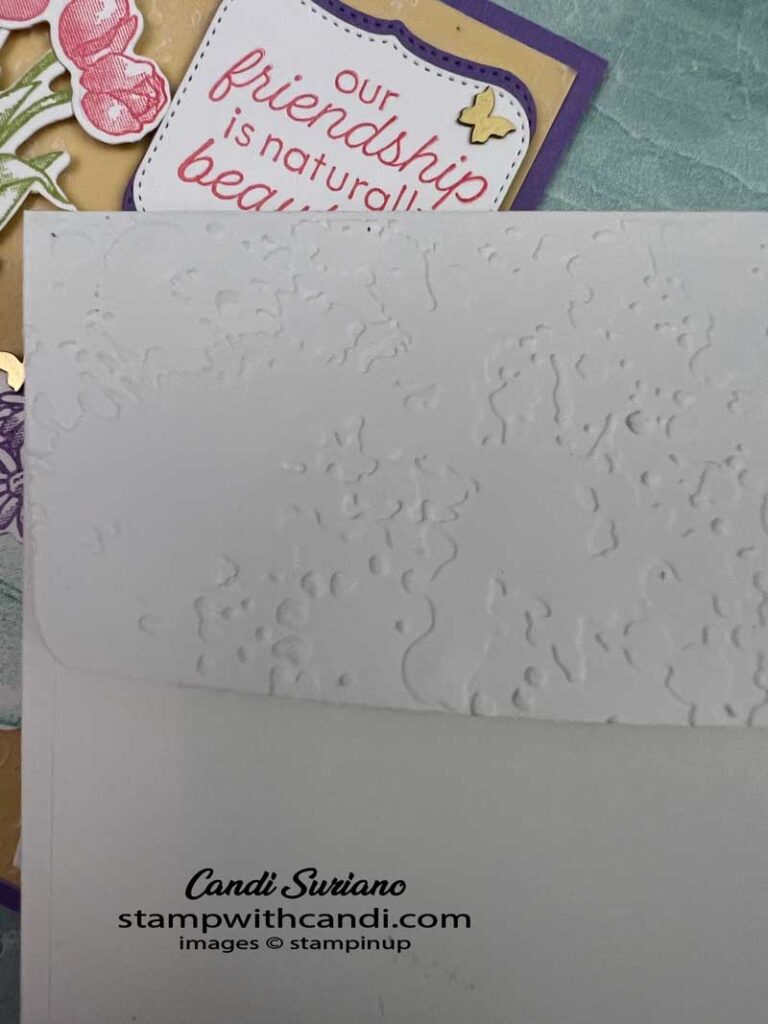
I added an embossed vellum on top of the So Saffron layer. It’s subtle but wow! It adds so much subtle texture to the card front.
Of course, my first thought was how am I going to attach the vellum to the card front given that it’s the same size as my focal layer? And then I remembered Adhesive Sheets! So, I cut an adhesive sheet at 4″ x 5 1/4″ and glued it to the vellum which I then ran through the Splatters 3D embossing folder. However, there was a slight problem – the embossing folder is built to work in the mini embosser. But, I had just watched Melva Peters’s video on how to solve the problem. And, because I used a random pattern folder and I overlapped them a bit, there was no seam!
The Color Challenge Elements
Next, I went to build the elements on the card. I stamped the boots and pots using Coastal Cabana ink. The white edge was bugging me visually, so off it went! The Granny Apple Green leaves got a similar trim and were sliced into two sections as were the Flirty Flamingo tulips. The HIghland Heather mums ( or daisies or whatever flower you call it) were trimmed and popped into the Coastal Cabana pots. I used the cut the mat in half trick for the Highland Heather mat on the top and bottom of the Flirty Flamingo sentiments.
The bottom looked a little bare, so I stamped the seed packets in Bumblebee ink and popped them up on dimensionals along the bottom. Finally, I finished off the card front with a few Brushed Brass Butterflies.
Make the Inside Pretty
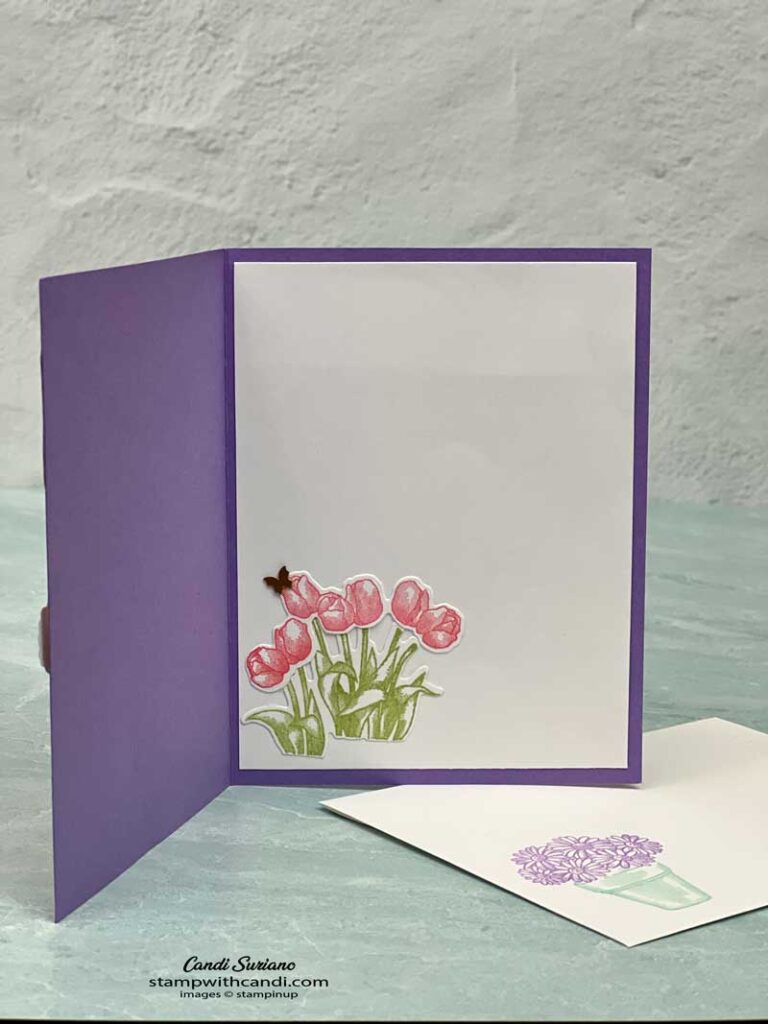
The inside was easy. I used the same Granny Apple Green leaves and Flirty Flamingo Tulips as on the front. And I added a little bling with another Brushed Brass Butterfly.
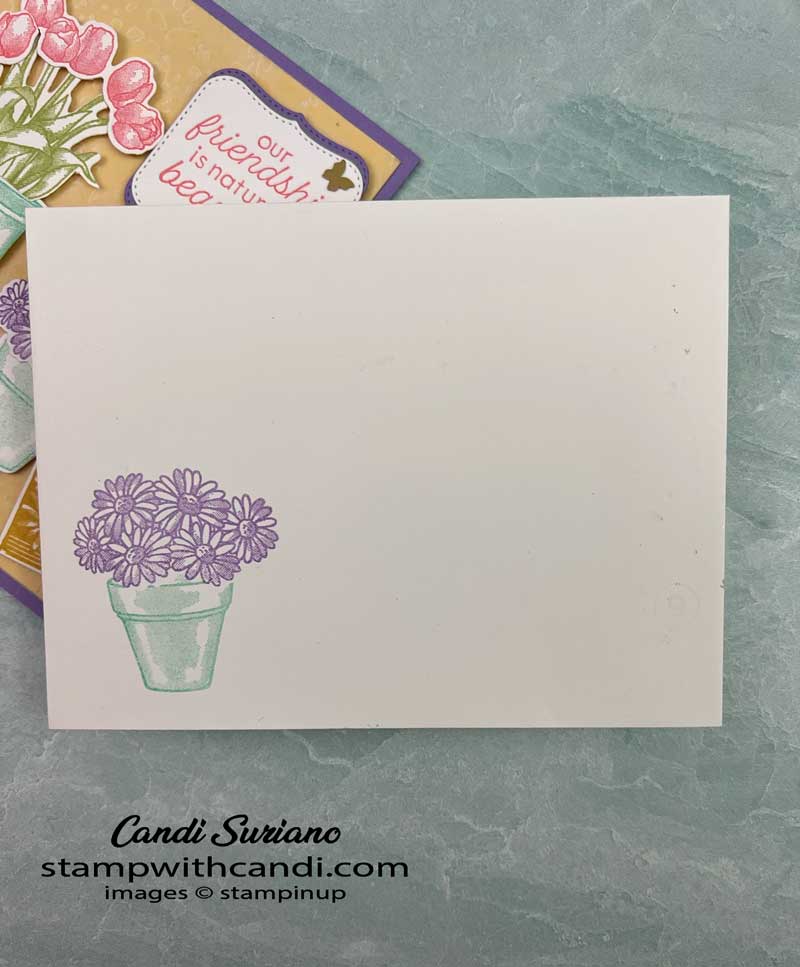
Don’t Forget the Envelope
I hope you enjoyed today’s card. If you’d like to recreate it a list of supplies can be found at the end of this post.
Now it’s time for some more collaborative fun. Grab a beverage, sit back and enjoy the hop! You should find some awesome ideas and inspiration as others share their projects made with the Waves of the Ocean suite.
Tomorrow’s hop is about envelope techniques. And so as long as work isn’t crazy today, I’ll be back to share a few of my favorites.
If you’re looking for a demonstrator, I’d love to be yours. I can pop a catalog in the mail to you. Just click on Request a Catalog at the top and it will be on its way!


Pretty Card!
Beautiful, the embossed Vellum definitely adds lovley detail to the background x
What a fabulous card!
Love, love this card Candi, so pretty x
Perfect stamp set for these colors! Shows them off well!
Love your pretty card and that you finished off the inside and the envelope too.
The embossed vellum was perfect! Well done!
Thanks for the tips on the vellum. Turned out great!