Today I’m hopping with Crafty Collaborations a group of demonstrators from around the world who challenge each other with blog hops like this one, plus tutorials, you-tube videos, and other projects to enhance our and your creativity. Today’s theme is Autumn and I’m using the Fond of Autumn Bundle which includes the Fond of Autumn stamp set and the Boquet of Autumn dies.
Today’s Project – Fond of Autumn
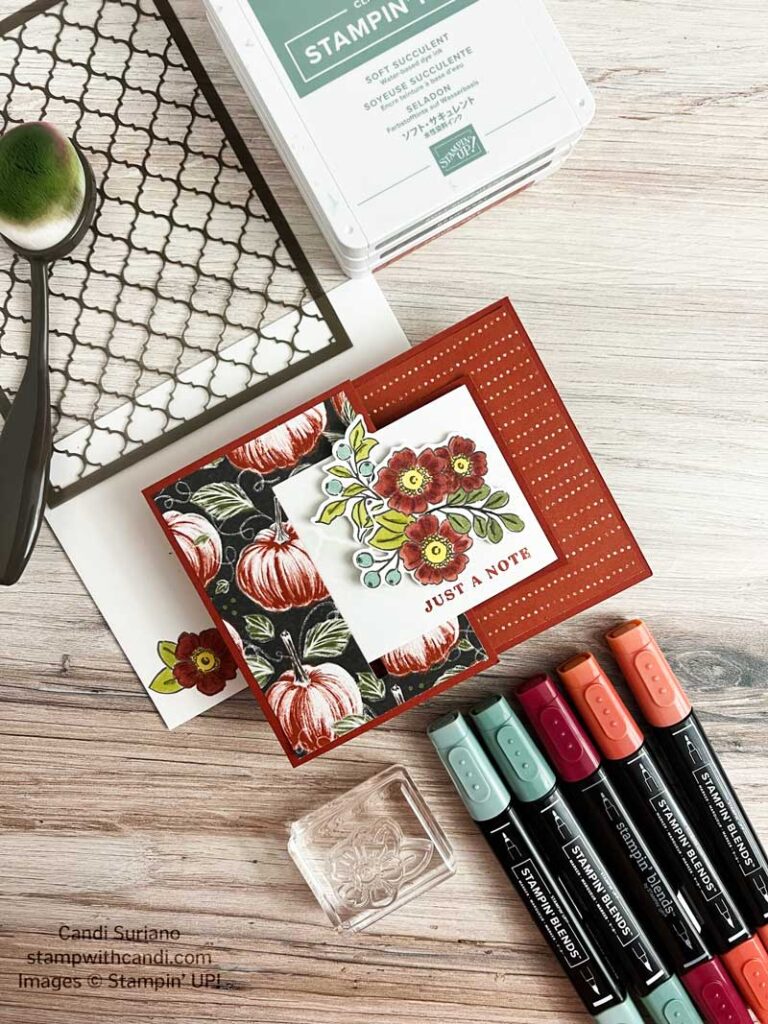
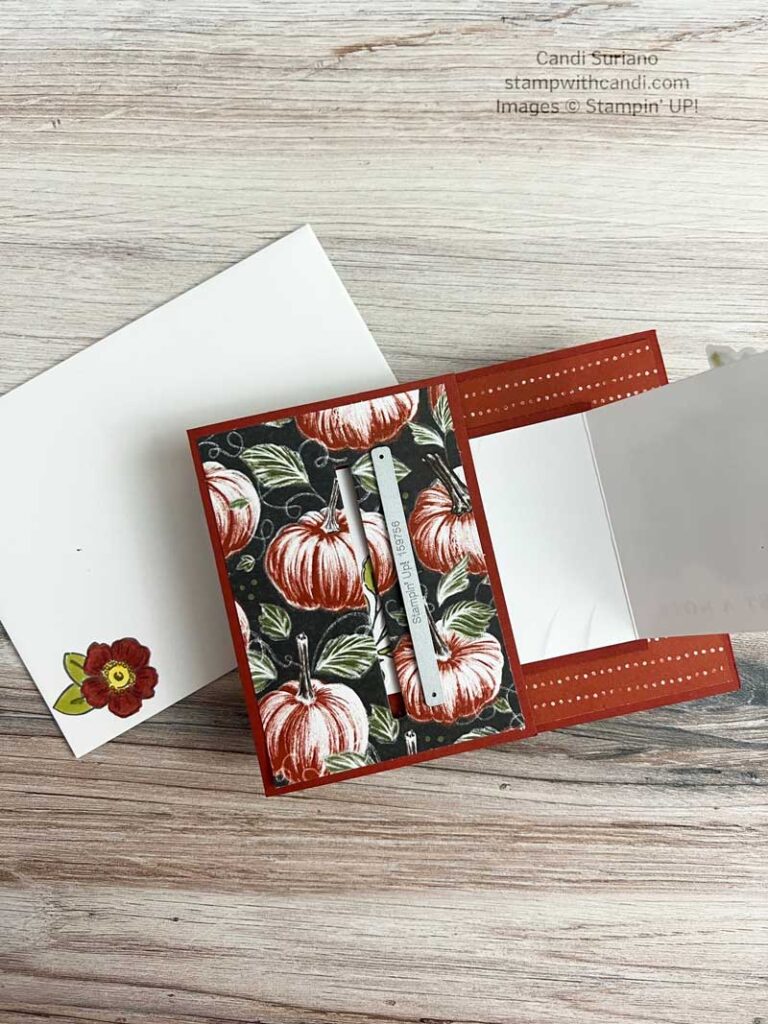
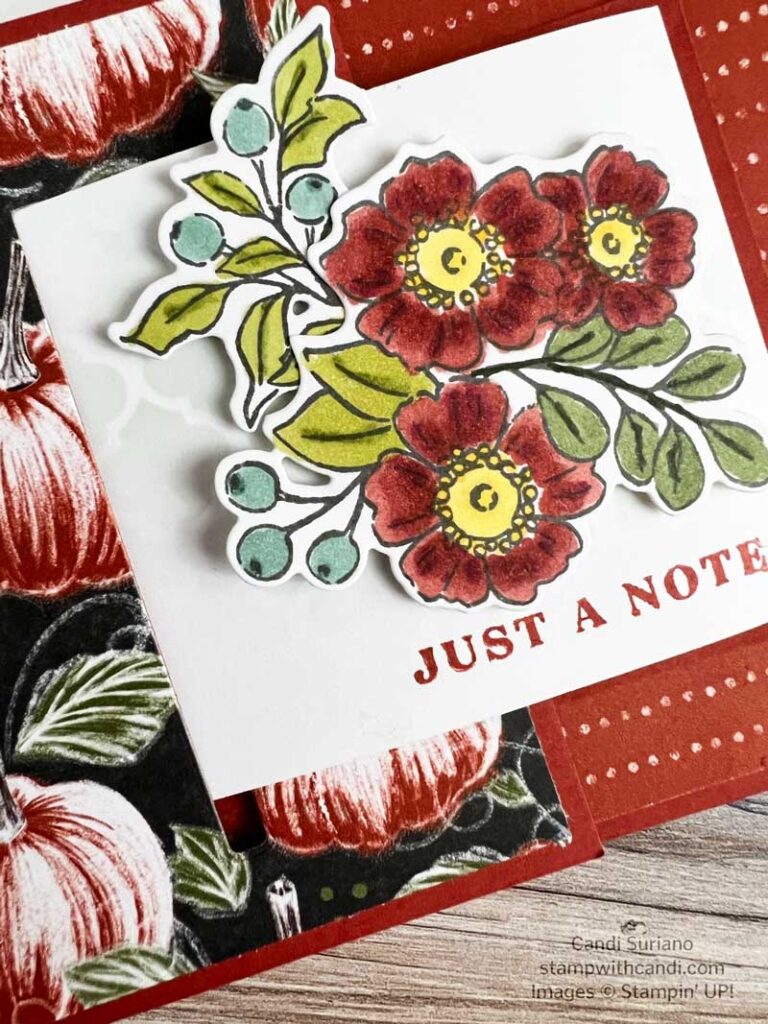
My card today is a buckle fun fold. I like this fold when I want to show off DSP and I have a smaller focal image. One of the tricks with this fold is that you need to find a die or punch to create the hole for the front to slip into. Luckily the Window dies in the July – December mini catalog had a die that was perfect as you can see in the image below.
I stamped the large floral image using Basic Gray ink which makes the outlines less prominent. Then I colored it using blends. You can find the exact colors in the “You Can Make It, Too!” section. After coloring, I used the die that cut it into 4 pieces. I used two of them on the card front and one on the inside. I’m saving the last one for another card. I keep a stash of leftovers in a drawer on my desk. And every so often I go through it and see what I can make for these leftovers. Some creative fun!
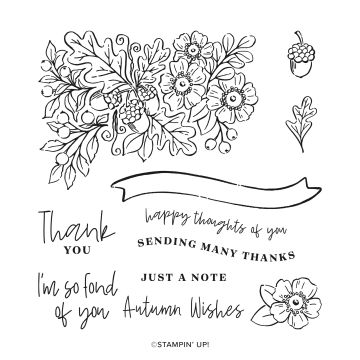
Fond of autumn Stamp Set
This is a great stamp set for fall. The images are easy to color and the phrases have pretty fonts. The large floral image can be used as is or cut into 4 separate pieces allowing you to create a boquet. The curved banner is perfect for center across a large image and two of the sentiments fit it perfectly.
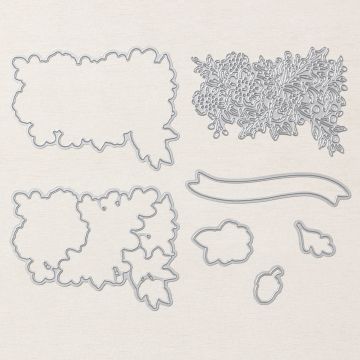
Autumn Bouquet Dies
The Autumn Bouquet dies are very interesting. The die in the upper right is used to make an open background. The one in the upper left cuts out the entire floral image as one die-cut. And the die on the bottom left cuts out the large floral image in 4 pieces. I used three of the four for this card.
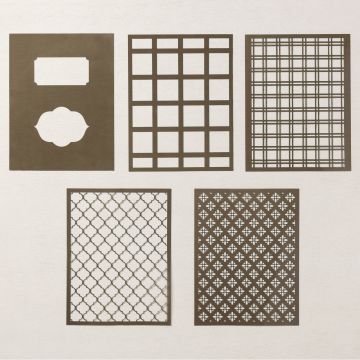
Artistic Mix Decorative Masks
I used one of the masks with Soft Succulent ink and a blending brush to add some interest behind the flowers. You can see it behind the flowers in the image below.
Today’s Color Palette
Fall is one of my favorite times of the year. Although the gardens are dying there’s an energy in the air when school starts. It’s like a new beginning and given how many years I spent at school and then teaching, I still get excited for a new school year. So I picked a fall palette for my card.
Make the Inside Pretty
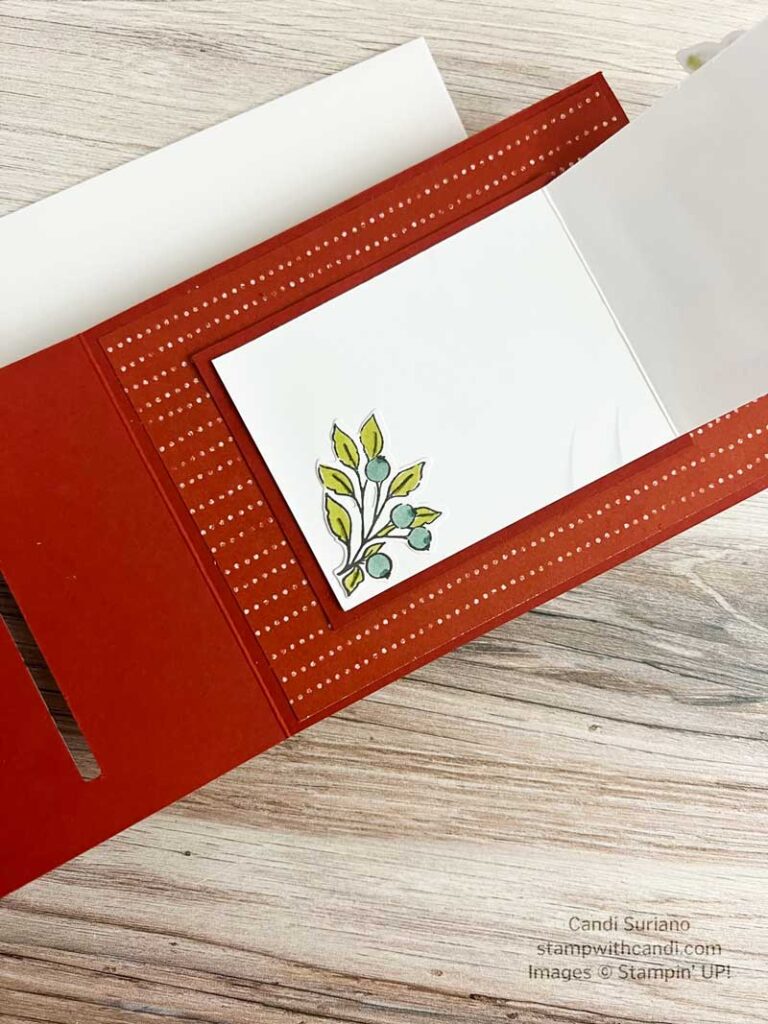
I used one of the pieces of the large floral image on the inside. I just love how the dies for this set work!
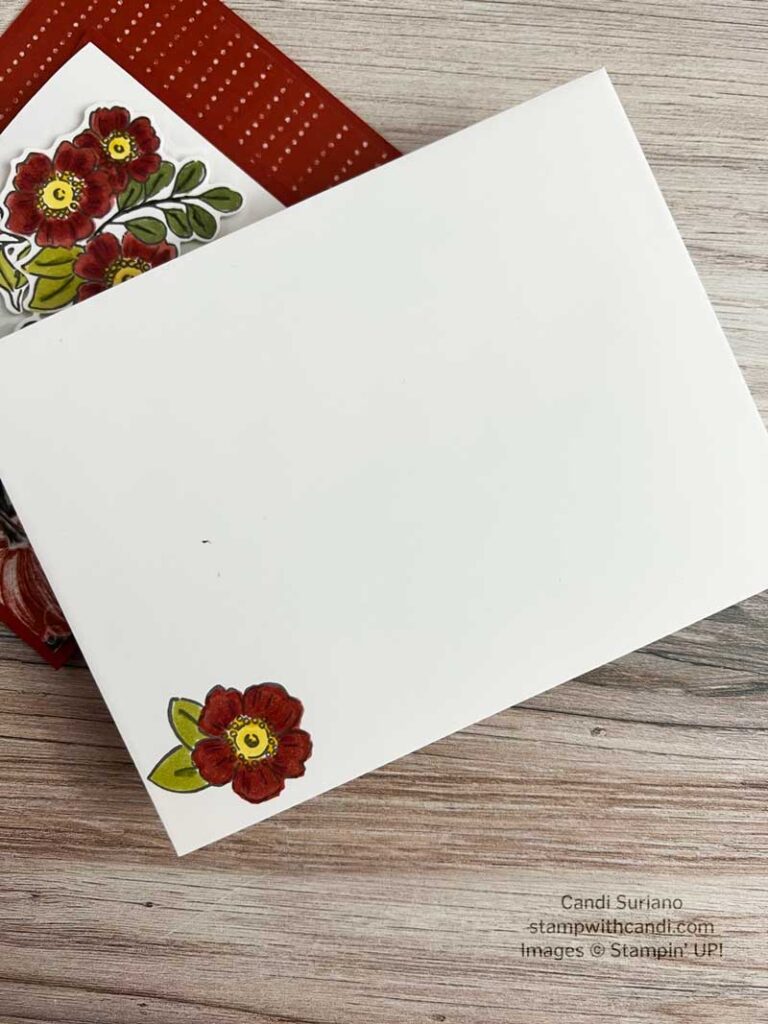
Don’t forget the Envelope
I stamped the smaller flower from the set using Basic Gray ink and then colored it using the same palette as the card front. Tip: Put a piece of scrap cardstock in the envelope so the blends don’t bleed through to the back of the envelope.
You can Make it, Too! – Fond of Autumn
This card is pretty easy to make. Once you get the cardstock cut, it comes together pretty quickly.
Cut the Cardstock & DSP
- Cut a piece of Cajun Craze at 4 1/4″ X 8 5/8′. Score at 3 1/8″.
- Cut a piece of DSP at 2 7/8″ X 4″. (Left panel)
- Cut a piece of DSP at 4″ X 5 1/4″ (Right panel inside(
- Cut a piece of Cajun Craze at 2 7/8″ X 3 3/4″.
- Cut a piece of Basic White at 2 5/8″ X 7″. Score at 3 1/2″.
Stamp, Color & Cut
- Stamp the large floral image on a piece of Basic White using Basic Gray ink.
- Stamp the small floral image on a Basic White envelope.
- Color the flowers using Dark So Saffron, Dark Daffodil Delight, Light Daffodil Delight, Dark Cherry Cobbler, Dark Cajun Craze, and Light Cajun Craze blends.
- Color the flower buds using Dark Soft Succulent and Light Soft Succulent blends.
- Color the rounded leaves using Dark Mossy Meadow and LIght Mossy Meadow blends.
- Color the pointy leaves using Dark Old Olive and Light Old Olive blends.
- Cut the floral image with the die that cuts it into 4 pieces.
- Using the decorative mask, Soft Succulent ink, and a blending brush lay down a faint image on the Basic White card front. Keep in mind how it folds. You want the fold on the right! (Don’t ask how I know :))
- Stamp the sentiment in the lower right corner of the card front using Cajun Craze ink.
Assemble
- Attach the left DSP to the card.
- Cut a slit using the die on the left panel centering it in the middle of the panel.
- Attach the right DSP to the inside of the card.
- Attach the Cajun Craze panel to the center of the inside of the card.
- Attach the Basic White panel to the Cajun Craze panel.
- Attach the flower and one of the leaf images to the front using Stampin’ Dimensionals.
- Attach the other leaf image to the inside of the card using liquid glue.
I hope you enjoyed today’s project and that it inspires you to try a buckle fun fold. Now it’s time to see what the others have in store for you. So, grab a beverage, sit back and relax, and enjoy the hop!
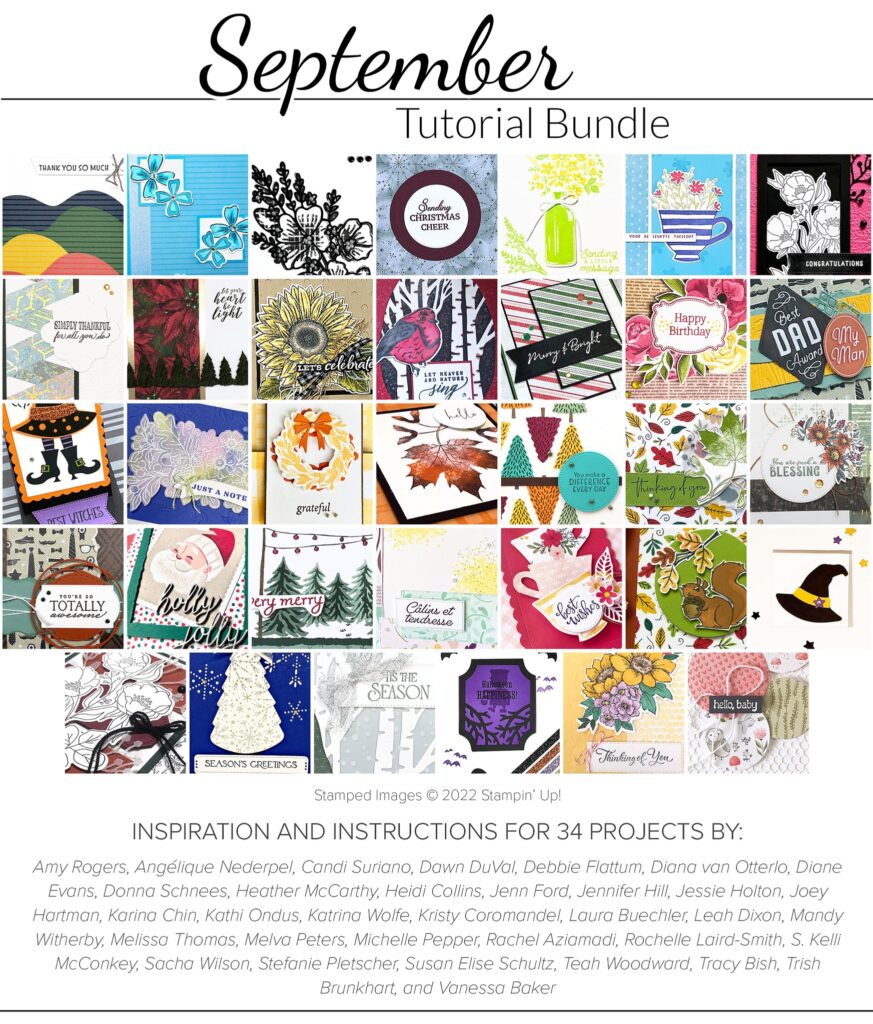
The Crafty Collaborations September Tutorial is simply amazing. Step-by-step instructions with pictures for 34 different projects using current Stampin’ Up! products. It’s free with a $50 purchase in my online store. You don’t want to miss this one!




Pretty card Candi! Thanks for sharing
Thanks, Melva!
Stunning card Candi, loving the bold colour palette x
Thanks, Mo!
Love how you put the slit in the card front – looks so different and perfect to tuck the folded layer in!
Thanks, Ginny!
Gorgeous Card Candi
Thanks, Sara!
I love it. Gorgeous card.
Thanks, Cathy!
Absolutely gorgeous!!
Thanks, Wanda!
Love this card and the colors!! Thanks for the inspiration!
Thanks, Melissa!