Stamping with Friends is hopping again today featuring simple stamping. Oh, boy! This is a hard one for me. What is simple stamping? It’s using stamps, ink, paper, and optionally an embellishment to create a card. No dies, no embossing, not a lot of layers, and very clean looking. Does that sound like my typical card? Nope, Nope, Nope. And yet, done right simple stamping can be very striking. So while struggling with what to do, the new Framed & Festive stamp set caught my eye and it was sitting on my Stamparatus. Bingo – I had my idea. Read on to see what I did.
Today’s PRoject – Simple Stamping with Framed & Festive
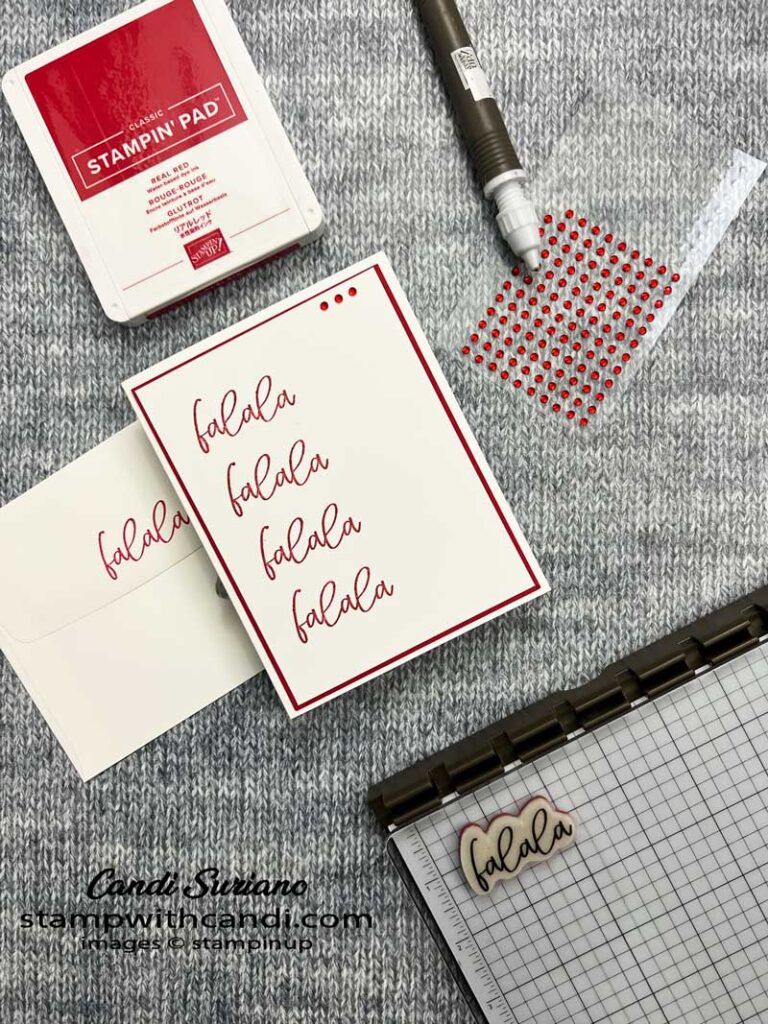
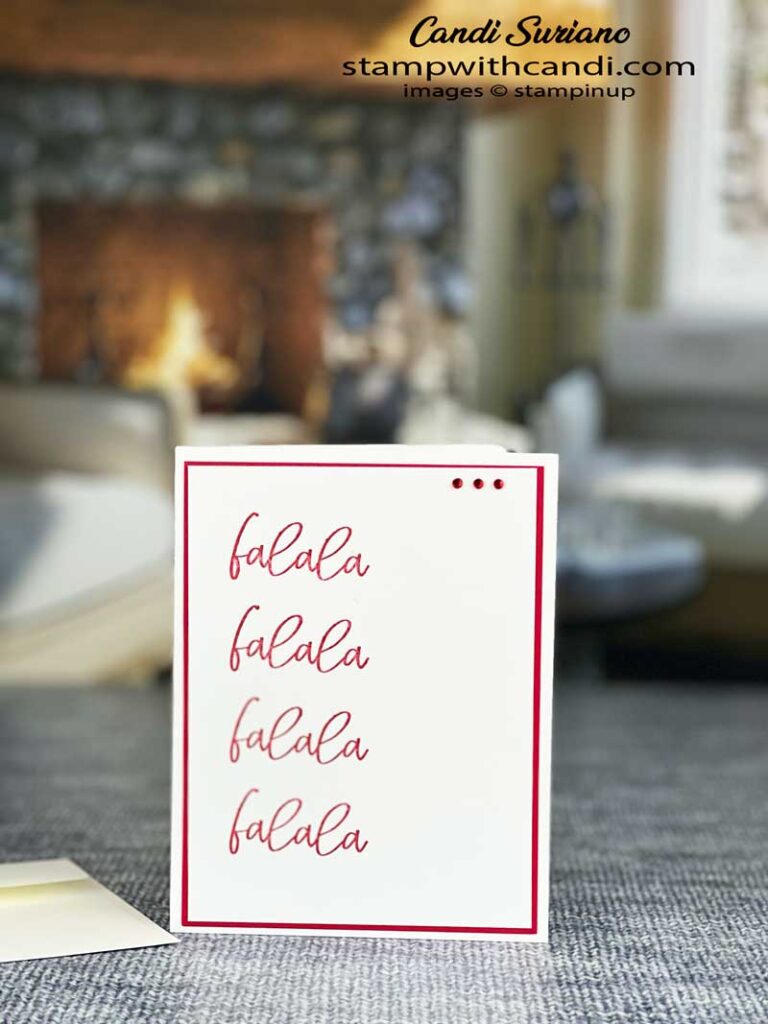
As you can see, I used a couple of layers to make a frame for my stamped sentiments. To do the stamping, I put the Basic White panel into the Stamparatus. and held it down with the magnets. Then I stamped the ‘falala’ sentiment using Real Red ink. Then I moved the plate holding the sentiment down to the next hinge. I repeated that until I was at the end of the panel. Of course, you can do this without the Stamparatus by just eyeballing or using grid paper to stamp the next image. The Stamparatus just makes it easier.
I had to add some bling and the Red Rhinestones Basic Jewels were just perfect.
Framed & Festive
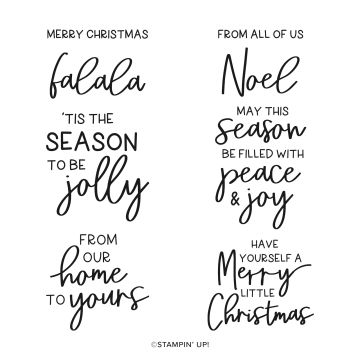
This stamp set is part of the limited-time Fitting Florets collection. You can read more about it here and here. I love the bold script fonts in this set. And the ‘fa la lain’ sentiment is perfect for this technique. One of the reasons to use the Stamparatus is that this stamp set is a cling stamp which is hard to line up for subsequent images.
Today’s Color Palette
Doesn’t get more Christmassy than this – Red and White. I love the simplicity of these colors where the red really shines.
Make the Inside Pretty
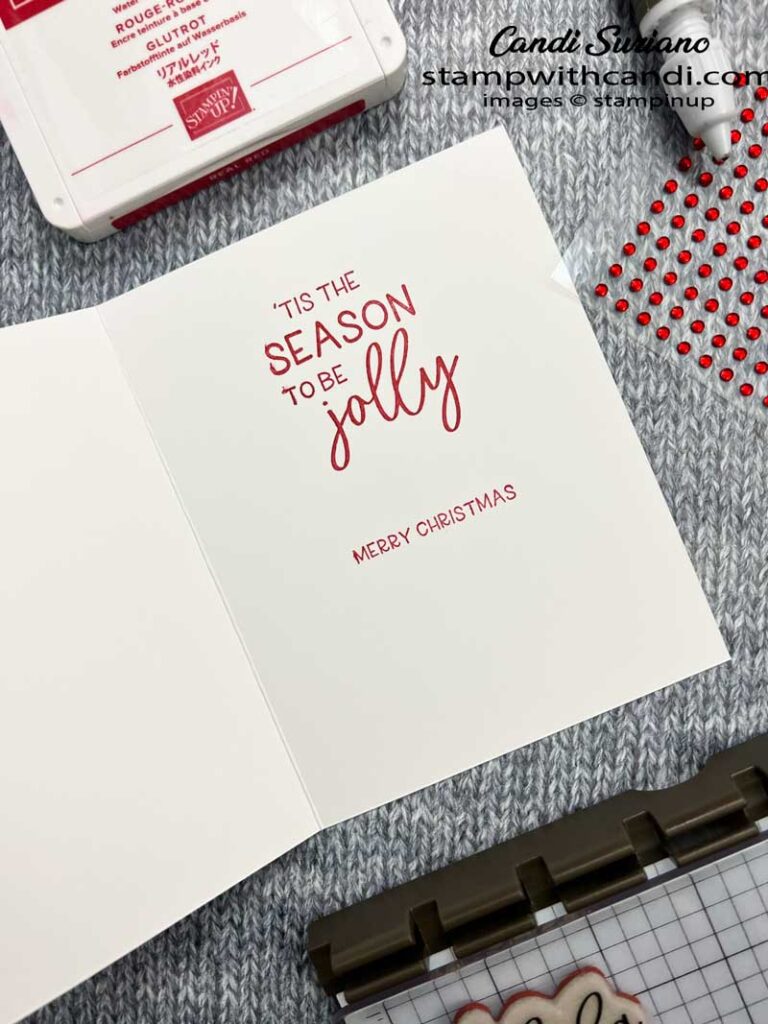
Ok, this barely qualifies as prettying up the inside. But, #simplestamping, I didn’t want to add too much more especially since it means brining in another stamp set and I also wanted minimal supplies for this card.
Don’t Forget the Envelope
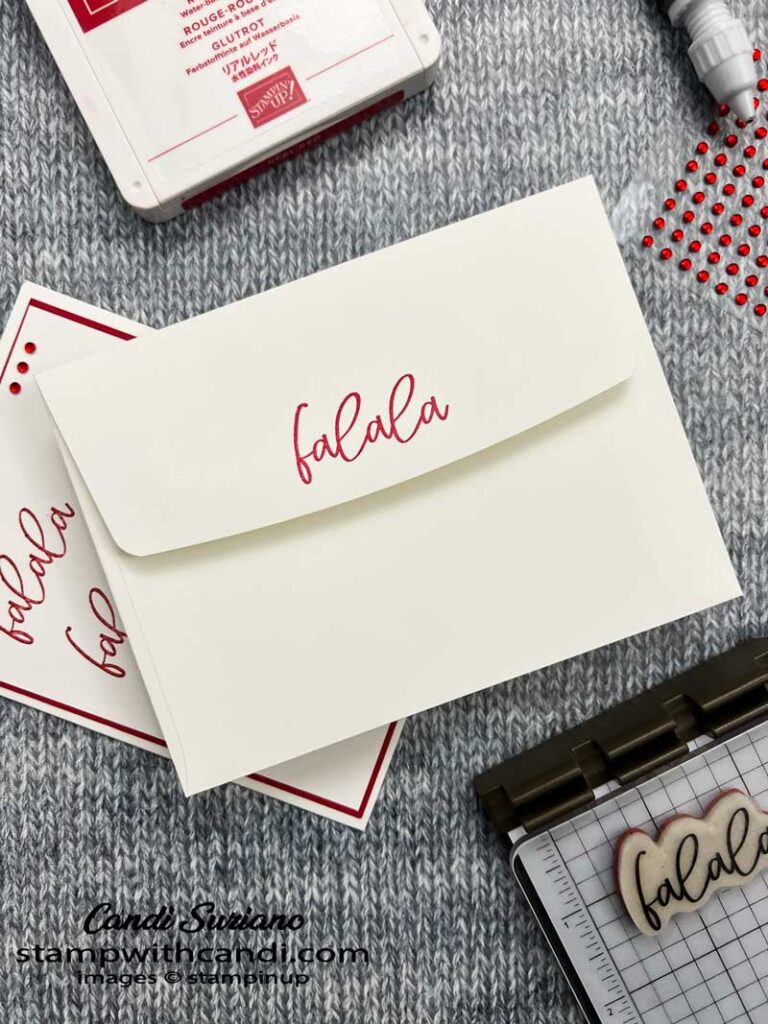
Stamping the sentiment on the envelope flap adds just the right touch. I considered hinge stamping the sentiment down the side of the envelope, but then that ruins the surprise for the card. So, just the sentiment on the flap is perfect for this simple card.
YOu can Make it Too – Framed & Festive
This card is quick and easy. You can find a complete list of supplies at the end of my post.
Get out Your Paper Trimmer
- Card base – Real Red 5 1/2″ X 8 1/2″. Score at 4 1/4″.
- Real Red Layer – 5 1/4″ X 4″.
- Basic White Panel – 5 1/8″ X 3 7/8″.
Stamp – Framed & Festive
- Put the Basic White panel into the Stamparatus. Anchor it with magnets.
- Position the stamp where you want the first stamped image.
- Pick up the stamp with the Stamparatus Plate.
- Ink the stamp. I use spots as they don’t get any ink on the plate.
- Stamp.
- Move down a hinge. Re-ink the stamp & stamp.
- Stamp 2-3 more times depending on where you stamped the first image.
- Stamp the two inside sentiments using Real Red ink.
- Stamp the sentiment on the envelope flap using Real Red ink.
Assemble
- Attach the stamped panel to the Real Red layer.
- Attach the Real Red layer to the card front.
- Attach 3 Red Rhinestones Basic Jewels as shown.
Time to HOp
Are you inspired to try some #simplestamping? If not, maybe one of the other friends will inspire you. So, grab a beverage, sit back and relax, and enjoy the hop!
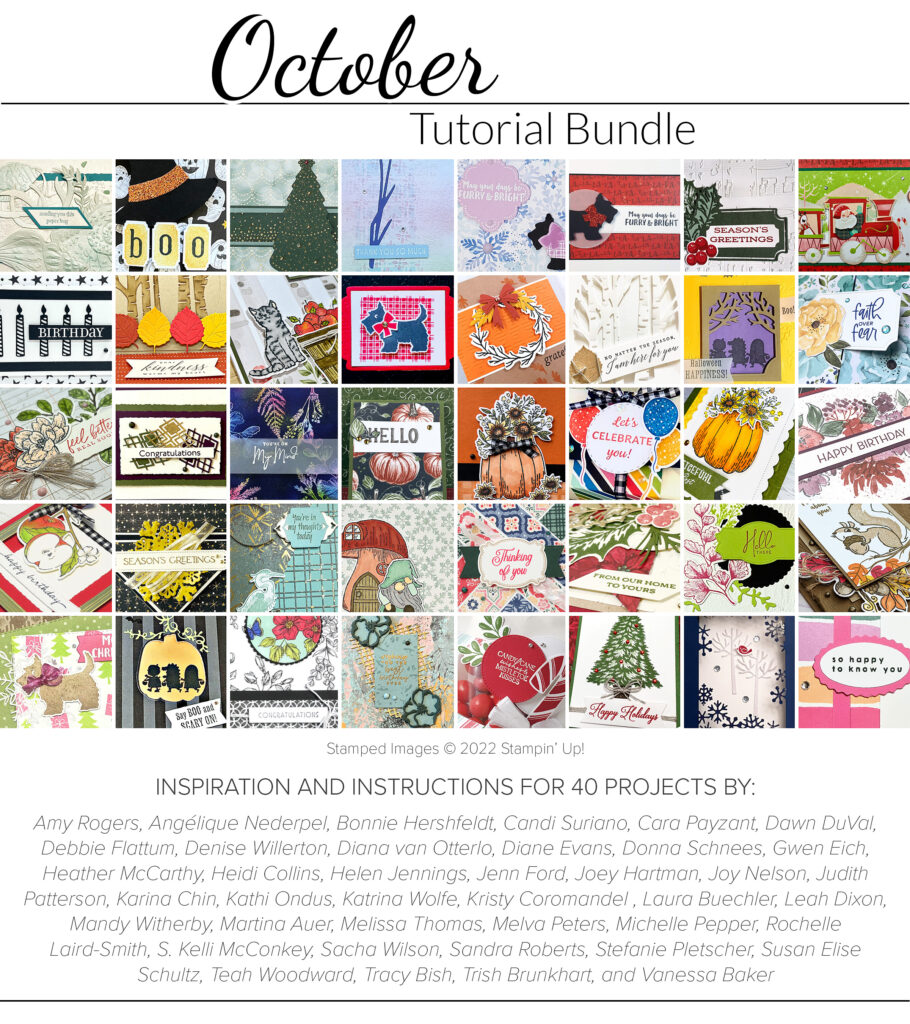
The Crafty Collaborations October Tutorial is simply amazing. Step-by-step instructions with pictures for 40 different projects using current Stampin’ Up! products. It’s free with a $50 purchase in my online store and is available until the November tutorial goes live.




Love, love the simplicity and clean lines of your card Candi x
Simple yet elegant. I LOVE it!
That’s a perfect Simple card, love it. Clean and festive.
Wonderful simple stamping design. The sentiment is perfect for this design.