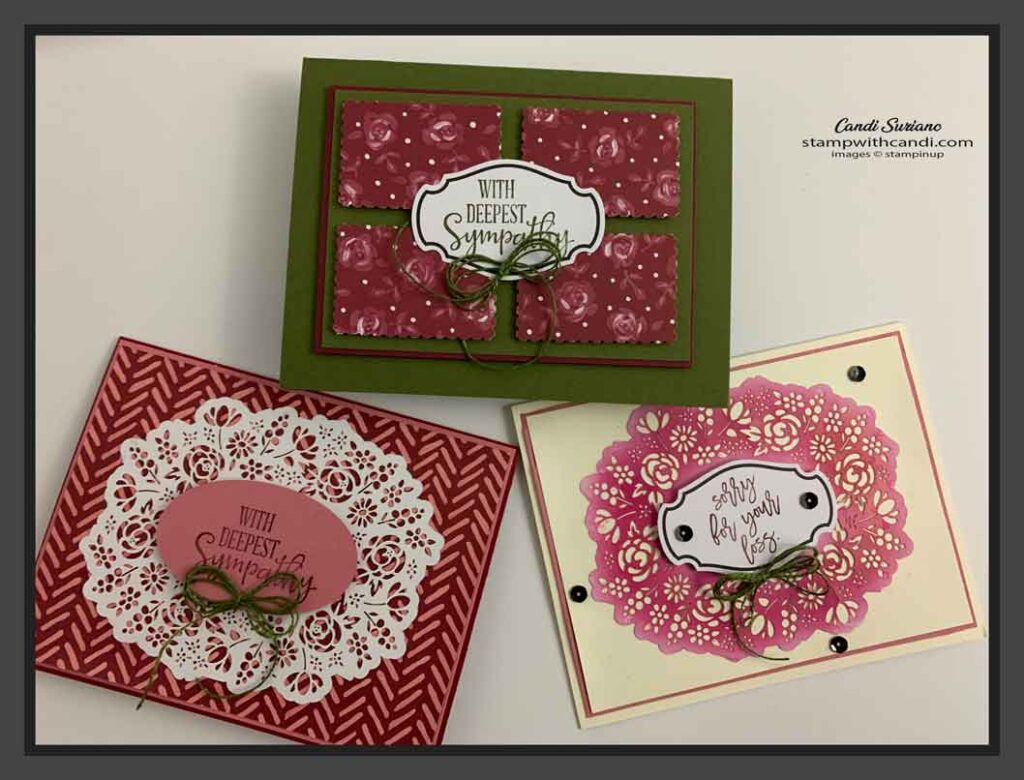
It’s time to say goodbye to Bouquet of Hope, Stampin’ Up!’s February Paper Pumpkin offering, and to say hello to Here’s To You, March’s Paper Pumpkin. Today is the last day to order and get in on the March Paper Pumpkin. March is always a special month for Paper Pumpkin because it’s Paper Pumpkin’s anniversary month so the kit contains something extra. This year’s extra is some cool-looking stencils and a sponge. Take a look.
I can’t wait to get mine and see what I have to play with! So, while I’m waiting to get my next kit, let me share my alternates for Bouquet of Hope.
Alternate Group 1
I have to admit, that when I first saw this kit, I was not impressed. I was stumped for awhile about how to use the elements, although I loved the colors. These colors are right up my alley! The problem was the white and pink doilies shown above, are the back side of the gold foil ones in the kit. After I turned them over and saw the white, the creative juices started flowing. Let’s look at them individually.
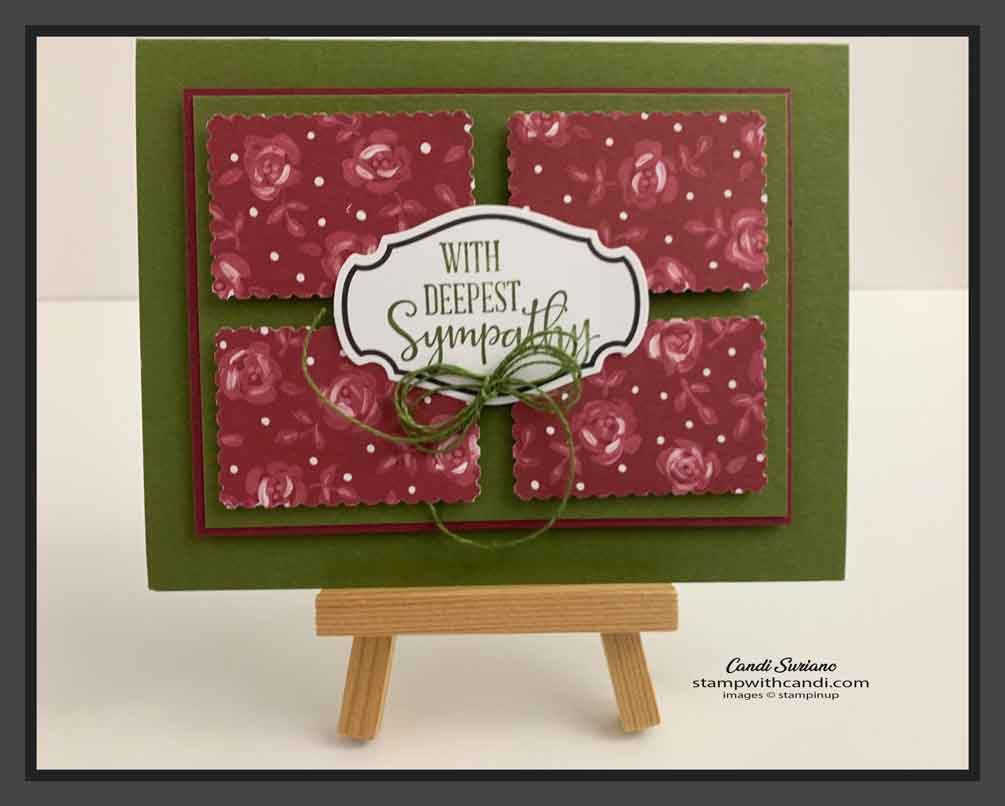
Bouquet of HOpe Alternate 1
This is one of my favorites! I love the Merry Merlot and Mossy Meadow color combination. And this is one of my favorite layouts. It’s a way of breaking up a busy piece of Designer Series Paper (DSP) into a more palatable size. I also like using a thin frame around the focal piece. It just sets it off from the base, especially when popped up on dimensionals.
So for this card, I took one of the card bases and punched it with the Rectangular Postage punch which I mounted on Mossy Meadow cardstock. I stamped the sentiment using the included Mossy Meadow ink and embellished it with a triple bow using the included Mossy Meadow twine.
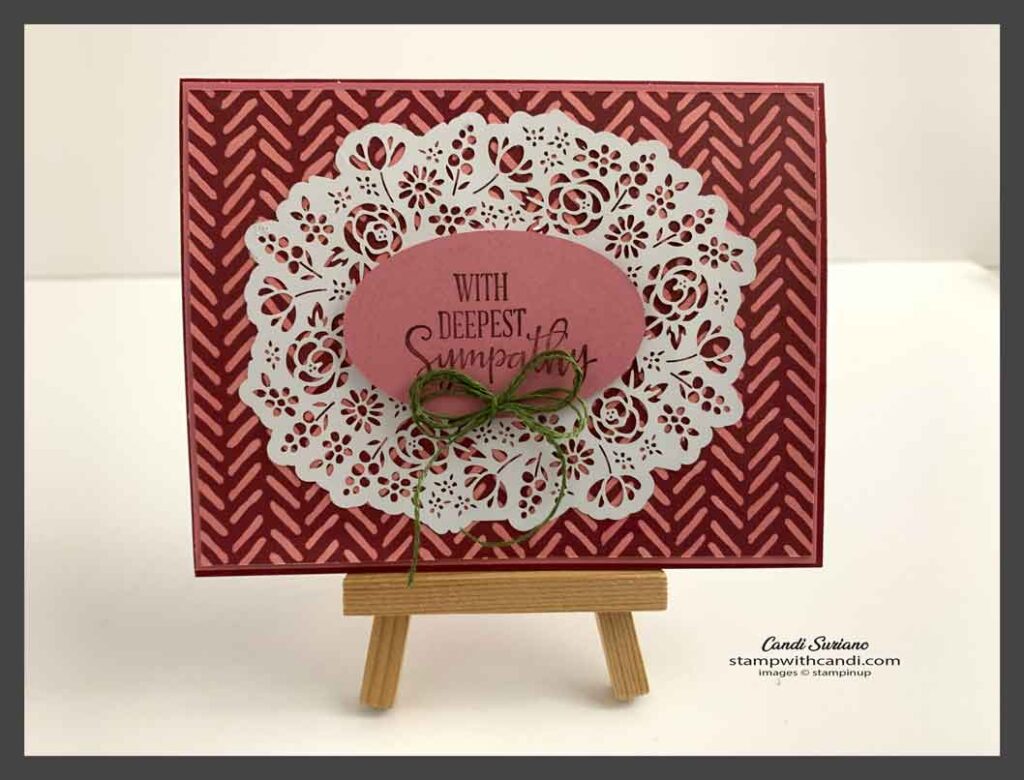
BouQuet of Hope Alternate 2
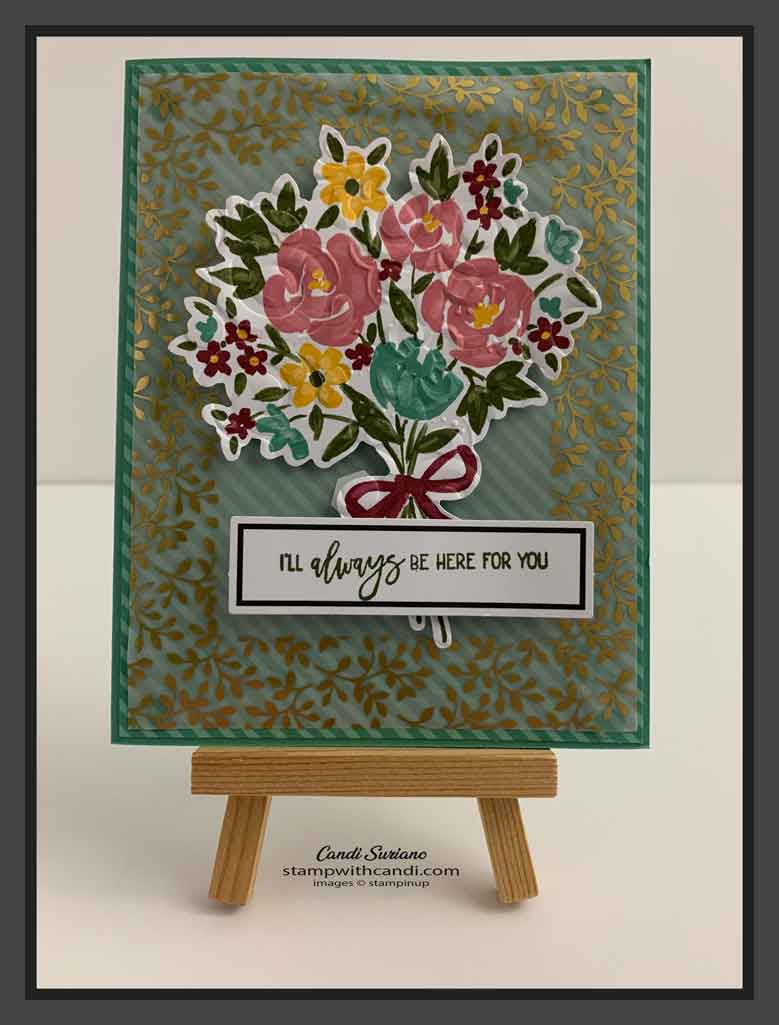
Turning the gold doily around to use the white side made a striking focal point on this busy card base. I used some Rococo Rose cardstock cut with a Layering Oval and stamped with Rococo Rose ink for the sentiment which was embellished with the included Mossy Meadow time. I also cut the included card base in half. This allows me to get more cards per kit and who care’s about the back of the card matching the front? I trimmed the cut piece by 1/8 of an inch on two sides and then mounted it on a Merry Merlot card base.
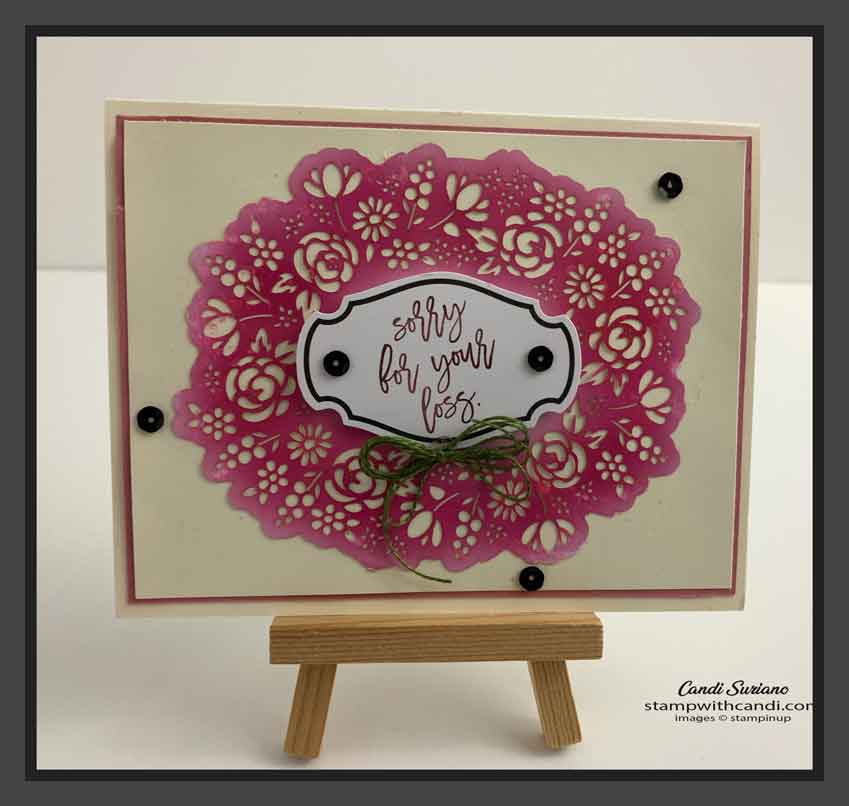
Bouquet of HOpe Alternate 3
On this card, I tried to use the doily as a stencil. The card I used it on ended up in the wastebasket. It wasn’t a success. Win some, lose some. However, I like the Magenta Madness color, so I decided to use it as a card. The card base is Very Vanilla, a color I don’t use very often, but have made a vow to use more. It’s softer than Basic White and sometimes softer is better. Again, surrounding the focal image with a 1/16 inch border sets it off without overpowering it. I used the included sequins to embellish the card.
Alternate Group 2
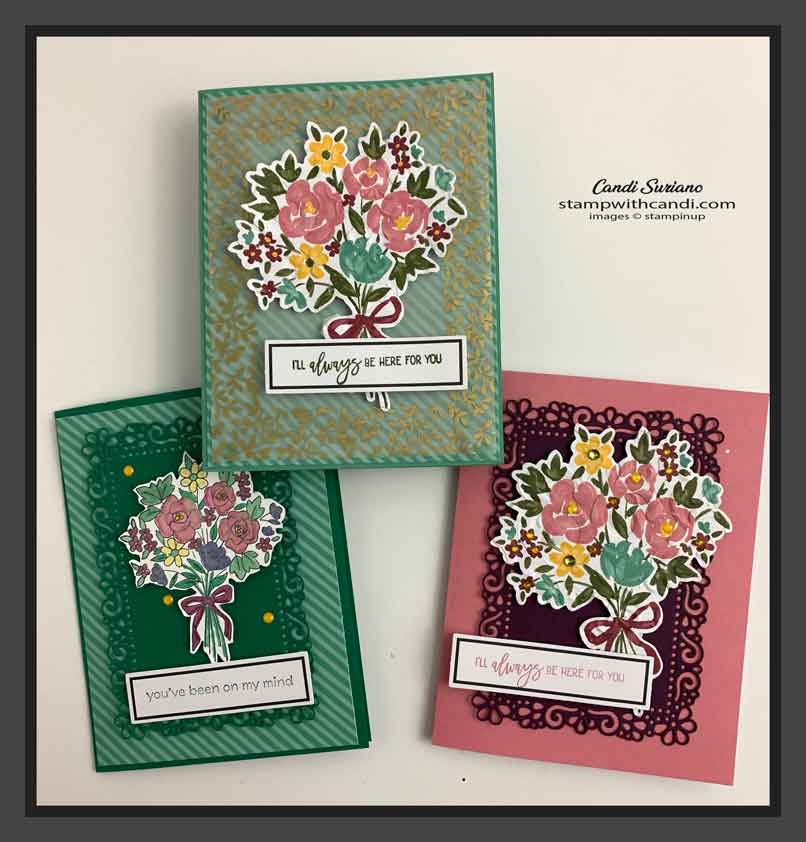
These three cards use a panel behind the focal image to set it off. I love flowers so I did like that there were so many included in the kit and that the stamp set also included a bouquet. However, the included die cuts look so flat. So, I solved that by embossing with the Parisian Flourish embossing folder. It gives enough texture so that they don’t look so flat.
Bouquet of HOpe Alternate 4
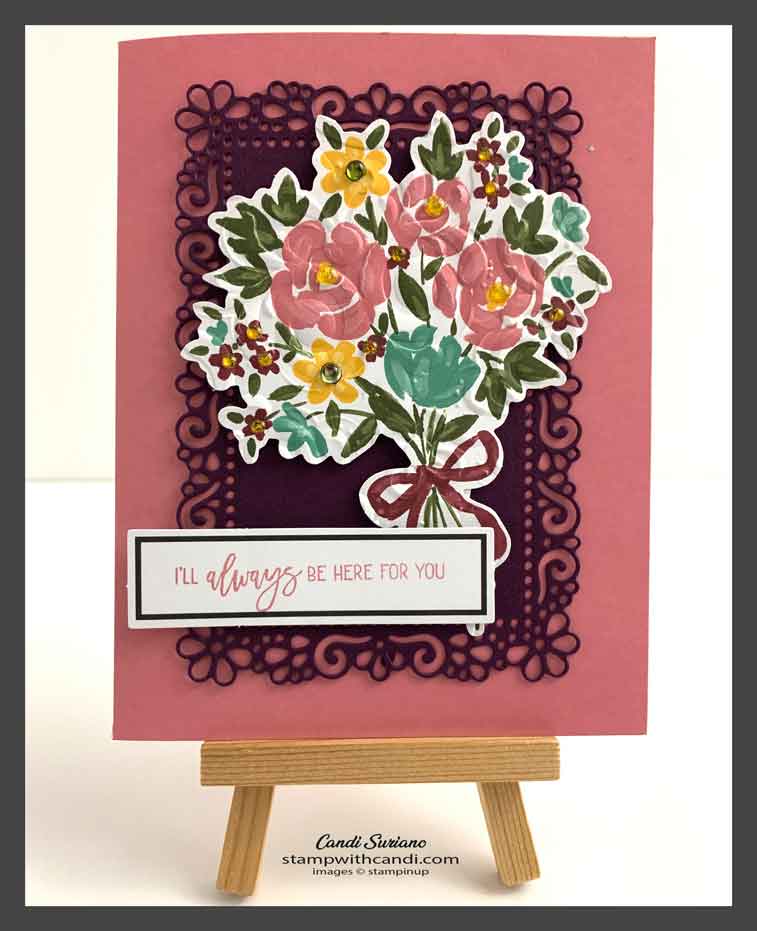
As I mentioned above, I embossed the included die-cut with the Parisian Flourish embossing folder. It’s mounted on a panel of Rich Razzleberry cut with Ornate layers frame. The card base and the sentiment are both in Rococo Rose. I colored some Clear Epoxy Drops with Daffodil Delight blends and put them in the center of the flowers. You can’t really see them in the picture, but in person they give a bit of sparkle!
Bouquet of HOpe Alternate 5
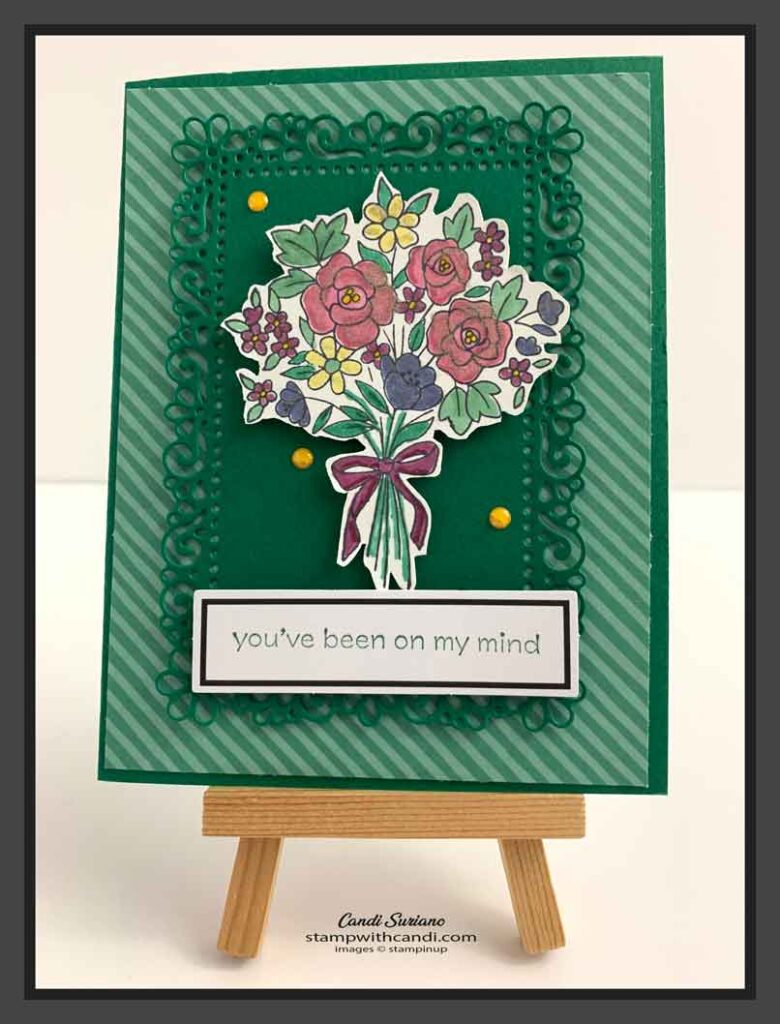
This one is similar to the previous one but with a couple of subtle differences. First, the image is stamped and not a die-cut from the kit. It was colored with a variety of blends that complement the kit. After coloring, I painted the bigger flowers with Wink of Stella so they really sparkle. I embellished it with some Clear Epoxy Drops colored with a Daffodil Delight blend. This card also uses the ‘trick’ of cutting the included card base in half, trimming it by 1/8 inch on two sides and mount it on a coordinating solid color base.
Bouquet of HOpe Alternate 6
This one isn’t much of an alternate. All of the pieces were included in the kit, just used in a different way. The card base from the kit was cut in half, trimmed by 1/8″ on two side and mounted on a Just Jade card base. The frame is also from the kit and was attached using water-downed liquid glue sponged on the back. The die-cut flowers were also included in the kit and were embossed using the Parisian Flourish embossing folder to give the dimension. It was attached using dimensionals to pop it up. The included Mossy Meadow ink was used for the sentiment and was popped up using stacked dimensionals.
Alternate Group 3
More flowers! You can never have enough flowers! These two alternate use the same Just Jade card bases. The one on the left is a fun fold, while the onw on the right, has a panel that matches the card base with the the strips boing in the opposite direction.
Bouquet of Hope Alternate 7
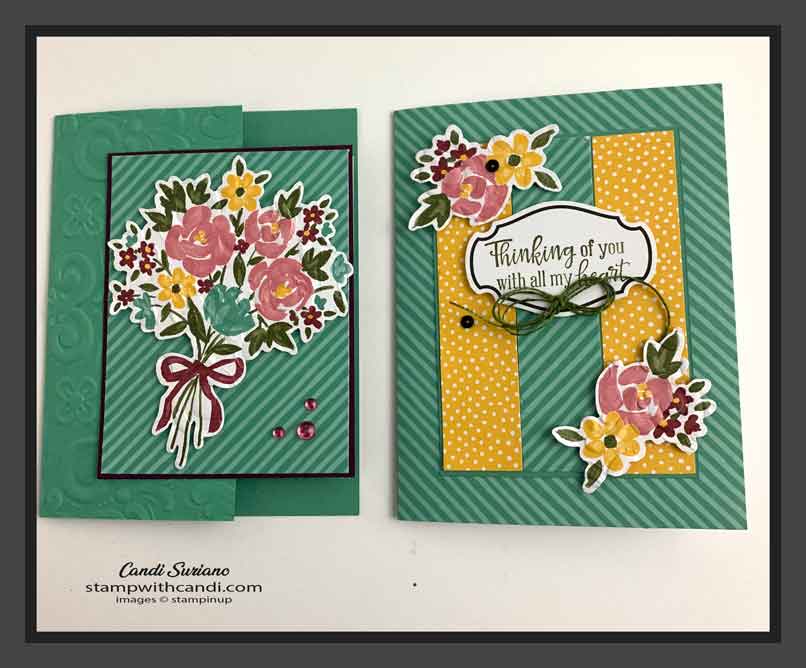
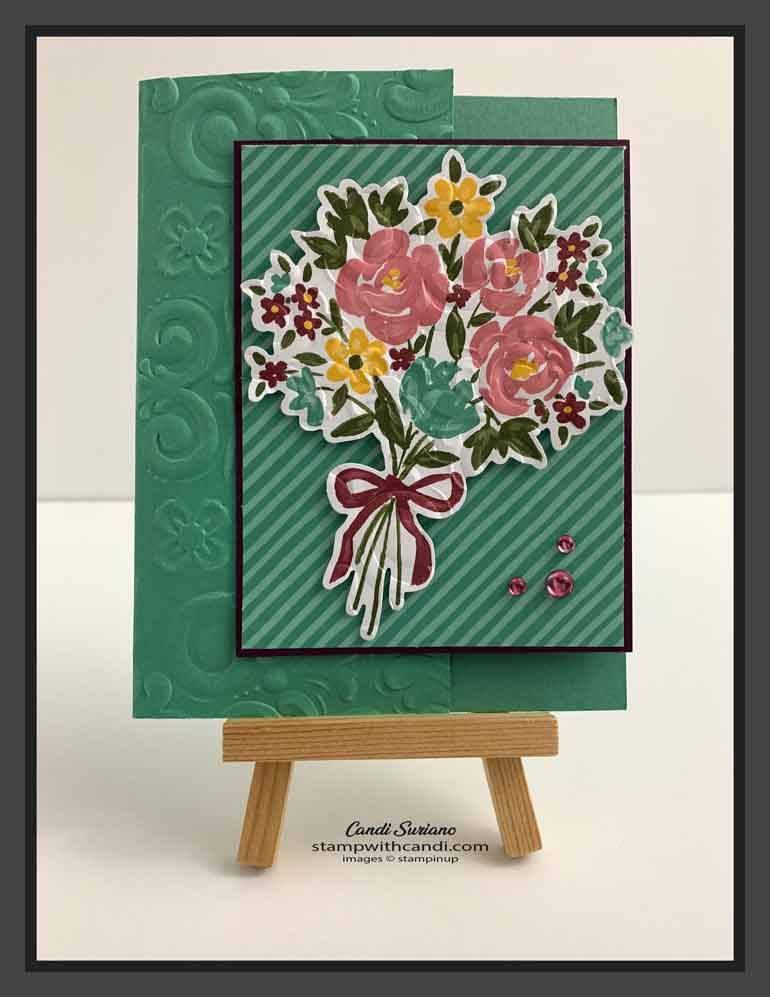
This card is a fun fold. It’s one of my go-to fun folds because it’s so easy. Just cut off 1 1/2 inches from the right side of the front and then cut a panel to bridge the gap. This card uses the die-cut bouquet from the kit embossed with the Parisian Flourish embossing folder. The front of the card was also embossed with the same folder. It always amazes me how adding texture from embossing brings more life to the card. A panel cut from one of the included card bases mounted on a Rich Razzleberry base bridge the gap to make the fun fold. The flowers were places on an angle to give some interest. A few rhinestones colored with a Rich Razzleberry blend adds a little bit of sparkle.
Bouquet of Hope Alternate 8
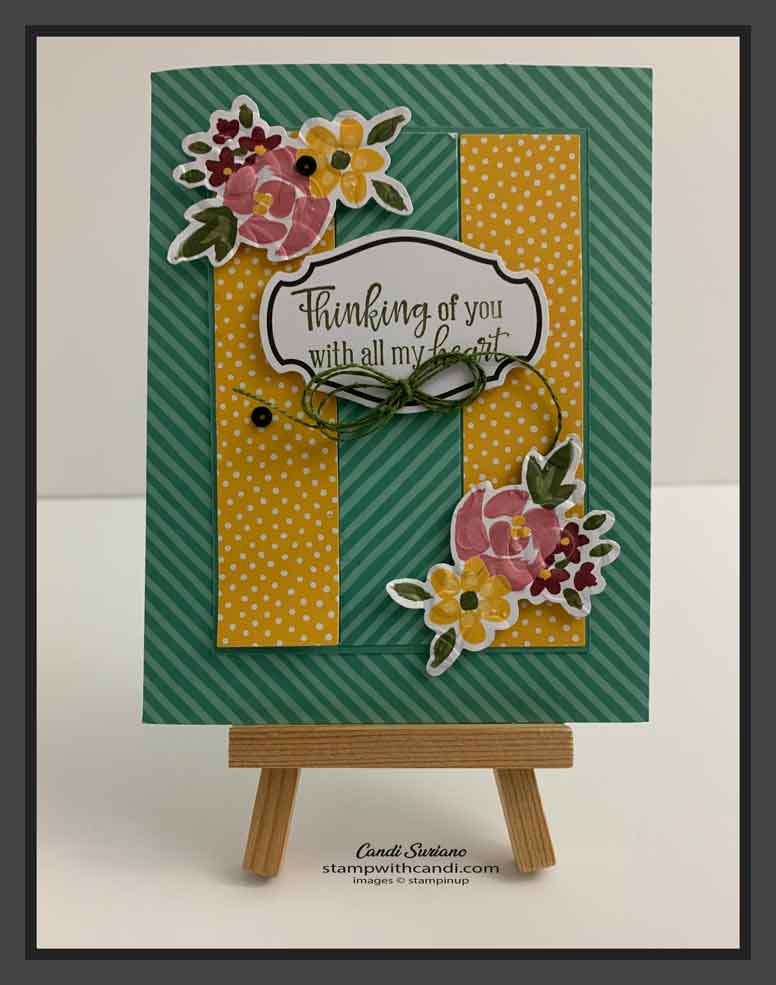
This card uses a pane cut from one of the card bases as a panel for the focal image. Mounting it on a Just Jade base gives it some separation between the base and the focal image. The two included Bumblebee panels and the two floral images were include in the kit. As with the other floral images, they were embossed with the Parisian Flourish embossing folder. The included black sequins were used as embellishments as was the triple bow tied with the included Mossy Meadow twine.
I hope my cards inspired you to look at your Paper Pumpkin kits in a new way. Yes, you can make the cards exactly as designed or you can just use them as supplies to make alternates. That’s the beauty of Paper Pumpkin. It’s your monthly crafting experience!
I hope you enjoyed today’s cards. If you don’t yet have a demonstrator, I’d love to be yours. If you ever have any questions or need a catalog, please feel free to comment or email me. And don’t forget to Pin this post so you can find it again!

