Crafty Collaborations is hopping again and today’s challenge is to show Valentine’s Day cards. Crafty Collaborations is a group of Stampin’ Up! demonstrators from around the world, who take on creative challenges like this one to inspire each other and you!
Today’s Project – Gumball Greetings
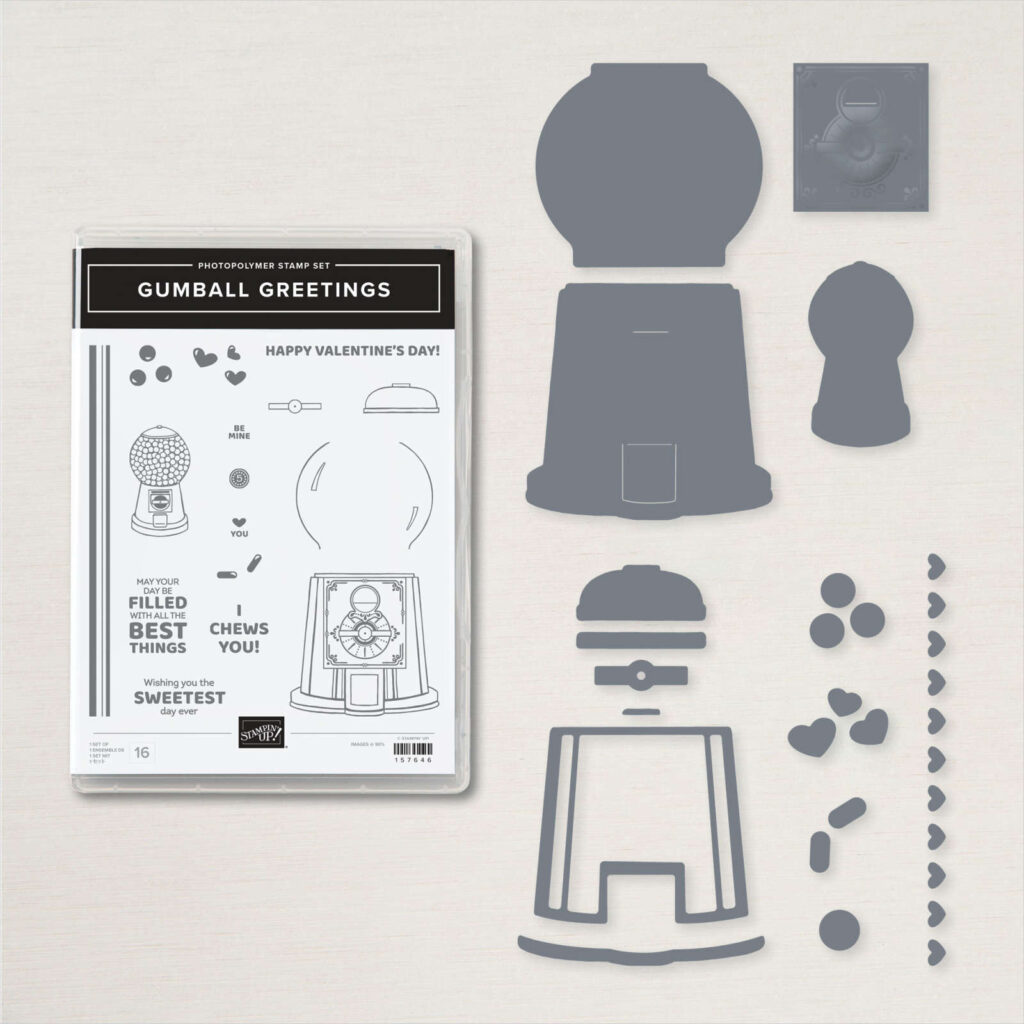
As soon as I saw the Gumball Greetings bundle in the January – June mini catalog, I knew I HAD to have it. It’s just so stinkin’ cute! And, I’m pretty sure I’m not the only one who thought that, given how many projects I’ve seen using it. Take a look at what’s included in the Gumball Greetings Bundle.
Gumbal Greetings Bundle
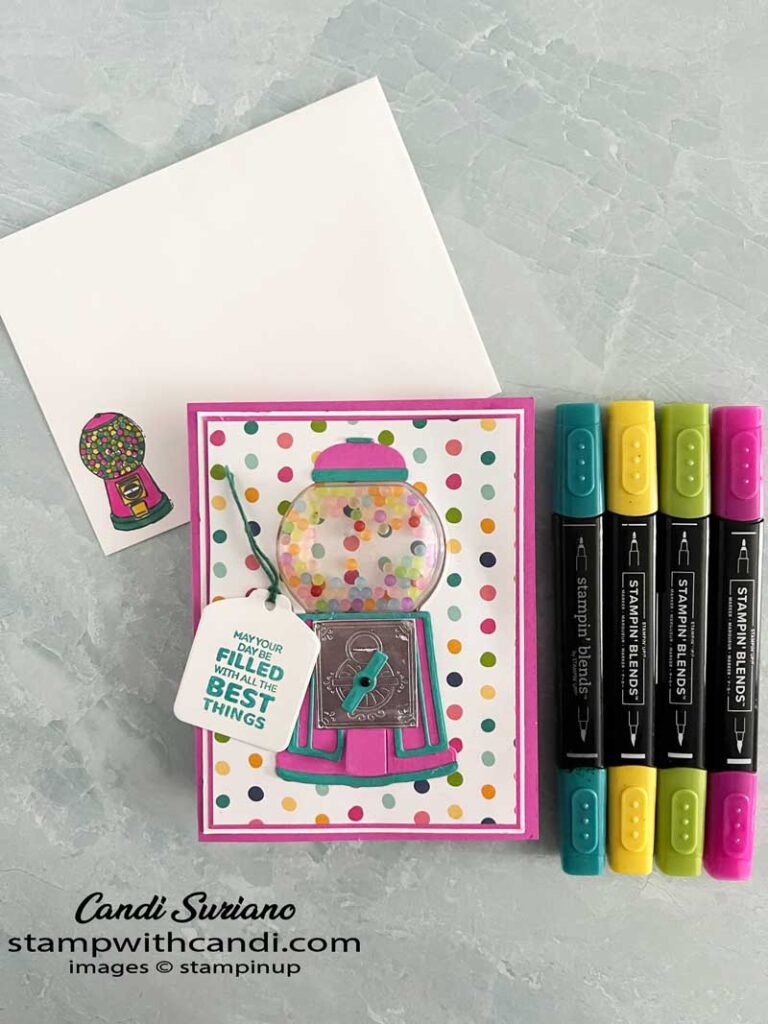
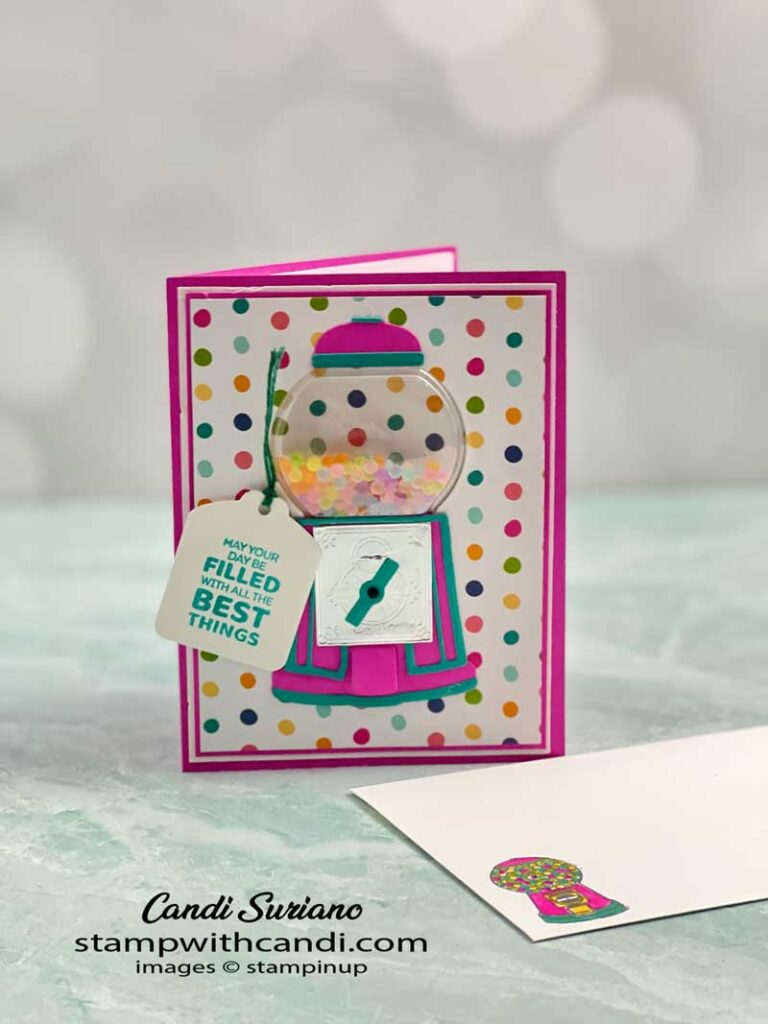
The dies make a detailed gumball machine! I chose bright colors to match the DSP which is from the FREE Sunshine & Rainbows Designer Series Paper which is part of Sale-a-braion. In fact, if you were to buy all the items used in this card, you’d earn the paper for free.
I started with a Magenta Madness card base followed by a Basic White layer, then another Magenta Madness layer, and then the DSP.
Creating the Gumball Machine is pretty easy. The first step is to cut out the hole using the die. Then attach the front Gumball Machine Shaker Dome to the hole. You’ll notice that there is some adhesive showing on the front. This is perfect for holding your machine in place.
The next step is to ‘build’ the machine by placing the elements on the DSP. I used Bermuda Bay for the elements and Magneta Madness for the base. I also left off a piece of the trim because in this case, it was too much Bermuda Bay!
Now that the front of the gumball machine is done, it’s time to finish the shaker part. Flip the DSP layer over and add some of the Frosted Beads to the shaker dome. After adding the beads, I covered the back with a window sheet and added the cutout piece from step 1.
Finally, attach the DSP to the card front and you’re done. I used liquid glue to attach it because Seal wasn’t holding it tightly.
After stamping the sentiment on a Basic White card scrap, I cut it out using the label die from the Sweet Hearts dies. To get the Bermuda Bay twine, I colored some white twine from the Baker’s Twine Essentials with a Bermuda Bay blends.
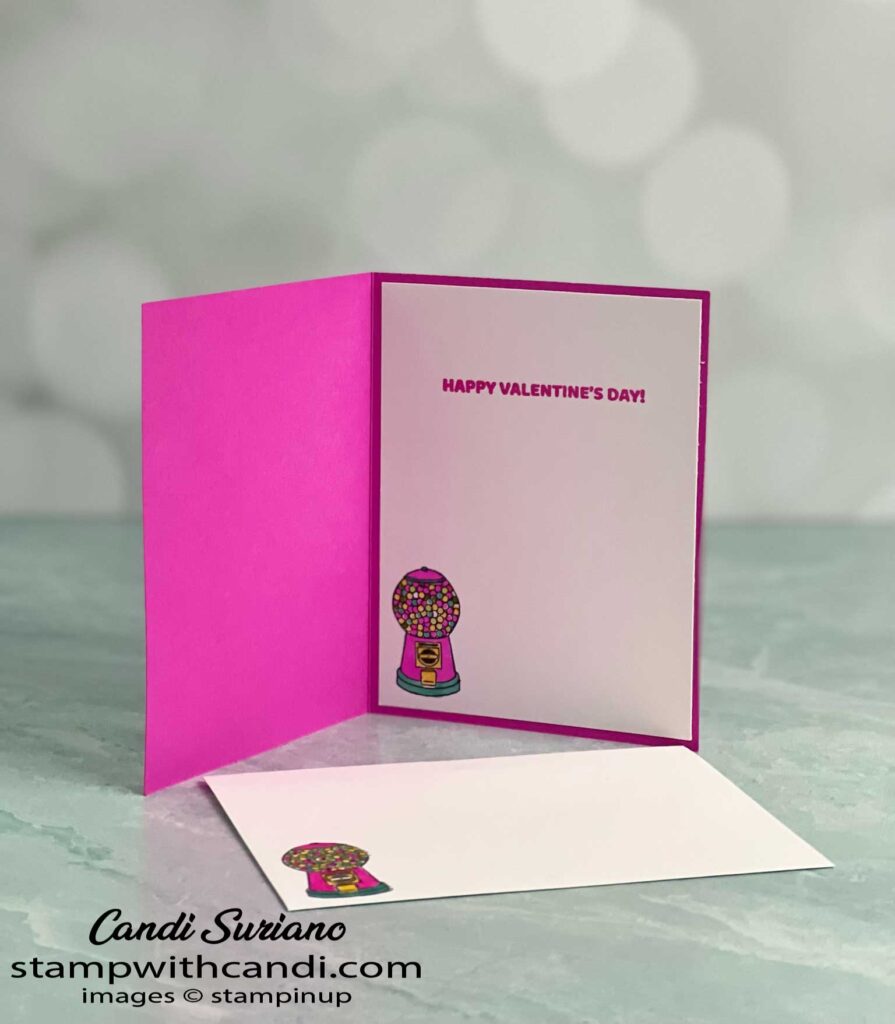
Make the INside Pretty
For the inside, I stamped the small gumball machine image using Tuxedo Momento Black ink and colored it with blends. You can find the list of blends I used in the product list at the end of this post.
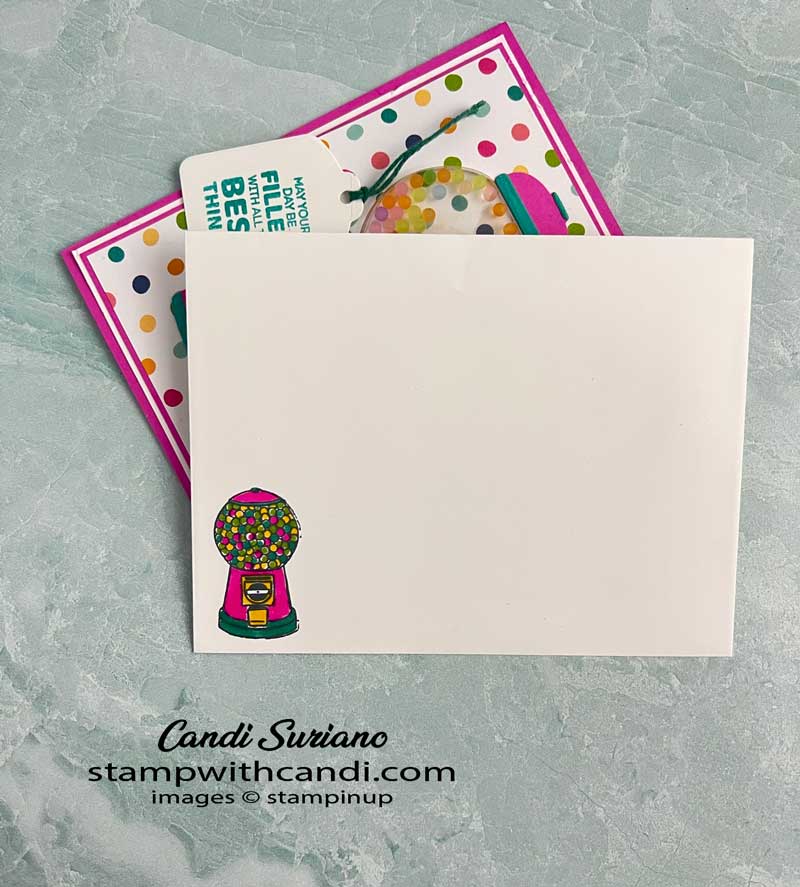
Don’t Forget the Envelope
The envelope is similar to the inside with the difference being the distribution of colors in the little gumball machine.
I hope you enjoyed today’s project. Here’s one last look at it.
Now it’s time to hop along with the other Crafty Collaborators. I’m sure you’ll find a ton of inspiration for your Valentine’s Day cards and projects.
If you’d like to try to recreate this card, you can find a list of the products I used at the end of this post. Need a demonstrator or a catalog? Drop me a line and I’ll put one in the mail. And, f you ever have any questions, please feel free to comment or email me. And, don’t forget to Pin this post so you can find it again!



This is adorable the colours are perfect!
Such a sweet card!
super cute! Great job
Great, colorful card!
Adorable and love that you “finished” the inside too – we often overlook the inside.
What a delightfully fun card! That DSP really plays a great role.
Such a cute, cute card!
Fabulous card x
Very cute x
Perfect pairing of DSP with the Gumball Bundle!! So cute!