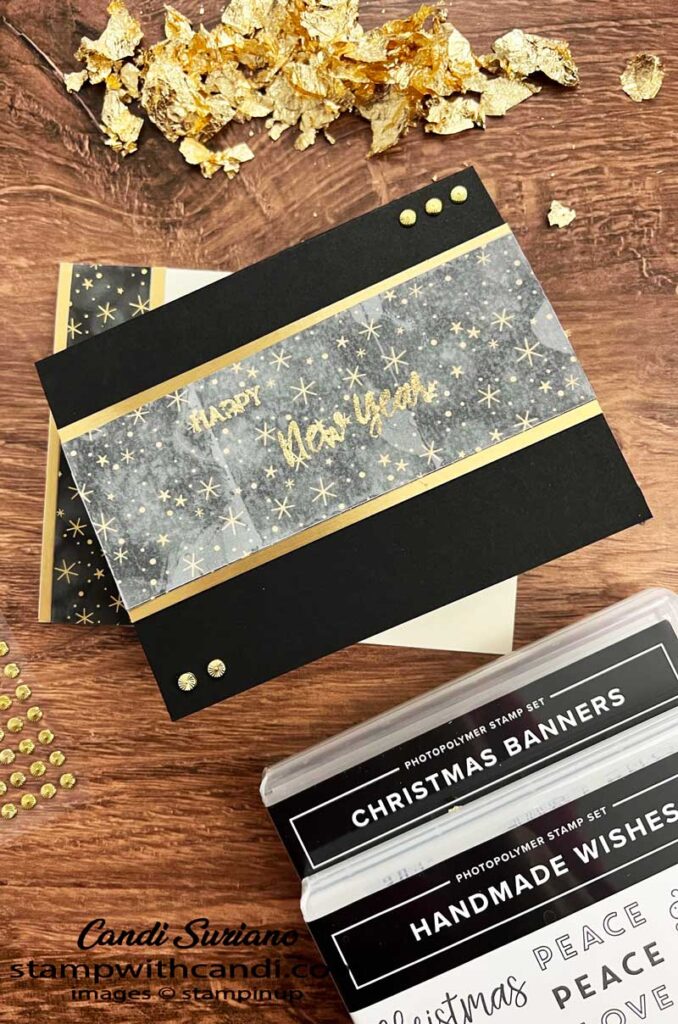
The theme for today’s hop is Winter Holiday excluding Christmas and Hanukkah. I had no idea there were so many Winter Holidays! However, when I first saw the Lights Aglow DSP, I wanted to make this card. Unfortunately, it’s no longer available. But, you could swap it out for any other DSP that has Basic Black as its base.
Today’s Project – Winter Holiday
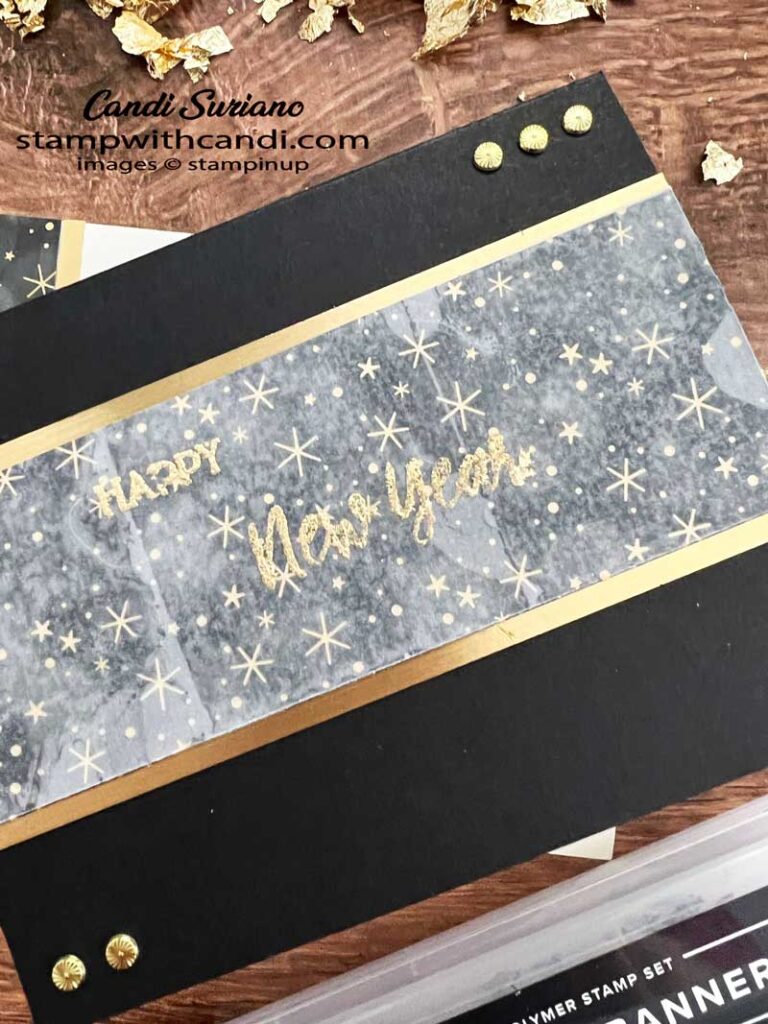
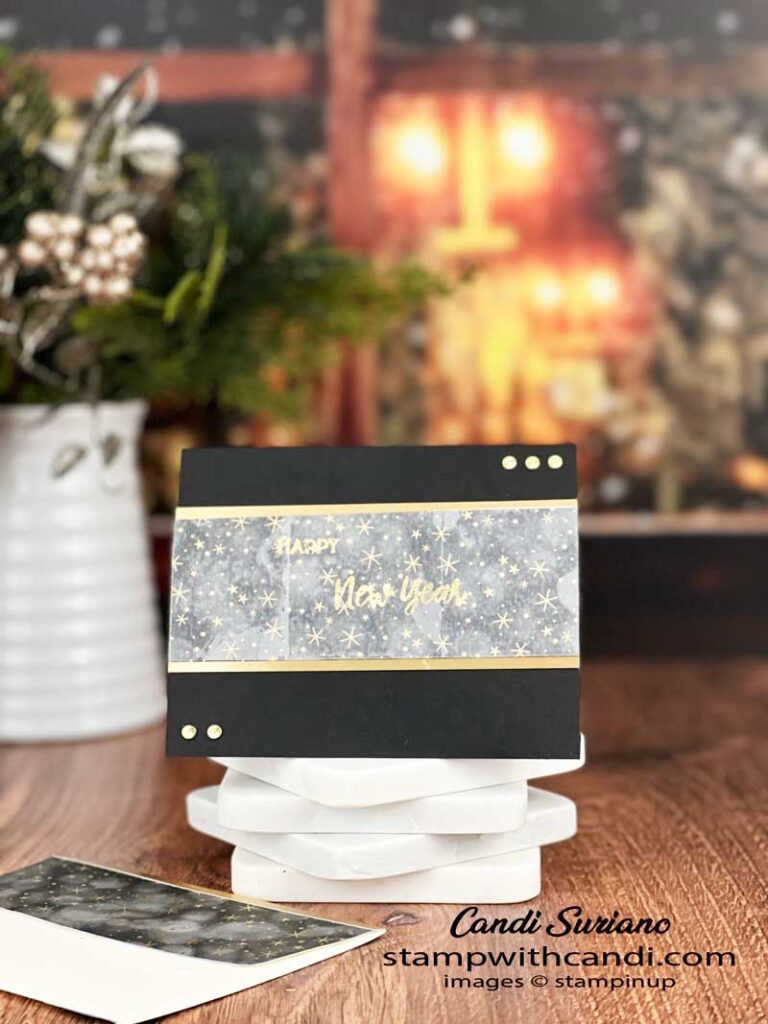
At the heart of this card is the Gilded Leaf sentiment on a Vellum overlay on the DSP. The card itself is pretty simple. A layer of Gold Foil topped with a piece of DSP topped with the Vellum and sentiment.
In the image above you can see the detail of the Gilded Leafing. It’s really quite easy to do. First, stamp with Versamark ink, sprinkle with Heat & Stick powder, then heat with the heat tool until the powder melts. While it’s still hot, cover it with the Gilded Leaf pressing it into the sticky part. Finally, remove the excess using a stiff brush. I use a toothbrush.
Today’s Color Palette – Winter Holiday
I think Basic Black and Gold Foil make a very elegant card. I love this color combo so much, that I have it in my house!
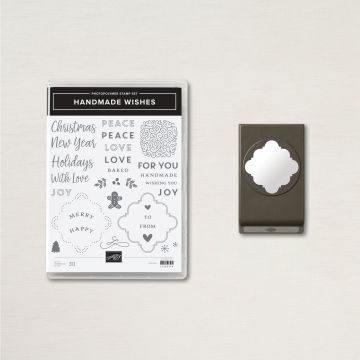
Handmade Wishes
The New Year sentiment comes from the Handmade Wishes stamp set. I love this set for all the sentiments. I’ll be using it in a class that I’m doing making gift tags. Although this set has a ‘Happy’ sentiment, I used the one from the Christmas Banners stamp set because it looked better on this card.
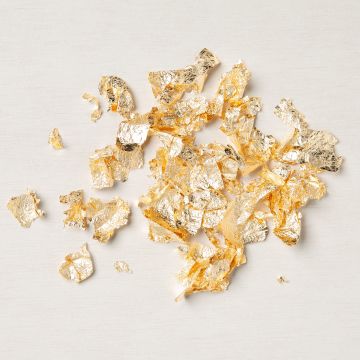
Gilded Leafing
This stuff is amazing! There are so many ways to use it. Basically, you need an adhesive for it to stick to. Then you press it into the adhesive and brush off the excess with a stiff brush. As I mentioned previously, I use a toothbrush. I have to warn you that it is a little messy but so fun.
I could have used Tear n Tape and the Gilded Leafing instead of the Gold Foil but didn’t think of it until the card was done. Plus the leafing gives a different, more textured look than the Gold Foil.
Make the Inside Pretty – Winter Holiday
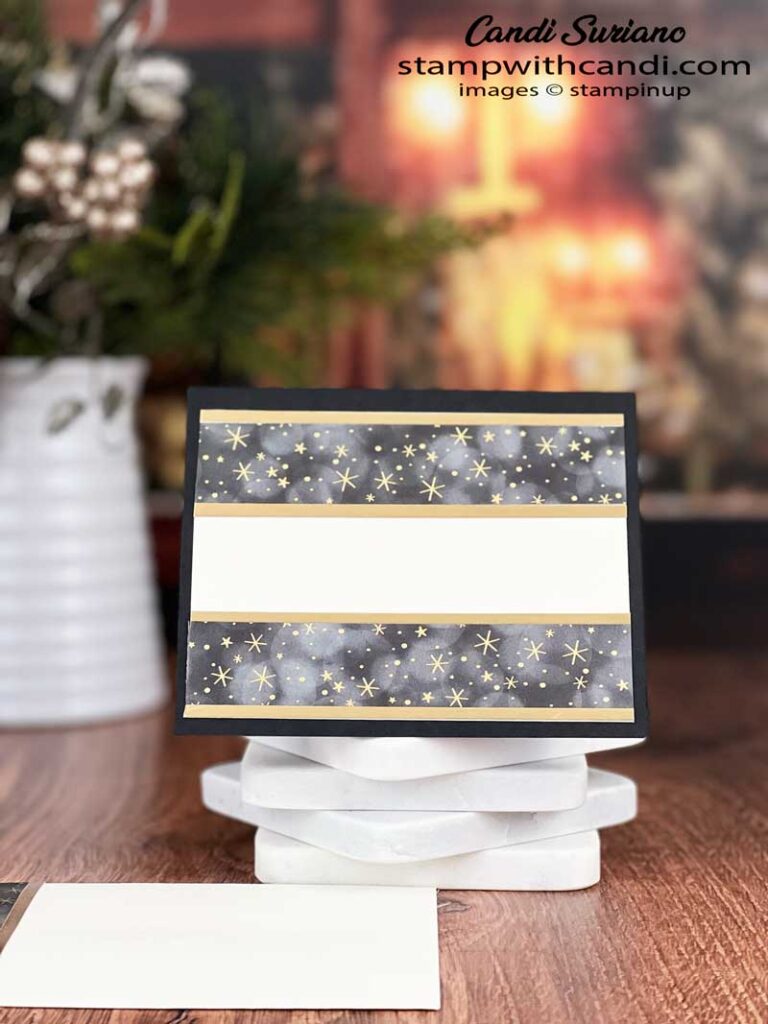
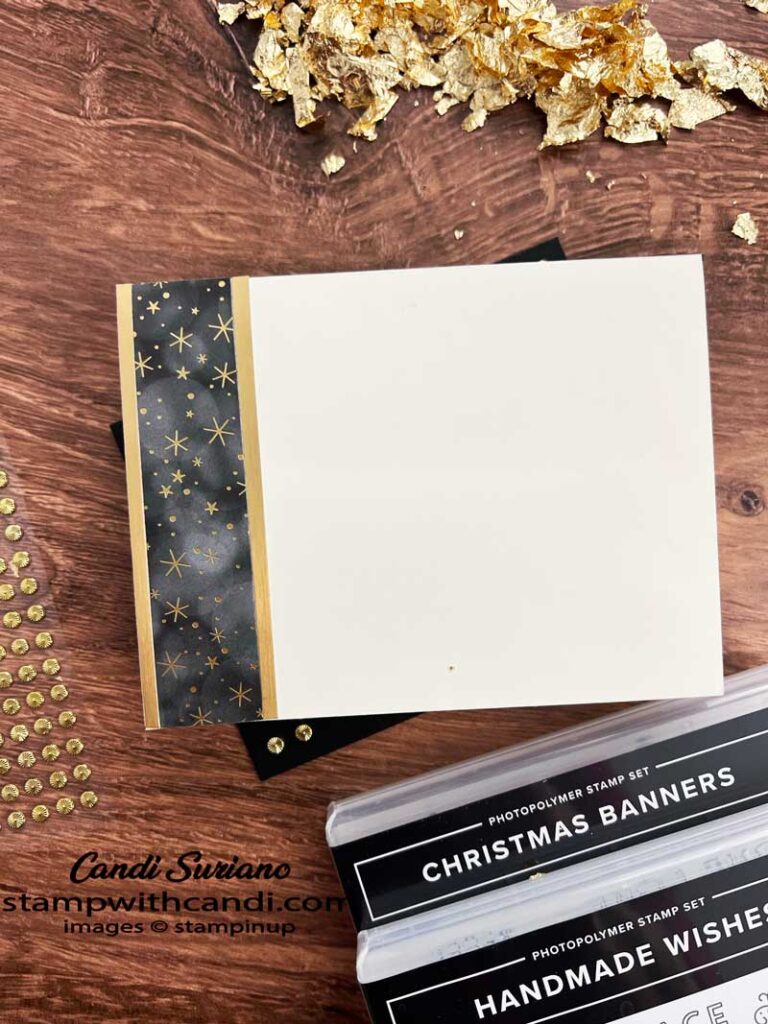
For the inside, I went a little overboard! I used a 1″ piece of DSP on the top and bottom surrounded by 1/4″ of Gold Foil. There’s just enough room for a hand written note and a signature!
Don’t Forget the Envelope – Winter Holiday
For the envelope front, I used the same treatment as on the inside. But then…
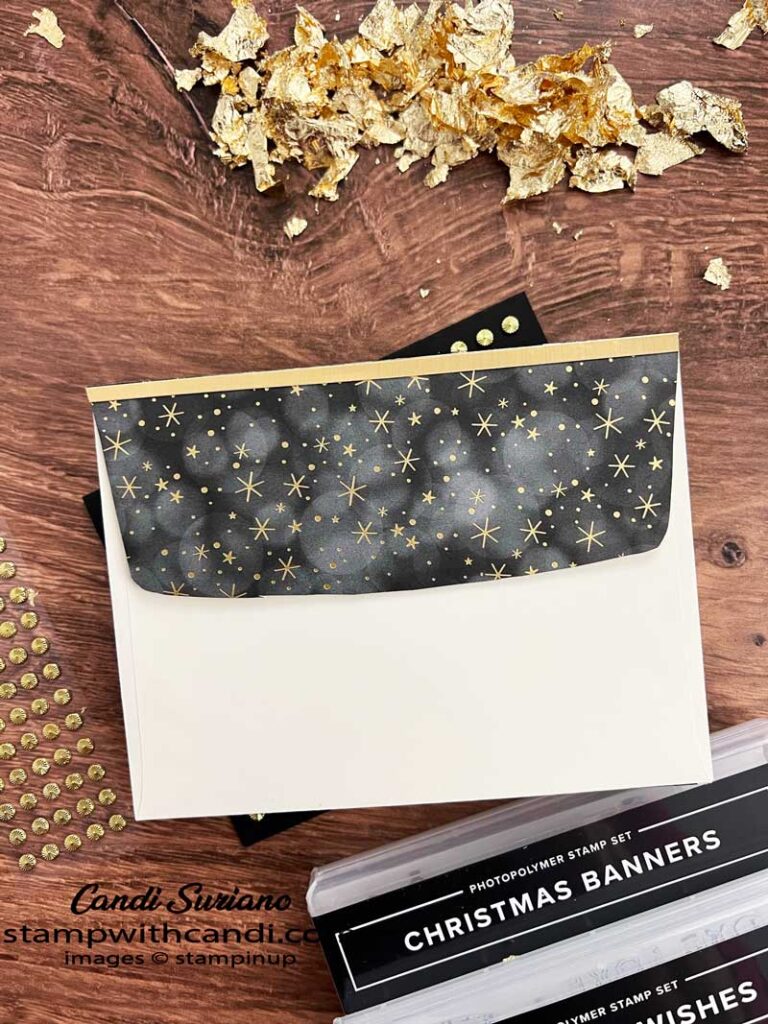
I also decorated the flap by covering it with the DSP and then a strip of Gold Foil at the top.
You Can Make It, Too! – Winter Holiday
As I mentioned above, this card comes together pretty quickly.
Make the Cuts
- Cardbase – 5 1/2″ X 8 1/2″. Score at 4 1/4″.
- Front DSP – 5 1/2″ X 2″.
- Front Gold 5 1/2″ X 2 1/4″.
- Front Vellum – 5 1/2 X 2″.
- Front Adhesive Sheet – 5 1/2 X 2″.
- Very Vanilla Inside Layer – 5 1/4″ X 4″
- Inside DSP – 1″ X 5 1/2′. Cut 2.
- Inside Gold Foil – 1/4″ X 5 1/2″. Cut 4.
- Envelope Front DSP – 1″ X 4 1/2″
- Envelope Front Gold Foil – 1/4: X 4 1/2″. Cut 2.
- Envelope Flap DSP – 5 7/8″ X 2 3/8″.
- Envelope Flap Gold Foil – 1/4″ x 5 7/8.”
Stamp and Apply gilded Leafing
- Stamp the sentiments using Versamark ink on the Vellum.
- Sprinkle the sentiment with Heat & Stick Powder.
- Heat set the powder until it melts.
- Apply Gilded Leafing by pressing the flakes into the sticky Het & Stick Powder.
- Use a stiff brush to remove any excess Gilded Leafing.
Assembly
- Attach Adhesive Sheet to the Vellum layer.
- Attach the Vellum Layer to the DSP layer.
- Attach the DSP layer to the Gold Foil.
- Attach the Gold Foil to the card front.
- Attach the Gold Foil & DSP to the inside Very Vanilla layer.
- Attach the Very Vanilla layer to the inside of the card.
- Attach the DSP & Gold Foil to the envelope front. Trim to fit if necessary.
- Attach the DSP & Gold Foil to the envelope flap. Trim to fit.
I hope you enjoyed my card today and that it inspired you to try the Gilded Leafing. Please leave a comment and let me know what you think! But now it’s time to see more inspiration from the other demonstrators in Crafty Collaborations. So, grab a beverage, sit back and relax, and enjoy the hop!
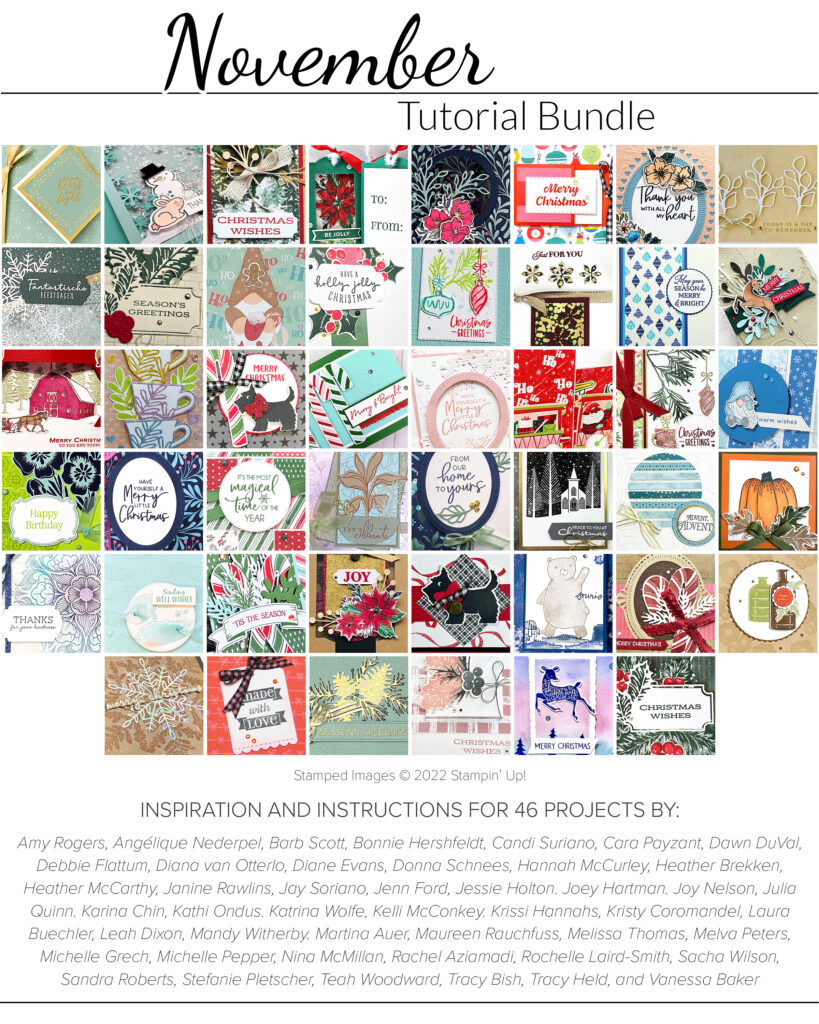
Can you imagine 46 step-by-step tutorials using current Stampin’ Up! products? And it’s yours for a $50 purchase in my online store! And, for the first 10 people who place an order, I will send you the supplies to make my project! Doesn’t get better than that!




Such an elegant looking card Candi, love it x