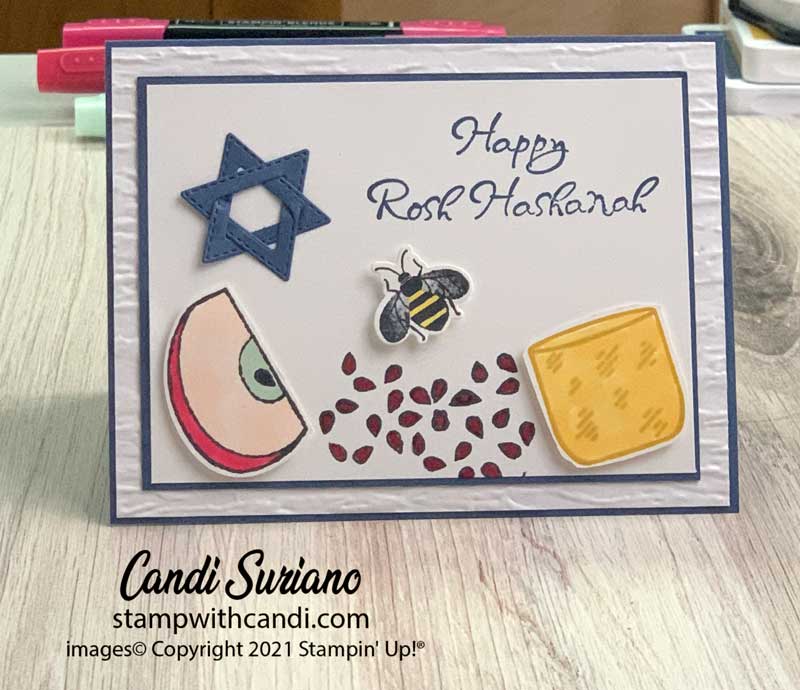
Happy Rosh Hashanah! For those of you who aren’t familiar with Rosh Hashanah, it’s the Jewish New Year. And, it’s a sweet holiday. Think apples, honey, pomegranates, and wine.
Crafty Collaborations
Crafty Collaborations is composed of Stampin’ Up! demonstrators from around the world. Each month we participate in multiple collaborative projects including blog hops, like this one, tutorials, and swaps to inspire all of us in our passion for crafting. Our goal is to create, share, and inspire every crafter to keep our creative energy flowing.
Today’s Project
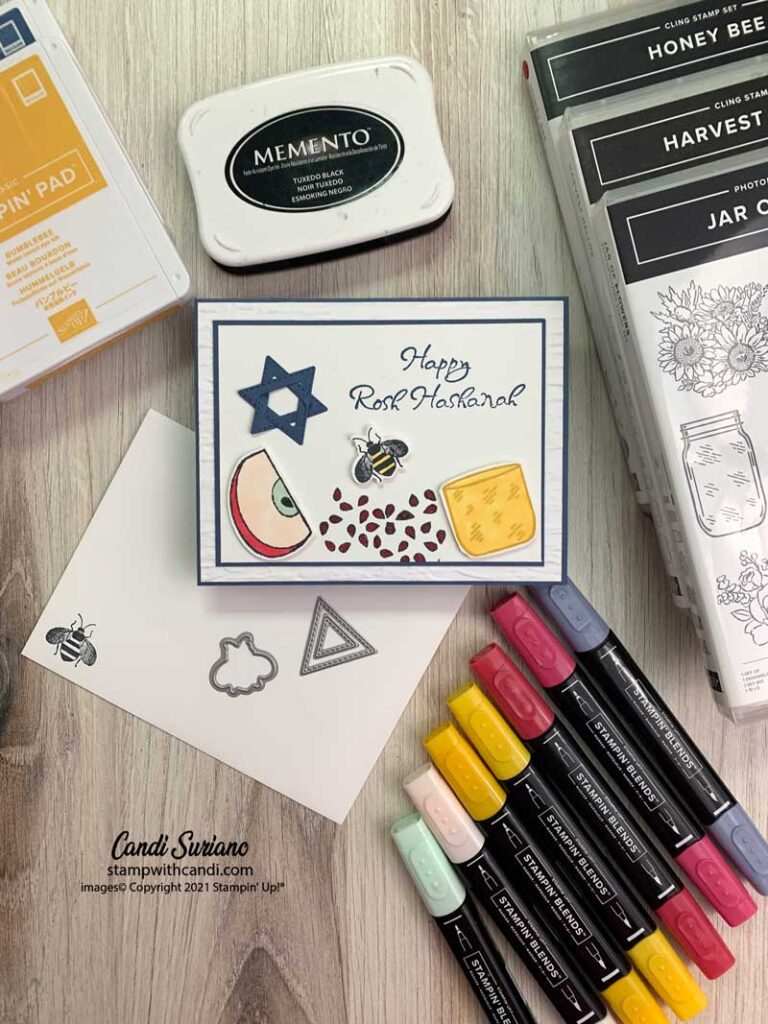
This card was fun to make! I thought of the symbols of Rosh Hashanah and then set to out add them to the card. That was the challenging part because the current Stampin’ Up! catalogs don’t have any of the symbols. Time to get creative!
I dug through my stash to find the Apple Builder punch and the Harvest Hellos stamp set. I have a stash of ‘Jewish-related images’ because my sister-in-law, brother, and two nieces are Jewish. So, whenever Stampin’ Up! has one that fits the bill into my stash it goes!
I colored the apple using my blends – Real Red, Basic Black, Soft Seafoam, and Petal Pink. I used the Apple Builder Punch to cut out the half and then only had to fussy cut the straight line. My kind of fussy cutting!
I used the seeds of the apple from Harvest Hellos stamped twice to look like pomegranate seeds. They were colored using Cherry Cobbler blends.
The small jar from Jar of Flowers made the perfect jar of honey after I colored it with my Mango Melody blends. I used the jar punch to cut out the bottom and sides so that i only had to fussy cut the top.
Brian King gave me the idea for the Jewish star. It’s pretty easy to make using the Stitched Triangle dies. Just pick two equilateral triangles, glue them together, slit the top triangle in two places, and weave the slit pieces around to the back.
The bee came from the retired Honey Bee set and was cut from the Detailed Dies that were part of the bundle. Finally, the sentiment came from a very, very old Stampin’ Up! set called Mazel Tov.
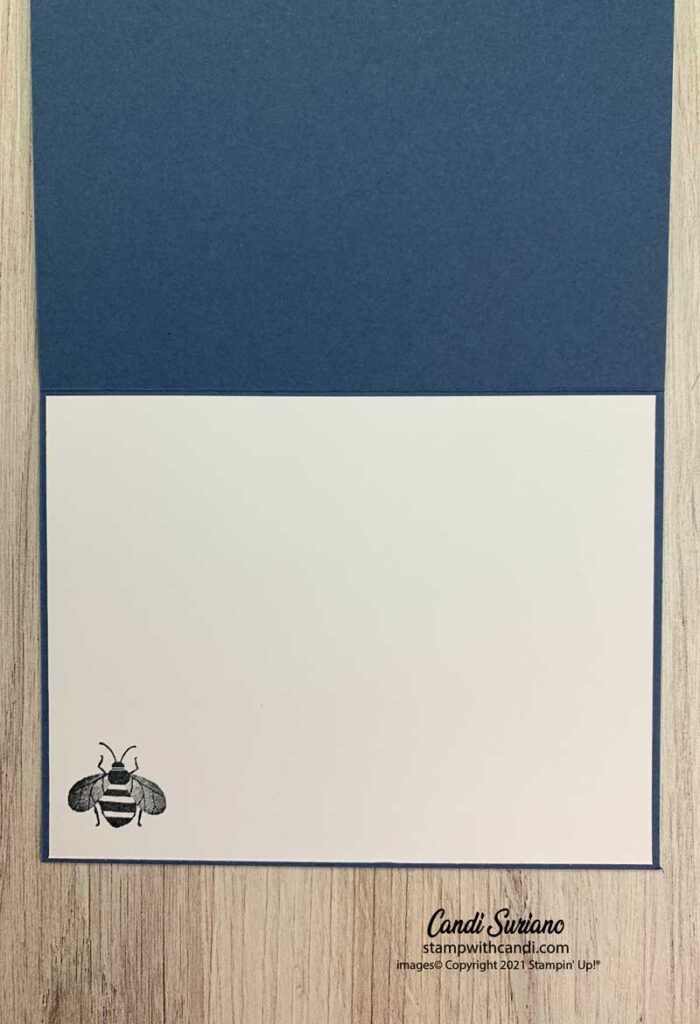
Make the Inside Pretty
I used the same bee without color for the inside. I think before I send this on to my brother and his family, I’ll color the bee to give it some pop!
Don’t Forget the Envelope
The envelope was treated the same as the inside – an uncolored bee. That too will get colored before I send it on. Because I’ll be coloring it with a blends which tends to bleed through, I will slip a piece of scrap card stock into the envelope under the bee. After coloring, I’ll remove the scrap. It will have absorbed the excess ink!
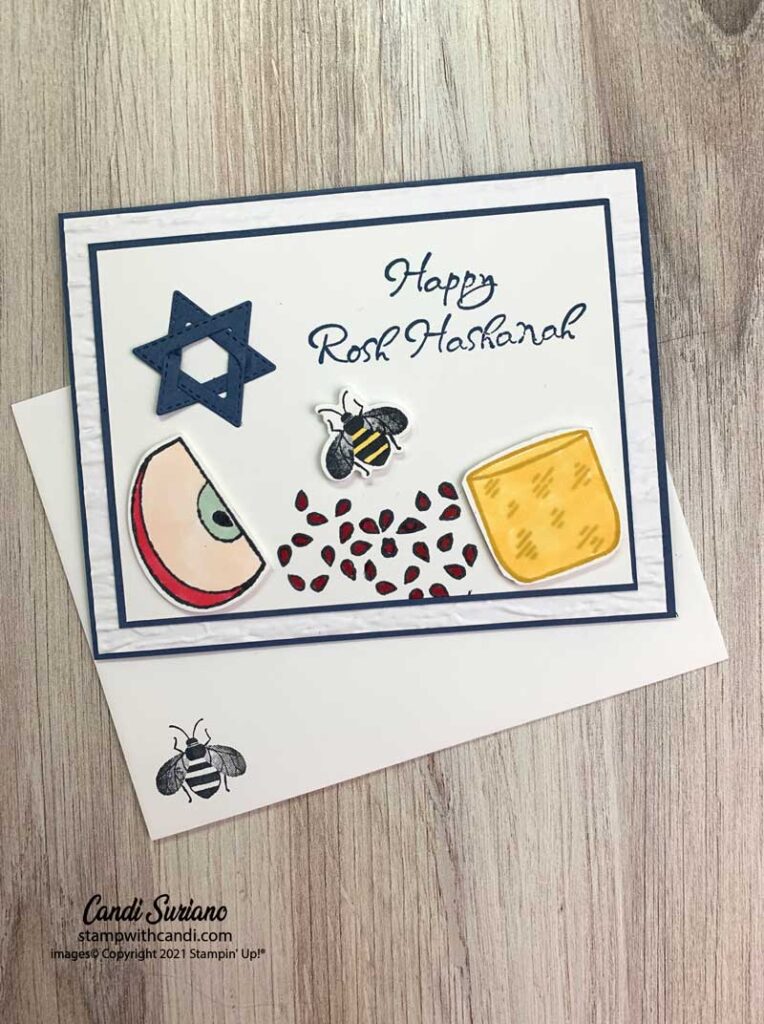
Here’s one last look at the card to show you the texture of the base layer. I love the Bark 3D embossing folder for adding some texture!
Now it’s time for some more collaborative fun. Grab a beverage, sit back and enjoy the hop! You should find some awesome ideas and inspiration as others share their projects made with the Waves of the Ocean suite.
If you’d like to try to recreate this card, you can find a list of the products I used at the end of this post. Need a demonstrator or a catalog? Drop me a line and I’ll put one in the mail. And, f you ever have any questions, please feel free to comment or email me. And, don’t forget to Pin this post so you can find it again!


What a great card! Love how you incorporated so many symbols.