It’s a double ‘hop’ for me today. In addition to participating in this hop to celebrate the Jewish New Year and the start of the High Holiday – Rosh Hashanah, I also posted some Christmas cards here for Share it Sunday. #diversity is the word of the day!
Actually, I make Rosh Hashana cards every year as my sister-in-law and nieces are Jewish and celebrate all holidays! So I’m used to making and sending cards for their holidays.
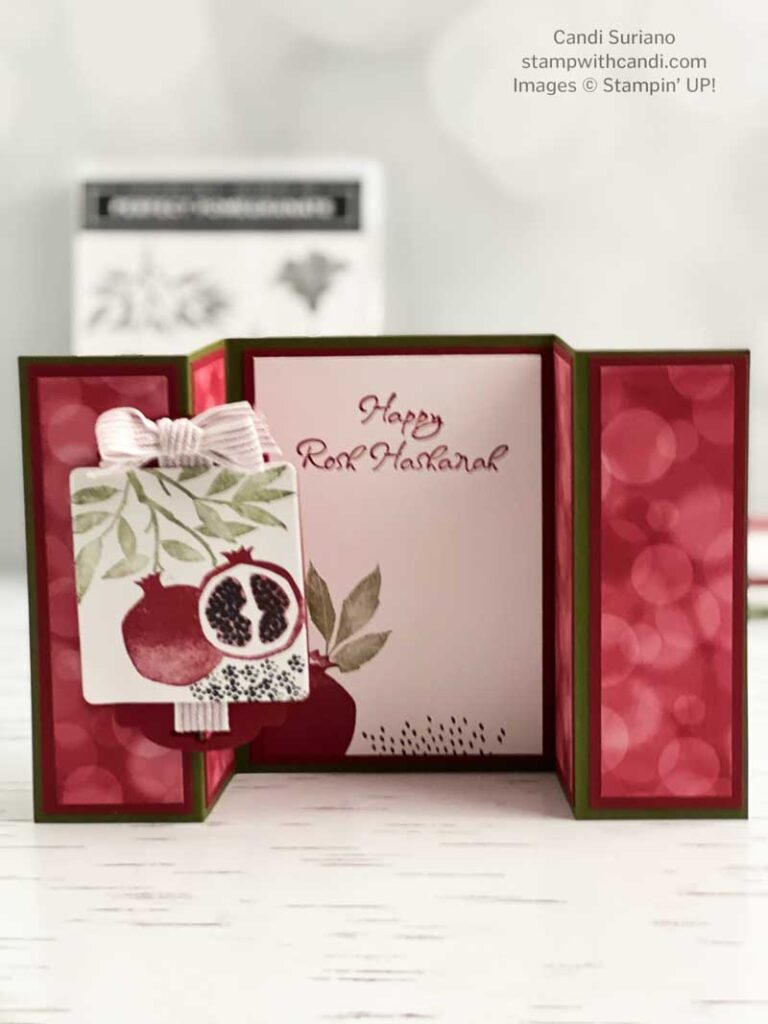
Today’s Project – Happy Rosh Hashanah
When I saw the Perfect Pomegranate Host stamp set in the last Sale-a-bration I was very excited because I now have another Stampin’ Up! stamp that is one of the symbols of Rosh Hashanah! It’s not easy to find stamp sets that celebrate religious holidays that aren’t Christian which is sad. I guess they only offer what sells. So, whenever I see a stamp set that works for other religions, I snap it up and keep it in my private stash!
The sentiment is from a VERY old set called Mazel Tov. It has sentiments for Bat and Bar Mitzvah, Passover, a marriage blessing, and a Star of David. This set will be in my stash until the day I quit stamping!
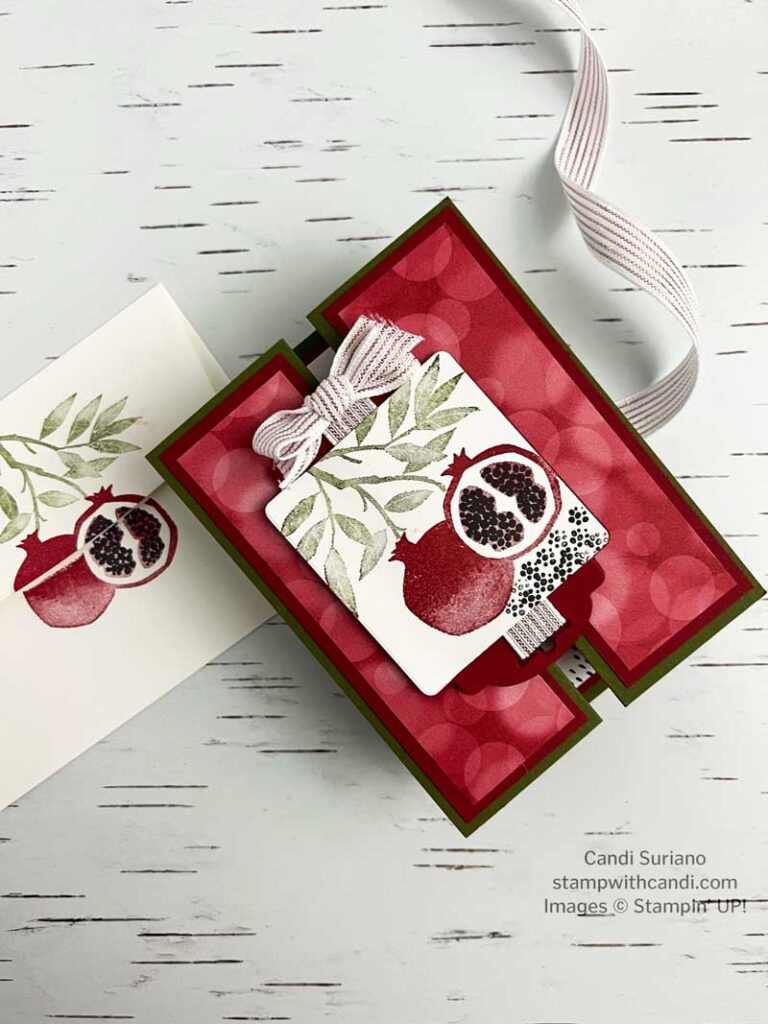
This card is a double-gate fold card. I love the layout because it really showcases our beautiful Designer Series Paper (DSP). But, there is one downside to it, the base has to be 5 1/2″ X 12″. Lucky for me, I have a complete collection of Stampin’ Up! colors in 12″ X 12″ paper. I’ve built it up over quite a long time.
Today’s Color Palette
Did you know pomegranates can vary in color from pale yellow to pink to red to almost purple? I liked having a variety of color choices. But what made my decision is I wanted to use the bokeh Cherry Cobbler paper from LIghts Aglow 6″ X 6″ DSP. And although it’s a ‘Christmas’ paper, I think it works for this card, too.
Once the paper was chosen, I figured out which green looks good with Cherry Cobbler and pulled out Mossy Meadow.
Make the Inside Pretty
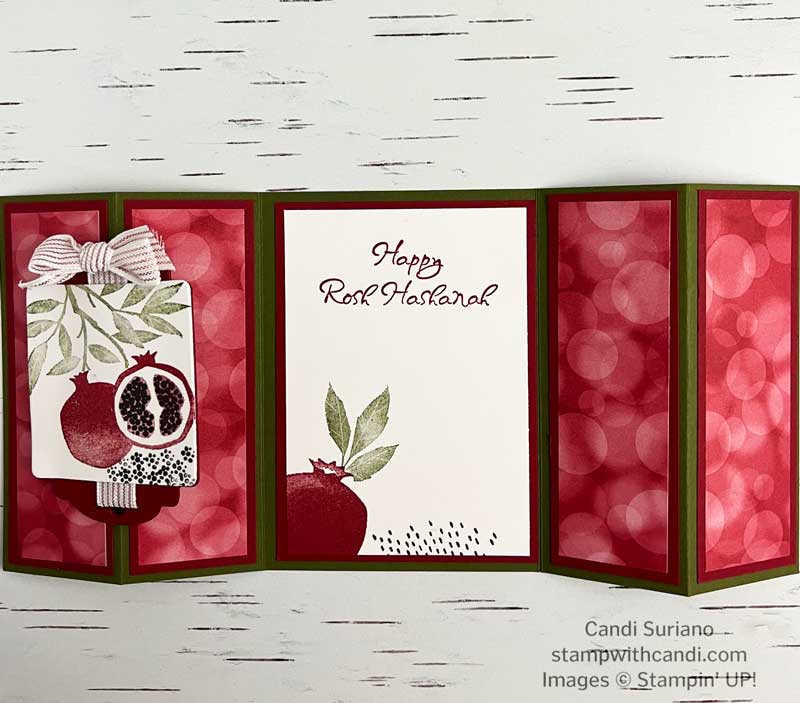
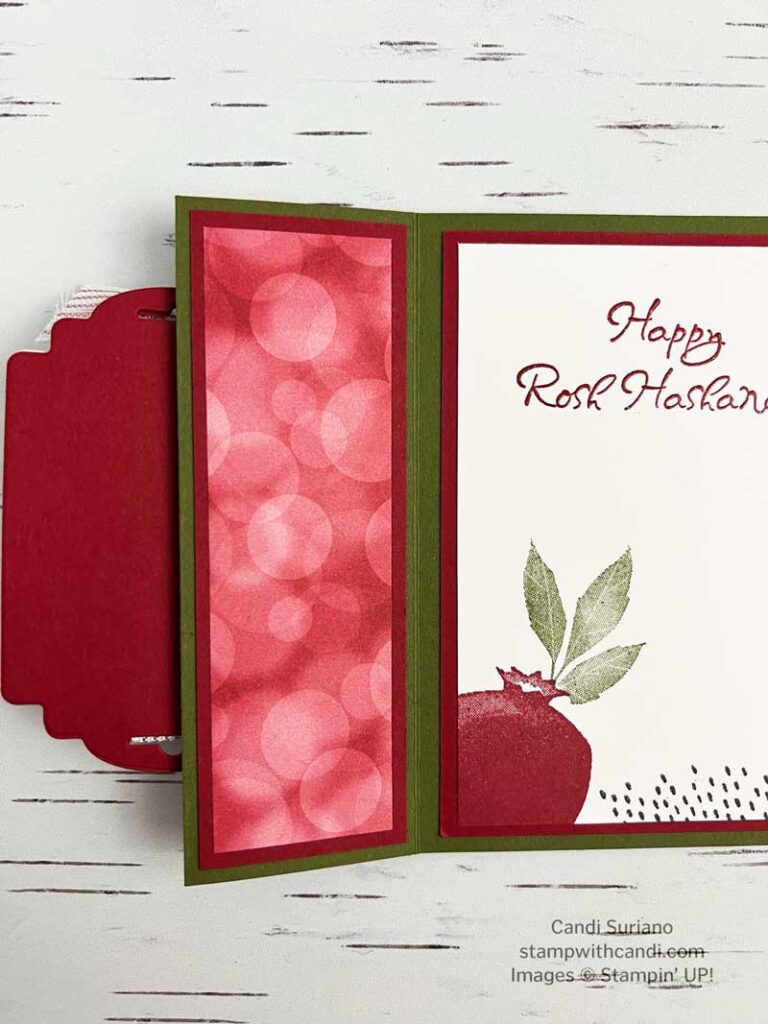
The image above shows the card completely open and laying flat. Or, at least as flat as I could get it to lay!
There are a couple of stamping opportunities on this card. First is the tag on the front which holds the gate closed. The second is there is a big inside panel for stamping or writing. I chose to stamp the pomegranate with leaves and seeds on the side with an embossed sentiment.
The trick to getting an embossed color is to use your Stamparatus. First ink up with Versamark and stamp. Then ink up with the colored ink and stamp. Then sprinkle with clear embossing powder and heat set. Voila! You have colored embossing.
I also used some masking so that the leaves look like they’re coming out of the pomegranate instead of sitting on top of it.
Don’t Forget the Envelope
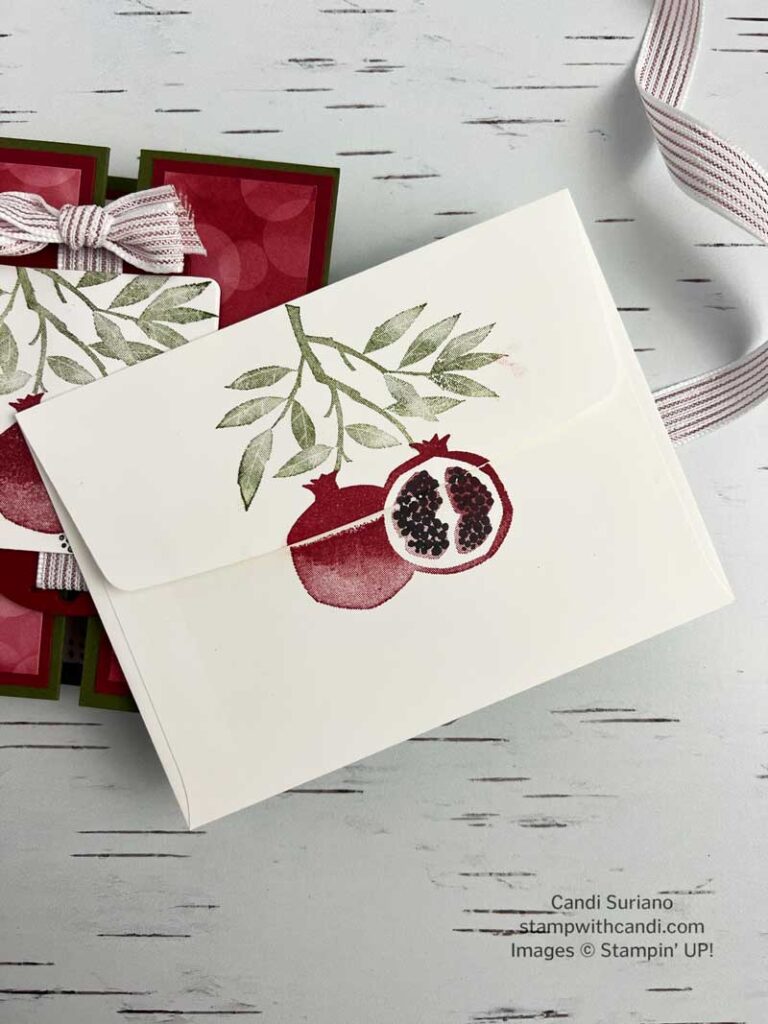
I tried something a little different with the envelope. I stamped across the flap. I think it will look great once it’s sealed and that line goes away.
You can Make It, Too! – Happy Roshanah
This card looks more complicated than it is. It’s actually quite simple – cut the base, cut the mats, cut the layers, and stamp. And as I’ve mentioned, this layout lends itself to a lot of different occasions.
Cut the Cardstock & Die Cut
- Mossy Meadow – Card base – 5 1/2″ X 12″. Score at 2″, 4″, 8″, 10″.
- Cherry Cobbler Mats – 4 @ 1 3/4″ X 5 1/4″.
- Cherry Cobbler Mat for inside – 3 3/4″ X 5 1/4″
- DSP – 1 1/2″ X 5″.
- Basic White Inside – 3 1/2″ X 5″
- Using the Designer Tags dies, cut two Cherry Cobbler and one Basic White. Trim the Basic White to a square.
Stamp
- Stamp the pomegranate in the lower left corner of the Basic White inside panel using Cherry Cobbler ink.
- Stamp and cut a mask of the pomegranate.
- Apply the mask and then stamp the leaves using Mossy Meadow stamped off once.
- Stamp a few seeds using Tuxedo Momento Black ink
- Stamp the sentiment using the Stamparatus. The first stamp in Versamark. Next stamp using Cherry Cobbler ink. Sprinkle with clear embossing powder and then heat set with a heat tool.
- Stamp the other pomegranate image for the front using Cherry Cobbler ink. Use the seed image to stamp the seeds inside the open pomegranate.
- Stamp and cut a mask of the pomegranates and apply it.
- Stamp the leaves using Mossy Meadow stamped off once.
- Stamp the small seed image multiple times below the pomegranates.
Assemble
- Thread the ribbon through one of the Cherry Cobbler frames. Attach the second Cherry Cobbler frame to the first to get a clean back as shown below.
- Attach the stamped image to the Cherry Cobbler frame.
- Tie a bow using the Rose Gold & White striped ribbon and attach it using a glue dot.
- Attach the DSP to the Cherry Cobbler Mats.
- Attach the mats to the card base.
- Attach the inside stamped image to the Cherry Cobbler mat.
- Attach the Cherry Cobbler mat to the inside of the card.
- Accordion fold the card with the two outside score lines being mountain folds and the next two valley folds.
- Attach the front focal image using dimensionals taking care to only attach it to the left side. The image above illustrates how it should look.
I hope you enjoyed my card and realize that the layout could be translated to so many other holidays – Christmas, Easter, and Valentine’s Day. Switch out the images and sentiments, use different paper and you’d have a completely different card!
Now it’s time to see what other inspiration waits. So, grab a beverage, sit back and relax, and enjoy the hop!
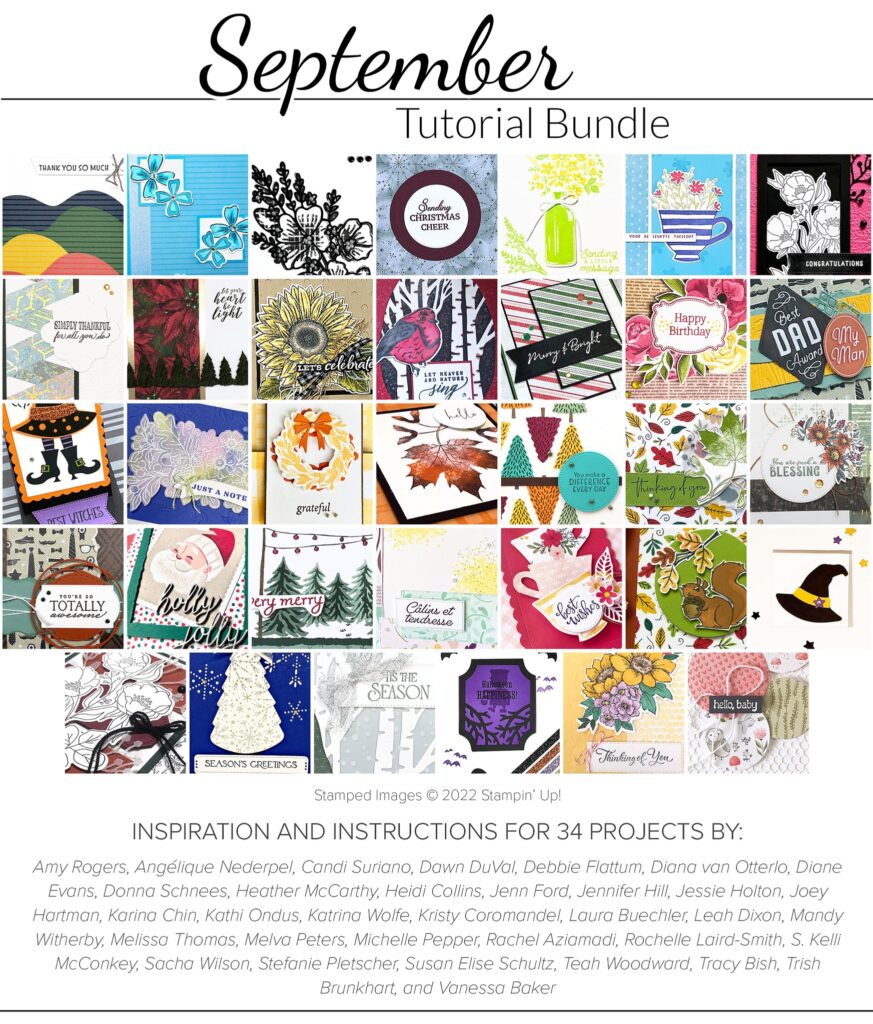
The Crafty Collaborations September Tutorial is simply amazing. Step-by-step instructions with pictures for 34 different projects using current Stampin’ Up! products. It’s free with a $50 purchase in my online store. You don’t want to miss this one!



Love the card fold and the matching envelope. Beautiful!!