It’s Technique Tuesday for Crafty Collaborations and today’s technique is Heat Embossing. Heat Embossing was one of the first techniques I used when I first started stamping in 2002. Watching that embossing powder get shiny and melt seemed like magic. Today I have a variation that I’m sure you’re going to like.
Today’s Project – Heat Embossing with a Mask
First, let me qualify the terminology. Stampin’ Up! calls them masks but the rest of the crafting world calls them stencils. So, if you’d like to see more examples of this technique, search for heat embossing with stencils.
Second, I have to share my love affair with stencils. When I first saw stencils in a friend’s bathroom, I was in love. So much so, that I went home and stenciled the cabinets in my kitchen with herbs. They were stunning!
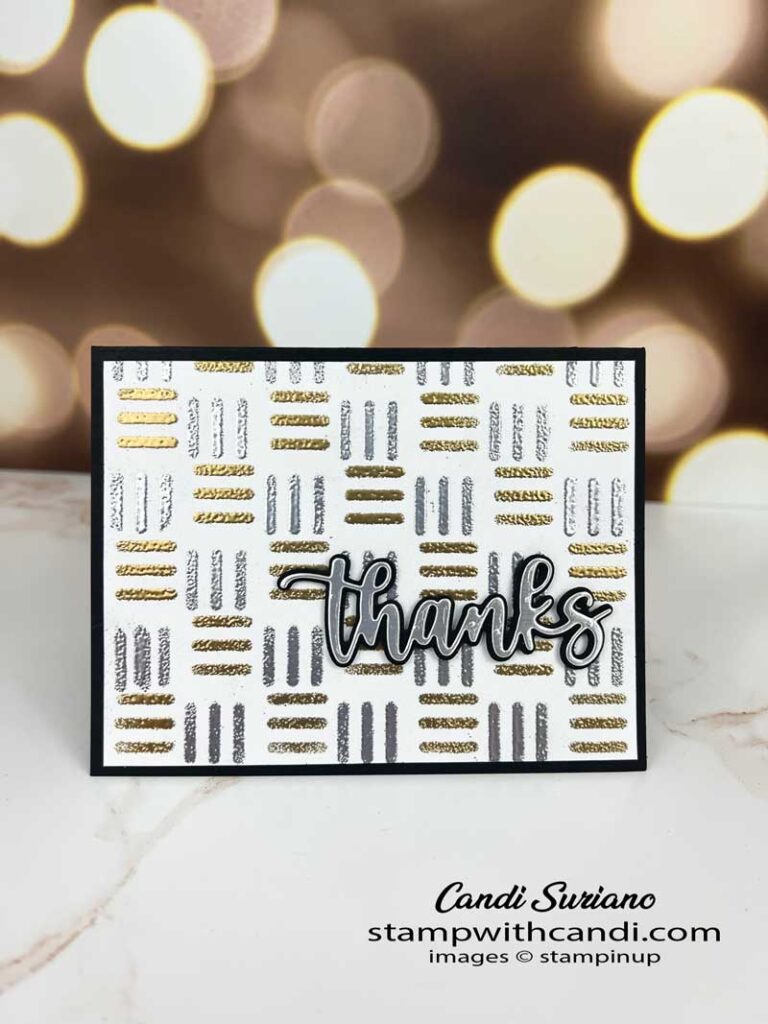
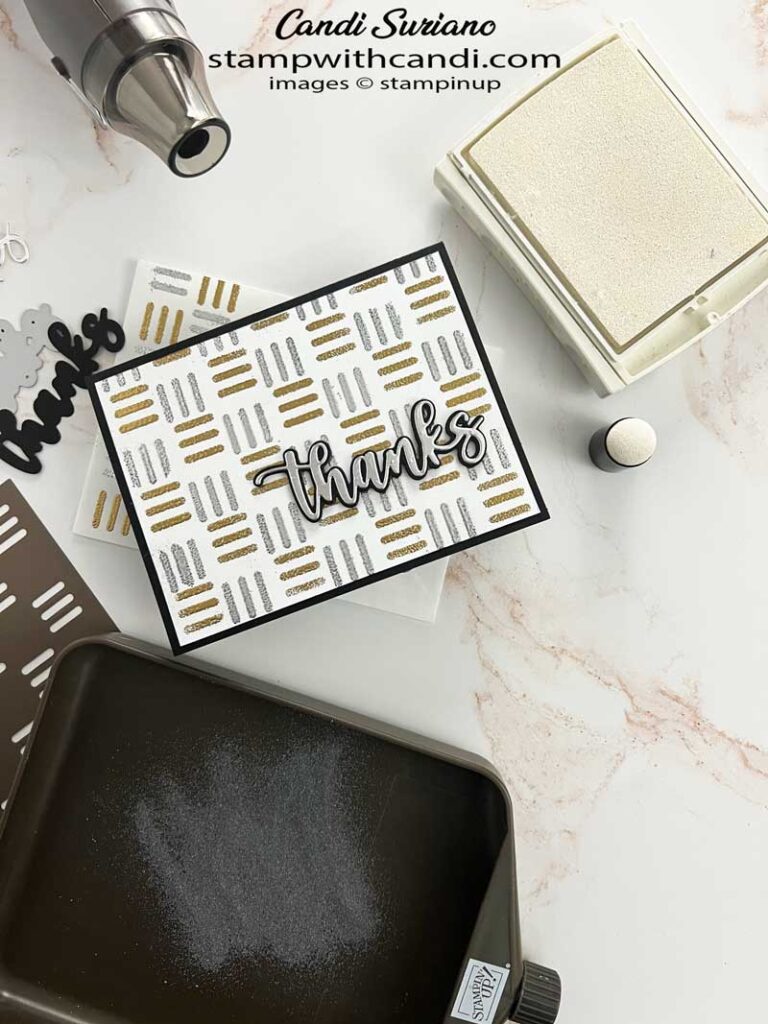
Finally, let’s get to talking about why you’re here – my stenciled card! I used one of the new masks from the upcoming January – April Mini catalog which goes live in two days. I taped my cardstock to a silicon mat, laid the stencil down, and taped it. Then I used a sponge dauber to apply Whisper White Pigment (Craft) ink to the stencil. Finally, I sprinkled it with silver embossing powder and heat-set it. I repeated the process with gold embossing powder after turning the mask ninety degrees.
You may wonder why I used Whisper White Craft ink instead of Versamark for the embossing. Well, Versamerk is very sticky and when you’re stenciling, it’s important that the stencil doesn’t move so that you get crisp edges. Sticky ink pulls up the stencil slightly and thus you don’t get those crisp images. Craft ink dries slowly so works for embossing and doesn’t pull up the edges!
The background is so stunning, I didn’t want to cover it up. So I just used the sentiment from the Amazing Thanks dies using silver foil with adhesive sheets for the word and Basic Black for the outline.
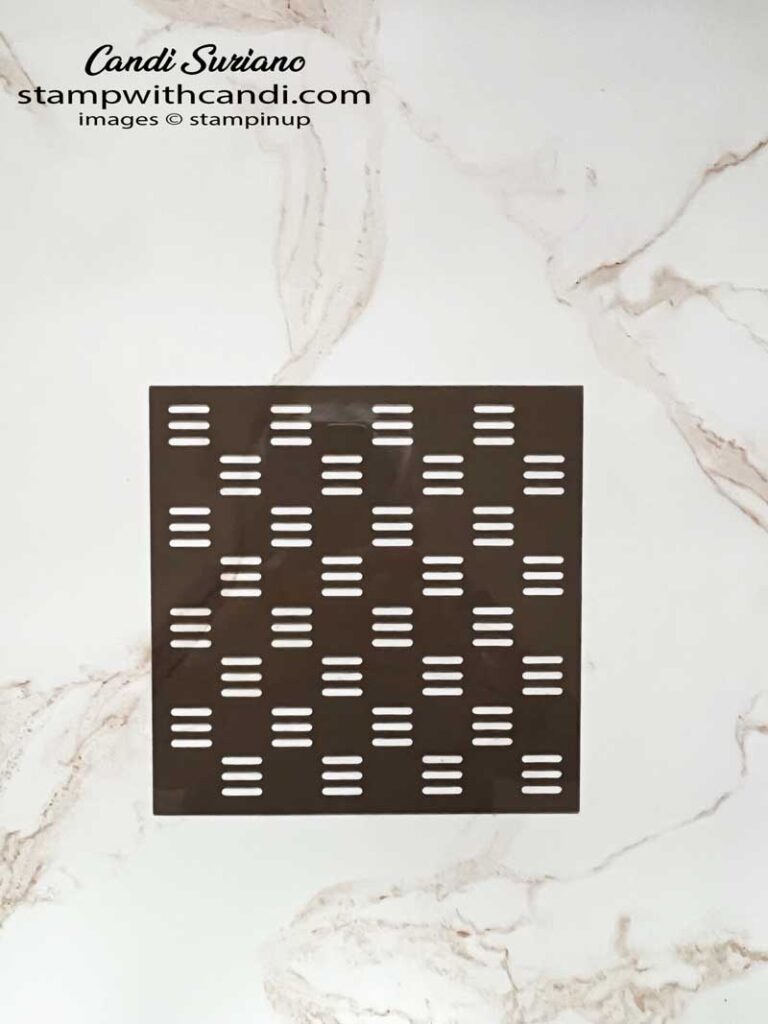
Loveliest Layers Decorative Masks
Since the catalog isn’t live yet, I couldn’t show you a picture of the masks from the catalog or website, so I took one myself. In addition to the pattern above, there are 4 other masks that together make a flower. The traditional way of using these masks is with a blending brush or sponge dauber. And those do create beautiful results. Heat embossing just adds one more tool to the toolbox for using these masks.
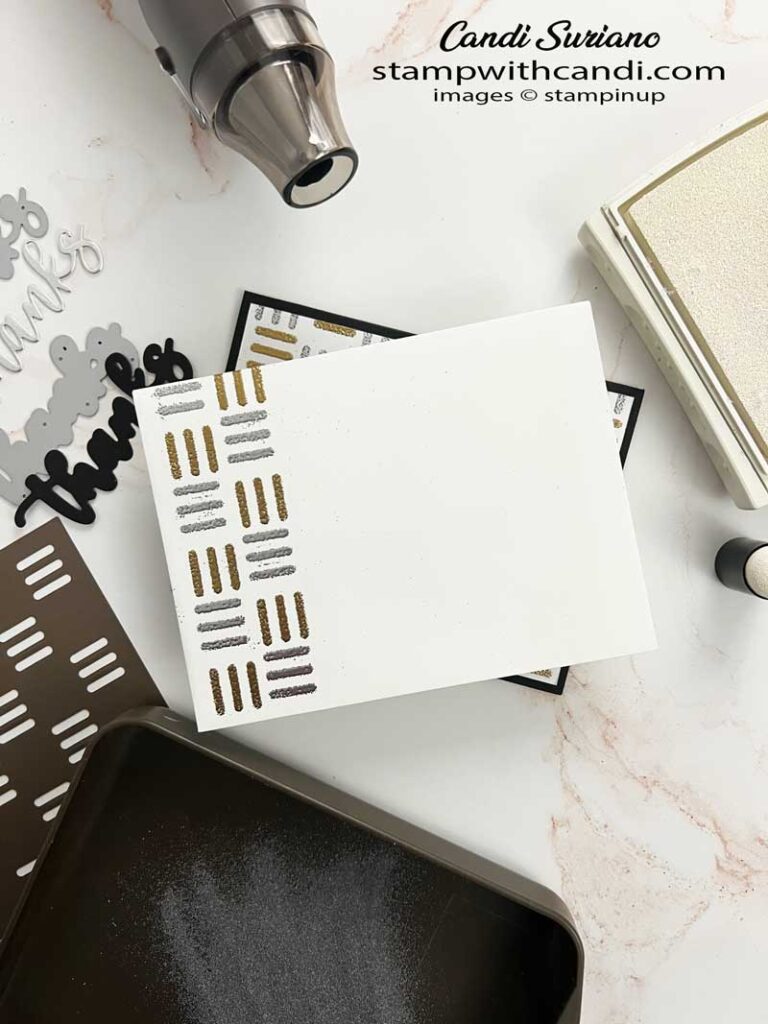
Make the Inside Pretty – Heat Embossing with a Mask
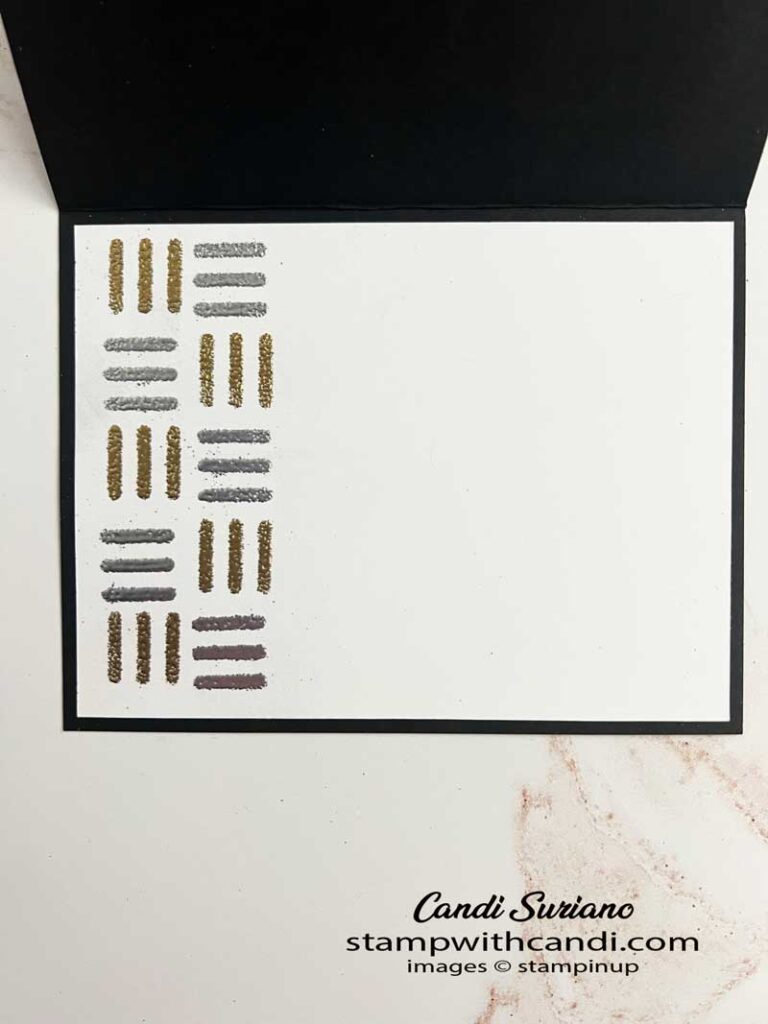
For the inside, I used the same technique but limited it to just two columns of the maks.
Don’t Forget the Envelope – Heat Embossing with a Mask
I mimicked the inside for the envelope. If you look closely, you’ll see that I didn’t use my embossing buddy and I have some stray embossing powder. Ooops!
You Can Make It, Too! – Heat Embossing with a Mask
This card is actually pretty easy to make and packs a pretty big WOW!
Make the cuts
- Cardbase (Basic Black) 5 1/2″ x 8 1/2″. Score at 4 1/4″.
- First layer (Basic White) 5 1/4″ x 4″.
- Inside liner (Basic White) 5 1/4″ x 4″
- Diecut outline – Basic Black
- Diecut thanks – Silver Foil
Stamp and emboss
- Run the embossing buddy over both Basic White pieces and the envelope to remove any static.
- Lay the Basic White first layer on a silicone mat or other surface that you don’t care about. Lay the mask on top of it. Tape the mask to the surface so it doesn’t slip.
- Using a sponge dauber, apply Whisper White Craft ink to the mask.
- Remove the mask.
- Sprinkle Silver embossing powder onto the surface. Tap off excess. Heat set.
- Do the above steps for the inside layer and envelope.
- Lay the Basic White first layer on a silicone mat or other surface that you don’t care about. Lay the mask on top of it but turn it perpendicular to the existing embossing and center it between the existing elements.. Tape the mask to the surface so it doesn’t slip.
- Using a sponge dauber, apply Whisper White Craft ink to the mask.
- Remove the mask.
- Sprinkle Gold embossing powder onto the surface. Tap off excess. Heat set.
- Do the above steps for the inside layer and envelope.
Make the Sentiment
- Cut the outline from Basic Black cardstock using the Mini Stampin Cut & Emboss.
- Attach the adhesive sheet to a piece of silver foil.
- Die cut the ‘thanks’ from the silver foil.
- Attach the Silver foil to the Basic Black outline
Assemble
- Attach the inside liner to the inside of the card.
- Attach the first layer to the card front.
- Attach the sentiment to the card front using mini dimensional.
I hope you enjoyed my card today and that inspires you to try heat embossing with a stencil. There are some in the annual catalog that would look spectacular with this technique! Now let’s check out what the other members of Crafty Collaborations have in store for yo. So, grab a beverage, sit back and relax, and enjoy the hop!
JANUARY 2023 PAPER PUMPKIN – KEY TO MY HEART
Subscribe by January 10 to get this cute & lovely Paper Pumpkin. This month’s kit includes:
Everything you need to make 9 cards, a love-themed stamp set, a Fresh Freesia Ink Spot, and a unique padlock and key die cuts. Plus there is an add-on item – 10 heart-shaped boxes for $11. Not a subscriber? Click this link to subscribe.
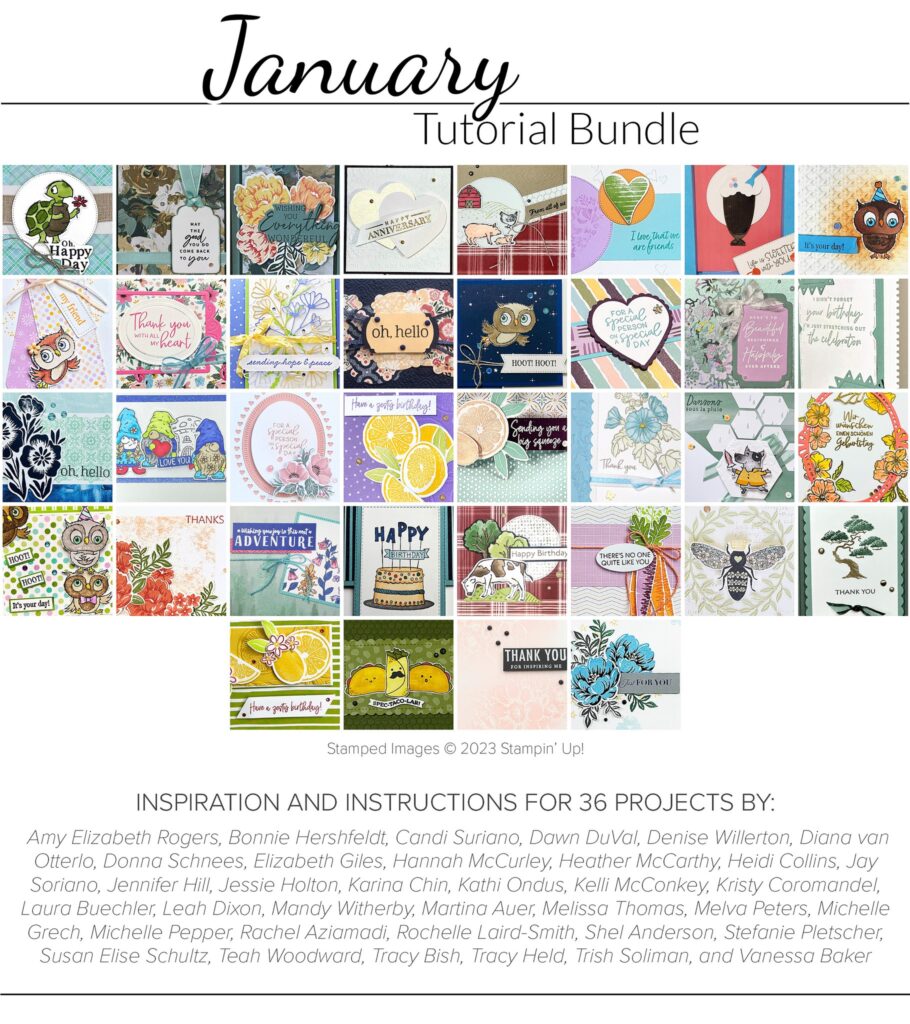
Can you imagine 36 step-by-step tutorials using current Stampin’ Up! products? And it’s yours for a $50 purchase in my online store! And, for the first 10 people who place an order, I will send you the supplies to make my project! It doesn’t get better than that!



Oooh, love this idea Candi and the mixed metallic embossing looks fab x
Love your card!
Love your card! I’ll have to give the Whisper White Craft ink a try – I just never thought of using with embossing powders! Brilliant!
Great technique, I haven’t tried using ink as the base for embossing powder before. Your stencilling is stunning!
What a great idea Candi
I love the two tone embossing. Great tip about using the craft ink as a base for the embossing powder