Today I’m hopping with Stamping with Friends a group of international demonstrators who do a blog hop on the 2nd and 4th Saturdays of the month. One hop a month focuses on a technique the other focuses on a theme. Today is a themed hop and the theme is CASEing a demonstrator. What is CASEing? It’s when you take inspiration from someone else and make it your own. I chose to CASE Kylie Bertucci’s beautiful card. She’s a demonstrator from Australia. Check out her card here. I used her layout and color palette but changed the stamp set to Joyful Flurry.
Today’s Project – Joyful Flurry
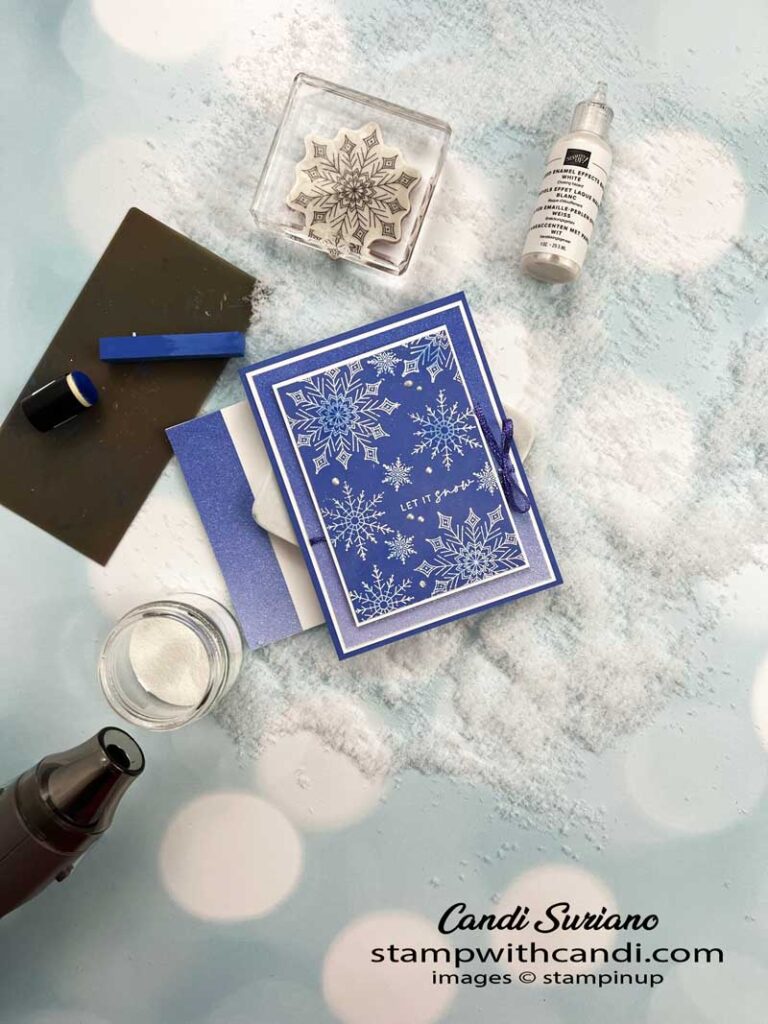
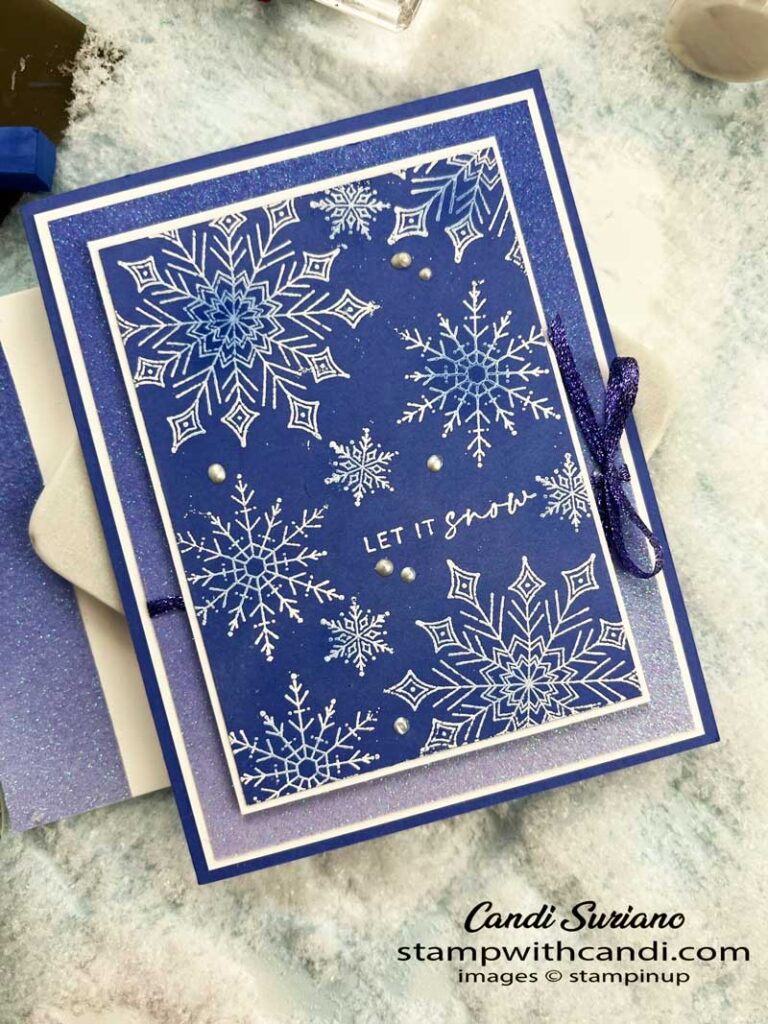
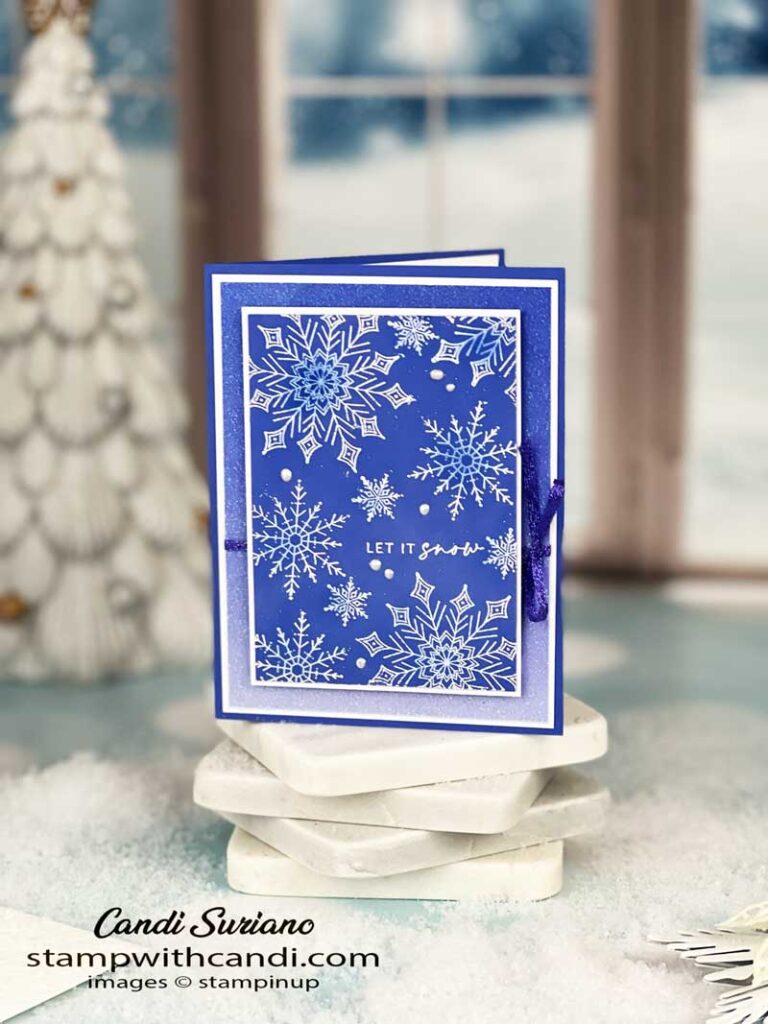
There is a lot going on with this card, but it’s really quite simple. I started with the focal image and the sentiment in particular. You don’t want to have to squeeze it in! Then do the largest snowflake, then the medium, and finally the smaller ones. Stamping and embossing in this order ensures that there is room for all the elements.
The next step is to shave some of the Night of Navy Soft Pastel onto some Versamark ink on a Silicone mat. I used the spatula end of the Take Your Pick tool. If this isn’t in your toolkit, it should be. It’s so versatile! Then apply the shaved pieces to the center of the snowflakes using a sponge dauber.
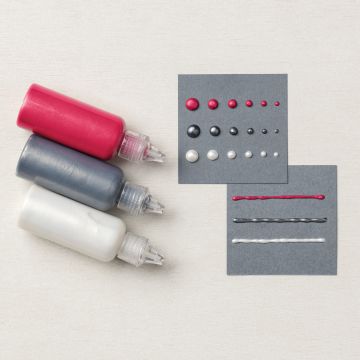
The last step is to add some white Pearlized Enamel Effects. Although pearls would have also worked, I love the way these dots look!
Here’s a look at the detail in the focal image. You can really see the additional color that the Soft Pastels add.
Today’s Color Palette – Joyful Flurry
I took my color Palette from Kylie’s card. I love Orchid Oasis. It’s such a nice purply blue. I was also influenced by what was available in the Soft Pastels. I needed to choose a palette that would work with Night of Navy. Starry Sky is too close to the same, so Orchid Oasis works.
JOyful Flurry
I love this stamp set. The snowflakes are so pretty and the sentiments fit them perfectly, especially ‘Let It Snow’. I’m someone who lives in a northern climate and embraces winter. I love the changing of the seasons and watching things die in fall and come back in winter. And a pretty snowfall just makes me smile.
Soft Pastels
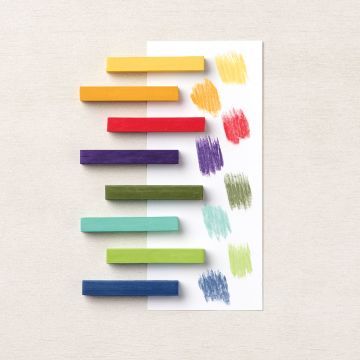
These are so much fun to play with. This card uses the emboss resist technique, where you emboss an image, and then color over it with a chalk pastel. The embossed image will resist the color and the surrounding card stock will pick it up. After you’ve applied the pastel, rub a tissue over it to remove any excess chalk.
Pearlized Enamel Effects
These are perfect ‘make your own’ embellishments. You can tint the white one with a reinker and make dots using a toothpick to get whatever coordinating color you need to finish off your card.
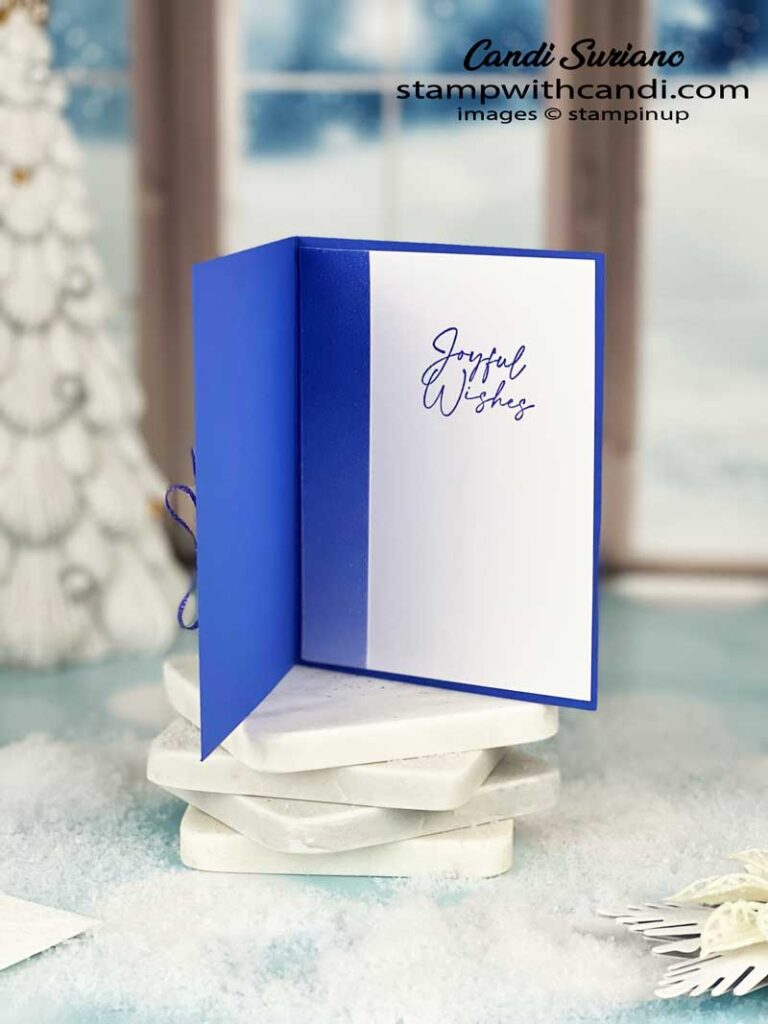
Make the Inside Pretty
For the inside, I used a piece of the fabulous InColor Ombre Glimmer paper and a stamped greeting from the Joyful Flurry stamp set using Orchid Oasis ink.
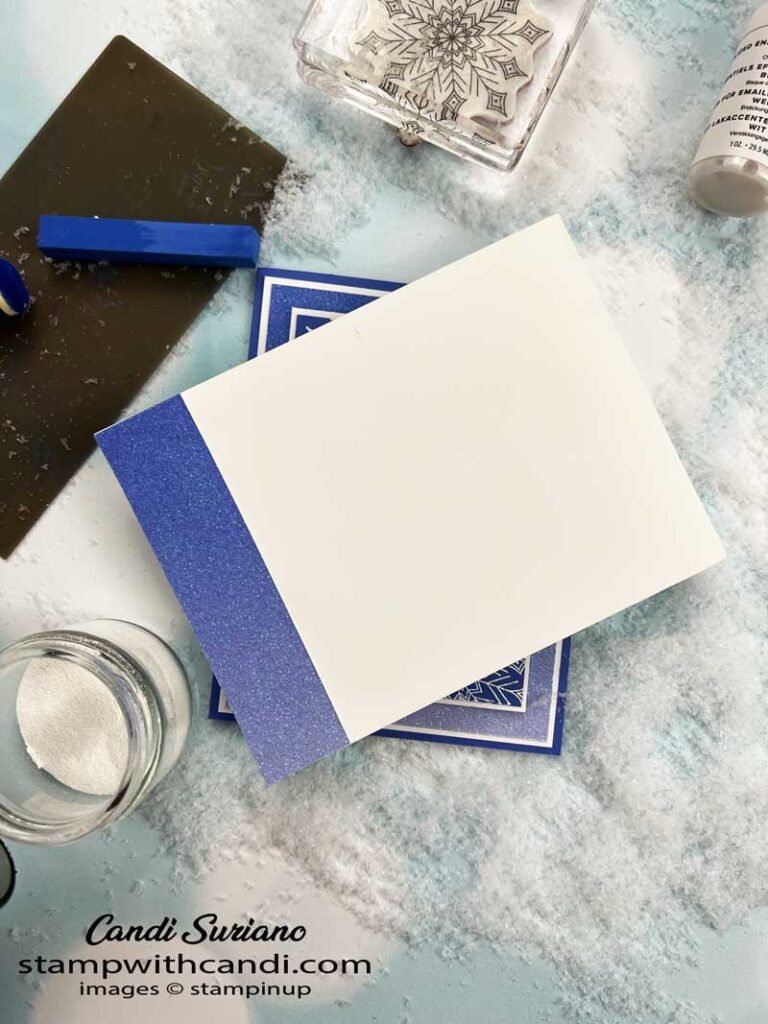
Don’t Forget the Envelope
For the envelope, I used one of my usual treatments – a strip of the InColor Ombre Glimmer paper down the left side. It’s the perfect touch!
You Can make it, too – Joyful Flurry
Although it seems like this card would be a lot of work, when you break it down it’s not so bad.
Make the Cuts
- Cardbase – 5 1/2″ x 8 1/2. Score at 4 1/4″.
- Basic White Inside Liner – 5 1/4″ X 4″.
- Basic White layer – Front Panel – 5 1/4″ X 4″.
- Orchid Oasis Glimmer – 5 1/8″ X 3 7/8″.
- Basic White mat – 3 1/4″ X 4 1/2″.
- Orchid Oasis focal image – 3 1/8″ X 4 3/8″.
- Orchid Oasis Glimmer Inside – 1″ X 5 1/4″.
- Orchid Oasis Glimmer Envelope – 1″ X 4 3/8″.
- Orchid Oasis Ribbon Bow – 10″
- Orchid Oasis Ribbon Band – 6″
Stamp and Emboss
- Stamp the inside sentiment using Orchid Oasis ink.
- Stamp the sentiment using Versamark ink. Sprinkle with White Embossing powder. Heat set.
- Stamp 3 large snowflakes using Versamark ink. Sprinkle with White Embossing powder. Heat set.
- Stamp 3 medium snowflakes using Versamakr ink. Sprinkle with White Embossing powder. Heat Set.
- Fill in with small snowflakes using Versamark ink. Sprinkle with White Embossing powder. Heat set.
- Stamp Versamark ink on a Silicone mat. Using the spatula end of the Take Your Pick tool, shave some Night of Navy Soft Pastel onto the Versamark ink. Mix using a dauber and then apply it to the embossed images. Finish by removing excess using a tissue.
- Add the Pearlized Enamel dots. Set aside to dry. Although you can use the heat tool to set the dots, it does distort the shape. So, I prefer to let mine air dry. Alternatively, you can do these first on a silicone mat and then add them to the project using a glue dot.
Assemble
- Wrap the ribbon around Glimmer paper attaching it with a mini-glue dot.
- Attach the Glimmer Paper to the largest Basic White panel. Attach to the card front.
- Attach the focal image to the smaller Basic White panel. Attach to the card front.
- Tie a bow and add it to the card front using a min-glue dot.
- Attach the glimmer paper to the left side of the inside panel. Attach to the inside of the card.
- Attach the glimmer paper to the envelope.
Time to Hop
I hope you enjoyed today’s card and that it inspires you to CASE me. CASEing is a fun way to get some inspiration when you’re in a creative slump. But, now it’s time to see some more inspiration from around the world. So, grab a beverage, sit back and relax, and enjoy the hop!
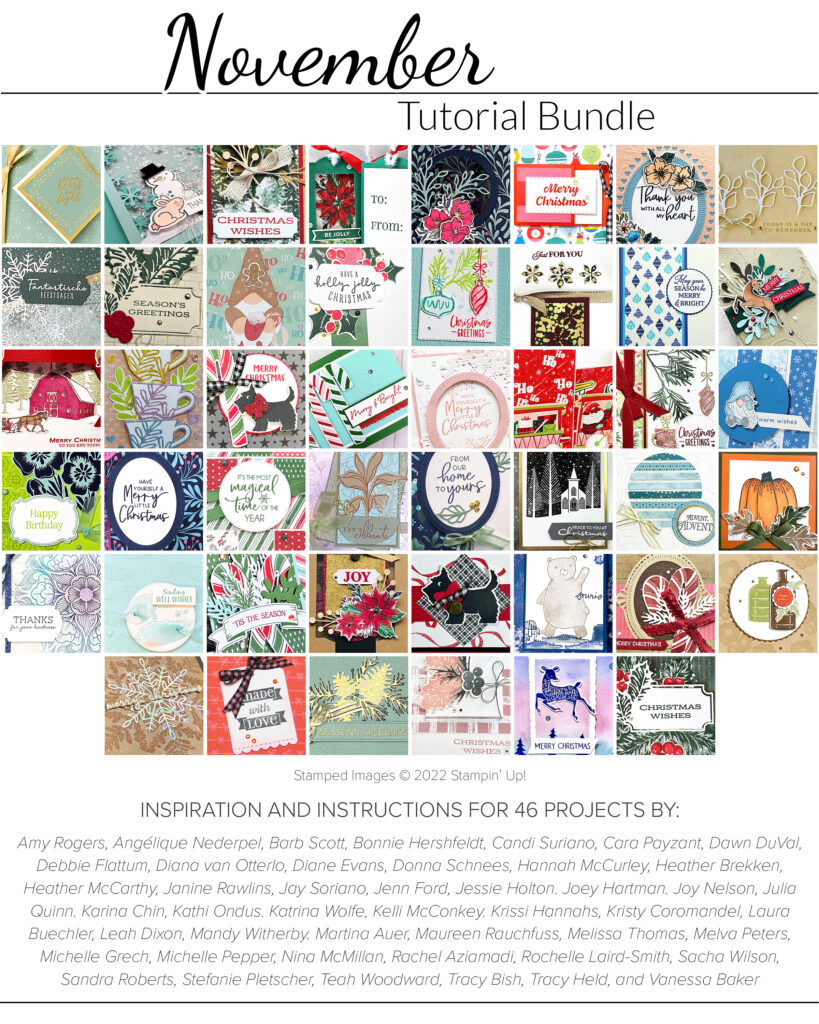
Can you imagine 46 step-by-step tutorials using current Stampin’ Up! products? And it’s yours for a $50 purchase in my online store! And, for the first 10 people who place an order, I will send you the supplies to make my project! Doesn’t get better than that!




Stunning card Candi, I absolutely love it x
Great card Candi x
Beautiful card! Love the blue tones!