I am so excited for today’s blog hop featuring new sets from the new Annual Catalog! This is my favorite time of year. Spring is almost here in Chicago so the weather is starting to warm up and I have new stamp sets and dies to play with. Today, I’m using the fabulous Lazy Days bundles. I can’t tell you how much I love this set! And if you doubt me, check out my over-the-top project with it here.
Today’s Project – Lazy Days
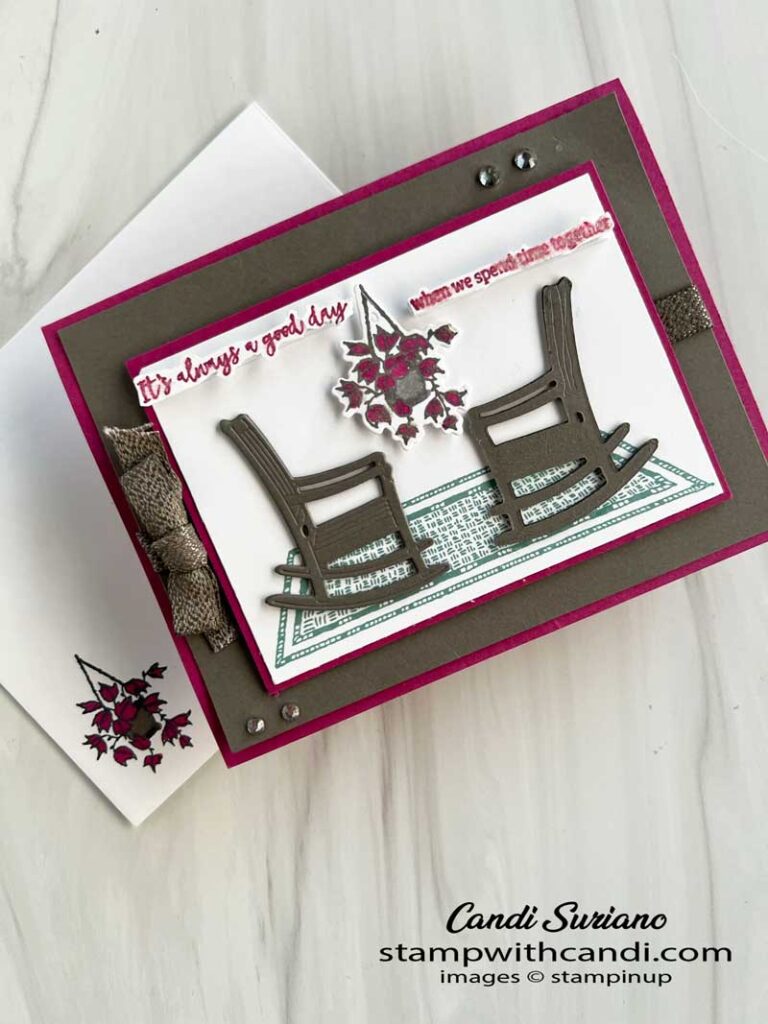
I love the rug on this card, stamped with another returning In Color, Pretty Peacock. The two rocking chairs were cut using one of the dies in the set. I cut 6 total and then glued three together to give some dimension. There wasn’t a good place to put a dimensional so gluing multiple die cuts gives the same dimension and is actually more robust! The one on the left has more dimension because of the embossing from the die. So, I took my stylus and recreated them on the right one. The picture doesn’t really show it, but it looks great in person.
After stamping the flowers using Pebbled Path ink, I colored them using Pebbled Path and Berry Burst blends.
For embellishments, I used the new Pebbled Path 3/8″ textured ribbon. I love the feel of this ribbon and it’s really easy to use. A couple of rhinestones on the top and bottom of the card front add some sparkle.
Finally, I stamped the sentiments on a scrap of Basic White using Berry Burst ink. Then I fussy cut them and attached them using a foam strip.
Today’s Color Palette
In addition to the Lazy Days bundle, today’s project also uses two new colors. Berry Burst is a returning former In Color. And, Pebbled Path is a new In Color. I love the Gray/Brown of Pebbled Path as a neutral. It pairs well with so many other colors. And I squealed with delight when I saw Berry Burst was returning! It has always been one of my favorite In Colors and now I get to use it for many more years!
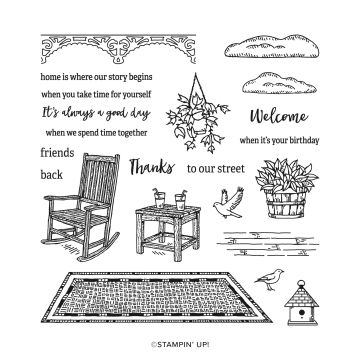
Lazy Days – Stamp Set
One of my favorite things about this set is the sentiments and how they work together. ‘Welcome to our street’ will stay in my stash forever. I live on a very social block and we always welcome people with open arms. And now I will have a stamp set to use for the card.
And, I love, love, love the combination of ‘It’s always a good day’ with the other phrases ‘when it’s your birthday, ‘when you take time for yourself’, and ‘when we spend time together’. I would have bought this set just for the sentiments!
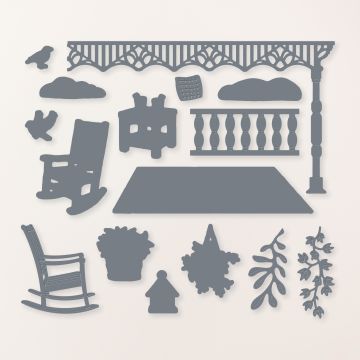
Lazy Days – Dies
There are two kinds of dies for this set. Some of them cut out the images from the stamp set – the rocker, the rug, the table with the lemonade, the hanging flowers, the plants, and the birds, and the birdhouse. And, then the rest can be used to set a scene as I did here.
Make the Inside Pretty
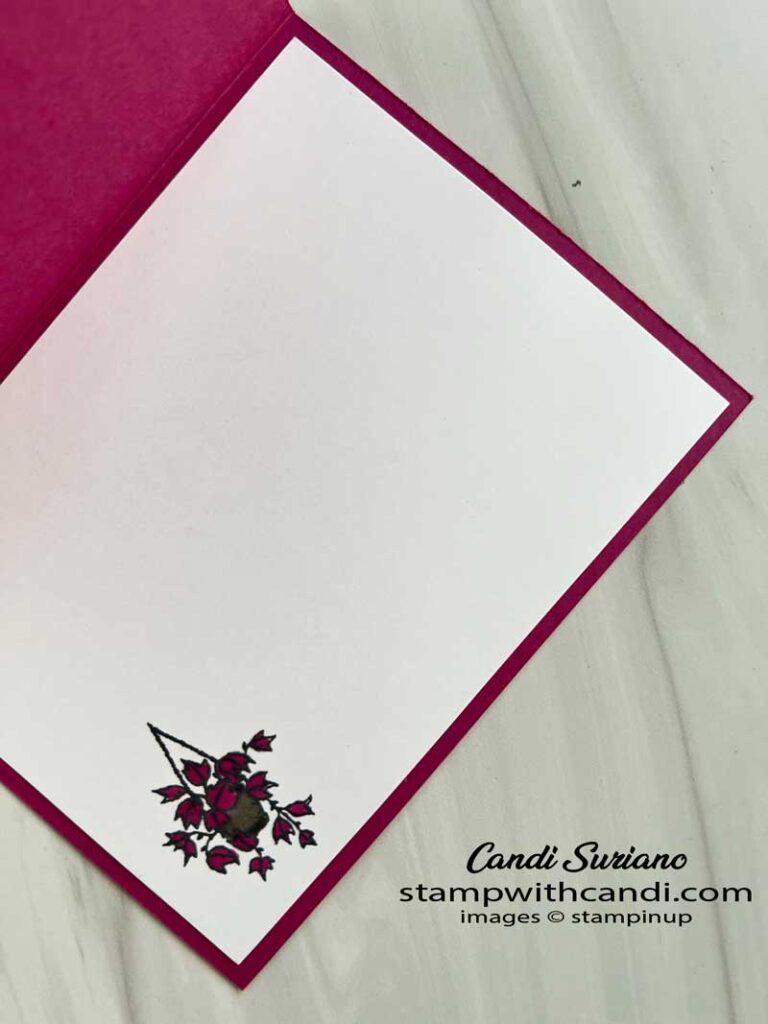
For the inside, I stamped the hanging flowers using Pebbled Path ink and then colored with the Pebbled Path and Berry Burst Blends.
Don’t Forget the Envelope
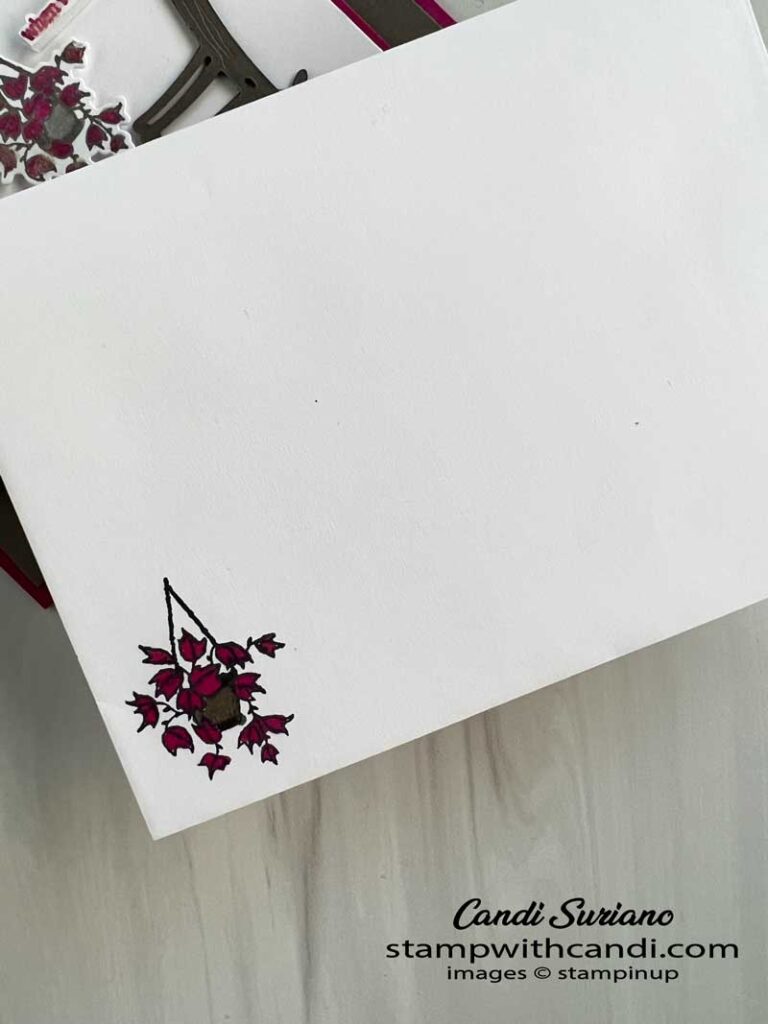
I used the same flowering basket for the envelope as for the inside. One tip: Slip a piece of cardstock in the envelope when you’re coloring to keep it from bleeding through to the back of the envelope.
You can Make It, Too! Lazy Days
Make the Cuts
- Cardbase – Berry Burst 5 1/2″ x 8 1/4″. Score at 4 1/4″
- Layer 1 – Pebbled Path 5 1/4″ x 4″
- Layer 2 – Berry Burst 4 3/8″ x 3 1/8″
- Layer 3 – Basic White 4 1/4″ x 3″
- Inside Liner – Basic White 5 1/4″ x 4″
- Hanging Flower – Basic White 1 1/2″ x 1 3/4″
- Sentiment – Basic White 4 1/2″ x 1/2″
- Rockers – Pebbled Path 9″ x 2″
Stamp, Die Cut, & Color
- Stamp the flowers on Basic White, the envelope, and the inside liner using Pebbled Path ink. Color with blends.
- Die cut the hanging basket for the front.
- Die cut the rockers. Glue 3 together. Flip over one set and go over the score lines with a stylus.
- Stamp the rug using Pretty Peacock ink.
- Stamp the sentiments using Berry Burst ink. Fussy cut.
Assemble
- Attach the Pebbled Path ribbon to the PebbledPath layer. Tie a bow and attach it to the ribbon with a Mini-Glue dot.
- Attach the Pebbled Path layer to the card front.
- Attach the Basic White panel to the Berry Burst Panel. Attach to the card front.
- Attach the rockers to the card front using liquid glue.
- Attach the hanging basket to the card front using dimensionals.
- Attach the sentiments to the card front using foam strips.
- Attach the rhinestones to the front as shown.
- Attach the inside liner to the inside of the card.
I hope you enjoyed my card using the Lazy Days Bundle and that it inspires you to create something. If you need a demonstrator, I’d love to be yours, and am always happy to answer questions by email.
Now it’s time to see what the others have in store. So, grab a beverage, sit back and relax, and enjoy the hop!



Love, love, love your card. I’ve been debating about that stamp set. You’ve convinced me!
Lovely card Candi, it would make a great anniversary card x
Love the colors you used with this card.