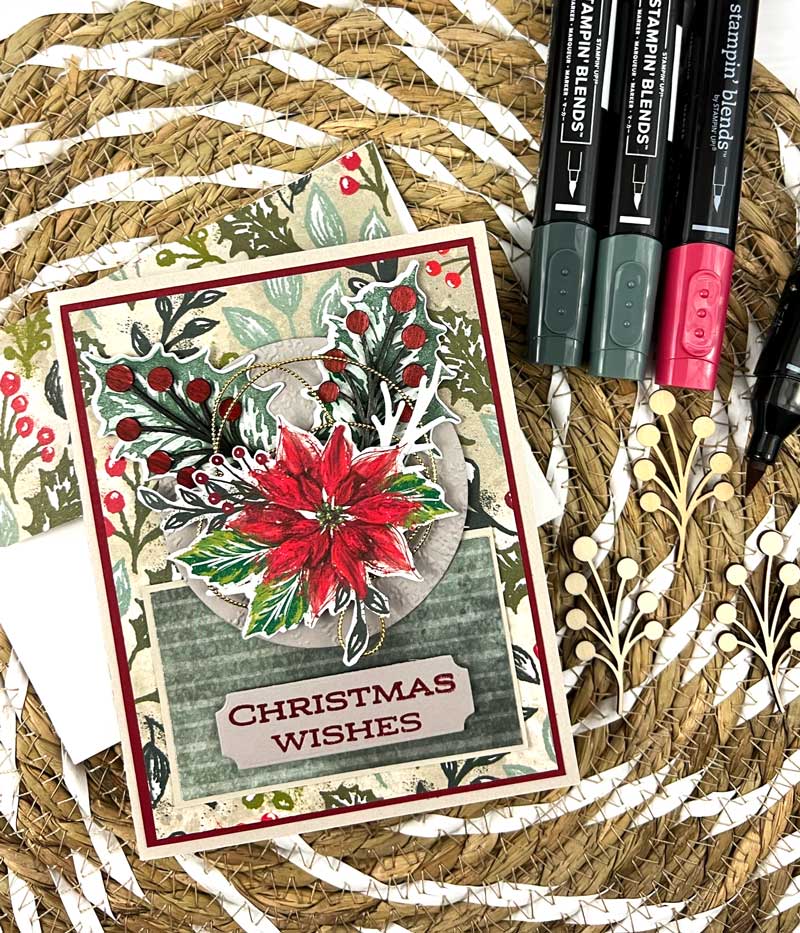
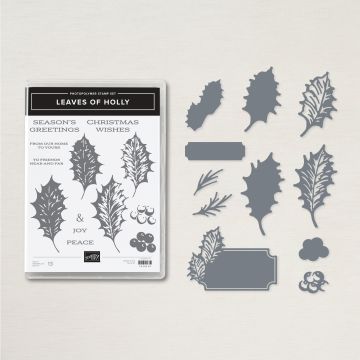
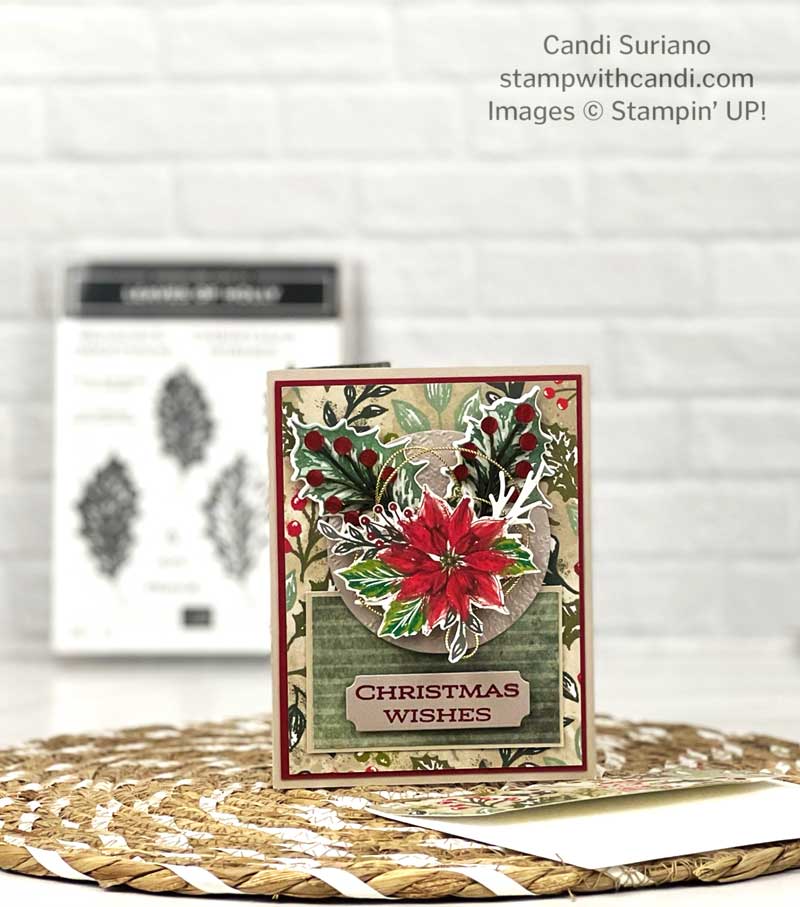
I am back today hopping with Stamping with Friends and another project using the Leaves of Holly bundle and other products from the Boughs of Holly Suite! You can probably tell how much I love this suite since I used it here and here. When I first saw this suite I knew I was going to use it a lot because it’s so versatile. Today’s card is similar to my previous card but is still different enough. I guess I CASED myself! My previous card is for those who love my fun folds and/or I don’t send a newsletter. Today’s card will go to someone who gets my Christmas letter.
Today’s Project – Leaves Of Holly
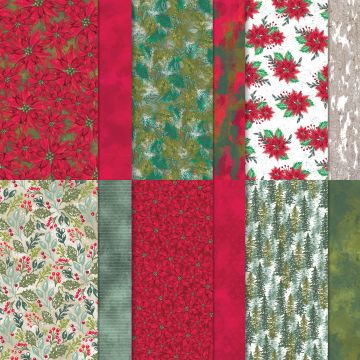
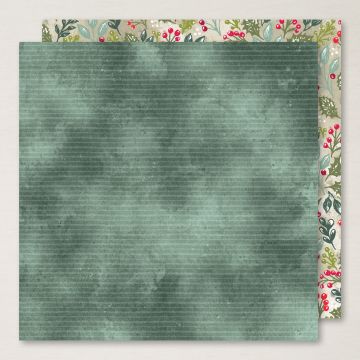
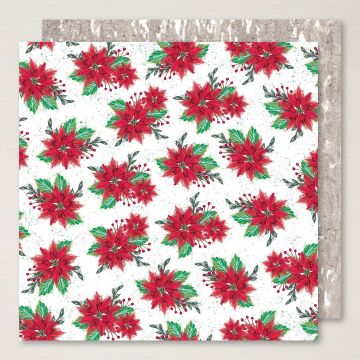
I started this card with a base of Sahara Sand topped with a 4 1/4″ X 5″ layer of Cherry Cobbler which was topped with a layer of the Boughs of Holly DSP. This DSP has a lot of great patterns as you can see below.
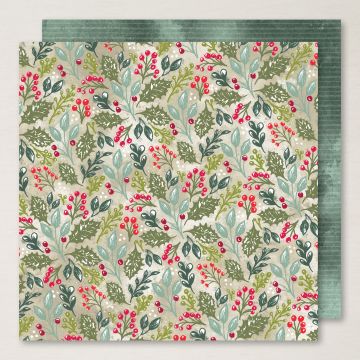
For the large panel on the front, I used the all-over leaves and holly pattern which was cut at 3 7/8″ X 5 1/8″.
Sentiment Layer – Leaves of Holly BUndle
I created the sentiment layer using a Sahara Sand base and the back of the first DSP as a layer.
I attached it to the card front using liquid glue so the card isn’t too bulky. Then I embossed the Christmas Wishes sentiment on a piece of Sahara Sand cardstock and the new Embossing Additions Tool Kit. I’m so glad they brought this back and it’s better than ever. It has tweezers, an embossing buddy, a brush, and a tray to catch the mess. I particularly like the tweezers and brush.
In case you’re wondering, to emboss in a color, first ink your stamp with Versamark ink and then ink with the colored ink. It won’t hurt the colored ink because the Versamark ink is too sticky it sticks to the stamp. Then sprinkle clear embossing powder and heat set. I cut it using the die from the Leaves of Holly bundle and attached it to the card front using dimensionals. I love that this bundle has a couple of dies which work well with sentiments!
Focal Image – Leaves of Holly Bundle
Finally, I created the focal image. I started with the largest layering circle die which I embossed with the Timeworn Type embossing folder. Then I stamped two of the leaves from the Leaves of Holly Stamp set using Evening Evergreen Ink. Next, I colored two Textural Elements with Cherry Cobbler and Evening Evergreen blends TIP: Use the blunt end to you don’t ruin the brush tip.
I cut a couple of the spiky leaves from the dies in Basic White in case I needed them for color or balance. I only used one because two made it too busy!
Next I fussy cut the poinsettia from the Boughs of Holly DSP. I cut the single poinsettia because 1) it’s a better scale and 2) less to cut!
To assemble, I attached the circle to the card front using dimensionals. I added the cut leaves to the circle using liquid glue and the textural elements to the leaves with mini glue dots. ThenI attached some Gold Elegant Trim to the back of the poinsettia for a bit of sparkle. The poinsettia was attached using dimensionals. Then I tucked a white spiky leave under the poinsettia.
Today’s Color Palette
Again, I chose the color palette from the DSP since I was using so much of it and it’s a classic Christmas palette.
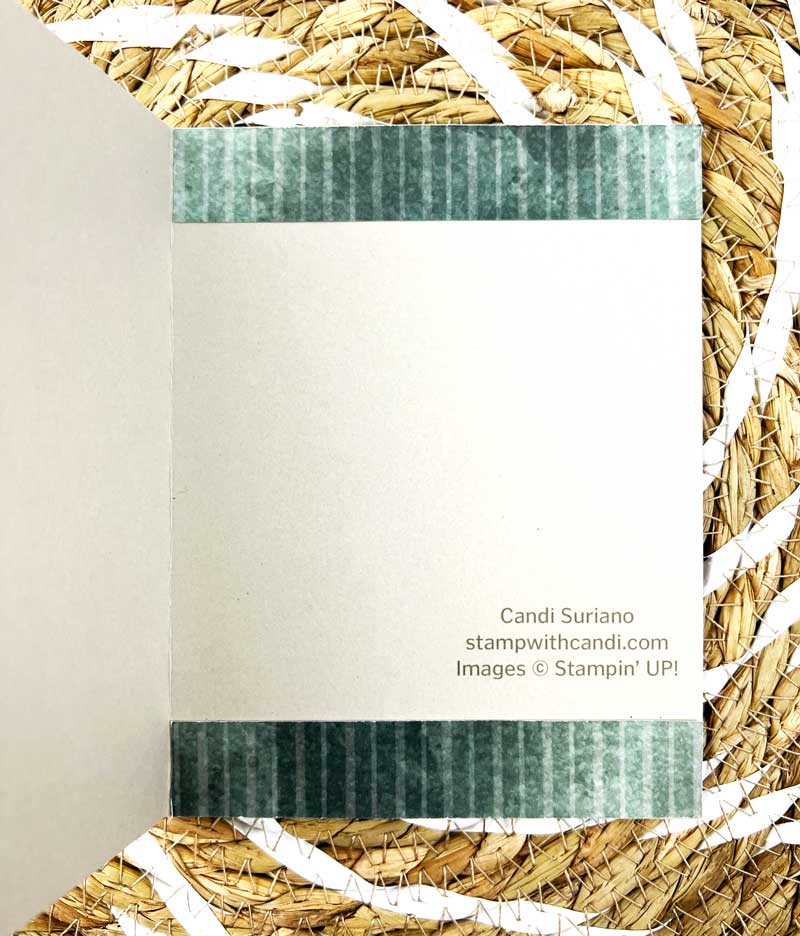
Make the Inside Pretty
For the inside, I used the same DSP as on the front sentiment layer. It was cut at 4 1/4″ X 1/2″.
Don’t Forget the Envelope
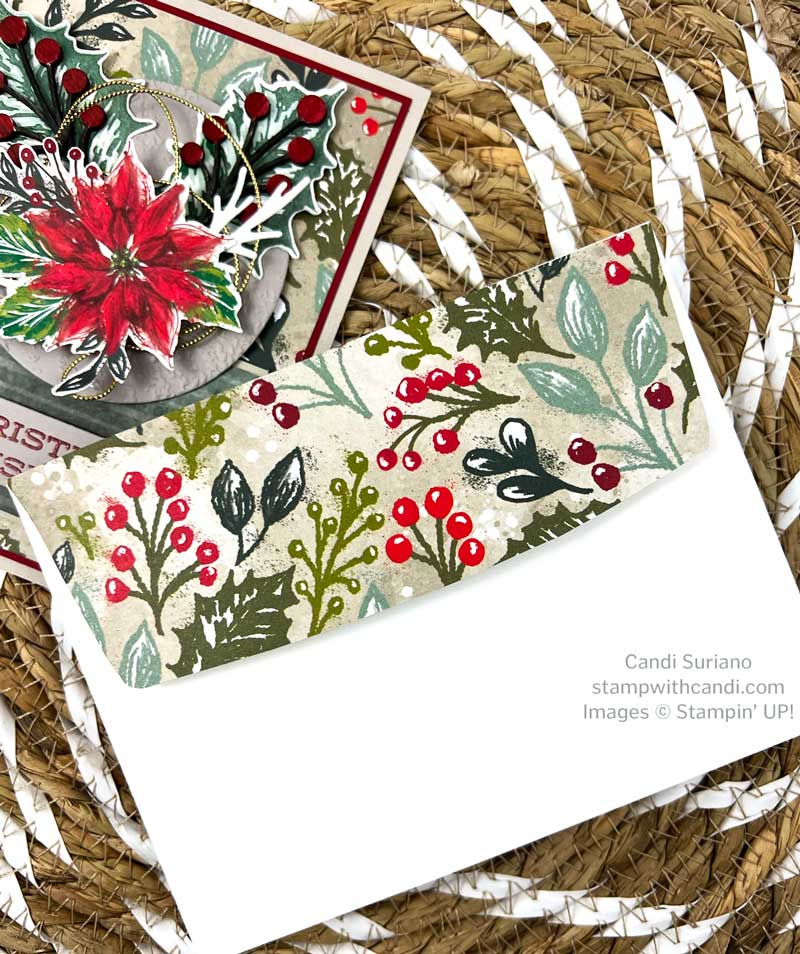
For the envelope, I used the same DSP as the large front panel. It’s an easy way to decorate the envelope.
Time to Hop
I hope you enjoyed today’s project and that you aren’t too tired of seeing the Boughs of Holly Suite. But now it’s time to see what the others have done. So, grab a beverage, sit back and relax, and enjoy the hop!
The new July – December mini catalog is live and it has some awesome stamps. It’s also Sale-a-bration time. If you’d like either catalog, drop me a line and I’ll send it out right away!



A very beautiful card! Love the colour combination.
Stunning card Candy, I love it x
Lovely card x
GORGEOUS card!! Really really pretty.
Gorgeous card!