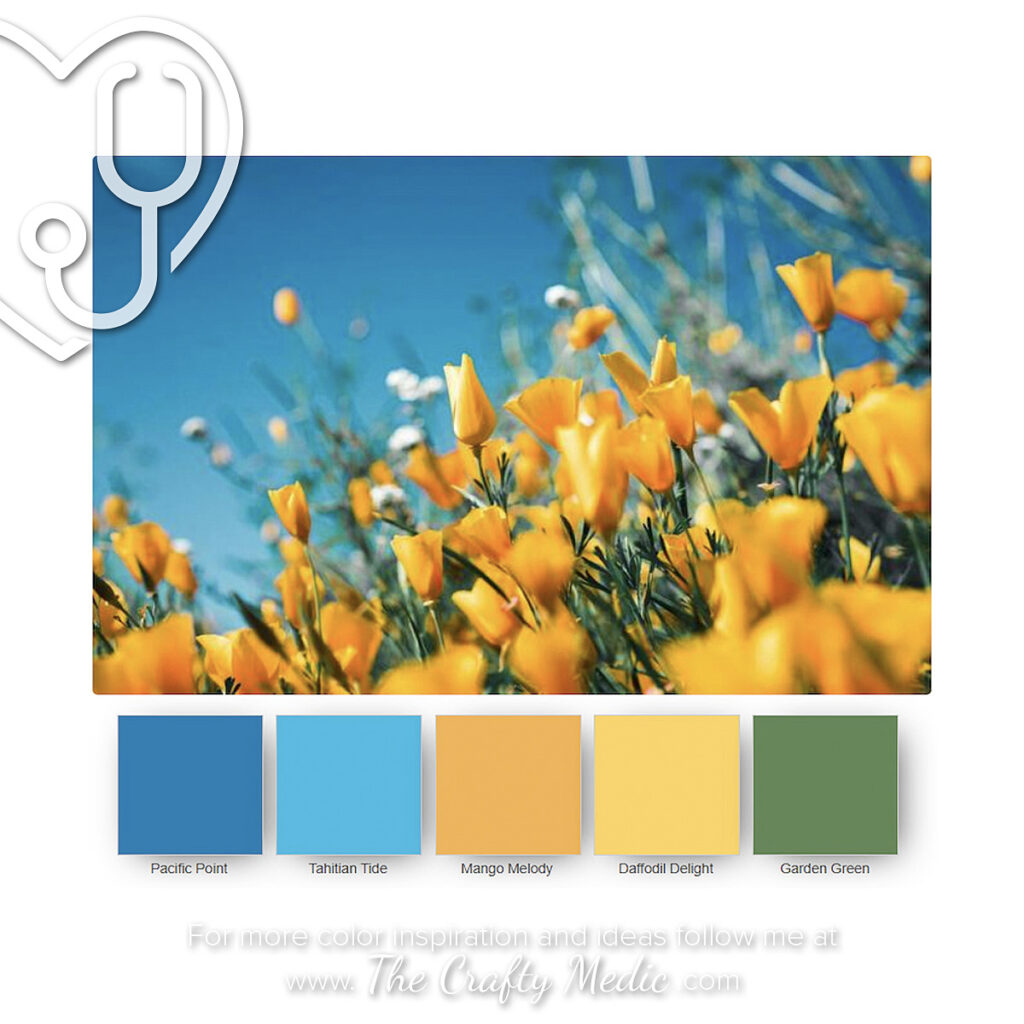
I’m back today with another blog hop with Crafty Collaborations, a group of worldwide demonstrators who love to share our creativity with others. Today we have a color challenge to use Garden Green, Daffodil Delight, Tahitian Tide, Mango Melody, and Pacific Point Those colors just scream garden at me. So, I looked for floral stamps that hadn’t seen any love and found the Marigold Moments bundle. Let’s see how I did.
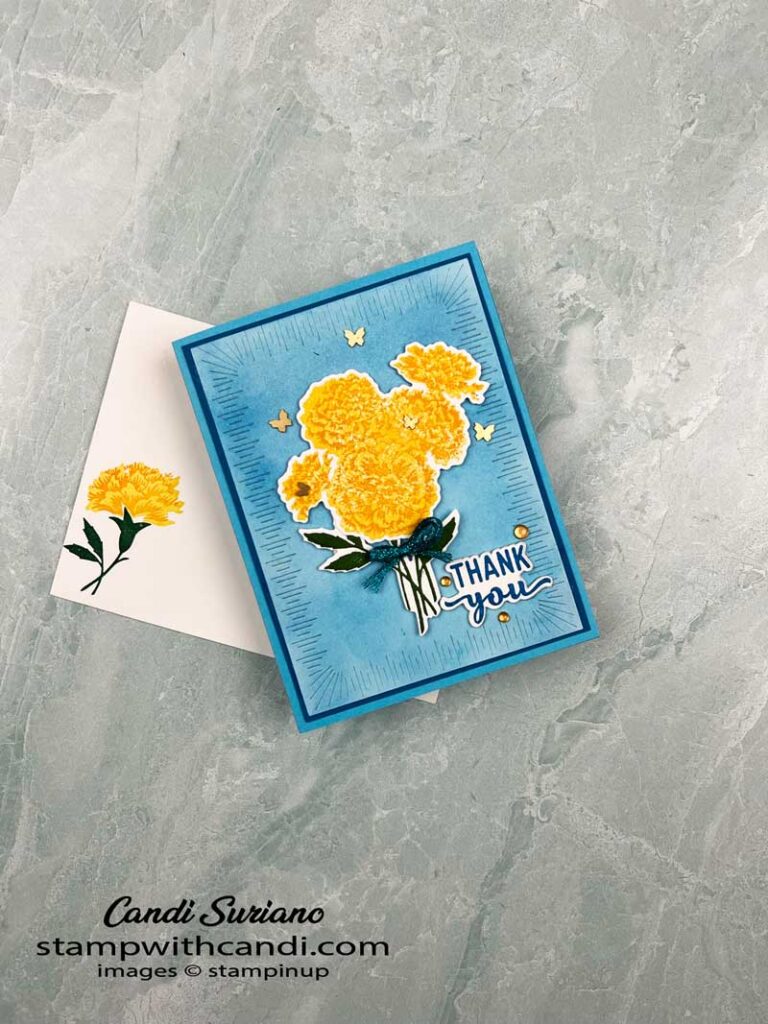
Today’s Project – Marigold Moments
I knew from a prior card that Tahitian Tide and Pacific Point layer beautifully together. And they also make a great blended blue background. So I used a piece of Basic White cardstock and blending brushes to create the background. After blending the colors, I cut the piece out using the Radianting Stitches dies. You can see more of them in yesterday’s post here.
Marigold Moments is a two-step stamp set. I sometimes struggle with those getting them to line up. Not with this set. They line up beautifully. I used Daffodil Delight for the solid image and Mango Melody for the accents.
I went overboard with the embellishments! First I added the three Adhesive Backed Milky Dots. But the card needed a little more. So I added the Tahitian Tide Metallic Woven Ribbon. But it still looked empty. So, then came the butterflies. I added a couple on the flower, but that didn’t do it. So, I added the large ones outside of the flower but close to it. It’s probably a good thing I stopped there!
Today’s Color Palette
For this post, the color palette is the point of the post. And, I do have a few sets that look like the inspiration image. But I wanted to use a stamp set that I hadn’t used before. Marigold Moments fit the bill. I love the way Tahitian Tide and Pacific Point layer together. And, the same goes for Daffodil Delight with Mango Melody. Som Garden Green stands alone and is just a bit player in my card.
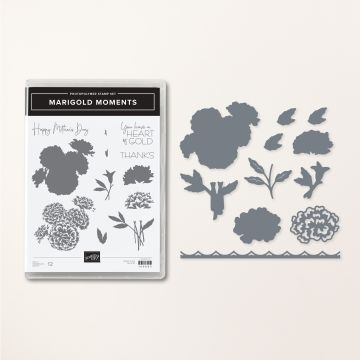
Marigold MOments Bundle
This bundle is very easy to work with. As I’ve already mentioned, I’m not so good with two-step stamps. I really struggle to get them lined up correctly. But I got these lines up perfectly the first time. They were also easy to die-cut, even the flower stems which can be tricky.
I love the sentiments in this bundle, especially the Happy Mother’s Day. The font is beautiful.
Not only do the dies cut out the stamped images, but there are also dies that can cut a solid flower with an overlay. I considered that for this card, but I really wanted the big, bold flower.
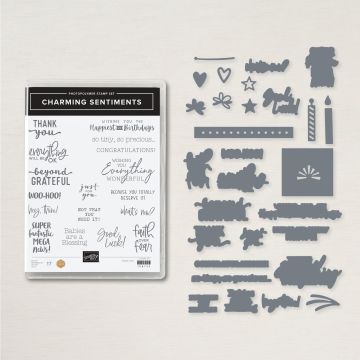
Charming Sentiments Bundle
I had always wanted a sentiment only with dies set. My wish came true with Charming Sentiments. Each of the sentiments has a corresponding die to give you a custom die cut. My favorite trick with these is to cut multiple blanks, use my Stamparatus to stamp one with a sentiment, and then stack the rest of them together to make the sentiment pop without using dimensionals.
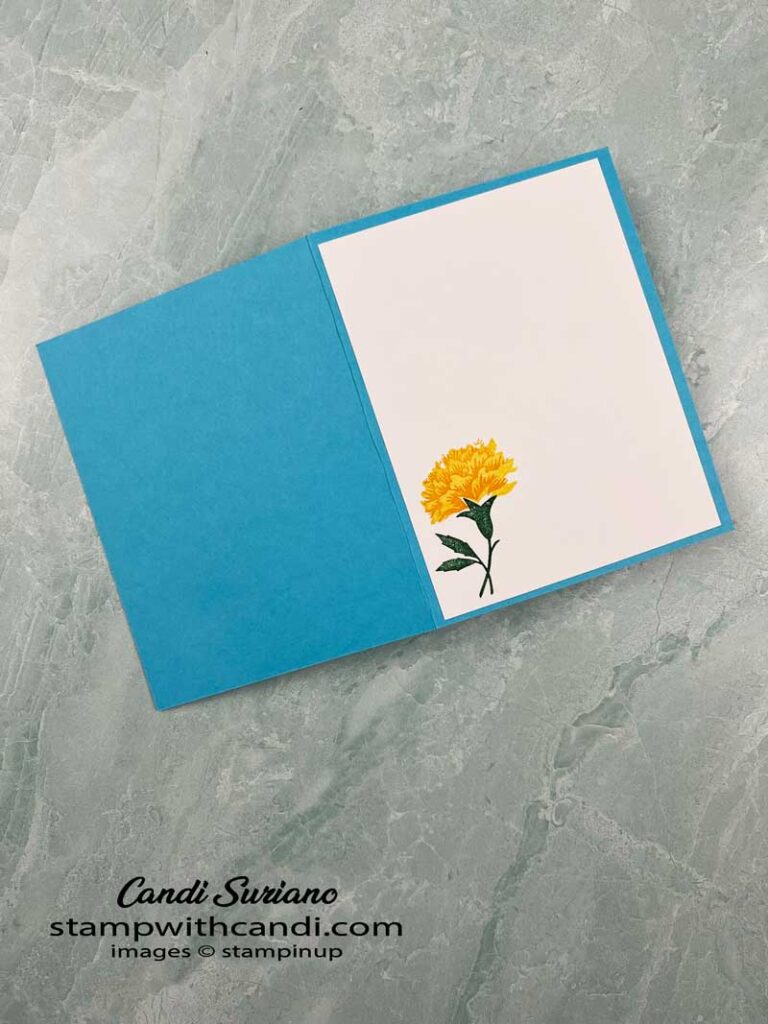
Make the inside Pretty
For the inside, I used the smaller flower and stamp. Did I mention how easy it is to line these up? I got it right the first time! And the stem has notches so that you can stamp them close together without any overlap.
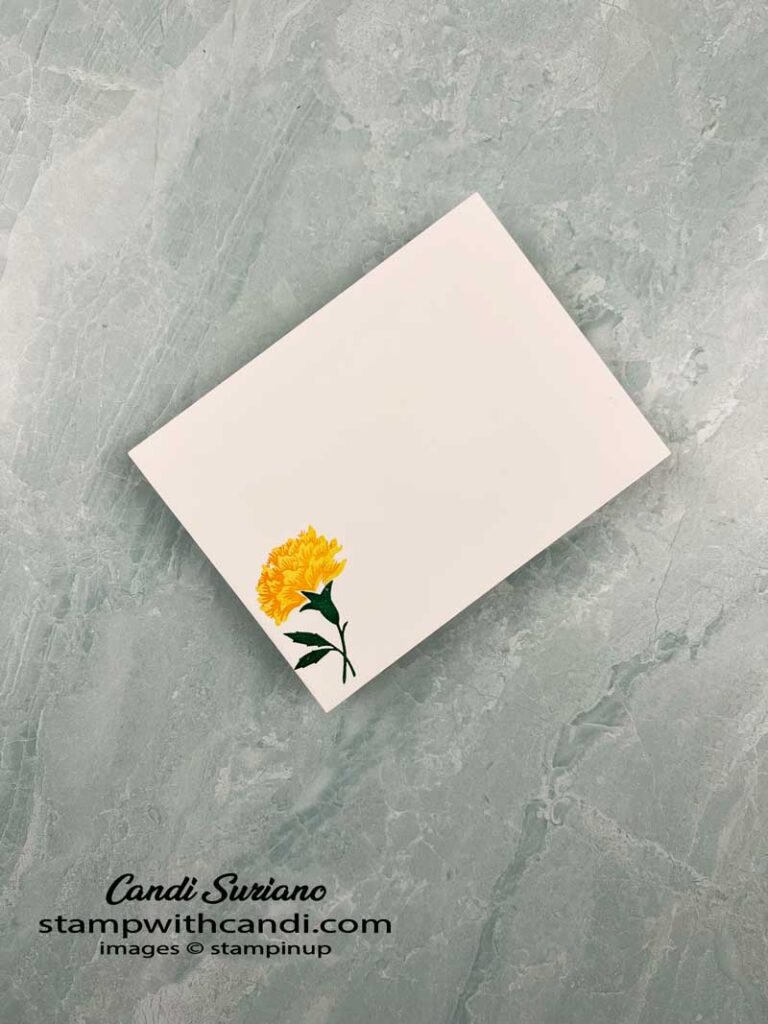
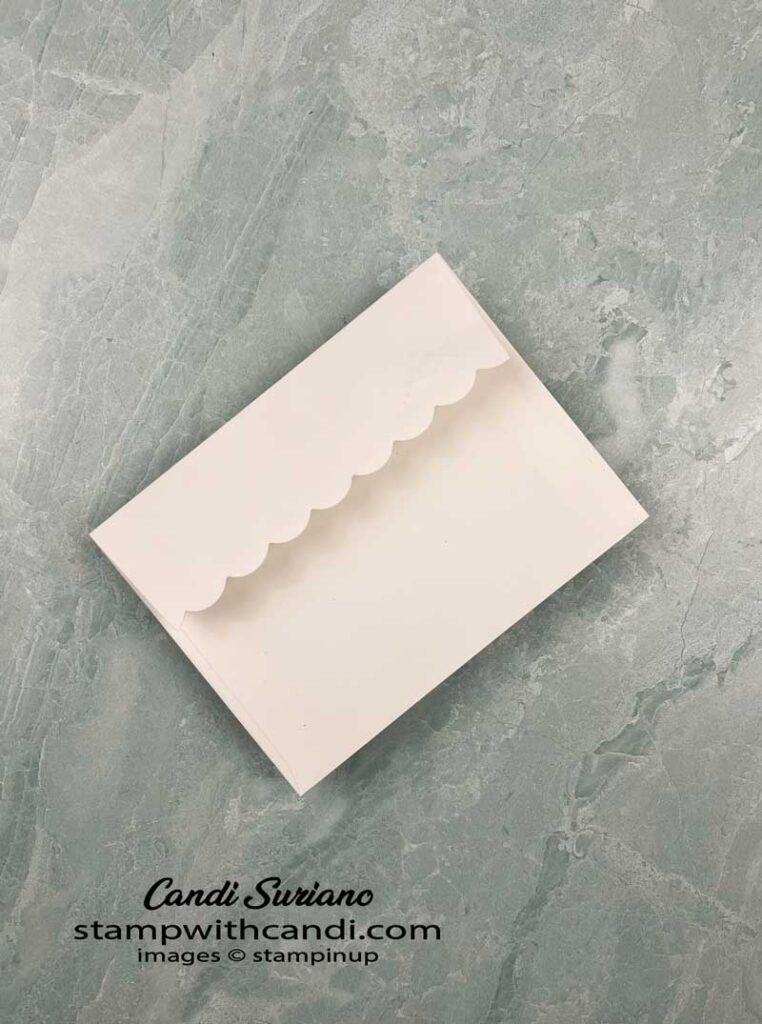
Don’t Forget the Envelope
As you can see, I stamped the envelope front using the same stamps as on the inside. But, I also used the scallop die from the Marigold Moments Dies. It does cut away some of the envelope’s adhesive but there’s enough to left seal the envelope.
You can Make It, Too! – Marigold Moments
This card comes together pretty quickly except for the blending. If you don’t feel like blending cut the Radiating Stitches Die from Tahitian Tide cardstock.
Use Your Paper Trimmer
- Card base (Tahitian Tide) – 5 1/2″ x 8 1/2″. Score at 4 1 /4″
- Layer 1 (Pacific Point) – 5 1/4″ x 4″
- Layer 2 (Basic White) 5 1/4″ x 4″
- Inside Liner (Basic White) 5 1/4″ x 4″
- Die Cuts (Basic White) – 5 1/4″ x 4″
Stamp, DieCut, Blend
- Use blending brushes on Layer 2 with Pacific Point and Tahitian Tide ink until you’re happy with the result. Die cut with largest Radiating Stitches Dies.
- Stamp the larger leaves in Garden Green on the Basic White for die cuts.
- Stamp the large flower using Daffodil Delight for the solid stamp and Mango Melody for the detail.
- Die cut the flowers & leaves using the Marigold Moments Dies.
- Stamp the smaller leaves on the inside liner and envelope front using Garden Green ink.
- Stamp the smaller flower on the inside liner and envelope using Daffodil Delight for the solid image and Mango Melody for the detail.
- Stamp the sentiment using Pacific Point ink on the Basic White for die cuts. Cut 3 additional blanks.
- Use the scalloped die from the Marigold Moments Dies to cut the flap of the envelope.
Assemble
- Adhere the Radiating Stitches die-cut to the Pacific Point layer. Attach to the card front.
- Attach the leaves to the card front using dimensionals.
- Attach the flowers to the card front using dimensionals.
- Glue the sentiment to the blanks using liquid glue. Attach to the card front.
- Tie a bow with the Tahitian Tide ribbon and attach to the card front with a mini glue dot.
- Attach 3 Mango Melody Milky Dots around the sentiment.
- Add as many Brushed Brass Butterflies as desired.
I hope you enjoyed my card today using the Marigold Moments bundle. I always struggle a bit with color challenges but not this one. The colors were perfect for my card! Now it’s time to see what the others have in store for you. So, grab a beverage, sit back and relax, and enjoy the hop.



Great card Candi, love that you have used the new frame dies x
Sweet card! Aren’t those new frame dies wonderful!
Beautiful! Your envelope is a nice touch too!
Candi – what a bright and cheerful card! I don’t have this set – I really like it! So sad it’s retiring! Thank you for sharing!
This card is filled with spring. So beautiful
Thank you for sharing
Sigrid