Welcome to Crafty Collaborations Share it Sunday blog hop! We’re a group of Stampin’ Up! demonstrators from around the world who are going to share what we’ve been working on. I’m going to share my May Paper Pumpkin alternates. Let’s take a ook.
Today’s Projects – May Paper Pumpkin
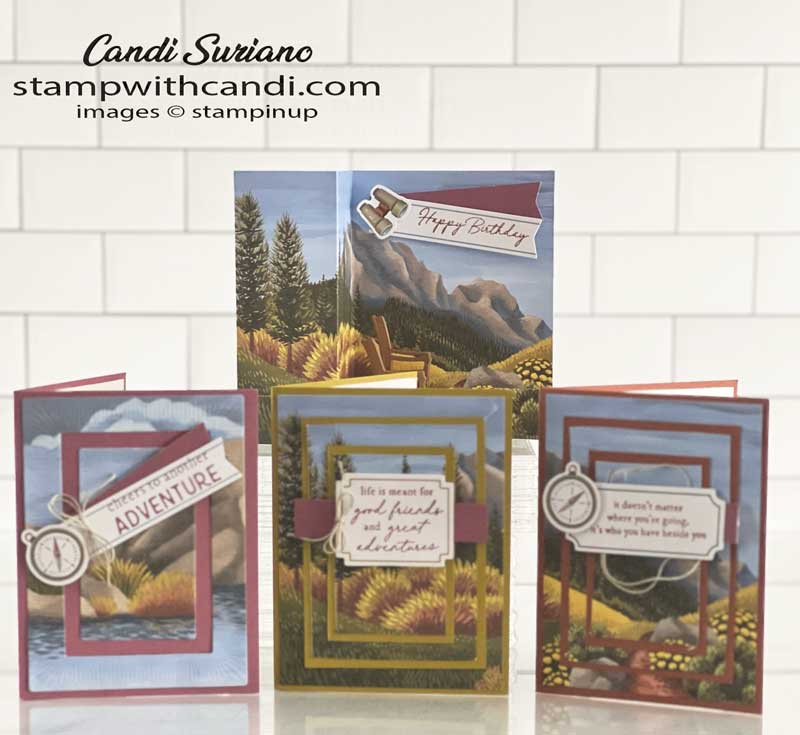
This month’s kit is gorgeous! It features the five new In Colors and beautiful outdoor scenes. My alternates use supplies from the kit plus 4 additional pieces of cardstock. I have to say, the cards as designed are gorgeous.
May Paper Pumpkin #1
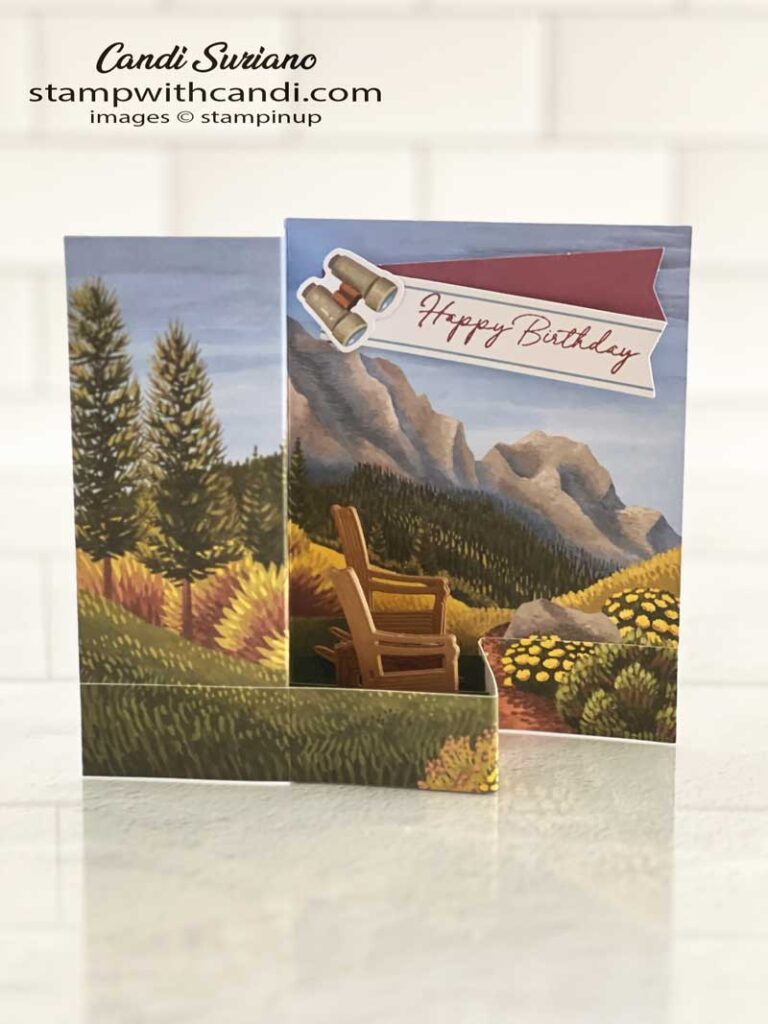
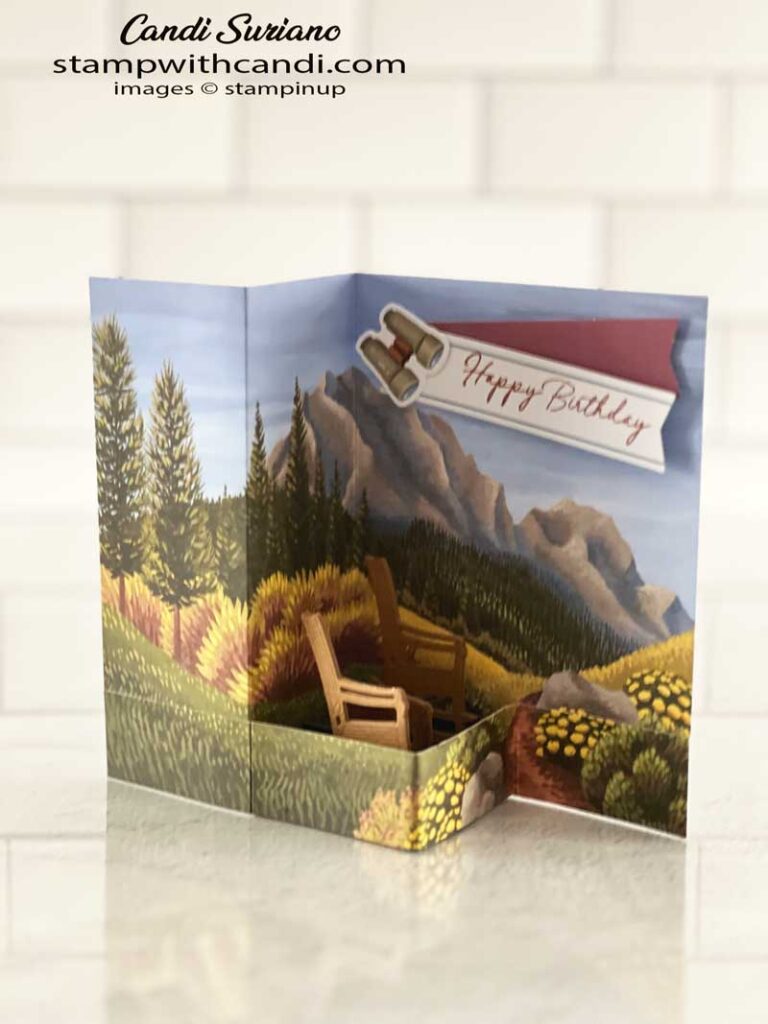
For my first alternate, I made a Double Z fold Popup Box card Can’t you imagine yourself having your morning beverage, sitting in those chairs, and enjoying that spectacular view? For details on how to make this card, see this post.
May Paper Pumpkin #2
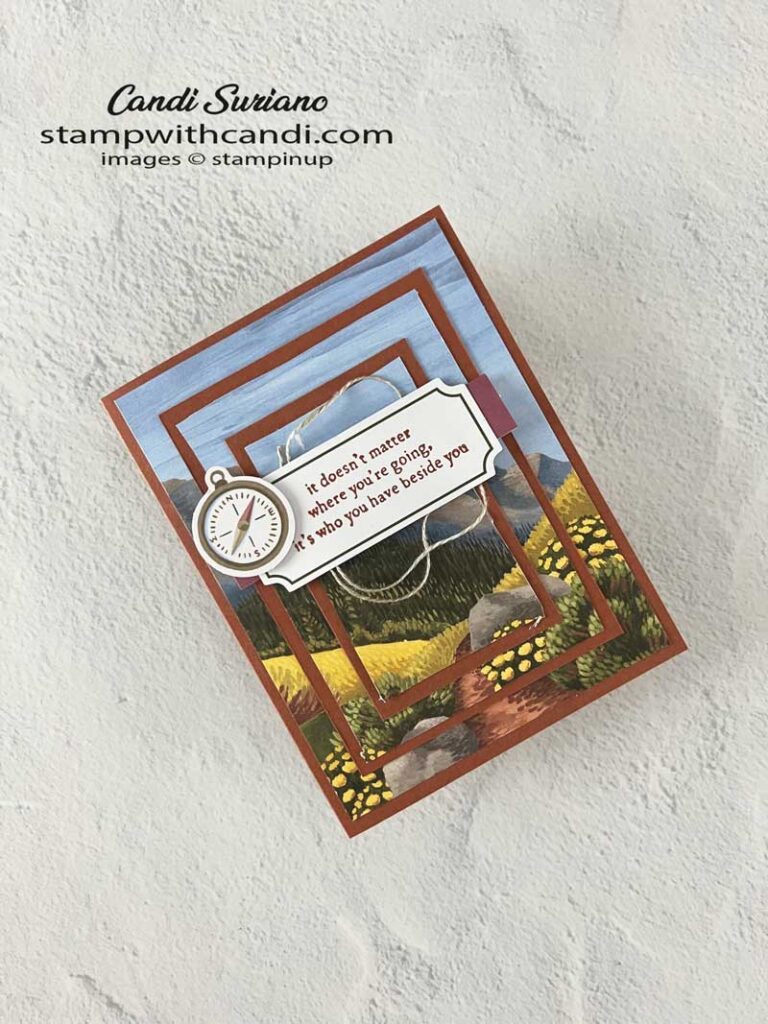
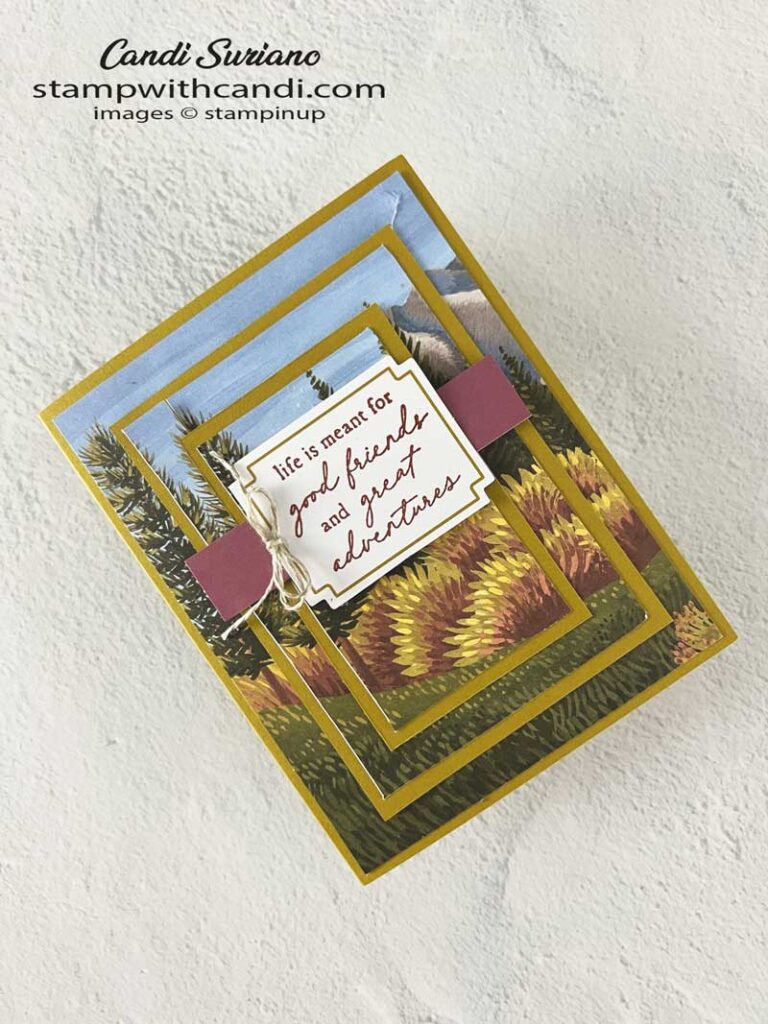
For my second alternate, I pulled out an oldie but goodie technique called Triple Time Stamping. However, I had to put a twist on it. Usually with this technique, you stamp on the 3 pieces of cardstock, mat them, and then assemble them so the patterns match. But, I had to cut one card front into the appropriate sizes for my card.
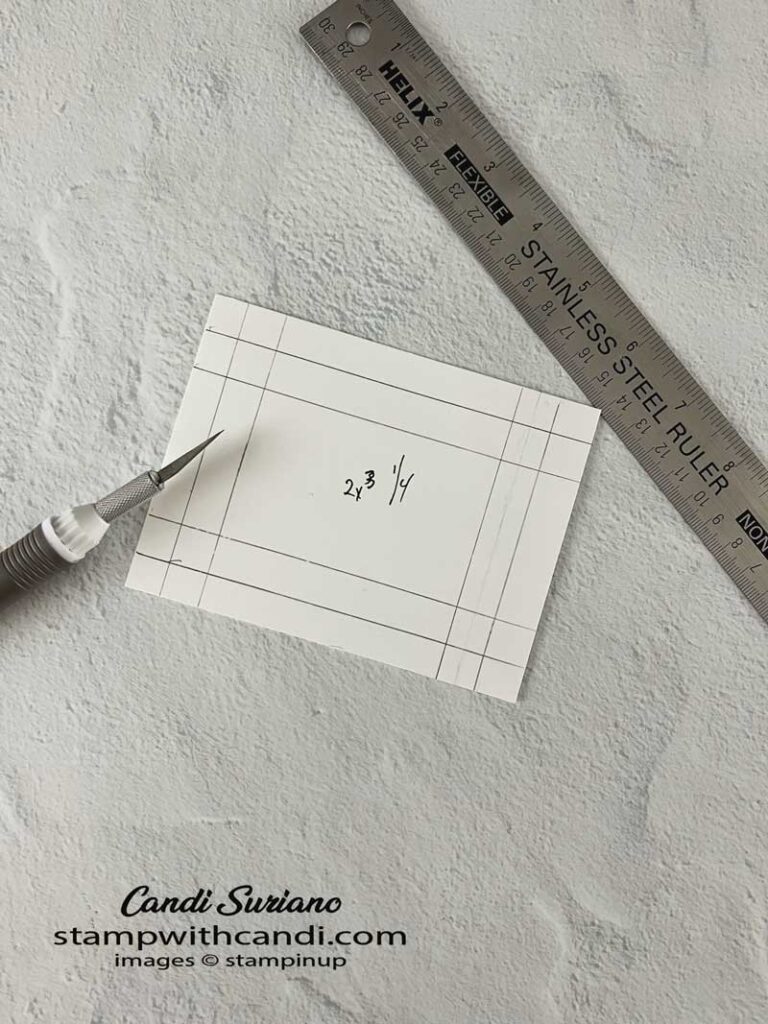
Triple Time Stamping Template
As I mentioned above, you’d cut 3 pieces of cardstock. Then you’d stamp them and mat them.
Triple Time Stamping Measurements
Basic White
- Layer 1 4″ x 5 1/4″
- Layer 3 3″ x 4 1/4″
- Layer 5 2″ x 3 1/4″
Mats
- Cardbase 5 1/2″ x 8 1/2″ Score at 4 1/4″.
- Layer 2 4 1/2″ x 3 1/4″
- Layer 3 3 1/2″ x 2 1/4″
So, I had to figure out how to get those Basic White measurements from one card front. Basically, I drew lines at 1/2′ intervals on each side to get a 3 1/4″ x 2″ center. Then I used the new craft knife that’s part of the Take Your Pick Crafter’s Tip to cut out the center. Next, cut out the “frame” for that piece and you’ll have the 3 pieces you need although 2 will just be frames. Finally, mat these pieces and put them on the card front.
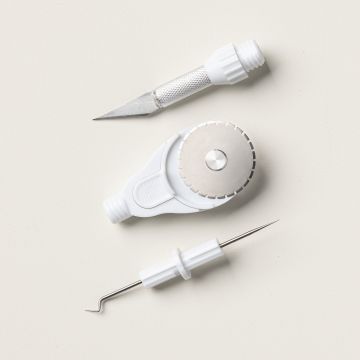
Take Your Pick Crafter’s Tip
These new tips for the Take Your Pick tool are very exciting. As you can see, I used the first one, a hobby blade, to make my cuts. the second tip is a rotary perforating tip, and the third is a double-ended pick. These tips are all very sharp so care must be taken not to hurt yourself.
May Paper Pumpkin #3
The designs on these card bases fill both the front and back. So after I finished the first alternate using Copper Clay cardstock and card front, I cut the card back and made a second card using Winter Wheat for the base and mat.
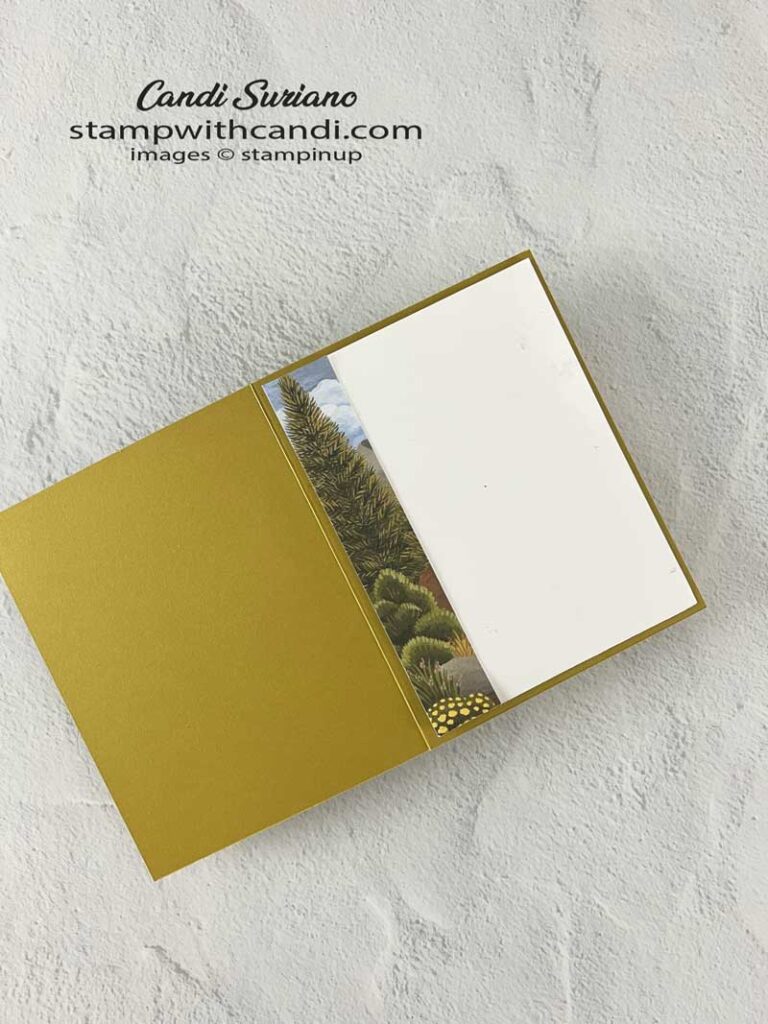
May Paper Pumpkin #3 Inside
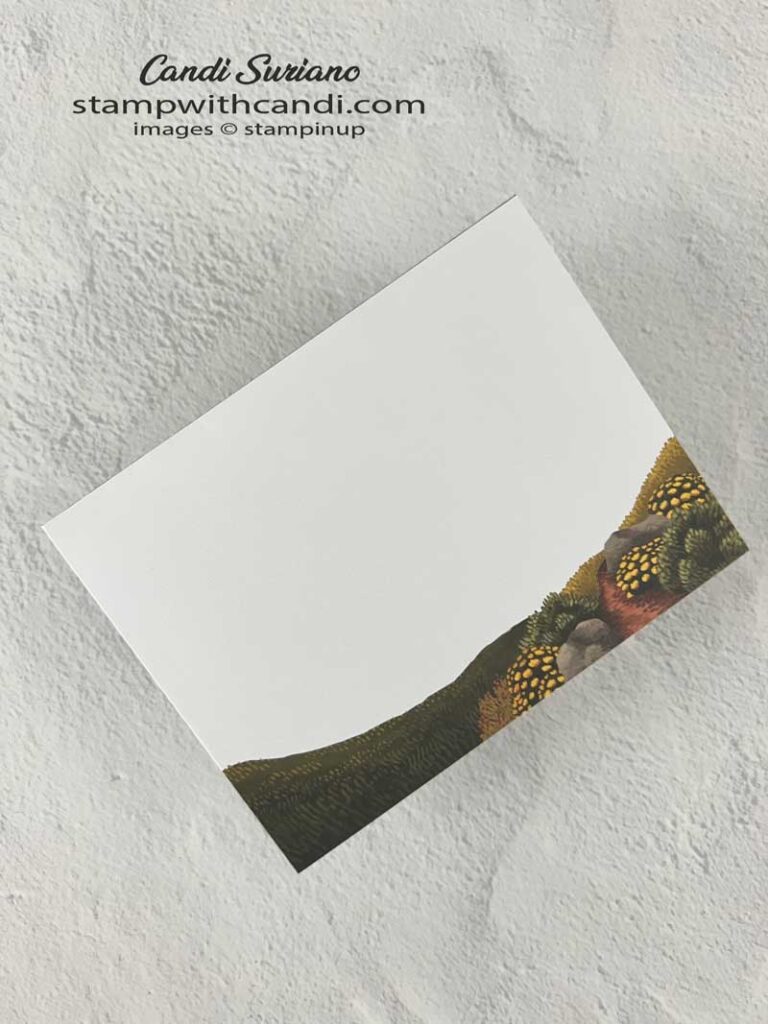
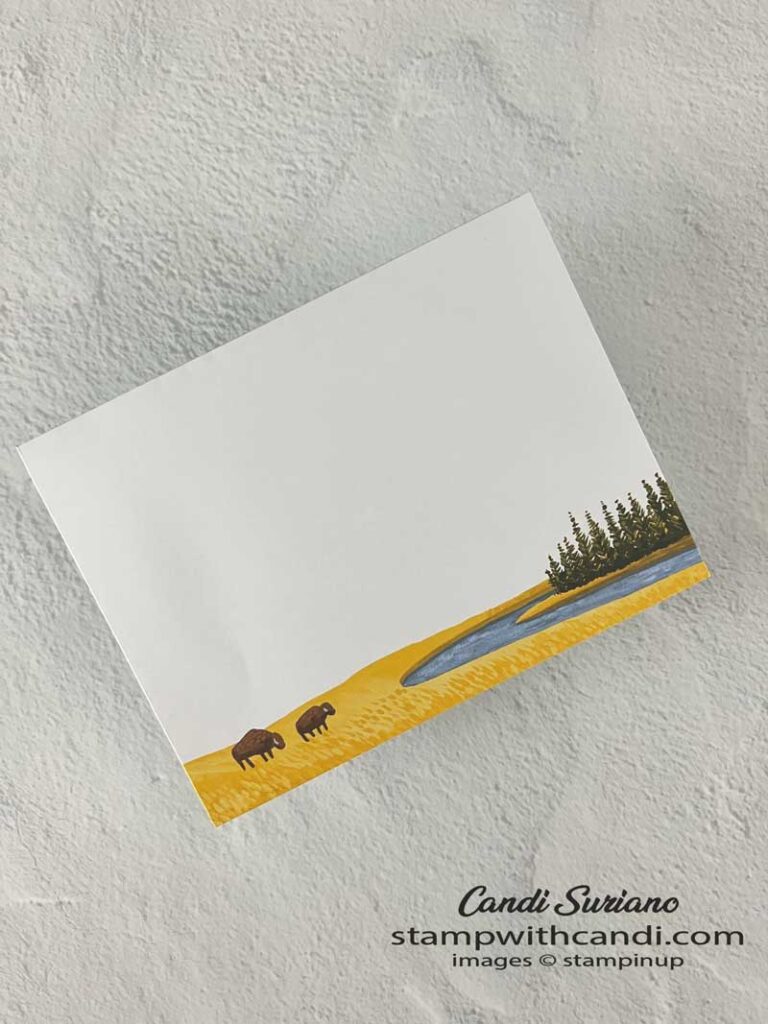
I also bought the add-on card pack which contained more card bases and envelopes. I cut one of them to use as decoration for the inside of Card 2 & Card 3.
May Paper Pumpkin #4
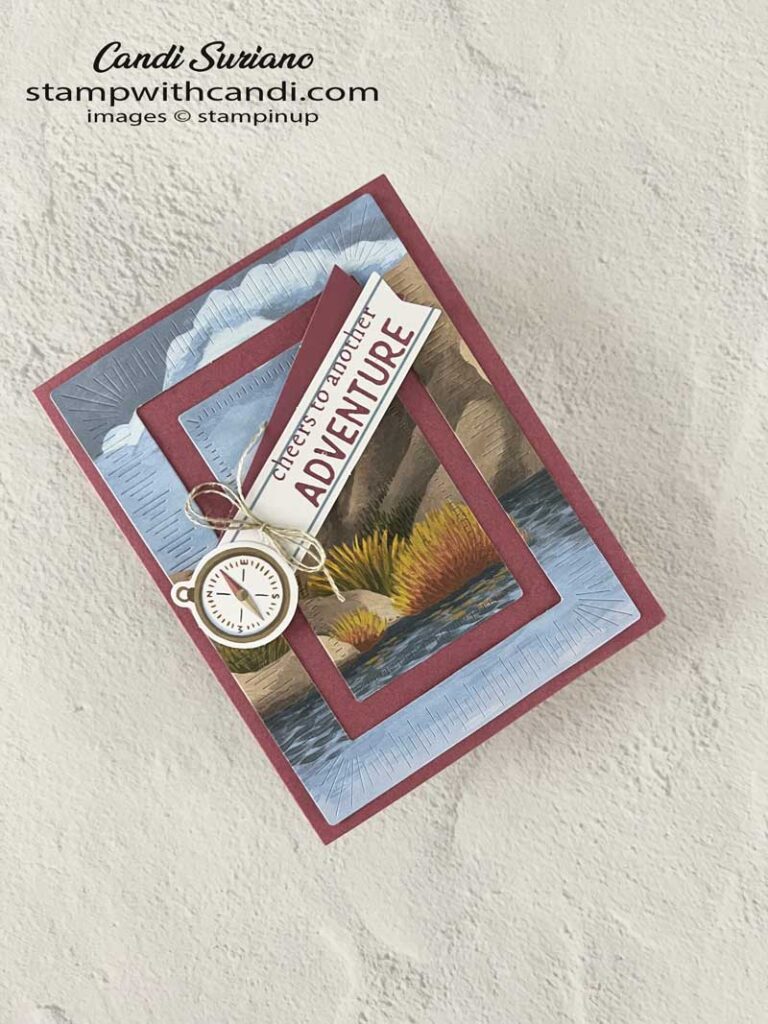
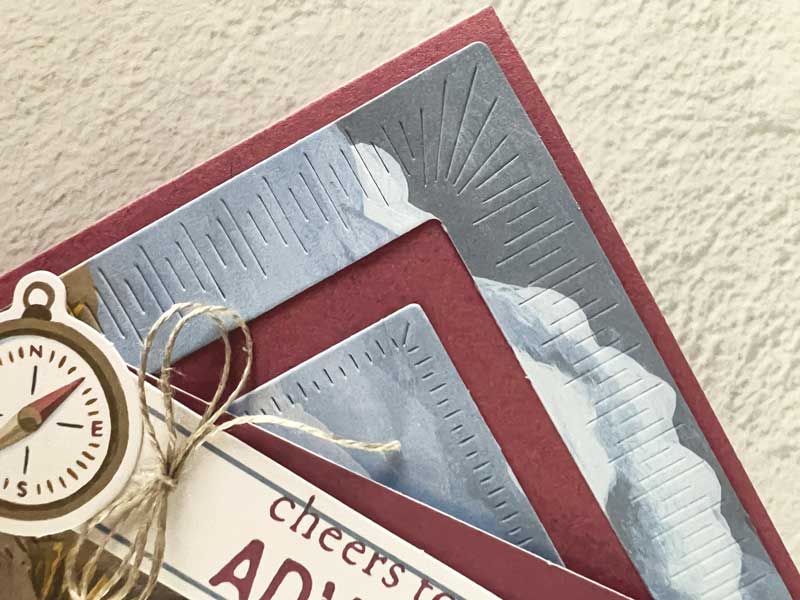
For alternate #4, I used the Radiating Stitched Dies to cut out two frames from the same card front. I layered the frames onto Moody Mave cardstock. This looks similar to the triple time cards,
May Paper Pumpkin #4 Detail
I love these dies. They add a lot of texture and interest to the card as you can see in the card above.,
May Paper Pumpkin Envelopes
The envelopes for this kit are beautifully done. In fact, with a little creativity, extra envelopes, and cardstock, you could easily get 20 to 30 cards from this kit!
I hope you enjoyed today’s May 2020 Paper Pumpkin alternates and they inspire you to create your own alternates! Not yet a Paper Pumpkin subscriber? Subscribe here.
Time To Hop
Now it’s time for more inspiration on Share It Sunday. So, grab a beverage, sit back and relax, and enjoy the hop!



Beautiful interpretation!!
Love your take on this kit!
Great cards Candi, love how you have adapted this kit x
Beautiful cards!