Today the demonstrators from Crafty Collaborations are showcasing items from the Summer Sale-a-bration catalog. Sale-a-bration is a twice-yearly promotion where you can earn free product for each $50 or $100 you spend before tax and shipping. I love Sale-a-bration because I love free products! And these aren’t just any old products, they’re products that could be in a catalog – full packages of DSP, stamp sets, and dies. This post which uses the Hippo stamp set and Hippo dies from the Sale-a-bration catalog is another example of a Sale-a-bration offering. I’m using the Merriest Frames Hybrid Embossing Folder and Merriest Moments stamp set for today’s project.
Today’s Project – Merriest Frames
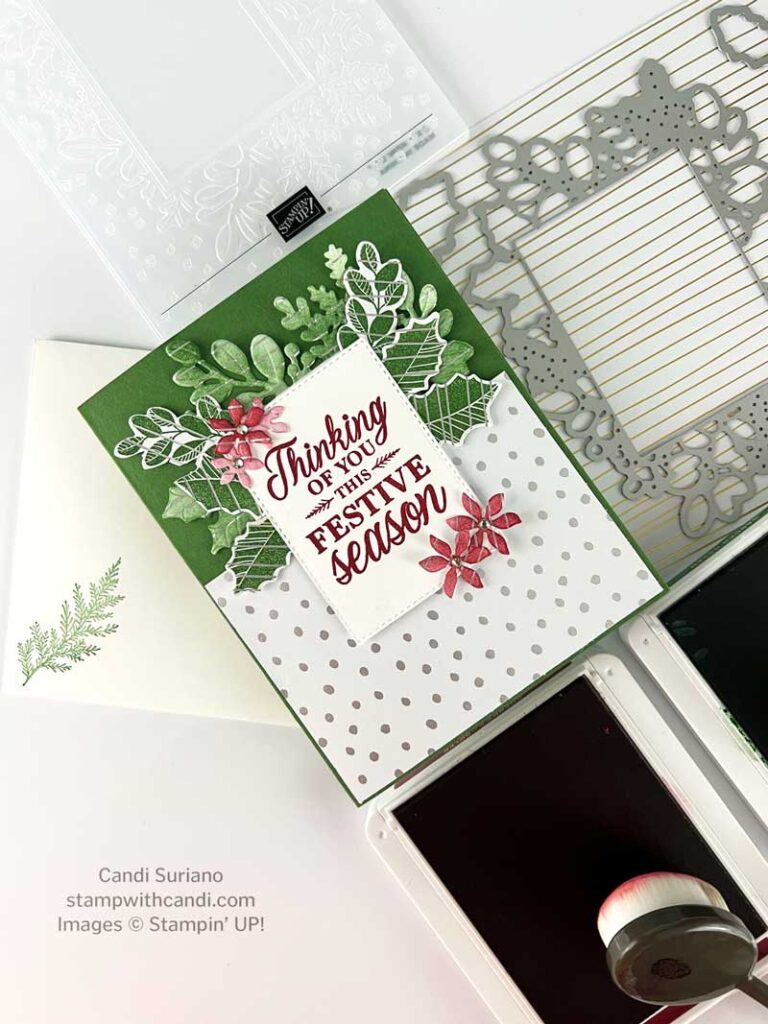
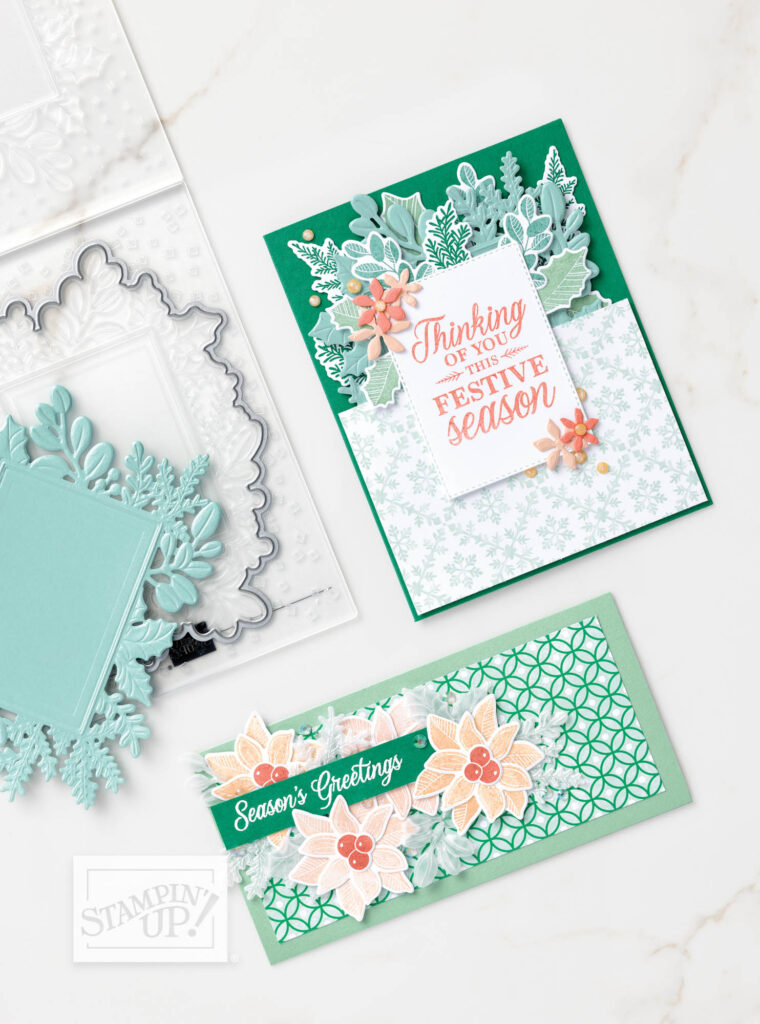
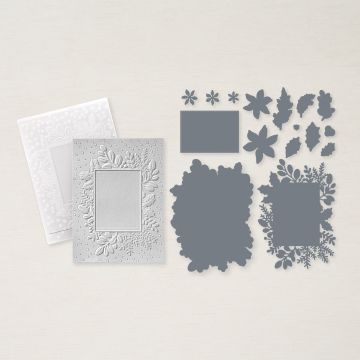
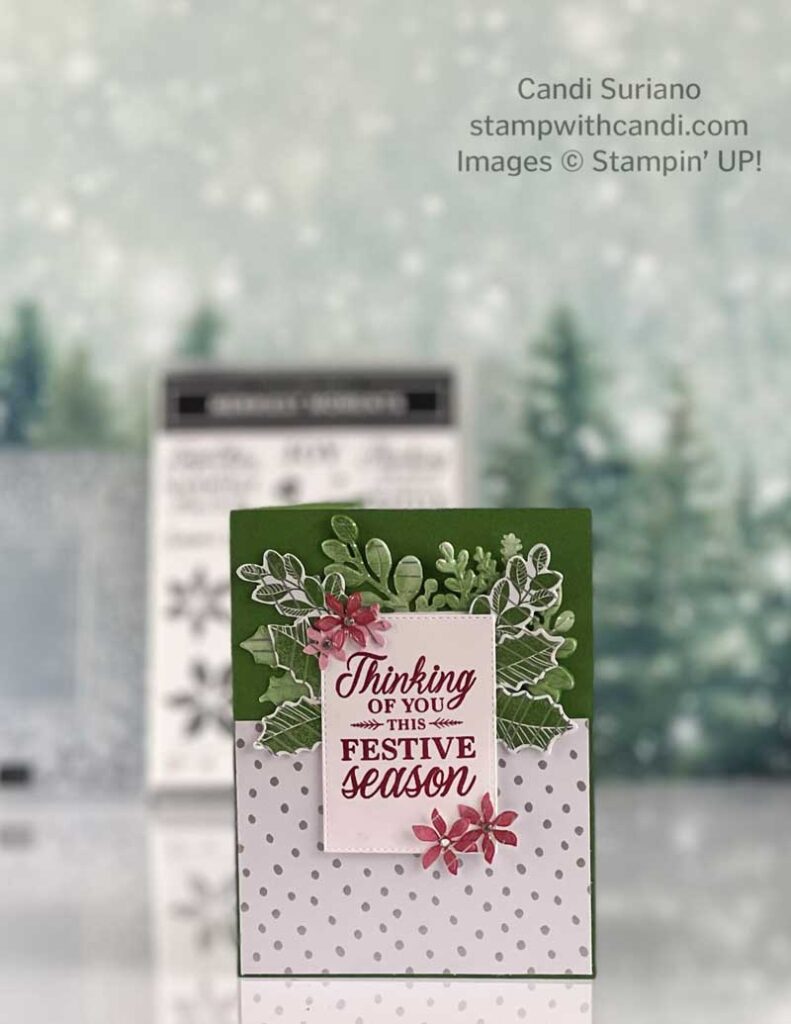
For today’s project, I used the Silver & Gold Designer Series Paper from Sale-a-bration which I paired with the Merriest Frames Hybrid Embossing Folder and the Merriest Moment Dies. When I saw this image from the July-June Mini Catalog, I knew what I wanted to do with this card. I used the same layout, stamp set, and dies. I switched the colors and DSP to make it my own.
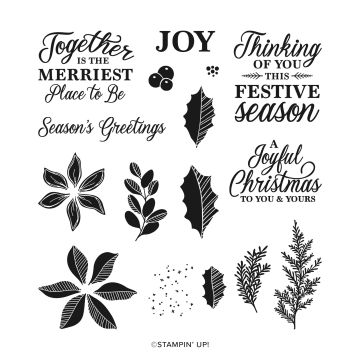
Merriest Moments
This is a great Christmas stamp set. I love the sentiments. And, I LOVE Poinsettias which you might know if you know me! I love the different types of leaves which have matching dies. There are also holly berries to go with the holly leaves. And, there’s also a splatter stamp which makes interesting backgrounds. For my project, I used the holly leaves and the rounded leaf which I stamped in Garden Green on the Silver Foil Lines DSP.
Merriest Frames
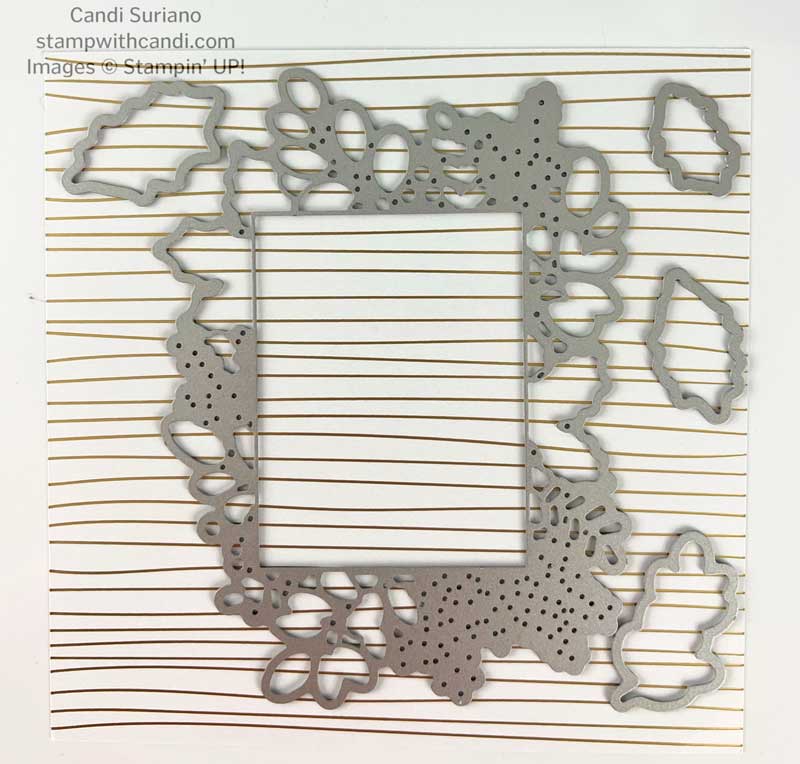
Merriest Frames is a Hybrid Embossing Folder which means there’s an embossing folder and dies packaged together. By placing your paper on the embossing folder and then the die, you can emboss and cut in one roll through the Stampin’ Cut and Emboss machine. As you can see, most images in the stamp set have matching dies. For my project, I cut out the frame and embossed it. I also stamped the leaf images using Garden Green ink and cut them out with the dies.
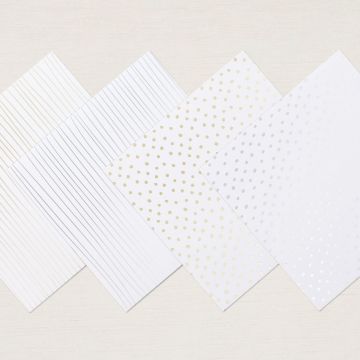
Silver & Gold DSP
The Silver & Gold DSP is free with a $50 purchase. It has 4 sheets of two patterns in two colors. For my card, I chose silver lines and silver dots. I think the silver works well with Cherry Cobbler and Garden Green.
Today’s Color Palette
I chose traditional Christmas colors for my card – Cherry Cobbler and Garden Green and the Silver patterns from the Silver & Gold DSP.
You Can Make It, Too!
Cut the Cardstock
- Cut a piece of Garden Green cardstock at 5 1/2″ X 8 1/2″. Score at 4 1/4″. Fold and crease using a bone folder.
- Cut a piece of Basic White cardstock at 4″ X 5 1/4″ for the inside panel.
- Cut a piece of Silver Dot DSP at 3″ X 4 1/8″ for the card front.
- Cut a piece of Silver Dot DSP at 2 1/4″ X 6″ for the envelope flap.
- Cut a piece of Silver DSP at 3/4″ X 5 1/4″ for the inside.
Die Cut and emboss
- Using the frame die and embossing folder, die cut and emboss a piece of Silver Line DSP. Save the scraps for the next step.
- Cut the die-cut in half.
Stamp and Color
- Using a blending brush and Garden Green ink, color the die-cut frame. Make sure to rub your brush on some scrap paper before applying it to the die-cut image. This prevents splotches!
- Stamp 3 large holly leaves, 1 medium holly leaf, and two rounded leaves using Garden Green ink. Use the outside scrap from the above die cut.
- Color the leaves using a blending brush and Garden Green ink.
- Stamp the sentiment on a scrap of Basic White using Cherry Cobbler ink.
Die Cut
- Cut 3 large and 2 small open poinsettias from the leftover half of the frame die-cut.
- Color the poinsettias using a blending brush and Cherry Cobbler ink. Make the smaller flowers a lighter shade and the larger flowers a darker shade.
- Use the dies to cut the stamped leaves.
- Use the small frame die to cut out the sentiment.
Assemble the Card
- Attach the flower frame to the card using a single strip of Snail along the bottom.
- Attach the Silver Dot DSP to the card front overlapping it with the flower frame.
- Attach the sentiment to the card front using dimensionals along the bottom. Leave the top unattached so that you can tuck leaves behind it.
- Tuck the stamped leaves to the sentiment as shown using liquid glue on the front of the leaves.
- Attach the flowers to the sentiment using liquid glue using the image as a guide.
- Attach small Rhinestone Basic Jewels to the center of the flowers.
- Optional: Attach additional Rhinestone Basic Jewels as desired.
Make the Inside Pretty
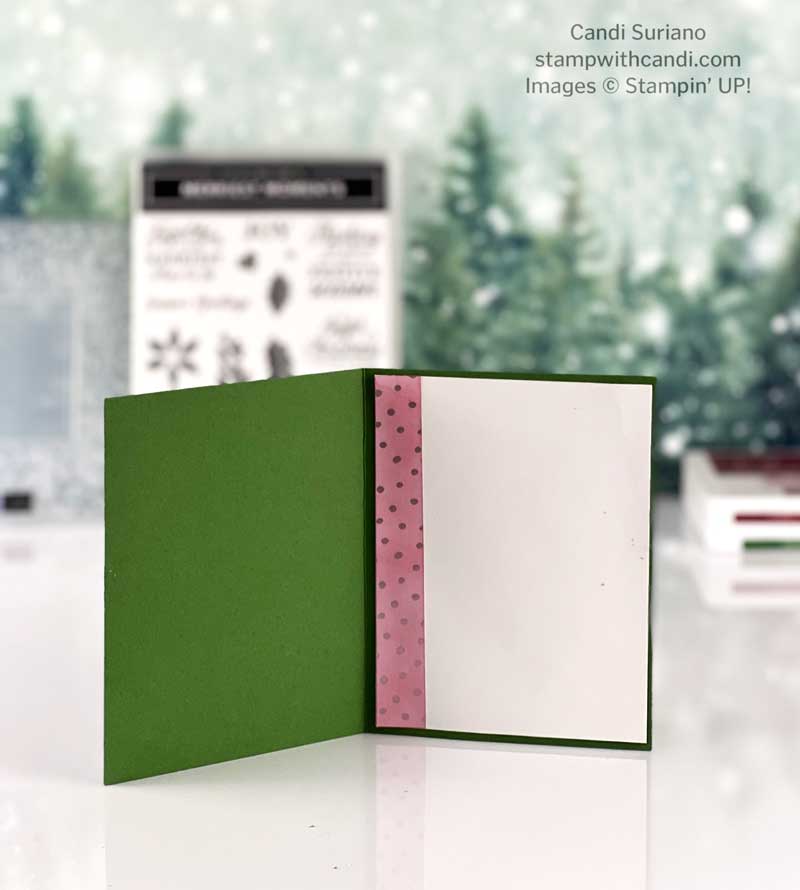
I took the leftover piece of the Silver & Gold DSP from the front and cut off 3/4″ inch. Then I used Cherry Cobbler ink and a blending brush to color it before attaching it to the Basic White panel.
Don’t Forget the Envelope
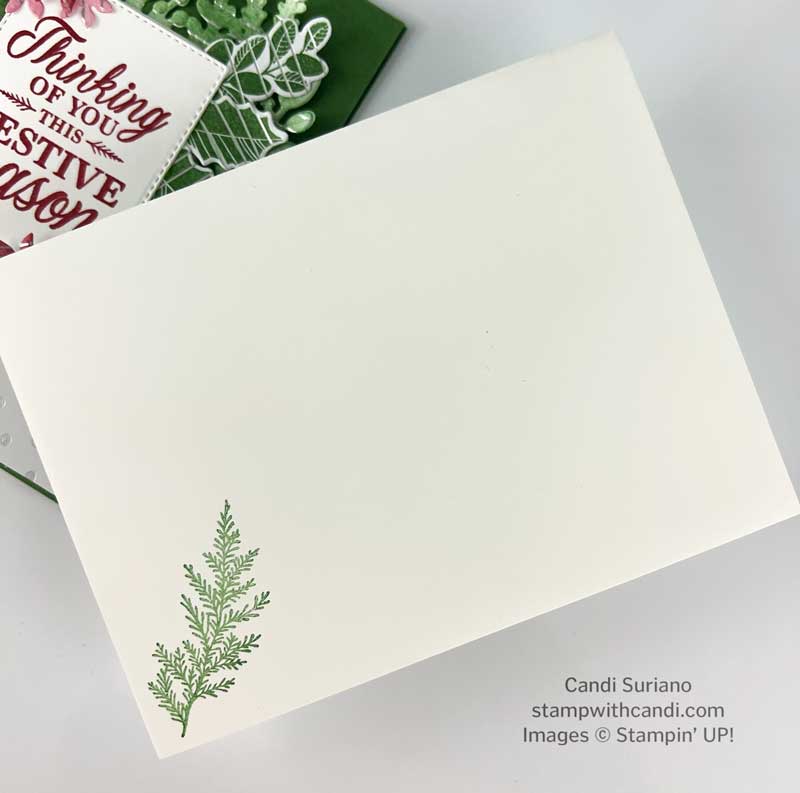
For the envelope front, I stamped the fern image using Garden Green ink stamped off once to give a softer image.
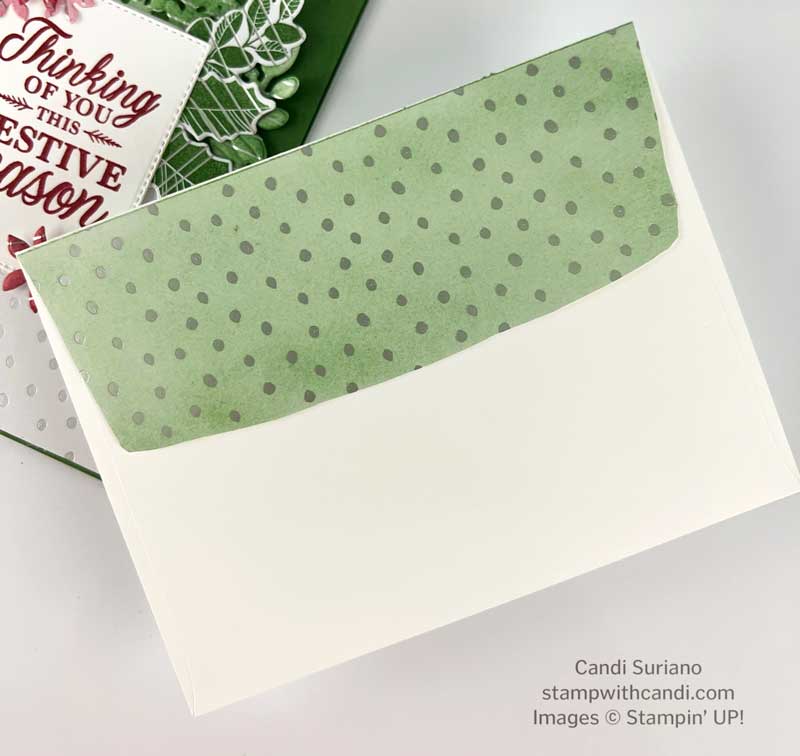
I used the remaining piece from the front of the card and colored it with Garden Green ink and a blending brush before attaching it to the envelope flap. Once it was glued down, I trimmed it to fit. This is an easy way to dress up the envelope.
I hope you enjoyed my project and the techniques – stamping on DSP, embossing while die cutting, and coloring with blending brushes. But, now it’s time to see what the others have in store for you. So, grab a beverage, sit back and relax, and enjoy the hop!
Shop Sale-A-Bration
It’s Summer Sale-a-bration! For every $50 you spend, you can select an item from the Summer Sale-a-bration catalog. Who doesn’t like free??? Click on the image above to see what’s available and start planning your order. New items have been added so click on the image to see the full list of what’s available! Need some suggestions? Let me know and I’ll help you get the most for your money!



Absolutely stunning. I love your Christmas card. Beautiful colors. Fun layout. And the inside is nice too!
Thanks Wanda!
What a great way to use this pretty dsp, love the inking of it x
Thanks, Mo!
That paper is so pretty. Lovely card!
Thanks, Melva!
Lovely card x
Perfect way to use this paper – love the card