I was going to post some coordination samples today, but then my Paper Pumpkin for February 2020 arrived and I just had to play with it. This month’s box is all about birthdays. The included stamp set has a large flower, a smaller flower, and a ton of birthday sentiments with a “congratulations” thrown in. It makes 9 cards, 3 each of 3 designs. Of course, I didn’t say on script and made quite a few more by adding in some additional supplies.
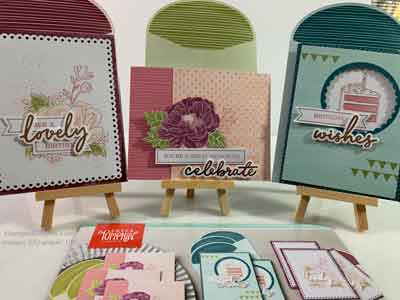
One of the things I love about Paper Pumpkin is that everything is included – stamps, paper, design elements, ink, and embellishments. When I first unbox the kit, I look at all the supplies and scan the directions. I always make one just as designed, like the three in this picture.
As you can see, they are lovely cards. I love the thick sentiment elements. They really pack a punch. The envelopes are very cute so no need to add anything to them. I love the edge detail on the one on the left. The middle one has an interesting closure. And, the one on the right jus screams shaker card.
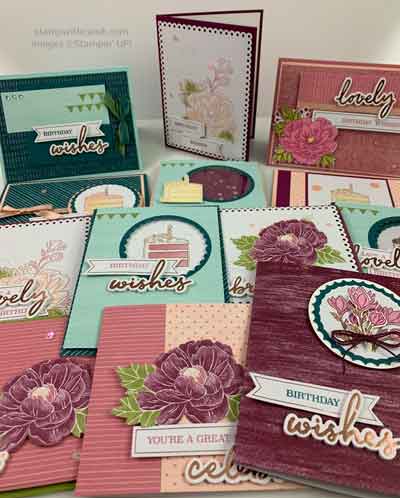
I was really inspired by the elements on these cards to make these cards. In addition to the original 3, I made 11 alternate cards!
Alternate Card #1 – My Favorite
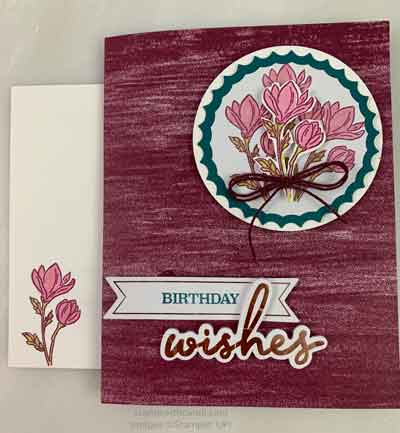
I love this first card. I think it’s the colors because pinks, reds, and purples are really my colors, well, except for black and white. I used the small flower image and stamped it multiple times on the punch out using Rich Razzleberry ink. Then I stamped it once on Whisper White and fussy cut it so that I could pop it up with Dimensionals. I colored the images with Old Olive and Rococo Rose blends. I mounted it on a Whisper White circle that I cut using the layering circles dies. I colored a piece of Whisper White Baker’s Twine with a Dark Rich Razzleberry Blends to create the bow. I also stamped and colored the image on the envelope front!. I just love how this card turned out!
Alternate Card #2
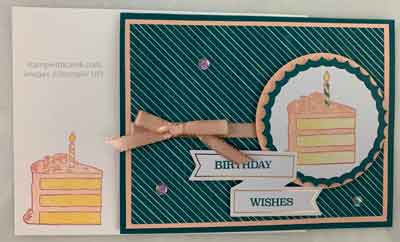
I also used the punch out for this card. Why waste anything, right? I stamped the cake slice using Petal Pink ink and then colored it with The Petal Pink, So Saffron and Pretty Peacock Blends. I mounted it on a Petal Pink circle cut using the Layering Circles dies. I stamped the sentiment using Pretty Peacock ink. I added some Petal Pink 1/4″ Metallic-Edge Ribbon and bow. Of course, I popped everything up with Dimensionals And finished it off with a few Petal Pink Sequins. I also stamped and colored the cake slice on the envelope front.
Alternate Card #3
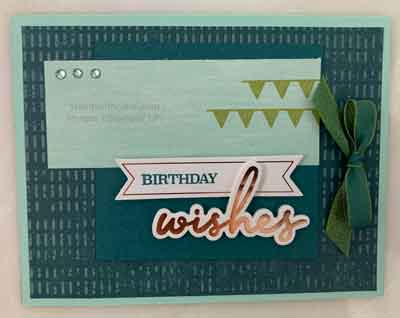
This card is all about using up every bit of the kit! I started with a Pool Party base. I layered some Woven Threads DSP on top. Then I added a Pretty Peacock square. On top of that, I layered a strip of the Pool Party original card. I stamped the sentiment using Pretty Peacock ink. I added a bow using Old Olive/Pretty Peacock 3/8″ Reversible Ribbon. That ribbon fits the color scheme perfectly!
Alternate Card #4
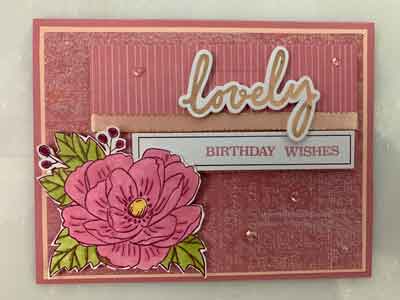
For this card, I again turned to the Woven Threads DSP from the Annual Catalog. I layered it on a Petal Pink layer and then onto a Rococo Rose card base. I layered the scrap from one of the original card bases on top of it after wrapping a piece of Petal Pink 1/4″ Metallic-Edge Ribbon around it. I stamped the large floral image using Rich Razzleberry ink and colored it using Old Olive, Rococo Rose, and Rich Razzleberry Blends. And, of course, I added some sparkle to it by coloring it with Wink of Stella. I stamped the sentiment using the Rococo Rose ink. I finished it off with 5 of the supplied sequins. I attached everything with the supplied Dimensional or glue dots.
Alternate Card #5
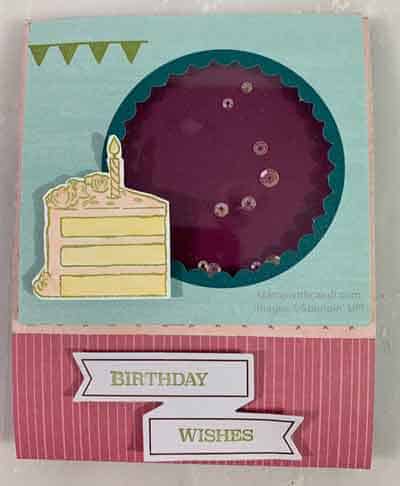
I love shaker cards and one of this month’s designs just screamed shaker to me. So, this card and the next are both variations on a shaker card. I stamped the cake slice on one of the punch outs using Early Espresso ink. Then colored I colored it using the Rococo Rose Blends. I used the supplied sequins for the shaking bits. I used the foam adhesive strips and window sheets to make the shaker part I stamped the sentiment in Rococo Rose ink.
Alternate Card #6
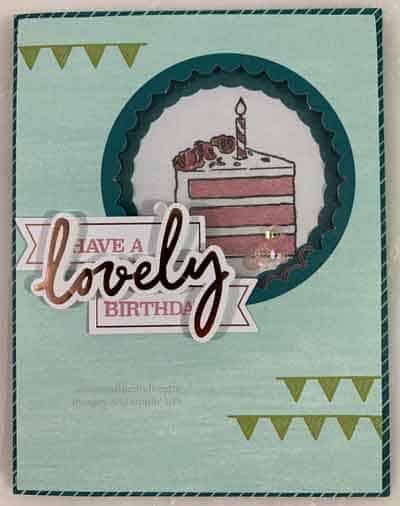
This, too, is a shaker card and is similar to an alternate suggested by Stampin’ Up!. I used one of the supplied card bases but turned it to be vertical. I backed the shaker part using Rich Razzleberry cardstock. I used the adhesive foam strips, window sheets, and the supplied sequins to make the shaker. I stamped the cake slice using Old Olive ink and colored it with Petal Pink and So Saffron blends. I fussy cut it and attached it to the card using the supplied Dimensionals. I stamped the sentiment using Old Olive ink.
Alternate Card #7
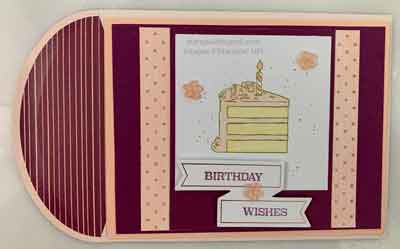
This card is another variation of the cake slice! I wasn’t too crazy about the card base with the non-traditional fold, so I cut it up and used the pieces to make other cards, This is one of those cards. I started with a Petal Pink base and layered Rich Razzleberry and a piece of the cut-up card base on it. I took the suppled cake slice and colored it with the Petal Pink and So Saffron Blends. Can you tell that I love to color?? I attach it to a layer of Rich Razzleberry cardstock which I attached to the card front. I stamped the sentiment using Rich Razzleberry ink. I finished it off with some Petal Pink Frosted Flower Embellishments.
Alternate Card #8
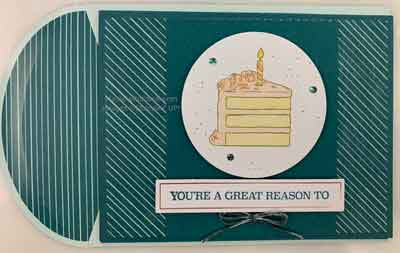
One last cake slice card! For this one, I cut one of the supplied Pretty Peacock card bases in half. I layered it onto a Pretty Peacock card base. I colored the supplied cake slice using the Petal Pink and So Saffron Blends. I cut it out using the Layering Circle dies and popped it up on Dimensionals on top of a solid Pretty Peacock layer. I stamped the sentiment using Pretty Peacock ink and pooped it up on Dimensionals. I colored some Whisper White Baker’s Twine using the Dark Pretty Peacock Blends for the bow. I let some of the Whisper White show through to mimic the stripes on the paper. Finally I colored 3 rhinestones with the Dark Pretty Peacock Blends(Tip: Use the thin end, not the brush end so that you don’t damage the brush tip!). I attached them around the cake slice.
Alternate Card #9
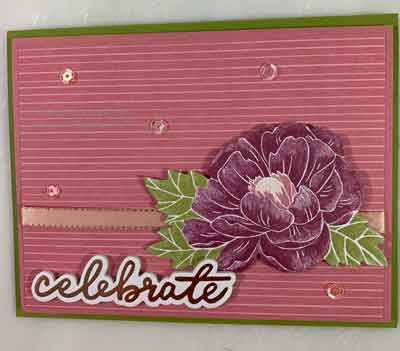
This card using one of the pieces I cut from the pink base. I layered it onto some Rococo Rose cardstock after wrapping it with a piece of Petal Pink 1/4″ Metallic-Edge Ribbon. I attached the supplied large flower with Dimensionals. I added the supplied sentiment and some sequins. Easy Peasy!
Alternate Card #10
This card uses just the supplied elements, but ina different way. I put the white background with the scalloped border on the supplied Rich Razzleberry base, but instead of stamping the flower, I used one of the supplied die cuts instead. I using the supplied sentiment and sequins to finish the card.
Alternate Card #11
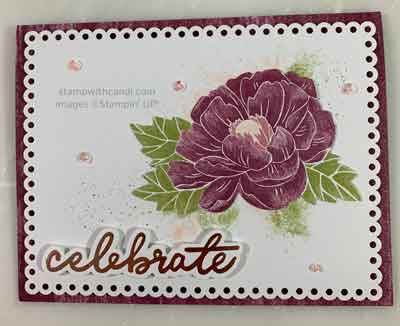
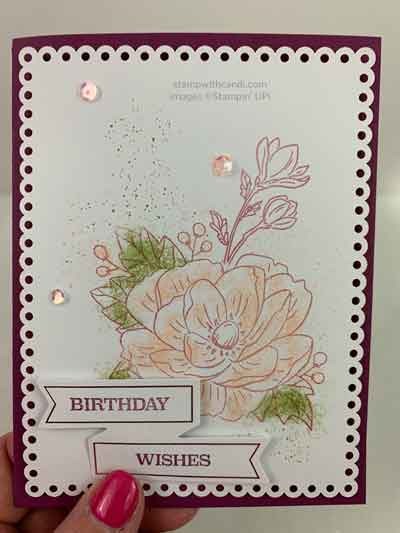
This card uses a Rich Razzleberry cardstock base I layered the supplied white scalloped background piece on top. I stamped the flower using Rococo Rose ink as in the instructions. I stamped the sentiment using Rich Razzleberry ink. I finished it off with the supplied sequins.
I hope today’s post inspires you to look at Paper Pumpkin in a new way. You can either make the cards as is or use the supplies you have on hand to mix it up and make them your own! I’ve included a list of the additional supplies at the end of this post. And if you’re not already subscribed to Paper Pumpkin, you can do here to subscribe. https://www.paperpumpkin.com/
As always, if you don’t yet have a demonstrator, I’d love to be yours. If you need a catalog or some advice on purchases or creative inspiration, I’m just an email away!
