It’s the first Saturday of the month and Stamping with Friends is hosting a blog hop about the Partial Die Cuts technique. Stamping with Friends is a group of worldwide demonstrators who want to share their creativity with you. We hop twice a month on the 1st and 3rd Saturdays. The first Saturday is always a technique hop. Let’s take a look at my partial die cuts card.
Today’s Project – Partial Die Cuts
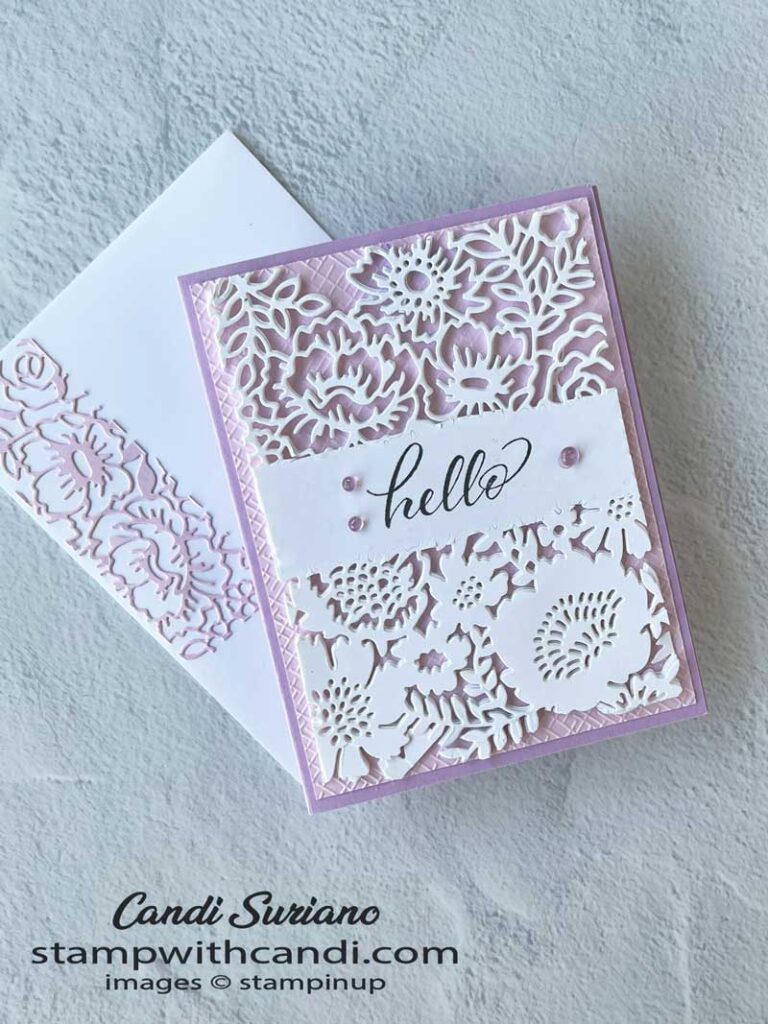
As you can see, I did two partial die cuts on this card. I like the double technique because it leaves a nice strip for your sentiment. On the back of the Basic White card stock, draw two lines parallel lines to define your sentiment area. Then build your sandwich as usual EXCEPT the top plate only covers that part of the die you want to cut. Since there’s no top plate on part of the die, that part won’t be cut. Two do a double partial die cut, you just do the same thing again on the other side of the card.
I didn’t want a flat card front. So, I cut 4 extra full die cuts and glued them to the partial die cut. It adds so much depth and interest to the card. I love stacking die cuts this way.
When I reached for a piece of Bubble Bath cardstock to put under the die cut, I found a piece that had been embossed with the 3D Basics Crosshatch pattern and decided to use it for some added texture.
Today’s Color Palette
There are so many colors that would look goog under the die-cut, I had problems choosing one. I finally settled on Fresh Freesia and Bubble Batch. I’m using a lot of Bubble Bath because I just love a beautiful, true pink and Bubble Bath fits the bill.
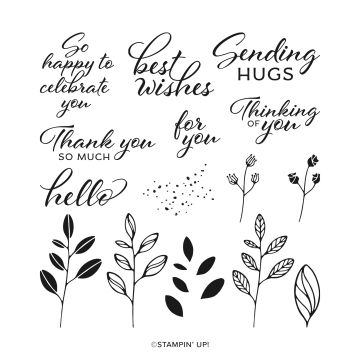
Layering Leaves Stamp Set
The sentiment is part of the Layering Leaves stamp set. This set is a bit of a sleeper. It doesn’t look like much but it has great sentiments in pretty fonts. The leaves are two-step. stamping and VERY easy to line up. And, as a bonus, the Bough Punch punches them out.
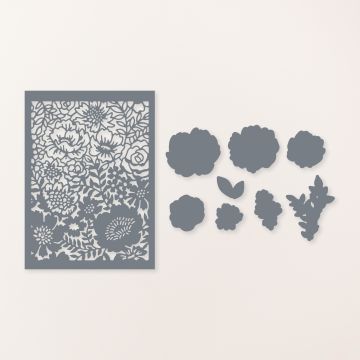
Two-Tone Flora Dies
This large, floral die was perfect for the card I had in mind. It covers the whole front of a card and has pretty details. I trimmed it down to 5″ x 3 3/4″ to allow a bit of a border around the die cut.
Sometimes these large dies a hard to work with. And this own was for me. I solved that problem by adding wax paper to my die cutting sandwich. The sandwich is die, wax paper, then cardstock. This makes the die cut pop out of the die very easily. I always check the die cut to make sure all areas are cut. If they aren’t, I run it through again with the die facing up.
Make the inside Pretty – Partial Die Cuts
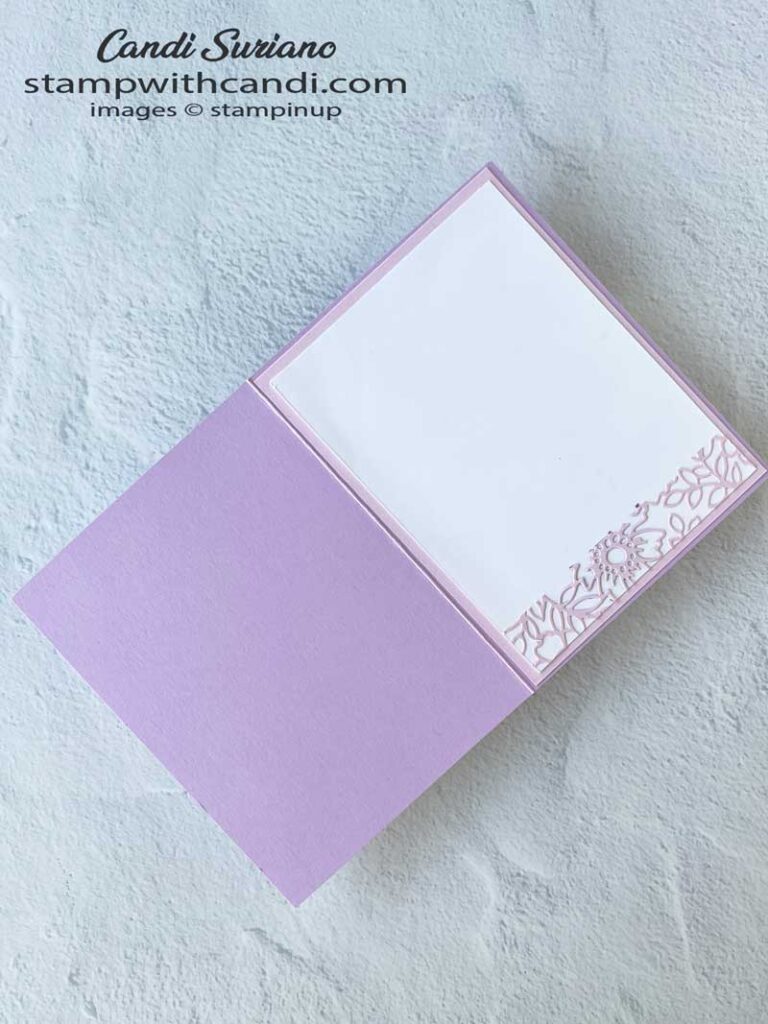
For the inside, I took a 3/4″ piece of Bubble Bath Cardstock and cut it using the same die. Then, I glued it to the inside liner. It looks so pretty and carries the look of the front to the inside.
Don’t Forget the Envelope – Partial Die Cuts
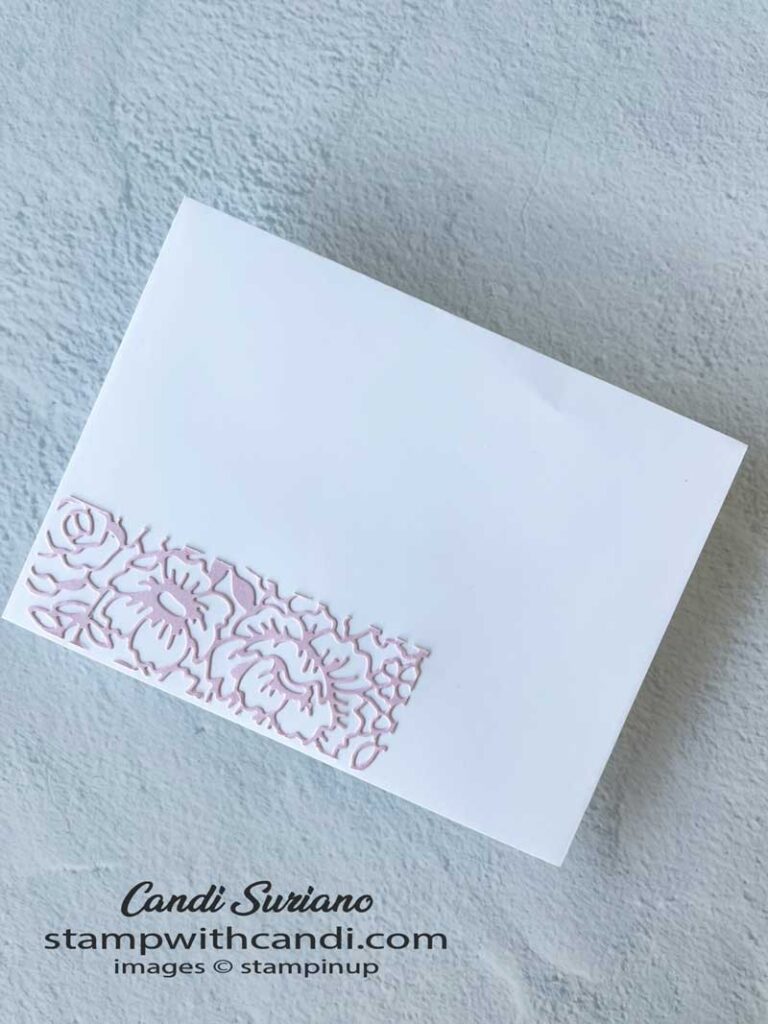
Once the inside was done, I liked it so much, that I repeated it for the envelope. I wouldn’t send this envelope through the mail. I’m not sure it would make it through the machines.
You Can Make It, Too – Partial Die Cuts
Make the Cuts
- Card base (Fresh Freesia) 5 1/2″ x 8 1/2″ Score at 4 1/4″.
- Layer 1( Bubble Bath) 5 1/4″ x 4″
- Focal Die Cuts (Basic White) 5 1/2″ x 4 1/4″ Cut 5.
- Inner Liner (Basic White( 5 1/4″ x 4″)
- Inside Die Cut (Bubble Bath) 1″ x 4 1/2″.
- Envelope Die Cut (Bubble Bath) 1 3/4″ x 4 1/2″
Die Cutting & Embossing Time
- Cut 4 full die cuts from Basic White.
- Draw two lines on the back of the Basic White cardstock for the sentiment. Die cut above one line and below the other using the partial die cuts technique making sure that the top plate is only over the area that should be die cut.
- Die cut the pieces of Bubble Bath for the inner liner and envelope, laying the strips over the part of the die that you want to cut. Trim to fit.
- Emboss layer 1 with the Crosshatch 3D embossing folder.
Now We can Stamp
- Stamp the sentiment from Layering Leaves using Memento Tuxedo Black ink.
Put it All Together
- Use liquid glue to attach the partial die cut to the other full die cut.
- Attach the Bubble Bath layer to the Fresh Freesia card base.
- Attach the stacked die cuts to the card front. Embellish with 3 gems from the Tinsel Gems 3 Pack.
- Attach the die cut to the inner liner Attach to the inside of the card.
- Attach the die cut to the envelope.
I hope you enjoyed my card today and it inspires you to try this technique. If you don’t have a demonstrator, I’d love to be yours. You can click on the links at the end of this post to get all the supplies needed to make this card.
Time To Hop with Stamping with Friends
Now it’s time for more inspiration. So grab a beverage, sit back and relax, and enjoy the hop!



Loving how you sta ked 4 layers. When try soon. Makes the card pop out at you.
Love how you made this card Candi, so pretty x
Great variation of the partial die cutting! I love it! Thanks for sharing.