Today I’m hopping again with Crafty Collaborations a group of demonstrators from all over the world who work together to share creativity. The topic for today’s blog hop is Reduce, Reuse, and Recycle. I have to admit, I was stumped about this one and then I looked at my desk and saw all these leftover pieces from Playing in the Rain, and realized I had some scraps I can use instead of throwing them out. Coincidentally, I had just finished making a card designed by my friend Tina Rappe of Stampin’ Studio that used squares on the card front. So, here I am inspiring you after I’ve been inspired myself!
Today’s Project – Playing in the Rain
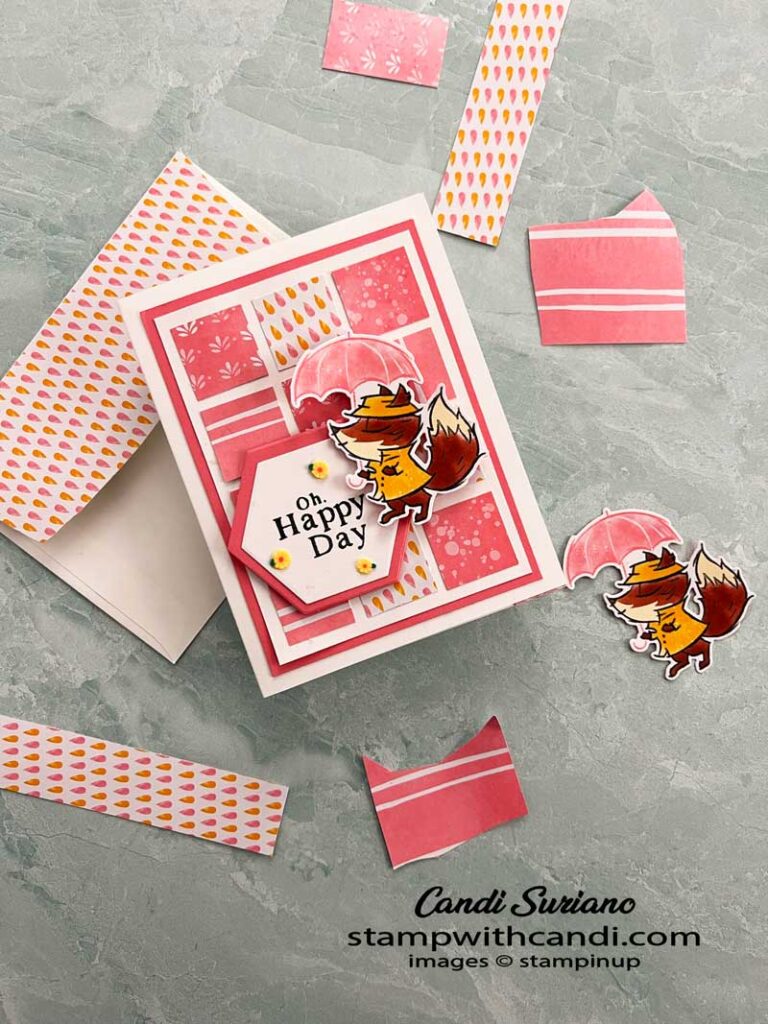
I just love this collection. It’s so fun and playful. The cards practically make themselves. I’ve been doing swaps lately and I used this collection on my swaps which is why I had scraps on my desk!
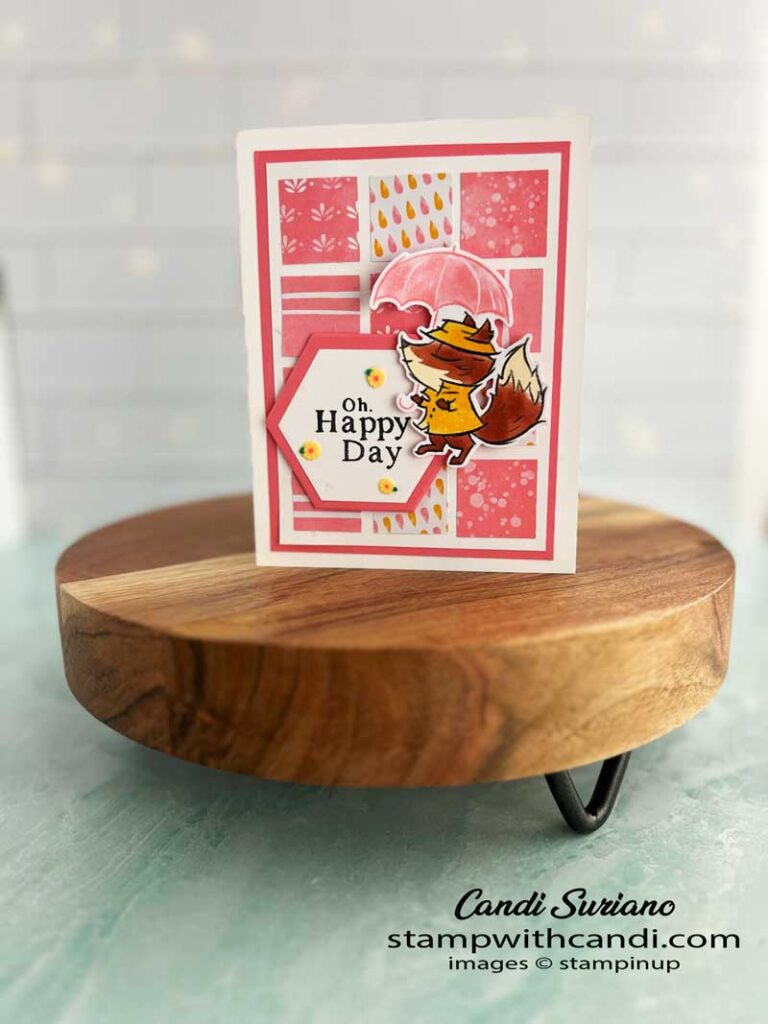
I started with a Basic White piece at 3 1/2″ X 4″. The measurement is important because it lets you get 12 1″ x 1″ squares with a 1/8″ border. Next, I matted it with a Flirty Flamingo layer and attached it to the card front.
The sentiment die and mat are from the Beautiful Shapes dies. These dies are the most overlooked/underused dies in the Annual Catalog. I just love the way the hexagons next to add borders around the sentiment layer.
The cute fox with the umbrella was cut using the Playing in the Rain dies from the DSP! I love how Stampin’ Up! is doing this more and more. It makes for some stunning and easy cards!
Today’s Color Palette
When Flirty Flamingo was first introduced it was one of my go-to colors. But then I got out of the habit of using it and I’m not sure why. I guess I like Melon Mambo and Polished Pink more. But Flirty Flamingo looks great on this card!
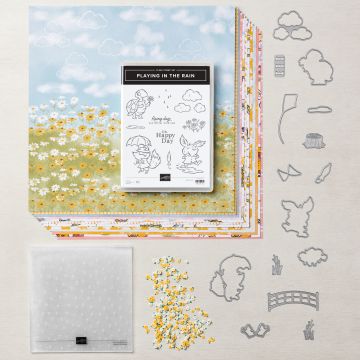
Rain or Shine Suite Collection
This was one of the first collections I ordered. It is so playful. And, I love the colors, and the embossing folder, and the scene-making ability because of the extra dies.
The DSP is amazing. The first design just needs to be cut, put on a card base and you’re done. One of the sheets can be used with the dies to cut out the fox, rabbit, and turtle. But I think my most favorite thing is that most of the ‘happy’ sheets of DSP have a ‘sad’ sheet of DSP. For example bright raindrops or gloomy ones. Happy critters vs sad critters. So cute!
Make the Inside Pretty – Playing in the Rain
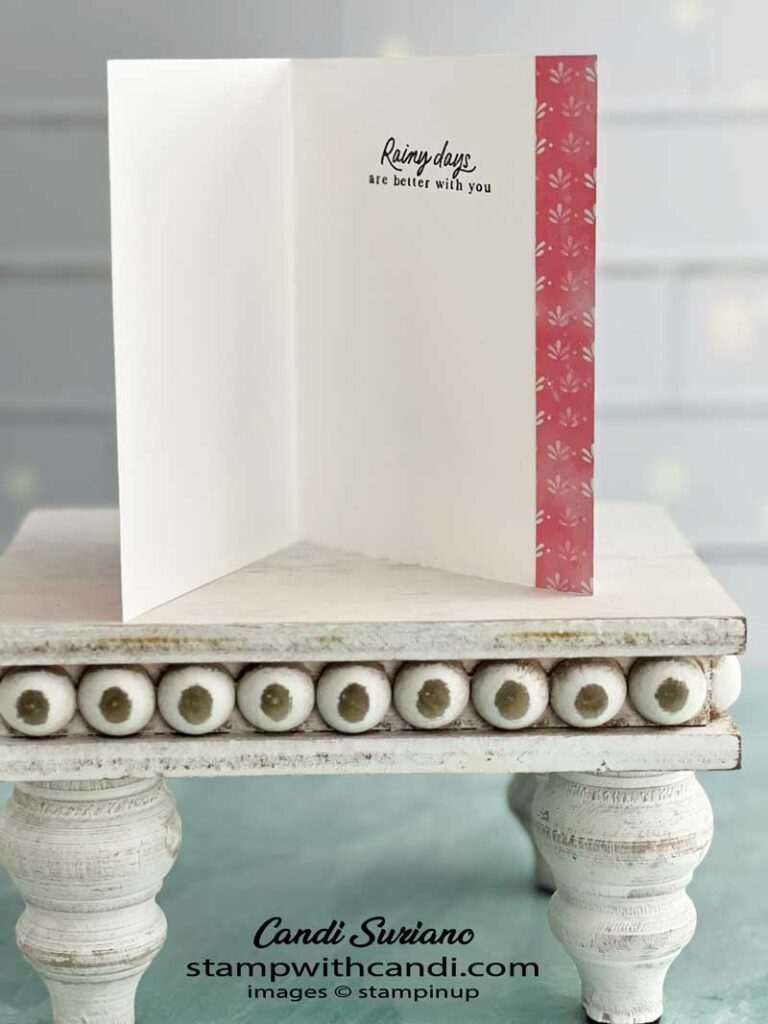
For the envelope, I changed things up a bit and glued the strip of DSP to the right side of the inside. I also stamped a greeting so that the sentiment on the front made sense.
Don’t Forget the envelope – Playing in the Rain
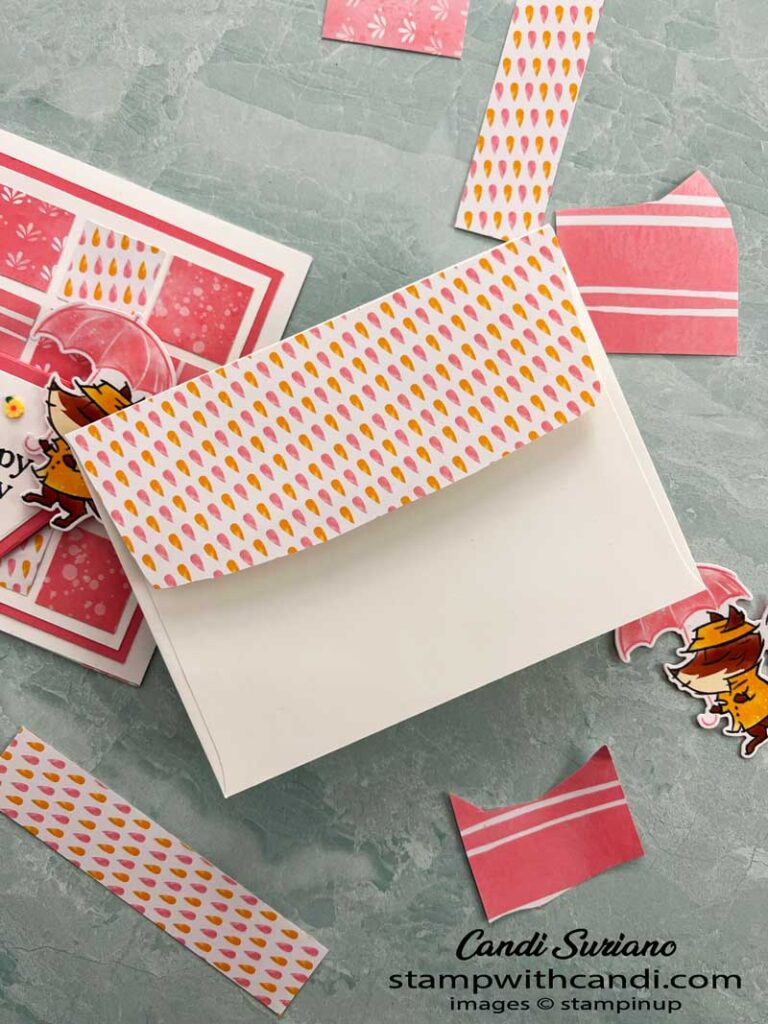
I found a strip of DSP on my desk that was the perfect size for the envelope flap. I got lucky there because my challenge was to make the card with stuff on my desk from other projects! The only thing that wasn’t on my desk is the card base, the Flirty Flamingo layer, and the Basic White layers for the inside and card front.
You Can Make It, Too – Playing in the Rain
Use Your Paper Trimmer
- Card base (Thick Basic White) – 8 1/2″ x 5 1/2″. Score at 4 1/4″.
- First layer (Flirty Flamingo) – 5″ x 3 3/4″.
- Second layer (Basic White) – 4 3/4″ x 3 1/2″.
- DSP 12 1″ x 1″ squares
- Scrap of Flirty Flamingo for sentiment map
- Scarp Basic White -stamping
- Envelope Flap – 5 3/4″ x 2 3/8″.
- Inside (DSP) 5 1/2″ x 3/4″.
Stamping & Die Cutting
- Stamp the inside sentiment on the inside of the car using Momento Tuxedo Black ink.
- Stamp the front sentiment on the Basic White scrap. Die cut with 2nd largest hexagon.
- Cut the Flirty Flamingo sentiment mat using the hexagon die.
- Cut one of the foxes from the Rain or Shine DSP. Alternatively stamp, color, and die-cut using the DSP.
assemble
- Attach the squares to the Basic White cardstock arranging the patterns to something that’s pleasing and leaving 1/8″ all around. Glue down one at a time using liquid glue (more wiggle room).
- Attach the Basic White layer to the Flirty Flamingo layer. Attach the Flirty flamingo layer to the card front.
- Attach the fox using dimensionals.
- Attach the sentiment to the mat using Seal.
- Attach to the card front using dimensionals.
- Add 3 loose flower embellishments using liquid glue.
- Attach the inside strip to the inside of the card on the right side.
- Attach the envelope flap DSP to the envelope flap.
- Attach the sentiment to the mat using Seal,
Could you leave comment with your thoughts on this card. I do so like getting comments.
I hope my card inspires you to think about Reduce, Reuse, and Recycle in your crafting. So, instead of throwing out your scraps see if you can find a design that will fit them! And, now, it’s time to see more inspiration from Crafty Collaborations. So grab a beverage, sit back and relax, and enjoy the hop.
Need a Demonstrator?
If you don’t have a Stampin’ Up! demonstrator, I’d love to be yours. If you need a catalog, click here or email me at candi@stampwithcandi.com and I’ll pop one in the mail for you.
FEBRUARY PAPER PUMPKIN – SUNSHINE & SMILES
Two days left to subscribe!
SUBSCRIPTION INFORMATION
Subscribe to the February Paper Pumpkin Kit between 11 January 2023 and 10 February 2023 by clicking here!
Note: Supplies may be limited toward the end of the subscription period.
Kit Contents
his kit includes:
- Everything you need to create 9 radiant cards—3 each of 3 designs—and 9 coordinating envelopes.
- A sweet springtime photopolymer stamp set.
- A Mango Melody Stampin’ Spot
- A fun peek-through window scene on each card!
- Cute precut critters and labels, fun raindrop embellishments, and more!
Finished card size: 5-1/2″ x 4-1/4″ (14 x 10.8 cm)
Coordinating Stampin’ Up! colors: Balmy Blue, Cajun Craze, Coastal Cabana, Daffodil Delight, Flirty Flamingo, Mango Melody, Old Olive, Shaded Spruce.
As a bonus, I post my 5-8 alternatives for each kit. So, if you don’t like the kit as designed, I’ll show you how to use the same supplies to make different cards or projects.
Don’t forget! This kit perfectly coordinates with the Rain or Shine Suite Collection (item number: 160556), which I’m showcasing in this post!
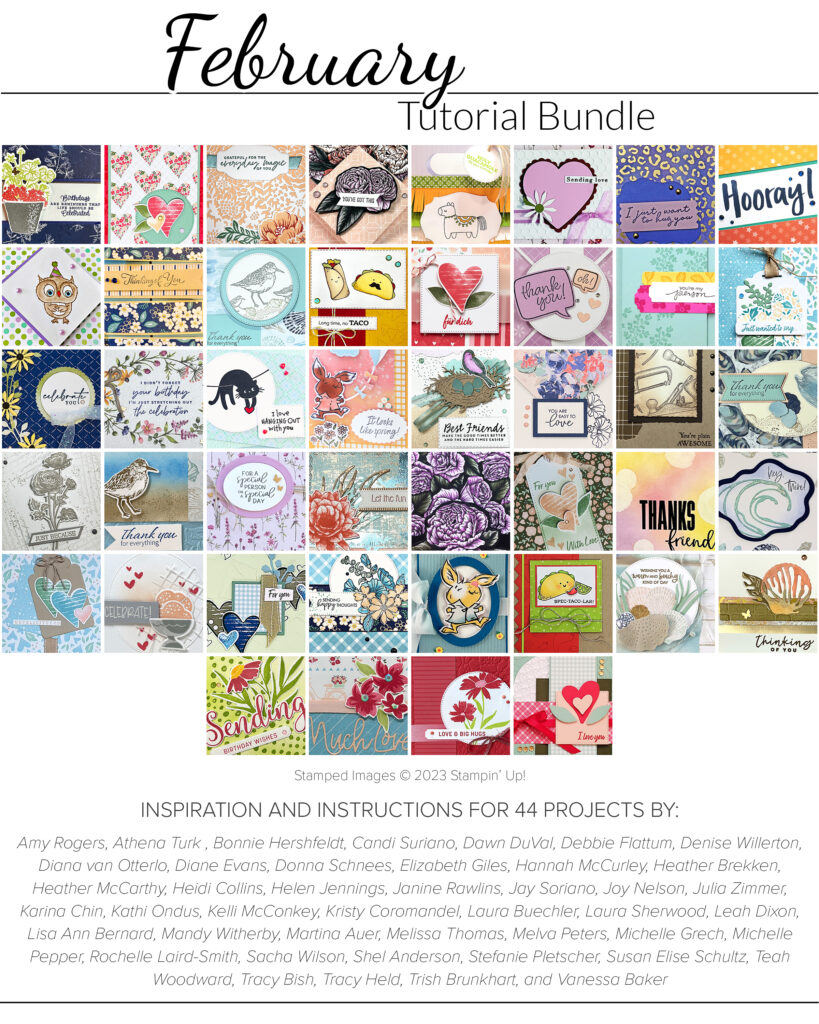
Can you imagine 44 step-by-step tutorials using current Stampin’ Up! products? And it’s yours for a $50 purchase in my online store! And, for the first 10 people who place an order, I will send you the supplies to make my project! It doesn’t get better than that! Plus, you’ll also be able to pick a free Sale-a-bration item which really sweetens the deal.





Great tip to use left overs
WOW! I truly LOVE your card. Fantastic!
Love using scraps Candi, such a fun card x
Lovely card. Great way to use up scraps
Such a cute card and great use of scraps.
sweet card and GREAT tip, thank you !!!
LOVE LOVE LOVE that clever card! I make cards with scraps off my desk all the time – but for this one – I might have to generate some scraps on purpose!