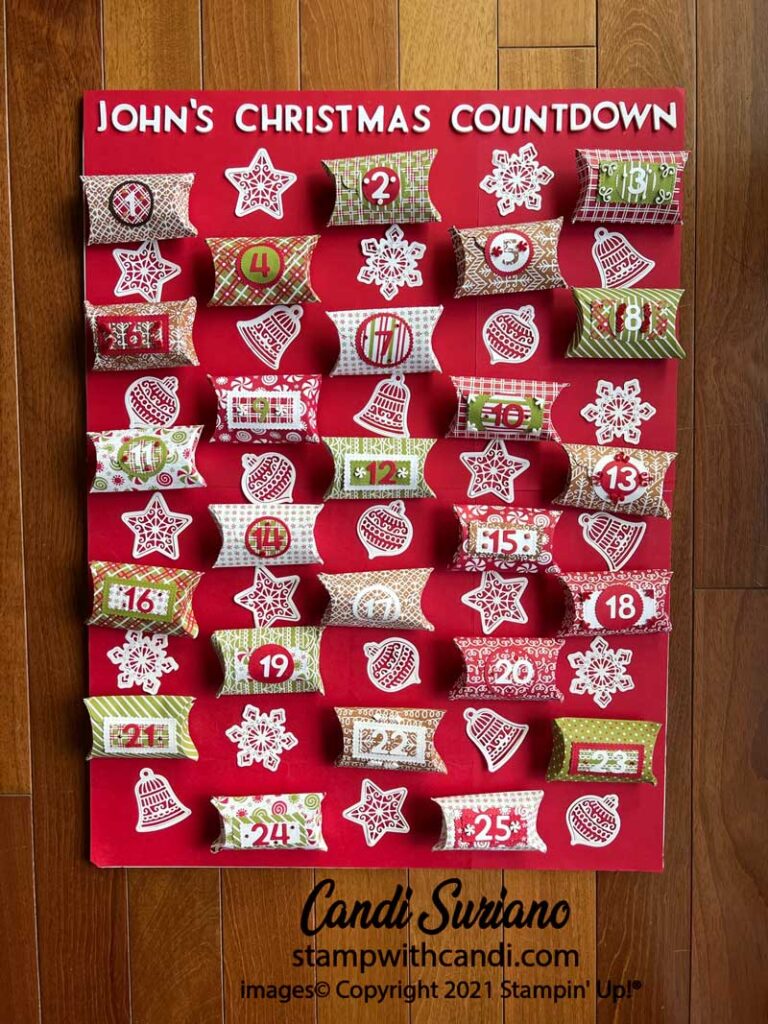
When I saw the Pretty Pillowbox die I knew I was going to make a Christmas Countdown box for my grandson. When I learned the Crafty Collaborators were hopping on a Christmas Countdown theme, I already has a project to share. I hope you enjoy it and the ho
Crafty Collaborations
Crafty Collaborations is composed of Stampin’ Up! demonstrators from around the world. Each month we participate in multiple collaborative projects including blog hops, like this one, tutorials, and swaps to inspire all of us in our passion for crafting. Our goal is to create, share, and inspire every crafter to keep our creative energy flowing.
Today’s Project
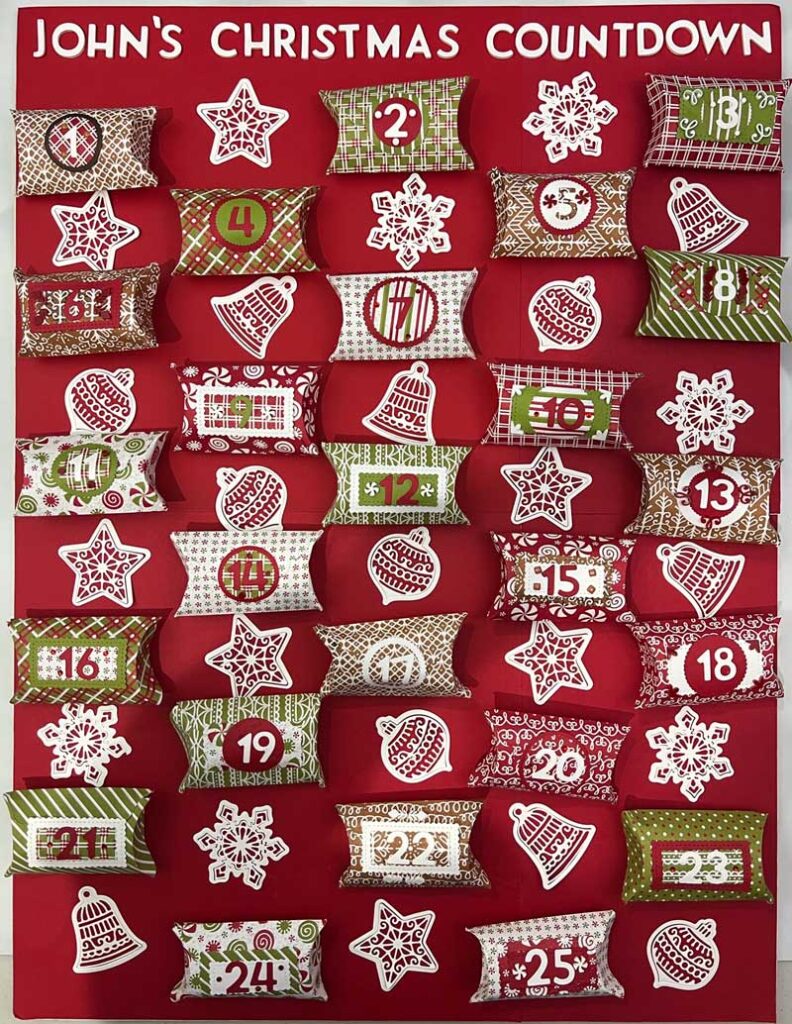
Isn’t this the cutest thing? To start I made 25 pillow boxes using the Pretty Pillowxbox dies and the Gingerbread & Peppermint Designer Series Paper. I didn’t use any of the dies for the front because I knew I was going to cover them with the numbers. I glued the front piece and left the ends of the pillowboxes unglued so he could take out the treat inside. p! He’s going to love opening each pillowbox because they’re stuffed with his favorite things- matchbox cars, tiny Star Wars figures, and Hershey Kisses.
The Playful Alphabet dies were perfect for the letters and numbers. For the lettering at the top, I used Foam Adhesive sheets to make the lettering more dimensional. To use the sheets, peel off the top layer and put it on a piece of cardstock that’s the same size. The same size is important so you don’t get adhesive on your Cut N Emboss plates. Then run it through your dies cutter going back and forth a few times to make sure they’ve been cut through.
PillowBox Details
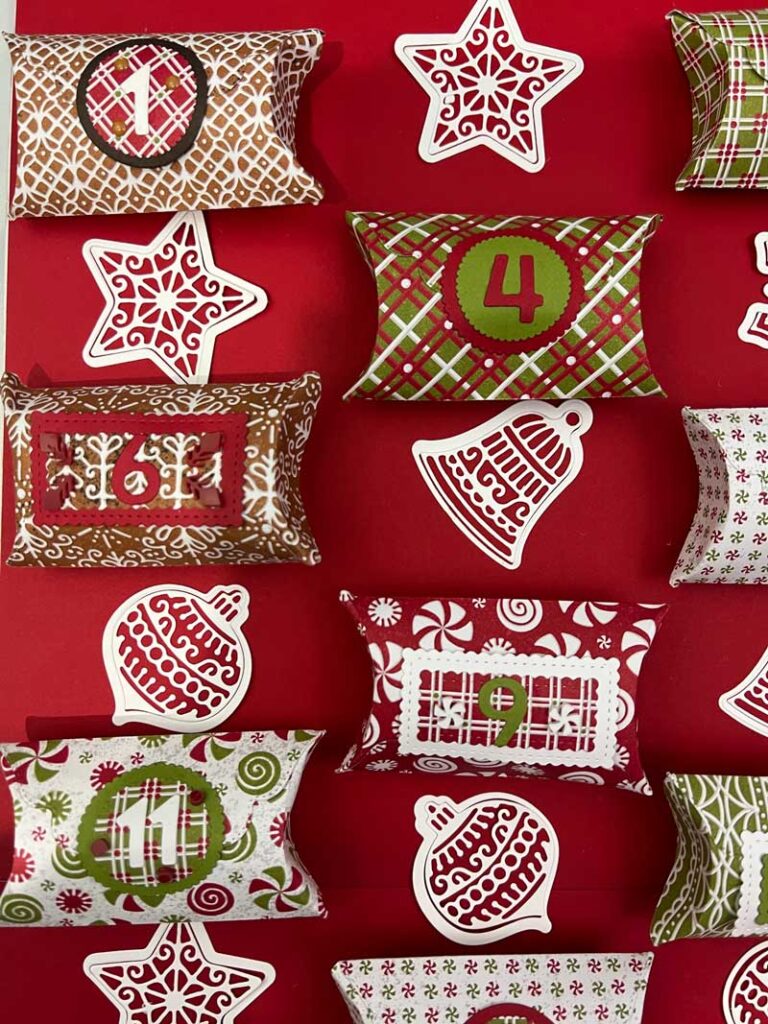
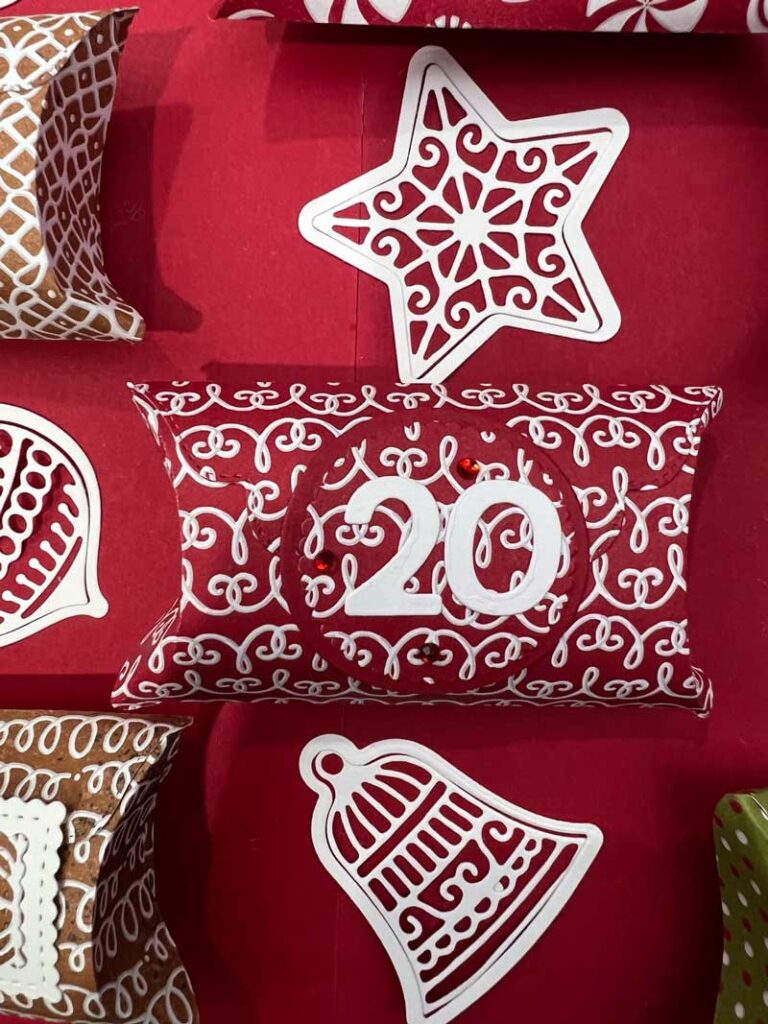
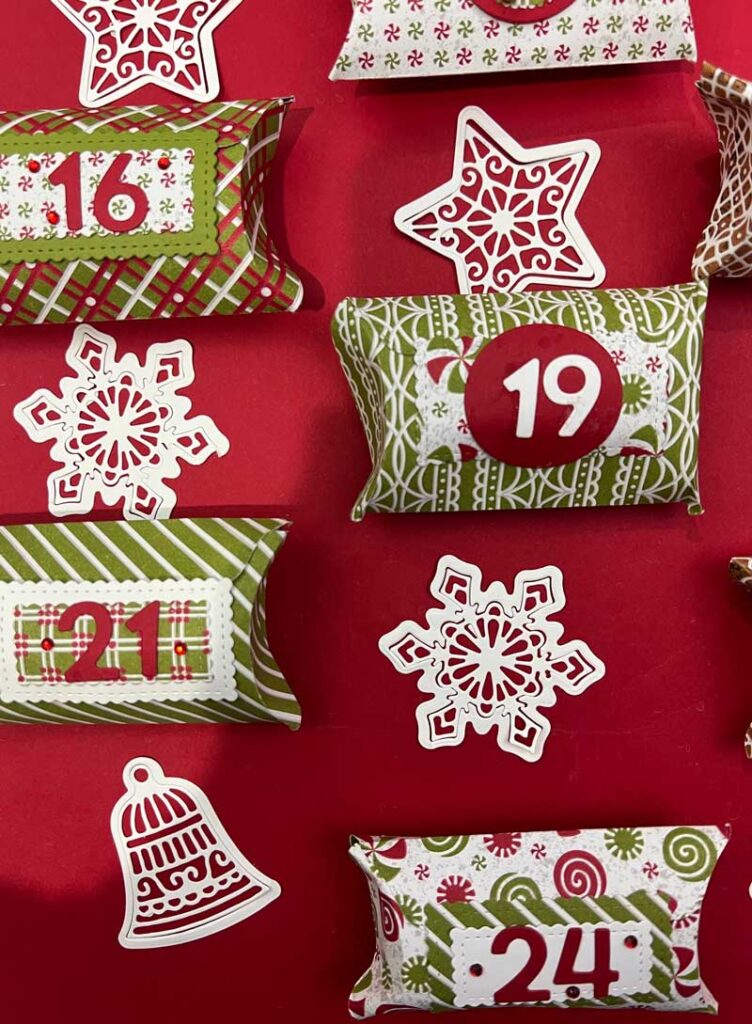
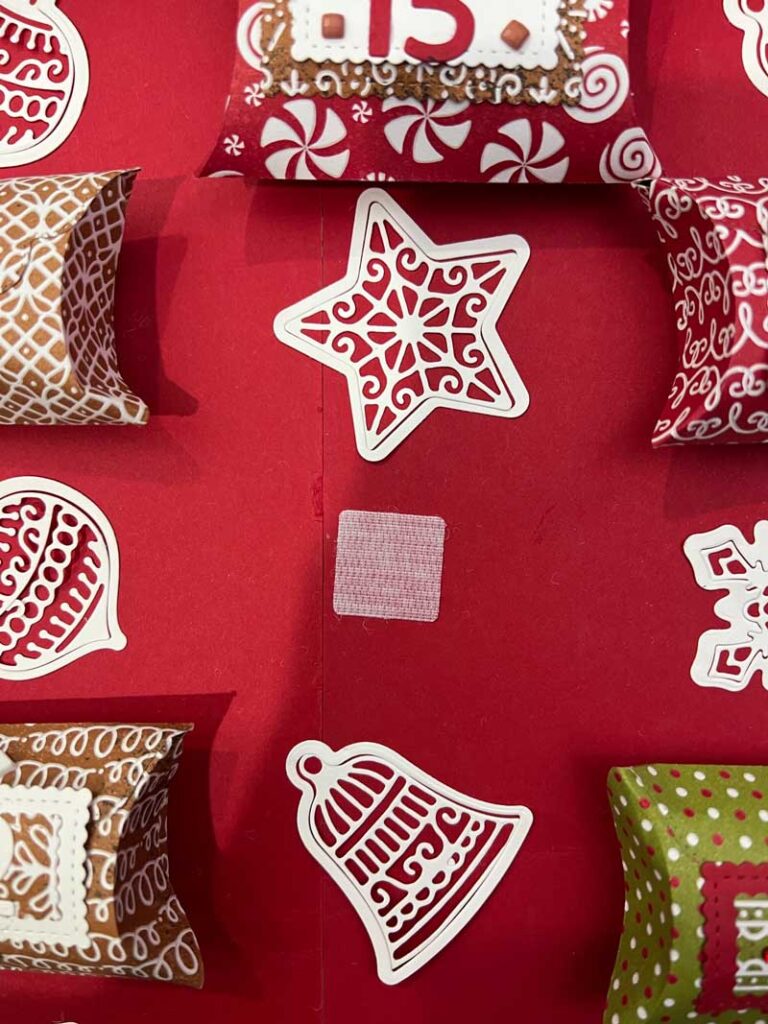
I used a variety of dies and embellishments to decorate each box. The Gingerbread and Peppermint Acrylic shapes were perfect for this as were the Red Rhinestone Basic Jewels. Here are a few pictures of the details on the boxes.
Building the Base
The boxes are attached to an 18″ X 24″ poster board which was then covered in Real Red cardstock. To attach the boxes to the base, I glued one piece of a velcro pair to the pillow box and then attached the second piece to the first and pressed them onto the base. Using velcro will allow him to take the box off the board to open the end.
The die-cut shapes from the Gingerbread Dies weren’t part of the original design, but once all the pillowboxes were on the board it looked like it needed something else. So, I die-cut the borders and intricate designs from Basic White cardstock. The trick to making this easier is to use Adhesive sheets. When you peel the backing off all the little bits are stuck to the adhesive and come right off the die-cut. And, now you also have adhesive on your die-cut. Easy peasy and minimal mess!
Now it’s time for some more collaborative fun. Grab a beverage, sit back and enjoy the hop! You should find some awesome ideas and inspiration as others share their projects made with the Waves of the Ocean suite.
If you’d like to try to recreate this card, you can find a list of the products I used at the end of this post. Need a demonstrator or a catalog? Drop me a line and I’ll put one in the mail. And, f you ever have any questions, please feel free to comment or email me. And, don’t forget to Pin this post so you can find it again!


Love it. Thanks for sharing
Wow! Thankyou, love it.
Oh my gosh, what an amazing projects!
Oh my gosh, so fun! Great use of this die cut.
You’re right! That is really cute!