Today’s post is a little bit different. I’m going to show you how to do a One Sheet Wonder using the Flower & Field Designer Series Paper from SAB. Wow, I just packed a whole lot of terminology in one sentence, so let me break it down for you.
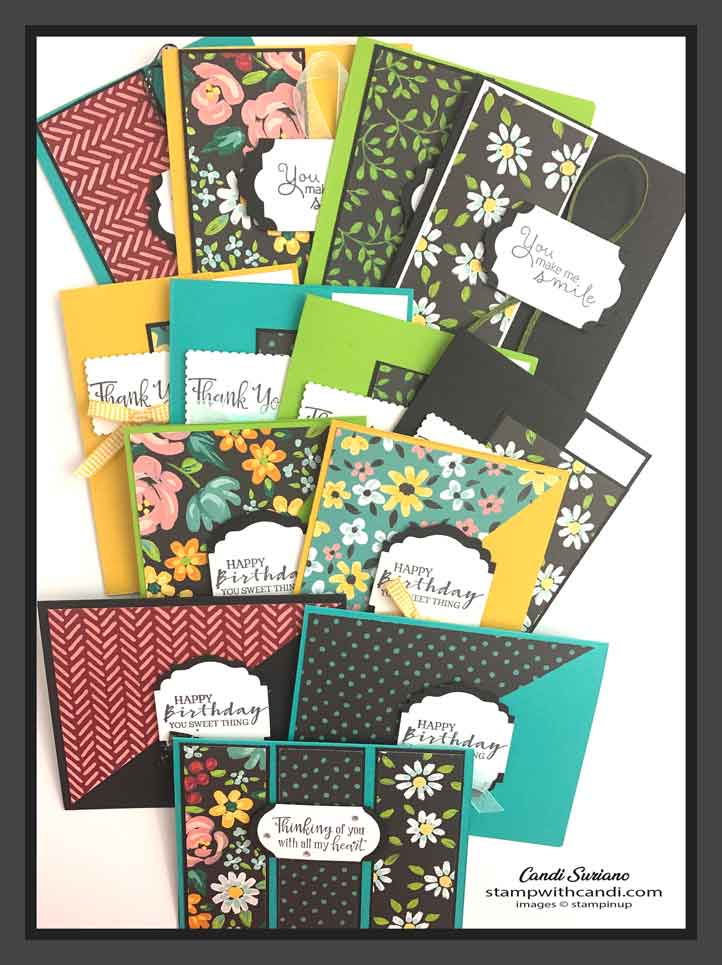
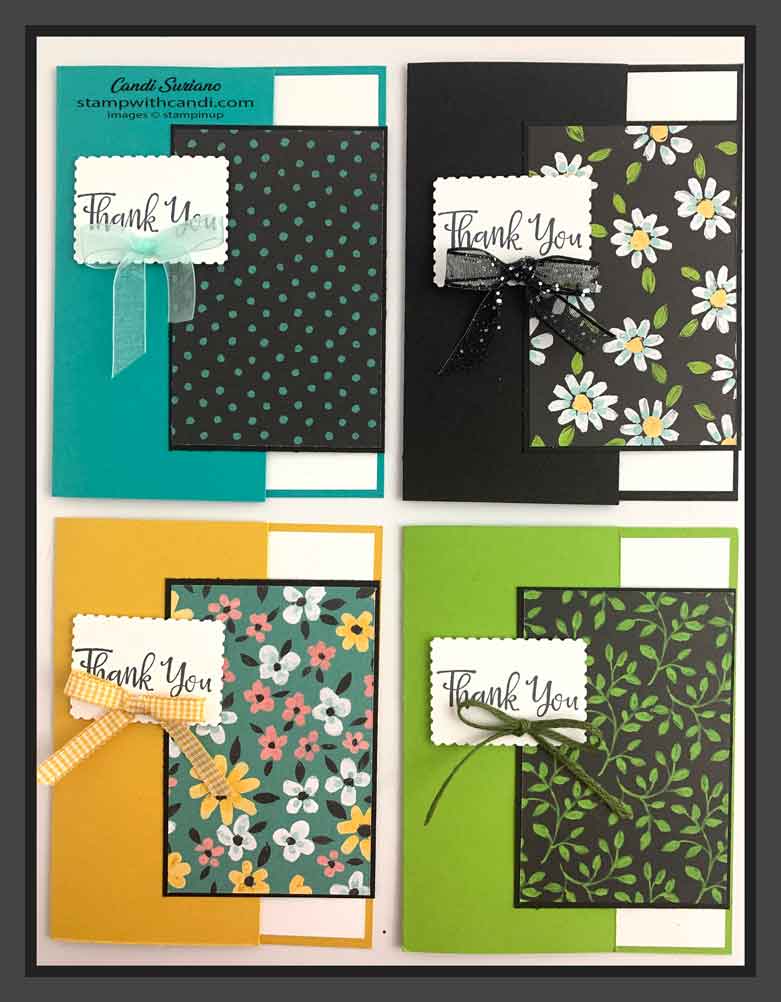
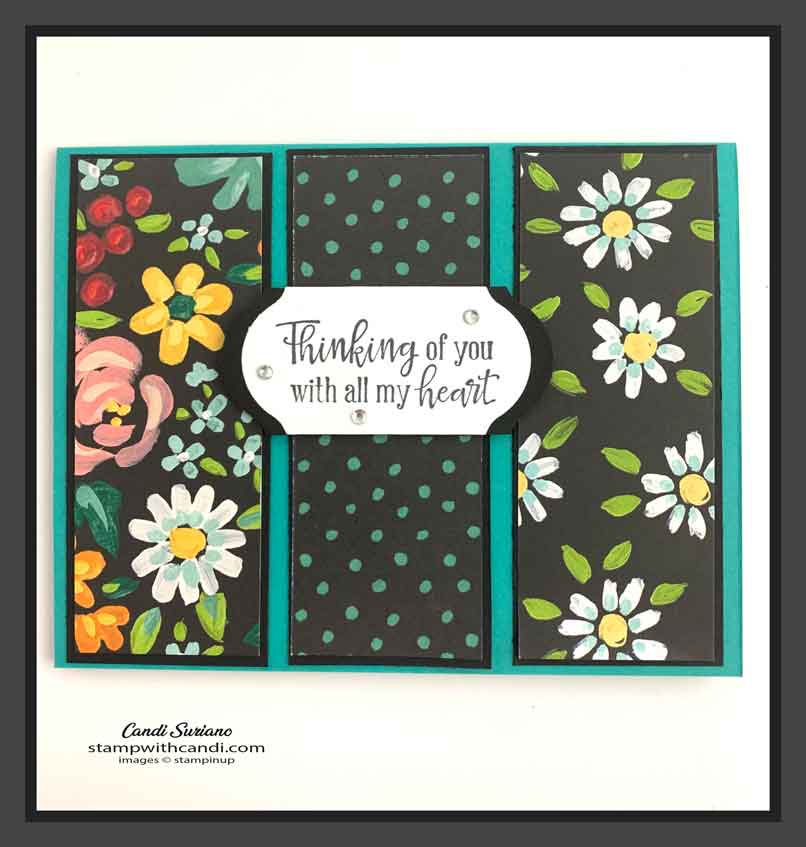
Here’s a peek at what we’re making. My good friend Chris Wedell at https://chriswedellstamps.com/ did these as a Facebook Live. I knew I needed to make a lot of cards and needed something fast, easy but, cute. These fit the bill and she was kind enough to share!
What is a One Sheet Wonder?
A one sheet wonder is when you take a single piece of DSP and use every bit of it to make a variety of cards. There are all kinds of variations on this technique for 12 X 12 and 6 X 6 sheets of DSP. And you can make your own DSP by stamping images on a sheet of cardstock and use that to make your One Sheet Wonder. Today’s One Sheet Wonder is a little different because we’re going to use 3 sheets of 4 X 12 DSP. Which is the same size as one 12 X 12 sheet of DSP, but allows a little more variation in the patterns.
You’re Using More Lingo – What’s DSP?
DSP is the short hand for Designer Series Paper which is what Stampin’ Up! calls its patterned paper. It’s a lot easier to say and type DSP than it is to say designer series paper or patterned paper, so that’s what I’ll say!
So WHAT is SAB?
SAB aka Sale-A-Bration is Stampin’ Up!’s twice a year free product with purchase sale. So, for every $50 you spend before shipping and tax you can pick a free item from the SAB catalog. There are also a couple of items that are free with a $100 purchase. These are usually higher priced items or a mini-bundle. For example, this year you can get DSP & a stamp set for $100 purchase. SAB runs from January to the end of February and again in July & August. It’s a great time to stock up on basics or try something new and earn free stuff! And, who doesn’t like free stuff??? So, today’s project uses the Flower & Field DSP that’s free with a $50 purchase.
What do I need for Today’s One Sheet Wonder?
Supply List
- 3 4 X 12 sheets of Field and Flower DSP, any three patterns that are complementary
- 13 pieces of 4 X 5 1/4 Basic White
- 3 pieces of 5 1/2 X 8 1/2 in each color: Bumble Bee, Basic Black, Bermuda Bay, Granny Apple Green
- 1 additional 5 1/2 B 8 1/2 Bermuda Bay
- 4 4 1/8 X 2 3/4 pieces of Basic Black
- 1 8 1/2 X 11 Basic White & Basic Black
- 3 Rhinestones
- 13 medium White Envelopes
- Rectangular Postage Punch
- Timeless Label Punch
- Label Me Lovely Punch
- Everyday Label Punch
- Momento Tuxedo Black Ink
- Black Glittered Organdy Ribbon
- Bumblebee InColor Ribbon
- Pool Party Sheer Ribbon
- Mossy Meadow Braided Trim
- Bumblebee Gingham Ribbon
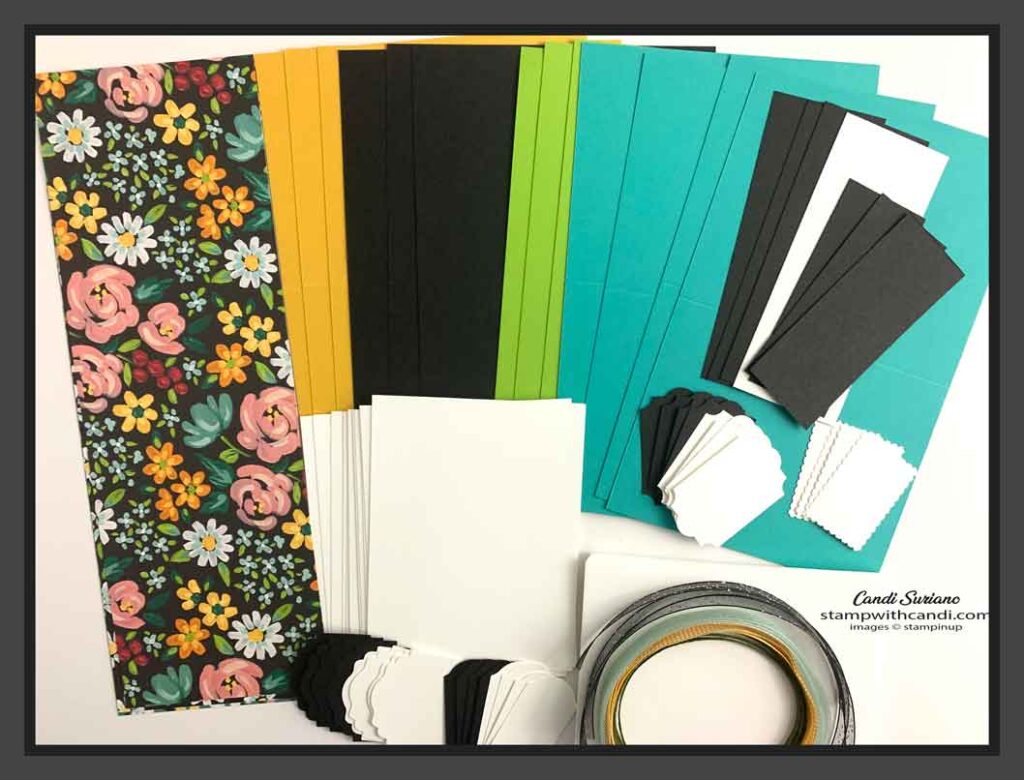
Now, I get that this seems like a really long list, but that’s because I have a lot of punches and ribbon. You could easily cut down the number of punches or ribbons and still make gorgeous cards. Here’s a peak at the supplies.
Cutting the DSP
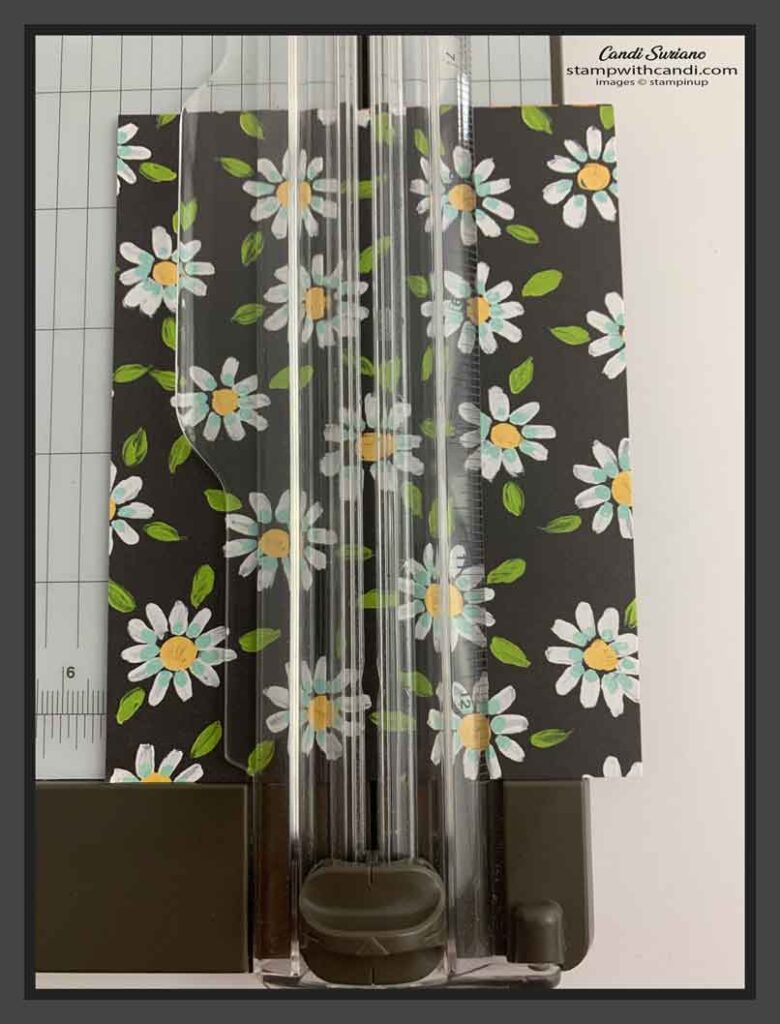
We need to make a few cuts to the DSP. Now, most one sheet wonders have a complicated template, but this one is so easy that no template is needed.
Cut #1
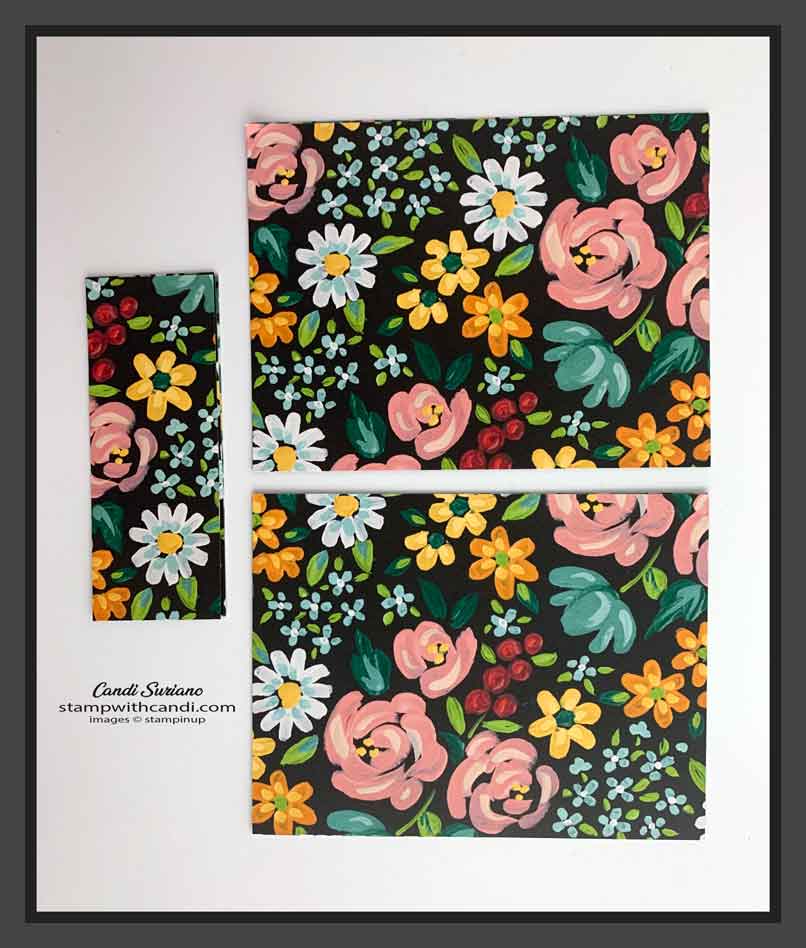
Cut each sheet of 4 X 12 DSP into two 4 X 5 1/4 pieces and 1 4 x 1 1/2 piece. You’ll notice that those are standard layering cuts! It looks like this.
Cut #2
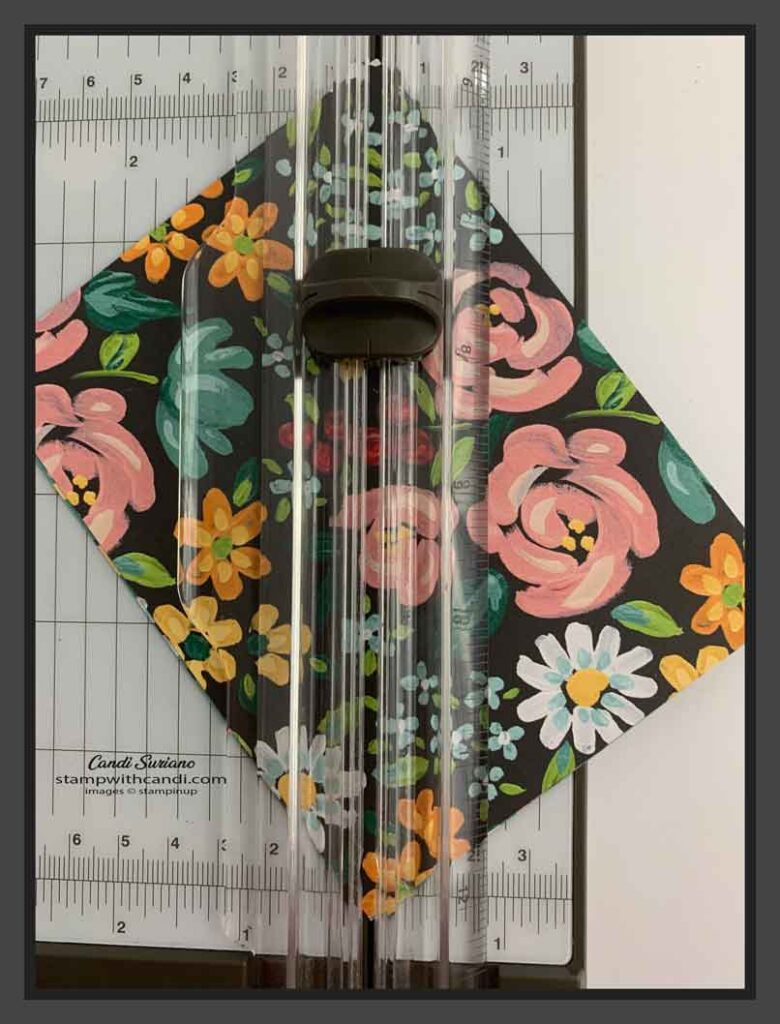
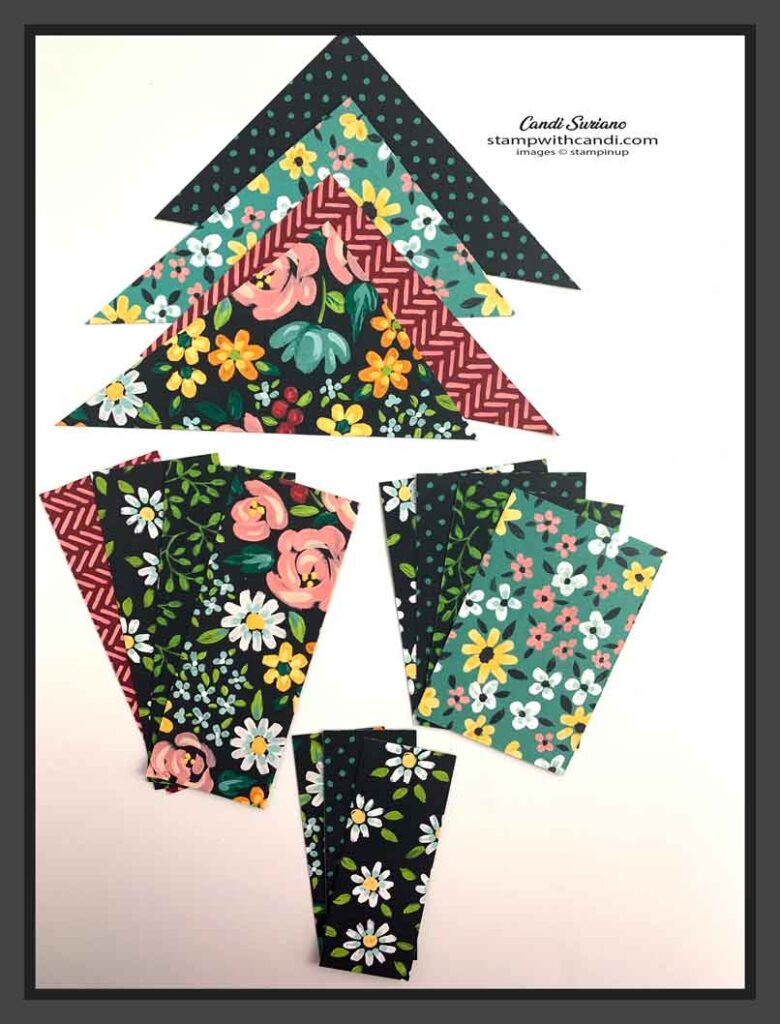
For the second cut, take two different pieces of the 4 X 5 1/2 pieces from Cut #1 and cut them on the diagonal, giving you 4 triangles like in the picture below.
Cut #3
For cut #3, take two different pieces 4 X 51/2 pieces from Cut #1 and cut them in half the 4″ side. You’ll have 4 pieces of 2 X 5 1/2 paper.
Cut #4
For cut #4, take the last two pieces of 4 X 5 1/2 DSP and cut them in half on the 5 1/2 side, giving you 4 4 X 2 3/8 pieces of DSP.
You should now have all the pieces for the One Sheet Wonder as show below.
Die Cuts
I used punches because they are so much faster, but if you don’t have punches, dies work too. So I punch 4 White & 4 Black using the Label Me Lovely & Everyday Label punches, 1 White and 1 Black of the Timeless Label punch. And, 4 White Rectangular Postage Punches.
ASsembly
We’re going to make these in an assembly line, since they group nicely. I like to use assembly line when I’m doing a lot of cards. And in this case, I made 5 sets of these One Sheet Wonders for a local charity that is putting them into care boxes for seniors. I used birthday, thank you, and thinking of you stamps. You could use any sentiment stamps sets that fit into the size of the dies cuts you’re using.
Step #1 – Card Bases & INserts
The first step is to fold the card bases (8 1/2 & 5 1/2) in half and use a bone folder or your fingernails to get a good crease. Then attach the 4 X 5 1/2 White inserts on the inside of each card. Take one of each color of the card bases, and cut off 1 1/2 inches from the right side of the front of the card.
Step #2 – Tie the Bows
Cut 3 9″ lengths of each color of ribbon. I counted the two bumblebees as one color. Tie two of each color in a bow, but don’t trim the ends. We’ll do that when we attach them. You should have 8 bows and 4 untied ribbons.
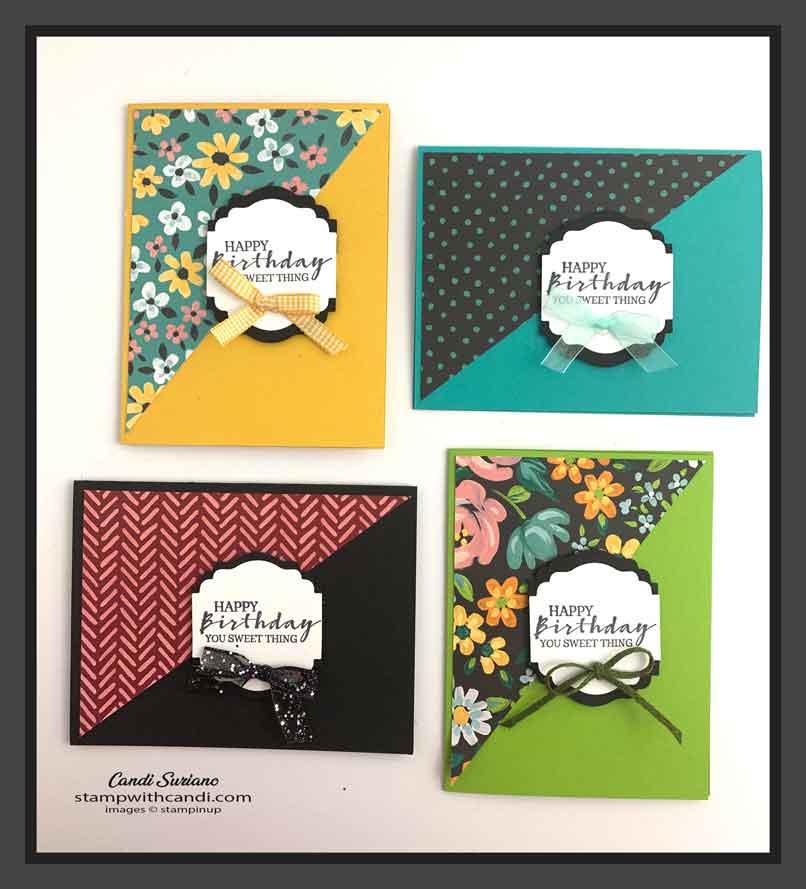
Step #3 – Assemble Diagonal Cuts
- Find the Black & White die cuts from the Label Me Lovely punch.
- Stamp the sentiment on the White die-cut using Tuxedo Momento Black ink. Make sure that the curvy sides are at the top and bottom and the straight sides are at the left and right sides.
- Cut the Black dies cuts in half. Attach each half to the top and bottom of the sentiment die-cut to form a layer behind the top and bottom. You’ll notice there’s not layer on the side.
- Attach the diagonal piece to either the left side or top of the card front using glue or Stampin’ Seal. Attach the sentiment to the card front using dimensionals. Attach the bow to the sentiment using glue dots. Trim the end of the bows.
When you’re done, you’ll have 4 cards that looks like the ones below. Now, yours may look a little different because you may have used different dies cuts or pieces of DSP or ribbon.
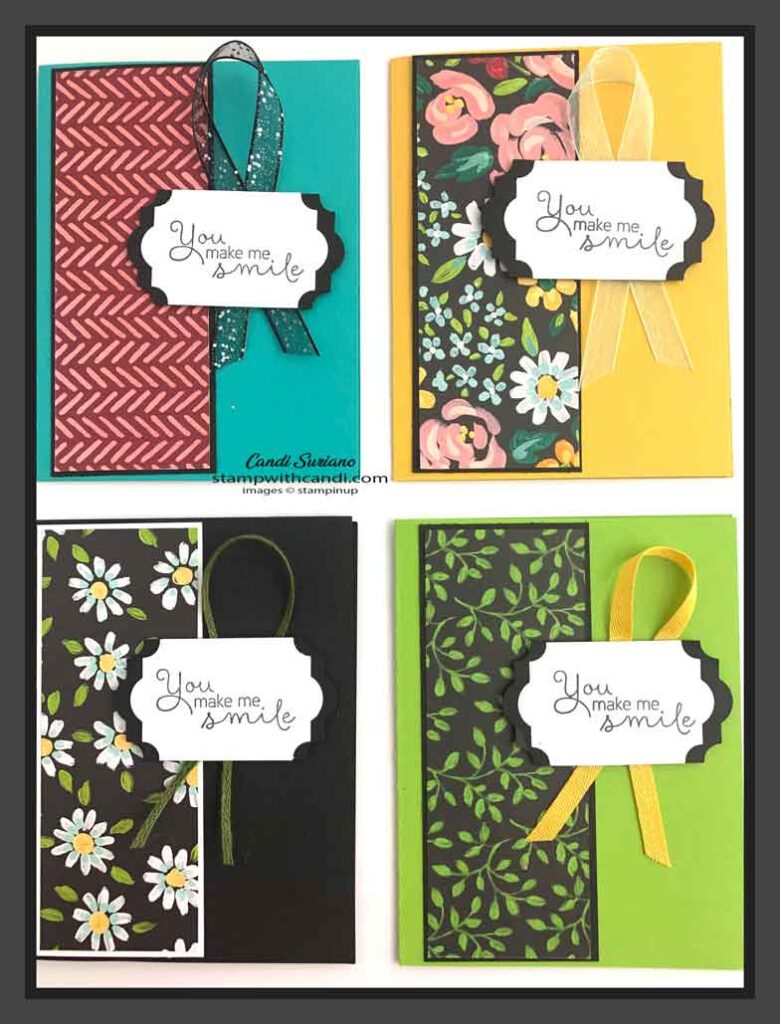
Step #4 – Assemble the Vertical Cuts
- Find the Black & White die cuts from the Everyday Label punch.
- Stamp the sentiment on the White die cut using Tuxedo Momento Black ink. Make sure that the straight sides are at the top and bottom and the curvy sides are to the left and right.
- Cut the Black dies cuts in half. Attach each half to the right and left of the sentiment die-cut to form a layer behind the left and right sides. You’ll notice there’s not layer on the top or bottom.
- Attach the 2 X 5 1/2 piece to the card front using glue or Stampin’ Seal. I matted mine with a 2 1/8 X 5 3/8 Black or White mat. This is strictly optional but adds a little more polish to the card. Attach the ribbon to the back of the sentiment scotch tape using the picture below for placement. Attach the sentiment to the card front using dimensionals.
Step #5 – Assemble the Horizontal Cuts
For this cut, we’re making a fun fold! This uses the card base where 1 1/2″ were cut away.
- Find the White die cuts from the Rectangular Postage punch.
- Stamp the sentiment on the White die cut using Tuxedo Momento Black ink.
- Attach the DSP to the 4 1/8 x 2 3/4 Black mats using liquid glue of Stampin’ Seal.
- Attach the matted piece to the card front lining it up with the right edge of the card as shown in the photo below. Make sure you only put glue or Stampin’ Seal on the left side of the matted DSP!
- Attach the sentiment to the card front using dimensionals.
- Attach the bow to the card front using glue dots.
Step # 5 – Assemble the Last card
This card is made from the 3 leftover pieces after the first cut. I matted my pieces on 4 1/4 X 1 5/8 pieces of Black. This step is optional and it looks good either way!
- Stamp the sentiment on the die-cut from the Timeless Label punch using Momento Tuxedo Black ink. Make sure the straight side is on the top and bottom and curvy sides are on the side.
- Cut the Black die cut in half. Attach it to the sentiment on the left and right side.
- Attach the 3 pieces to the card front using liquid glue of Stampin’ Seal.
- Attach the sentiment to the card front using dimensionals.
- Add 3 rhinestones to the sentiment.
So, that’s it for my one sheet wonder! I hope you enjoyed it. You can either make it yourself or if you purchase $50 in my online store before February 28th using Host Code PFTC47QD, I’ll send you the supplies, excluding stamps and ink, to make it for free! And if you spend $50, you’ll also get a free SAB item! Don’t worry if you don’t have exactly the same sentiments. Just use whatever you have that fits in the die-cut! As always the supplies to make the cards are listed at the end of this post.
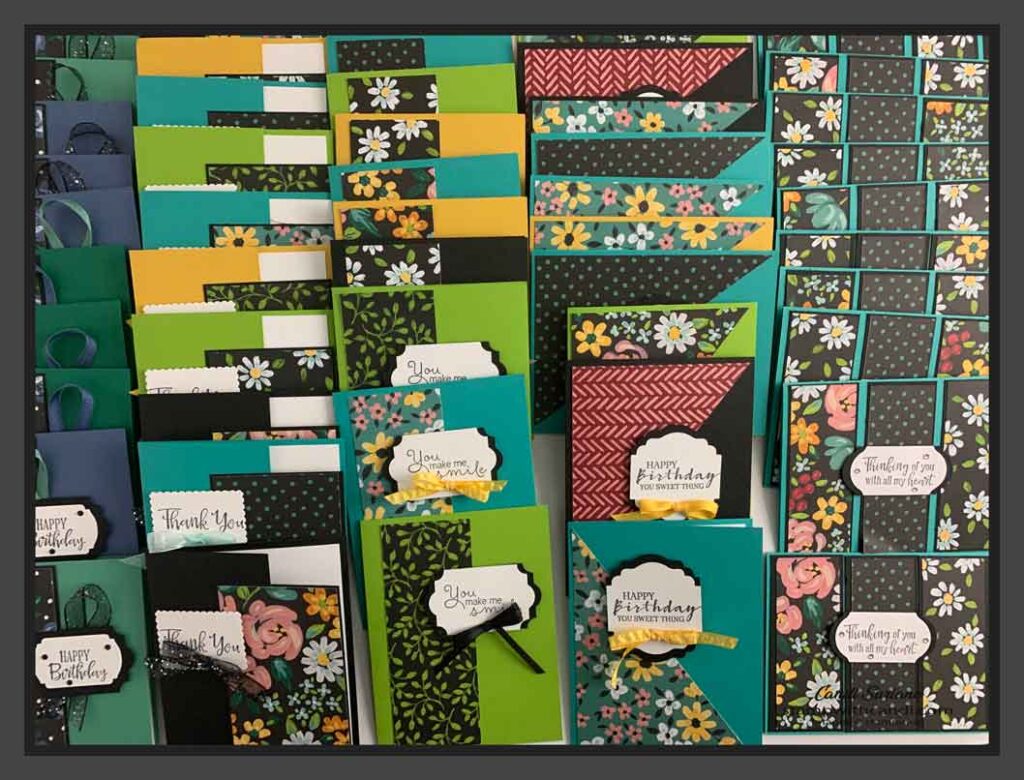
Here’s a picture of the mass of cards I made for my local charity. It was so easy using this template to knock these out on a snowy Saturday afternoon.
If you’d like to try to recreate this card, you can find a list of the products I used at the end of this post. Need a demonstrator or a catalog? Drop me a line and I’ll put one in the mail. And, f you ever have any questions, please feel free to comment or email me. And, don’t forget to Pin this post so you can find it again!
