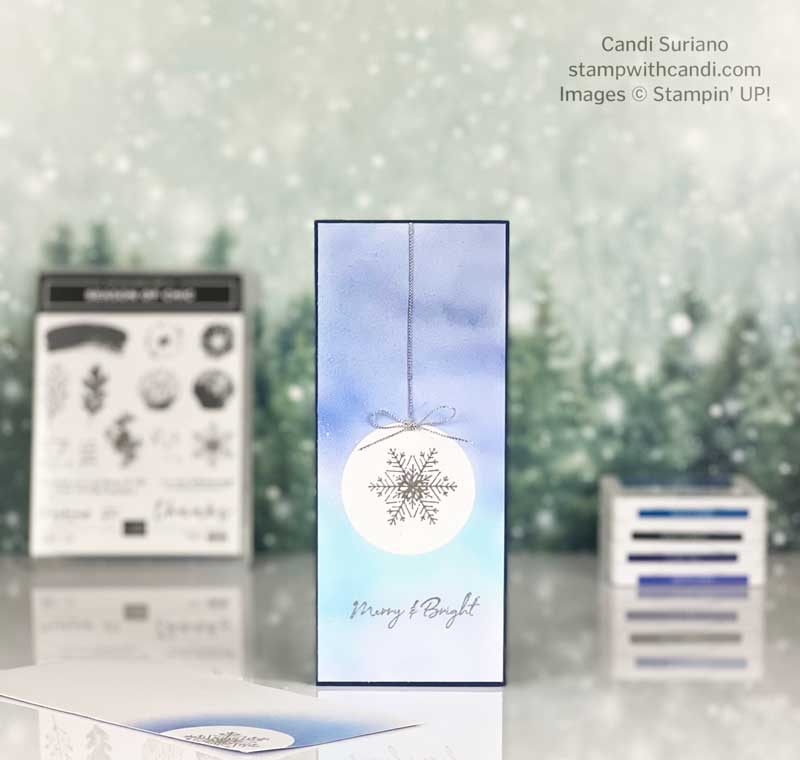
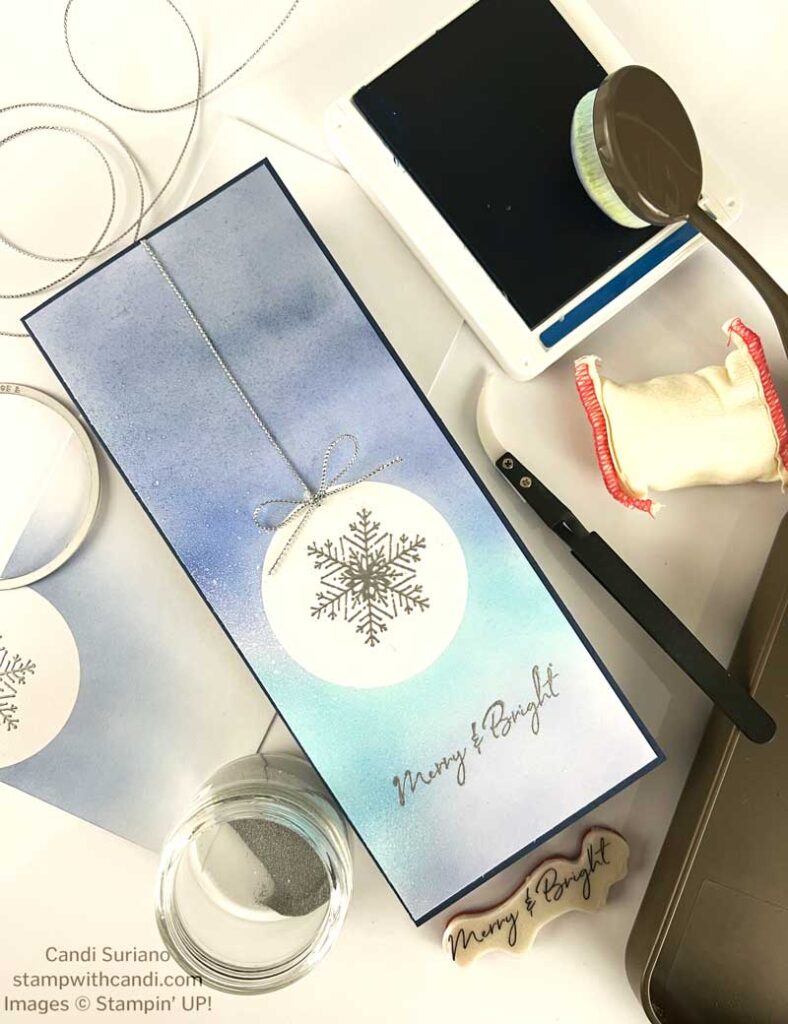
Today Stamping with Friends is featuring masking techniques. Masking is such a fun technique and can give you spectacular results. Today I’m using the snowflake from Season of Chic, a circle die, masking papers, and blending brushes with ink to create an ornament card which I’m calling the Season of Chic masking technique.
today’s Project – Season of Chic Masking Technique
How did I make an ornament card without an ornament set? Easy, by using a die and mask. This technique lets you easily turn any single stamp into an ornament. How fun and how festive?
I chose to make a slim line card to make the ornament have more impact.l I love the way it just hangs there above the sentiment from the Sweet Candy Canes stamp set.
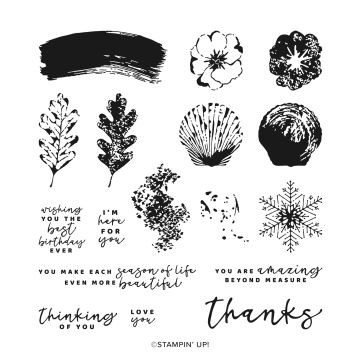
Season of Chic Stamp Set
When I got the idea for this card by watching a video by Jennifer McGuire Ink, I started searching my stamps for a suitable image. I love the Season of Chic stamp set because it has a stamp for every season. The snowflake was perfect for this technique!
Masking Paper
Masking paper is essential to this technique. You have to be able to use both the mask and the negative mask. So you need a masking paper that can be used multiple times and is large enough. Post-It-Notes aren’t the correct size and aren’t sticky all over for this technique.
Embossing Additions Tool Kit
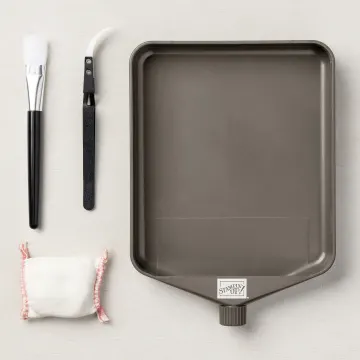
I just love this new embossing tool kit. It has everything you need. A tray to catch the excess embossing powder, an embossing buddy to get rid of the static so no stray powder spots, a brush to clean away stray powder and brush the powder out of the tray, and a tweezer to hold the piece as your piece while heating so you don’t burn your fingers. What more can you ask for?
Today’s Color Palette
Silver and blue are such a classic Christmas color combo. For this card, I used a range of blues from the purple-blue of Orchid Oasis to the dark blue of Night of Navy.
You can Make it, Too! Season of Chic Masking Technique
Cut the CardStock
- Cut a piece of Night of Navy cardstock at 7″ X 8 1/2″. Score at 3 1/2″ along the 7″ side. Crease with a bone folder to get a crisp edge.
- Cut two pieces of Basic White 8 3/8″ X 3 3/8″ for the card front and the inside panel.
Make the Mask
- Cut a piece of masking paper at 8 3/8″ X 3 3/8″.
- Cut a circle from the masking paper at the place where you want to stamp the image as shown below.
- Remove the circle and set it aside for use in a later step.
Stamp the image and Sentiment
- First, use the embossing buddy to remove any static from the inside of the circle.
- Next, stamp the image using Versamark ink.
- Then, sprinkle the stamped image with Silver Embossing Powder.
- Heat set the embossing powder using a heat tool.
- Remove the mask.
- Use the embossing buddy to remove the static where the sentiment will be stamped.
- Stamp the sentiment below the snowflake image using Versamark ink.
- Sprinkle the stamped sentiment with Silver Embossing Powder.
- Heat set the embossing powder using a heat tool.
Color the Front
- Put the negative mask back onto the card.
- Put the circle back into the negative space.
- Remove the negative mask so only the circle remains.
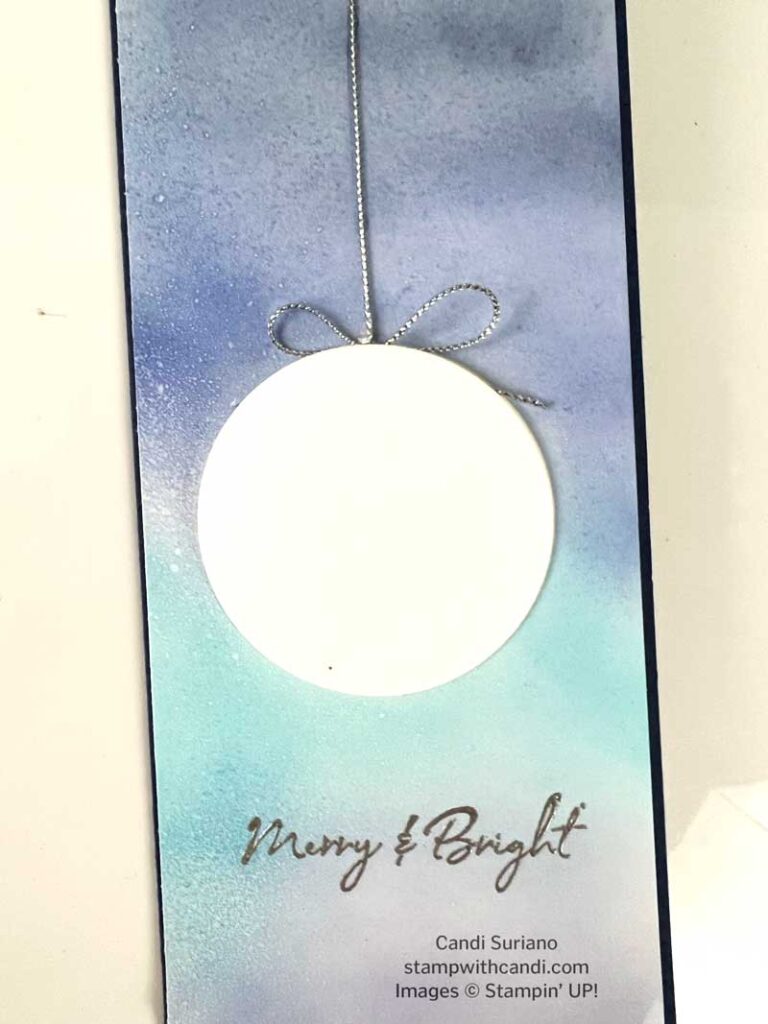
- Starting at the bottom of the card, brush Orchid Oasis ink onto the panel. Don’t forget to start from off the paper so as not to get blotches.
- Next blend in Pacific Point ink using the same technique of starting off the paper to avoid splotches. Blend it over some of the already sponged Orchid Oasis so that the color change is gradual.
- Starry Sky is the next color to blend in.
- Finally, add Night of Navy at the top of the panel.
- Add some alcohol to a Stampin’ Spritzer and lightly spray the panel to add some dimension to the blending.
- Remove the circle mask.
Assemble the Card
- Use a tissue to wipe off any ink from the sentiment. Because it’s embossed the ink won’t stick to it. You want to remove it so it doesn’t smear onto your card front.
- Attach the panel to the card front.
- Lay down a thin line of liquid glue from the top of the ornament to the top of the panel.
- Lay the silver twine on the line of glue, trimming the ends of the twine as necessary.
- Tie a single bow from the silver twine and attach it to the top of the ornament using either liquid glue or a mini glue dot.
Make the Inside Pretty
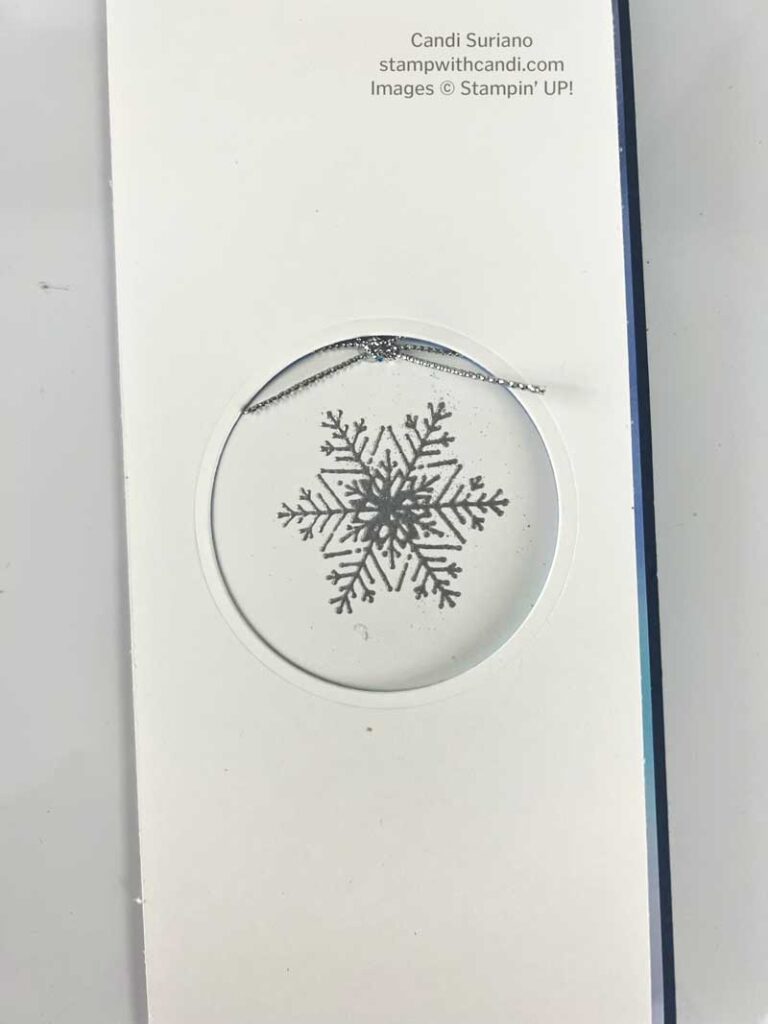
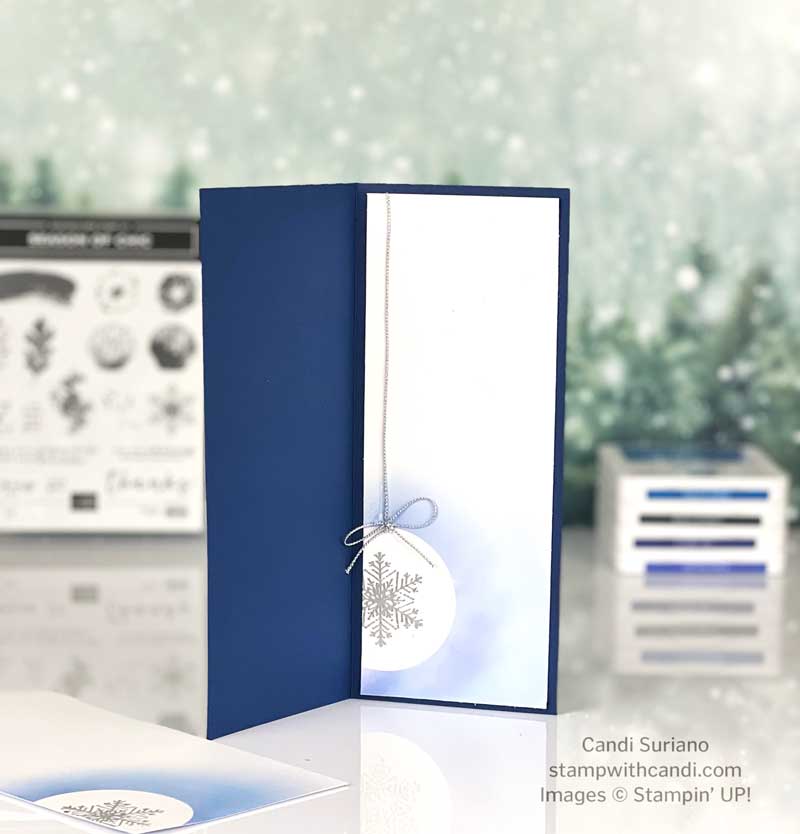
For the inside, I used the same technique except I only stamped a partial image and I only added color around it so that there’s room to write a message.
Don’t Forget the Envelope
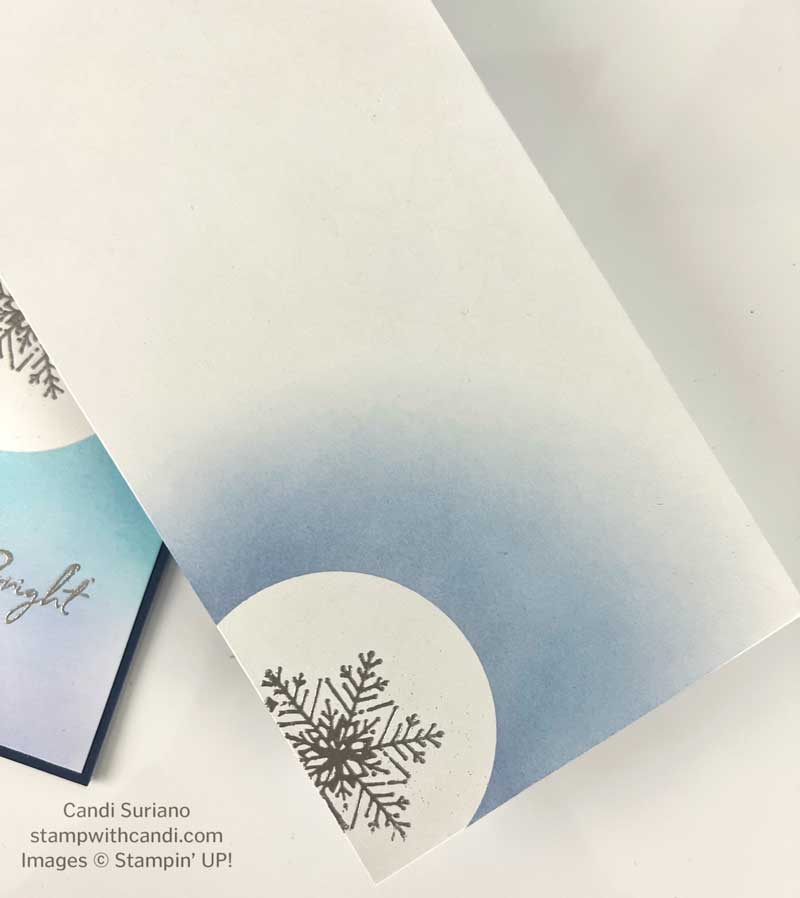
For the envelope, I used the same technique as the inside except I didn’t add the silver string or bow.
Hop Along with Stamping with Friends
I hope you enjoyed my project and the masking technique I showed. You can make an ornament card out of any image using masking paper, a shape die, and blending brushes. How awesome is that?!!! But, now it’s time to see what the others have to share with you. So, grab a beverage, sit back and relax, and enjoy the hop!
Shop Sale-a-Bration
It’s Summer Sale-a-bration! For every $50 you spend, you can select an item from the Summer Sale-a-bration catalog. Who doesn’t like free??? Click on the image above to see what’s available and start planning your order. New items have been added so click on the image to see the full list of what’s available! Need some suggestions? Let me know and I’ll help you get the most for your money!




Such a great result with masking and then embossing!
Thanks, Xenia!
So fun!! I love the colors you picked for this card!!
Thanks, Mickey.
Oh this is Absolutely Beautiful ???
Thanks, Rachel.
Beautiful card!
Thanks, Donna.
GORGEOUS! And love that you kept the ornament going on the inside and on the envelope.
Thanks, Kelly.
Beautiful card Candi, love the ink blending and the soft colours x
Beautiful card Candi. I love it
Thank you for sharing and hopping with us
Beautiful card. Love all the details!