Today the demonstrators from Crafty Collaborations are sharing whatever they’ve been working on. This is one of my favorite blog hops because it lets me share my latest project. I’m sharing a technique I saw a while ago that uses a Window Sheet as one of the card’s bases. And after seeing the Snowman Magic sentiment ‘It’s the Most Magical Time of the Year ‘, I knew that it was perfect for this card.
Today’s Project – Snowman Magic
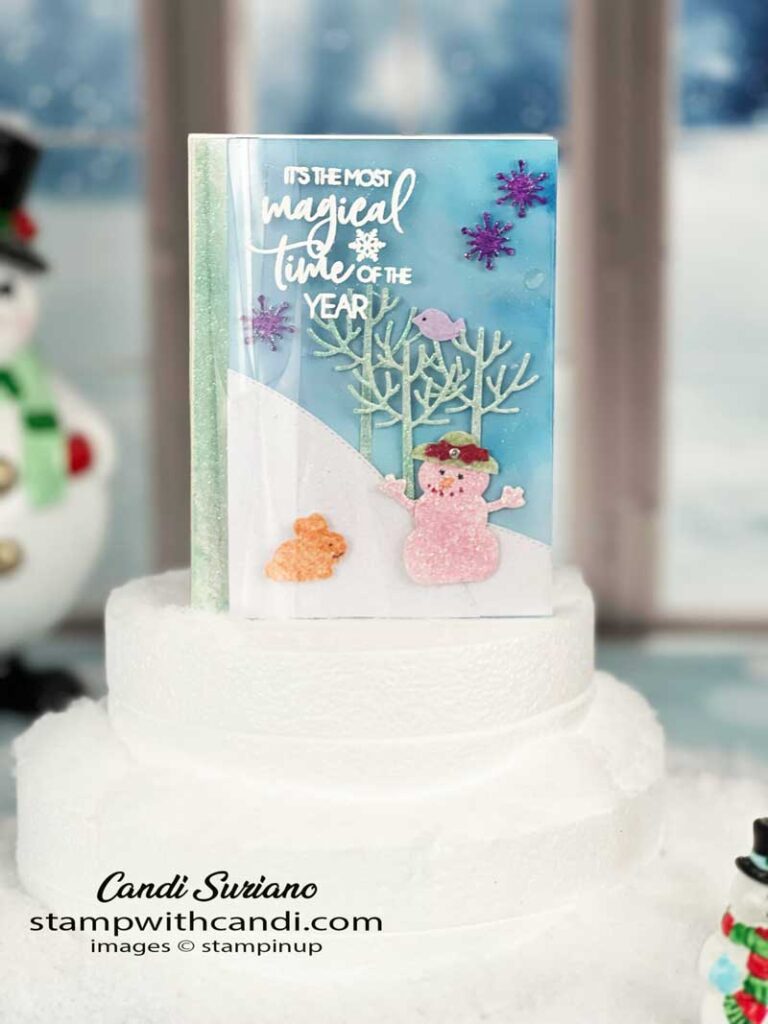
The image above shows what today’s card looks like when it’s fully closed. The card front is a Window Sheet that has been heat-embossed with the sentiment. Now, it’s a little tricky to do because you can melt the Window Sheet. So, first, you have to let your heat tool warm up. And then once it’s warm you must keep it moving all the time. The idea is you want the embossing powder to melt, but not the Window Sheet.
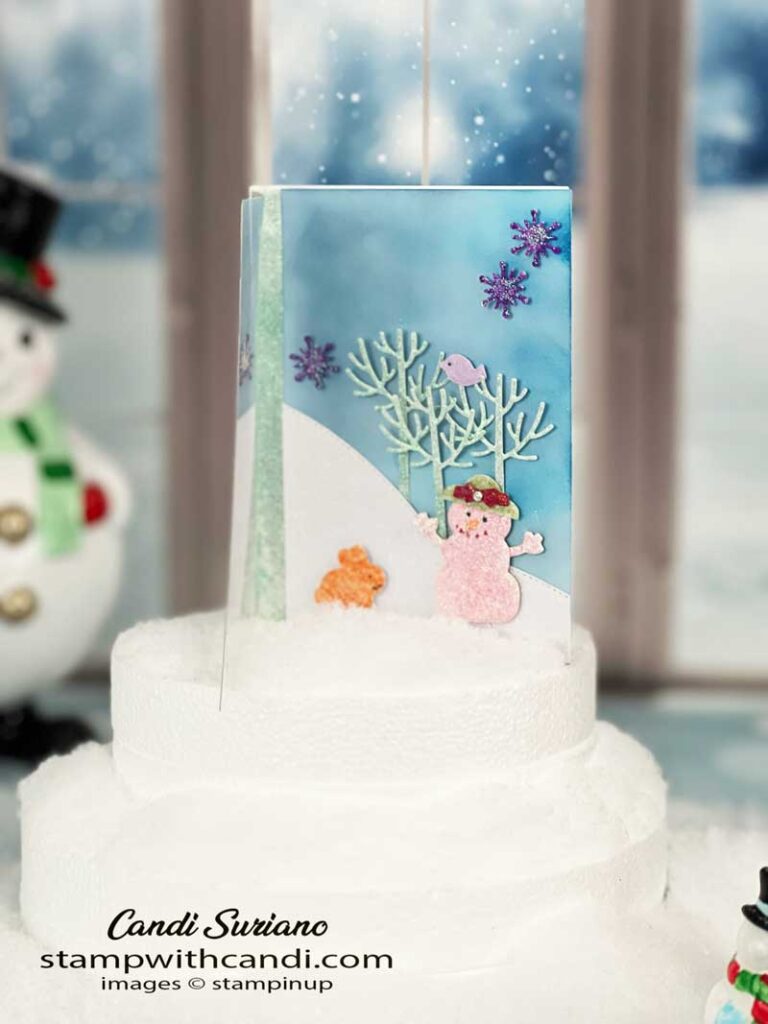
This is a view of the card when the Window Sheet is opened. Inside is a ‘backward’ card that opens from the left and not the right. One feature of this card is that there is plenty of room to write a sentiment. I frequently make this type of card for Cards for Troops which sends donated cards to troops serving overseas so that they can write home to their families.
Today’s Color Palette
I wanted a whimsical color palette to match the magic in the sentiment. Now, when you look at the card you’ll see that there are some pastel colors and some more saturated colors and that’s because for some elements I used Blending Brushes to apply the color and in others, I used the bullet end of the Blends to create the color. Warning: using the bullet end of the Blends can ruin it if you press too hard. The ones I use were ones that I was going to replace so it didn’t really matter if I wrecked them.
Make the inside Pretty
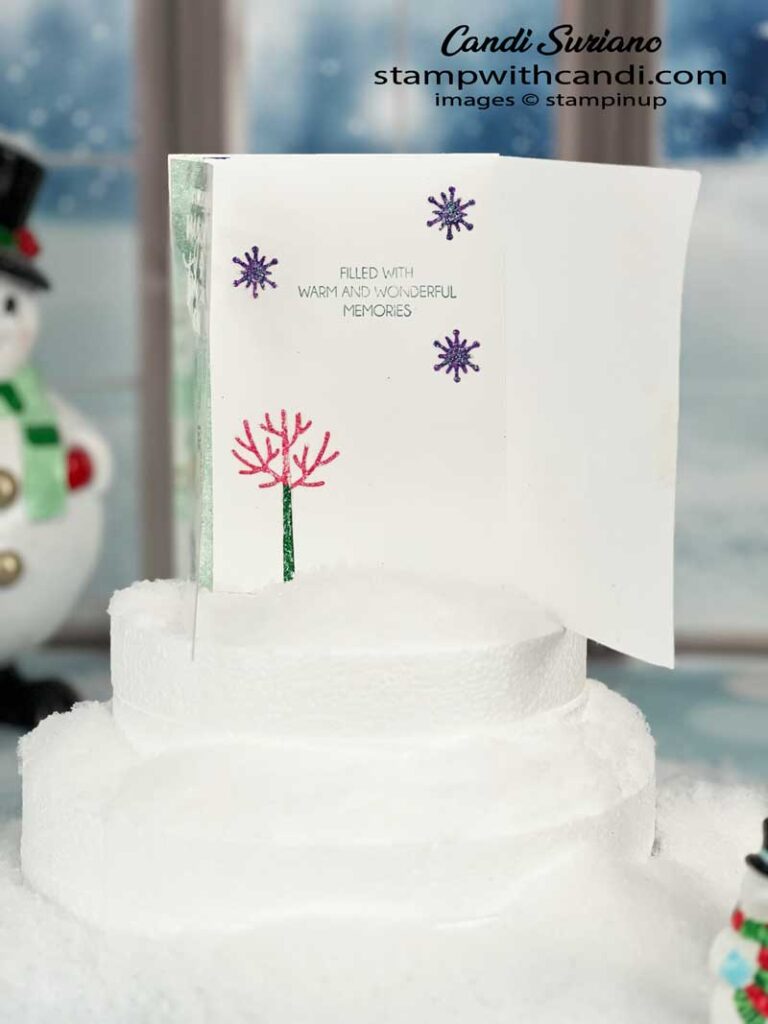
This view shows how the card opens from the left and then the inside elements. You can tell I colored the elements with Blends by the intensity of the color.
Don’t Forget the Envelope
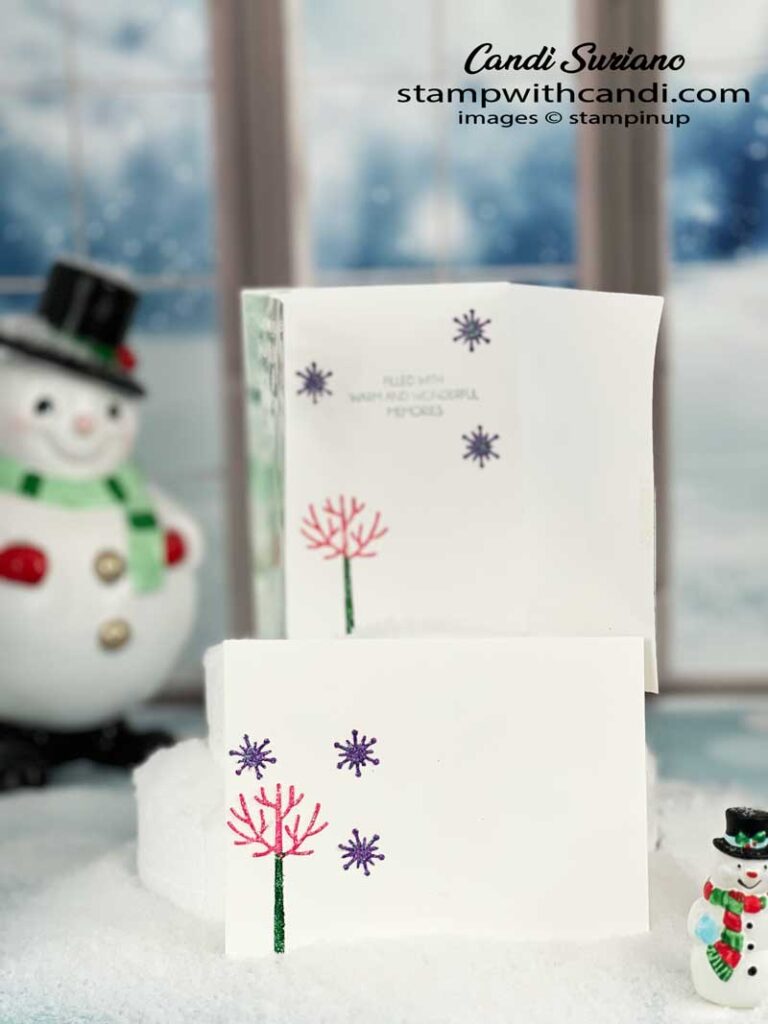
I made the envelope match the inside partly because I liked it and partly because I designed this card while at a weekend stamping retreat so my choices were constrained by what I brought or by what others in my cabin brought.
You Can Make It, Too! – Snowman Magic
A full list of supplies used for this project can be found at the end of this project. Please consider purchasing them from me if you decide to CASE my project.
Tip: When you score the Window Sheet you need a very firm hand. And once you fold it put a heavy object (I use a punch) on it so that it will lay flat.
Make the Cuts
- Cut a piece of Window Sheet 5 1/2″ X 7″. Score at 4 1/4″.
- Cut a piece of Thick Basic White 5 1/2″ X 4 1/4″.
- Cut a piece of Thick Basic White 5 1/2 X 7 1/2″. Score at 3 3/4″.
- Cut a strip of White Glimmer 1 /2 ” x 5 1/2″.
Stamp, Emboss, & Cut
- Using Blending Brushes create the sky by applying Mint Macaron, Balmy Blue, Pacific Point, and Night of Navy ink. Apply to the entire front so that you don’t have to worry about getting the snow right.
- Use the Basic Borders dies to create the snow from the White glimmer paper.
- Cut the bunny from the White Glimmer paper. Color with Dark Pale Papaya Blend.
- Cut 9 snowflakes from the White Glimmer paper. Color with Dark Highland Heather Blend.
- Cut 5 trees from White Glimmer Paper. Color two with Shaded Spruce and Polished Pink blends. Color 3 with Shaded Spruce ink and the Blending Brushes.
- Color the 1/5″ strip using Shaded Spruce ink and the Blending Brushes.
- Cut the bird from White Glimmer paper. Color with a HIghland Heather ink and the Blending Brushes.
- Cut the snowgirl from White Glimmer paper. Color with Polished Pink ink and the Blending Brushes.
- Cut the hat from White Glimmer paper. Color with Soft Sea Foam ink and the Blending Brushes.
- Cut the hat band from White Glimmer paper. Color with Real Red ink and the Blending Brushes.
- Add eyes to the bird, snowman, and bunny using Basic Black Blends.
- Add a nose to the snowman using Pale Papaya Blends.
- Add a mouth to the snowman using Real Red Blends.
- Stamp the sentiment on the Window Sheet using Versamark ink. Sprinkle with White embossing powder. Heat set.
Assemble
- Attach the Shaded Spruce strip to the right of the score line.
- Attach the card base to the Window Sheet using Tear n Tape.
- Attach the back panel over the Window Sheet using Tear n Tape to hide the seams.
- Attach the rest of the elements to the card, inside, and envelope as shown.
I hope you enjoyed today’s card and that it inspires you to try stamping on Window Sheets. But now it’s time for more inspiration from the others in Crafty Collaborations. So grab a beverage, sit back and relax, and enjoy the hop.
December Paper Pumpkin – GOOD THINGS COME IN SMALL PACKAGES
Next month’s Paper Pumpkin should be fun! It contains gift card holders which are perfect for so many occasions. Plus, there is an add-on you can purchase to make matching cards! Subscribe by December 10 to get in on the fun! And, as a bonus, the first 10 people to subscribe for 3 months will receive the add-on kit for free from me. This offer from me is while supplies last, so don’t delay!
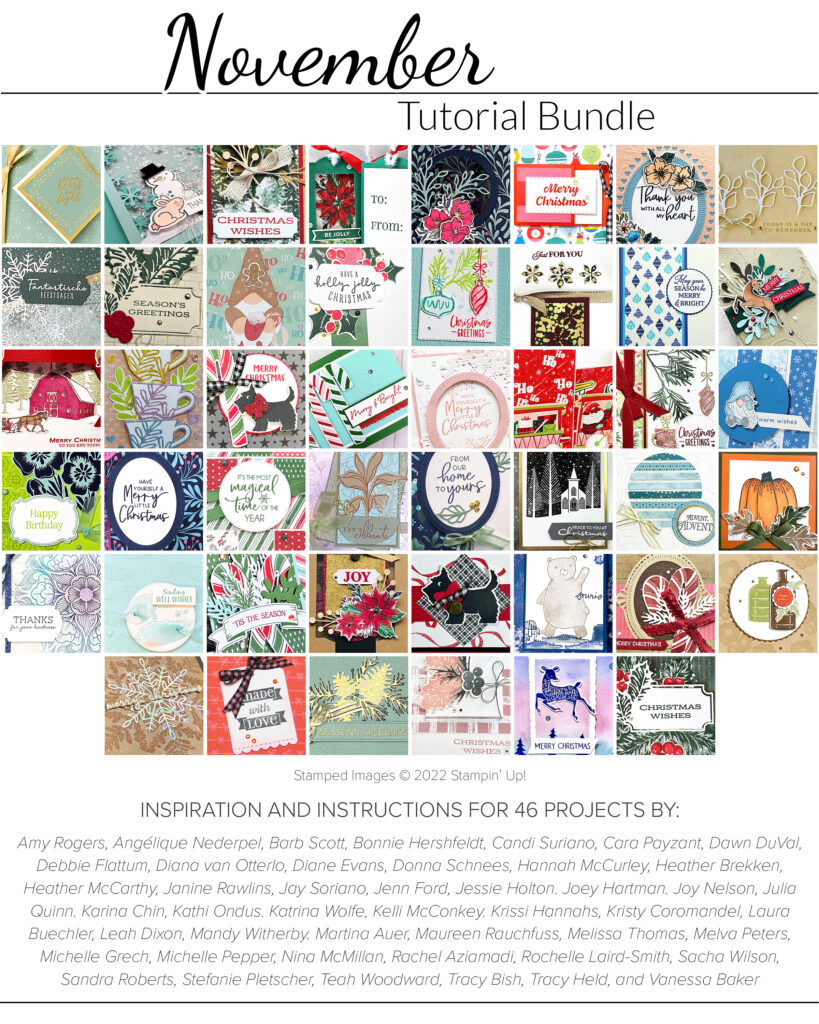
Can you imagine 46 step-by-step tutorials using current Stampin’ Up! products? And it’s yours for a $50 purchase in my online store! And, for the first 10 people who place an order, I will send you the supplies to make my project! Doesn’t get better than that!





Oh my goodness Candi, cuteness overload, loving the pink snowman x
Definitely a magical card in itself, Candi! Love how you colored the White Glimmer paper to highlight your whimsical color palette.
Great idea to make a window sheet card. Adorable.
Super cute! Love the idea of colouring on shimmer paper, too! x
Love this little blog hop you have here, while I don’t stamp or make cards etc. its nice to see all of you who do connecting and enjoying your hobby together. Merry Christmas. Mel x