Welcome to the first step in your paper crafting journey. I’ll be here every step of the way to guide you and help you unleash your creativity! And, I guarantee, you’ll never buy a card again!
Basics
Let’s get started. To begin, you need 3 simple things: Stamps, Ink & Paper.

Stamps 
Ink 
Paper
Stamps
First, you need stamps! Their images or sentiments become the focal point of the card.
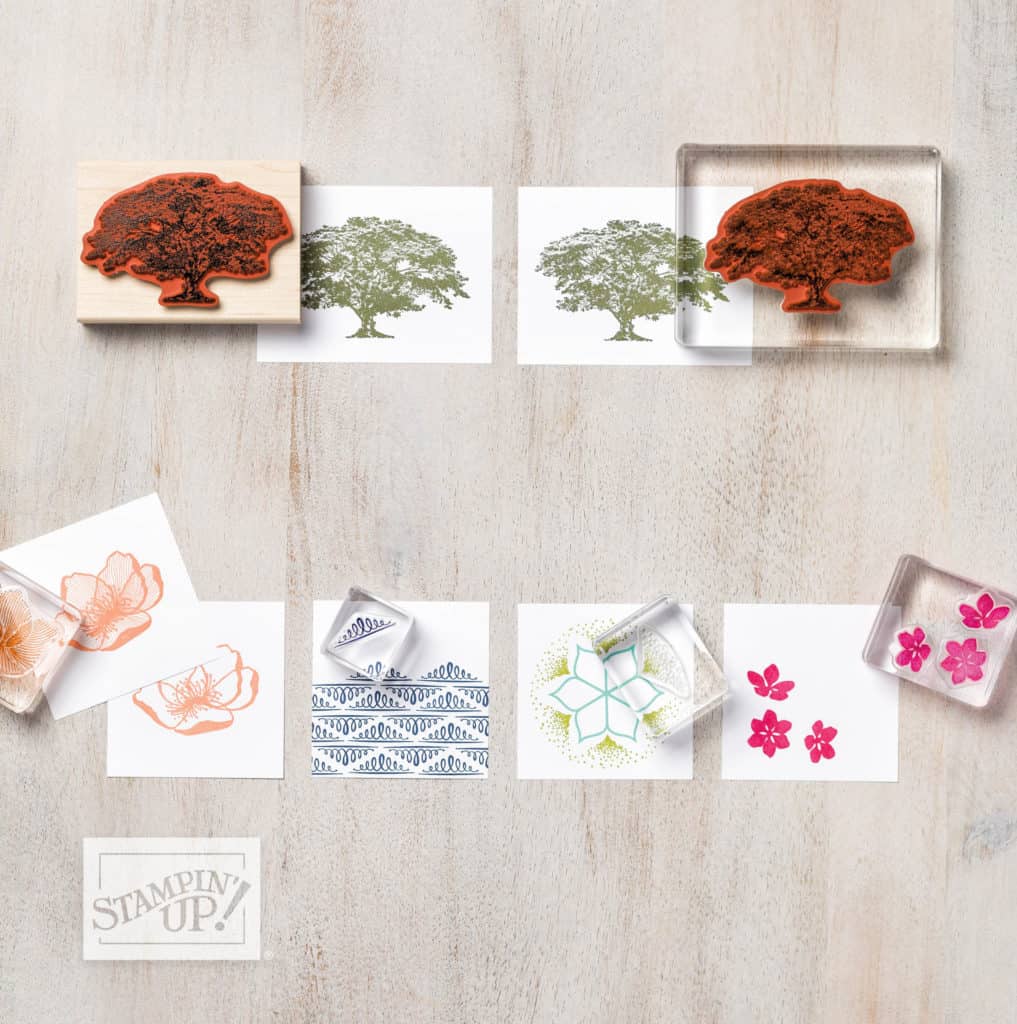
Stamps come in two forms – photopolymer which is clear and cling which are deeply etched red rubber. Both types of stamps must be mounted on a clear block prior to use. In the left picture above, the tree in the top row is an example of a red rubber cling stamp. the red flowers on the right of the bottom row is an example of a photopolymer stamp.
Stamps are sold in sets. Each set may contain images and sentiments, while others have only images or only sentiments. Some images are more solid and pick up the ink before stamping, while other images are lines with open spaces for coloring. For beginners, solid stamps are easiest to work with and sets with images and sentiments are the most economical.
Ink
Second, you need ink. Tapping a stamp to the ink pad is the next step in the process. The ink transfers to the stamp and now is ready to be stamped on the paper.
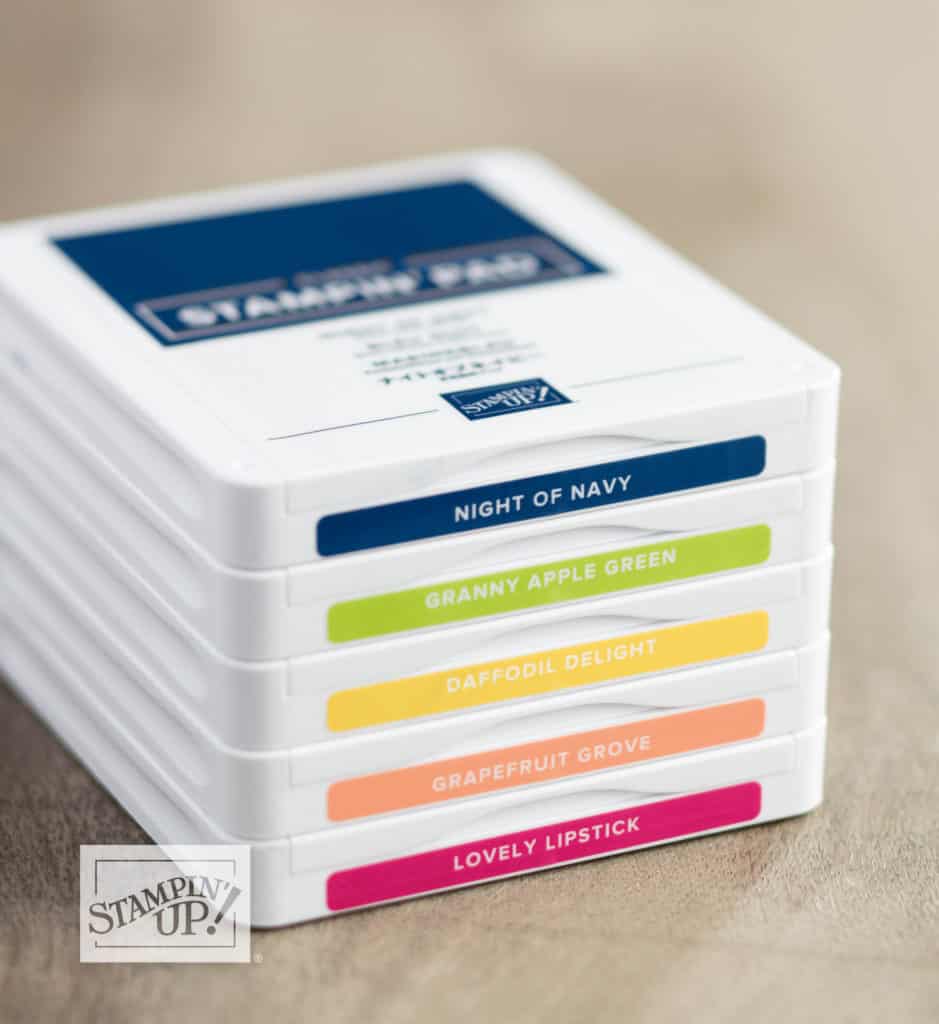
Stampin’ Up! has 53 unique ink colors broken into color families which are designed to work well together within families and across families. One of Stampin’ Up!’s strengths is the coordination between their products.
As you can see in the middle picture above, the ink pads stack neatly on top of each other. It looks like they are right side up, but because of their special design, the ink pad is actually upside down which keeps the ink near the top of the pad so that they are nice and juicy when you ink your stamp.
Paper
Finally, you touch the stamp to paper and look at the image you’ve created. It almost feels like magic. You’ve taken some basic supplies and created something new!
High-quality paper is essential to getting a good stamped image. BothStampin’ Up!’s Whisper White cardstock and notecards are the best for stamped images. Notecards are especially good for new stampers. They come pre-cut and pre-scored so there is no need for cutting! And scoring makes them easier to fold.
Stampin’ Up! has some of the highest quality papers in the industry. Many times customers say to me: “I don’t want to pay for Whisper White. I’ll just go to the big box store and buy a package of whatever they have.” I tell them to bring a sample of their paper and I’ll supply some Whisper White and we’ll do a comparison. They never buy the cheap stuff again!
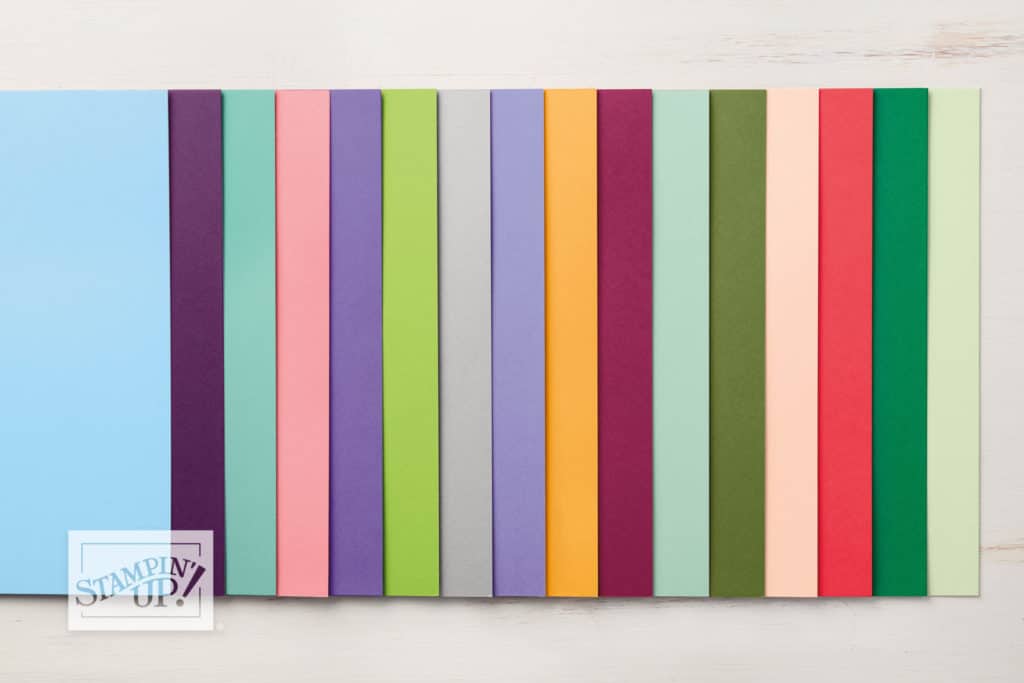
Like their ink counterparts, the colored cardstock is also grouped into color families. The cardstock is solid all the way through so that you don’t see an annoying white center when you cut it.
There is also beautifully printed designer series paper which you can use to enhance your projects or make 3D objects. Finally, they have specialty papers such as foils, glimmer, watercolor or vellum for more complicated projects.
Next Steps
Now that you know the basics, use the tips below to continue on your creative journey.
- Use #simplestamping to search for easy to do projects both on this site or on social media. Beginners and experienced stampers can use these projects to quickly create beautiful cards!
- Look for to identify easy projects throughout this site.
- Each project contains a list of necessary supplies. Clicking on any items will take you to my online store where they can be purchased.
- How to order, loyalty rewards and host code pages contain additional information on ordering.

