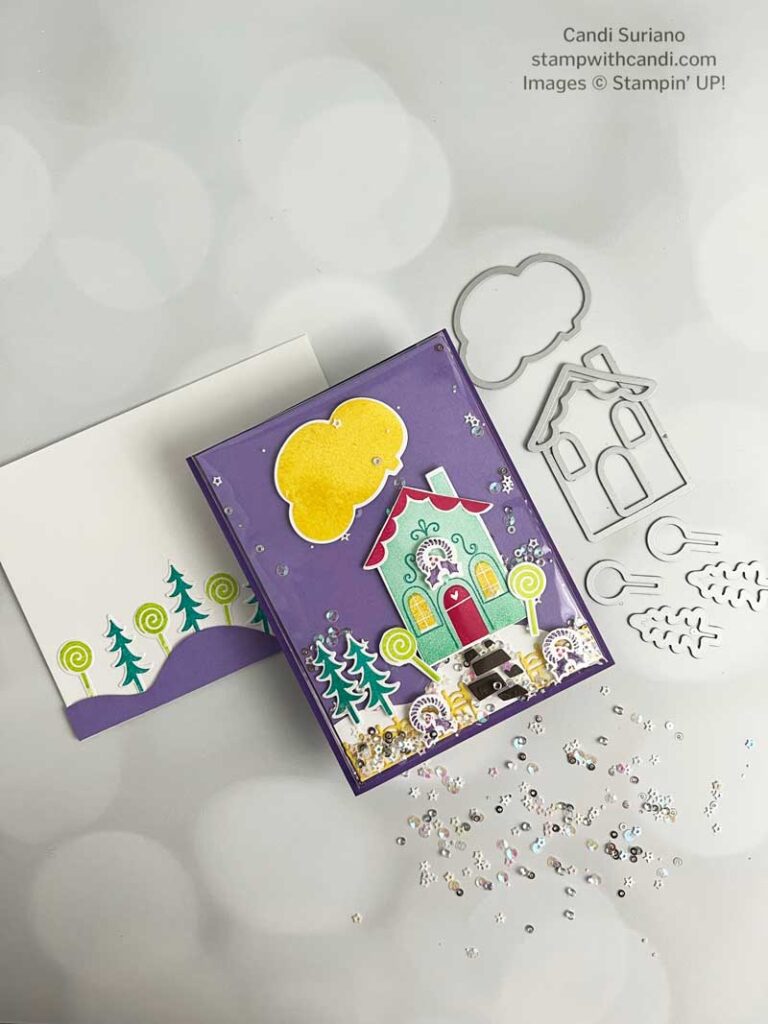
Today I’m hopping with Crafty Collaborations, a group of demonstrators from around the world who collaborate on projects like this blog hop to inspire each other and you. Today’s hop is about two-step stamping where you stamp one image and then enhance it by stamping over it with a different color or a stamped-off color. For my two-step stamping project, I chose Sweet Gingerbread from the July – December 2022 Mini Catalog.
Today’s Project – Sweet Gingerbread
When I first saw this bundle, I knew I had to have it. When my daughter was 2 we decorated a gingerbread house. And for every year after, we’d invite friends over to decorate gingerbread houses. And, when the friends got married, they requested one more time so they could share their experiences with their husbands. Finally, I’ve done a couple with my grandson. Such sweet memories!
After stamping the house with Coastal Cabana ink, I added Daffodil Delight windows, a Melon Mambo Door, and Bermuda Bay trim on the house and around the windows and doors. Although the bundle contains dies for the windows and doors, the white margin after die-cutting didn’t blend well with the house. So, two-step stamping to the rescue!
There is a curvy die to make snow from. I stacked a piece of Basic White cardstock on top of a piece of Highland Heather cardstock, then placed the die where I wanted it. After die-cutting, I placed the large Gorgeous Grape piece on a piece of Basic White and fitted the small Basic White die-cut below it. I didn’t want any extra thickness which is why I also cut the snowy Basic White. And, I couldn’t adhere them directly to the card front because I was doing a shaker card with clearenvelopes!
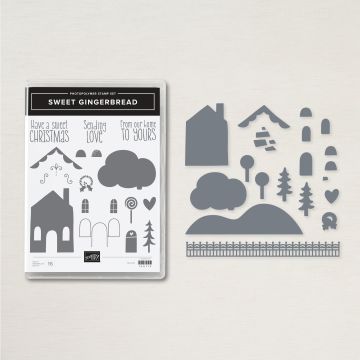
Sweet Gingerbread Bundle
I love this bundle. There are lots of cool details with dies – a picket fence, cobblestones, a heart, and a die to make a snowy border. Plus there are multiple dies for the trees, windows, and lollipops which means fewer trips through the Stampin’ Cut and Emboss.
Helpful Tips
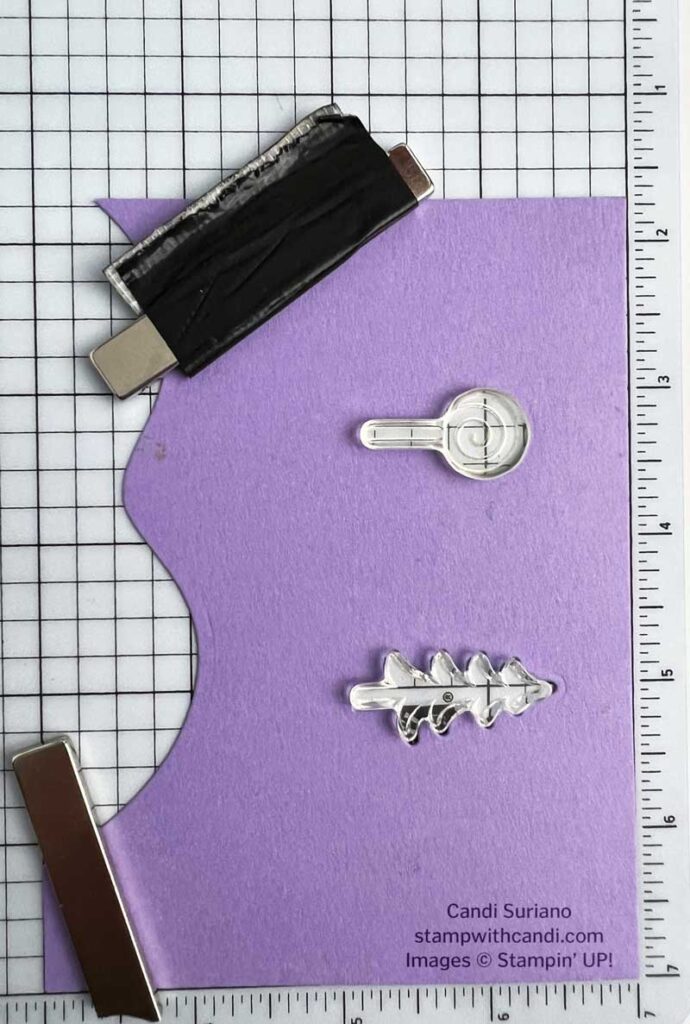
When I have to die-cut multiple fussy little shapes, I use my Stamparatus and a template to save on having to line up the dies on the image so many times.
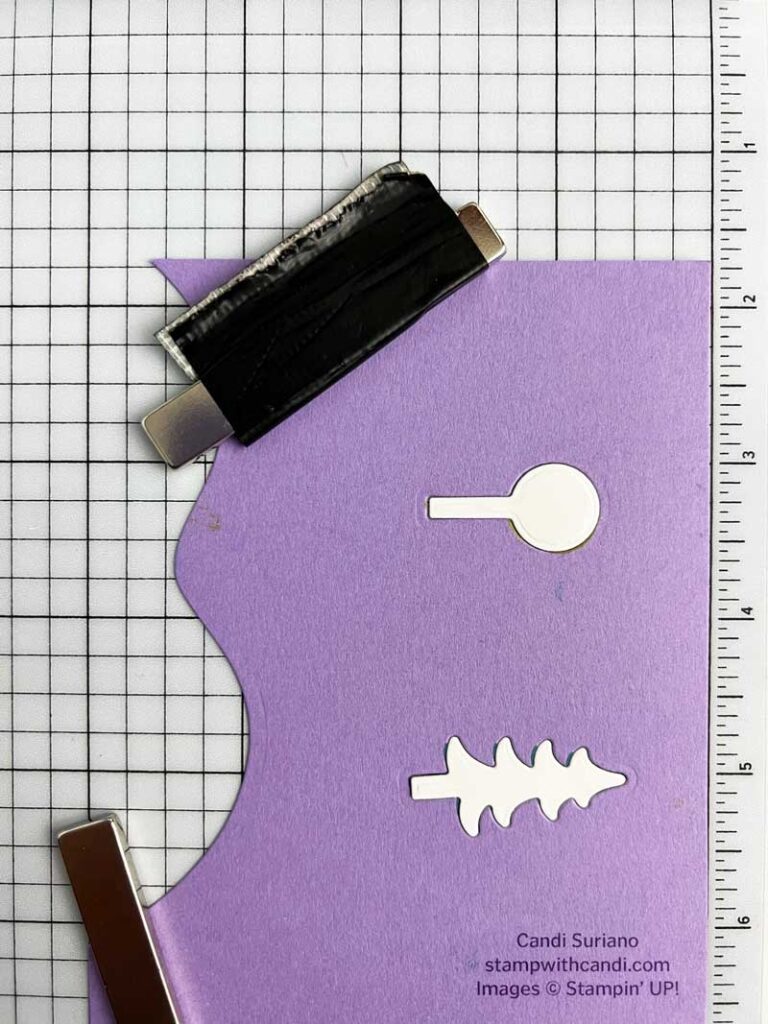
To make the template cut out the images that you need multiples of. For my card, I wanted lots of trees and lollipops. So, I cut a template out of some scrap Highland Heather cardstock that was laying on my desk. Plus cut the number of elements you want. For example, I needed 8 trees and 8 lollipops. So I cut them from Basic White so I can stamp on them.
The next step is to lay the stamps in the template as shown below.
After picking up the stamps with the Stamparatus’s clear plate, I put two of the ‘blanks’ that I had cut earlier. Now all I have to do is ink up the stamps and stamp. No fiddling with getting the dies lined up!
Today’s Color Palette – Sweet GingerBread
I wanted a bright color palette reminiscent o the colors found on a gingerbread house. However, Cinnamon Cider which retired last spring spoiled me for using Crumb Cake as the house color. Cinnamon Cider was the perfect gingerbread color! So I made my house out of Coastal Cabana.
Make the Inside Pretty
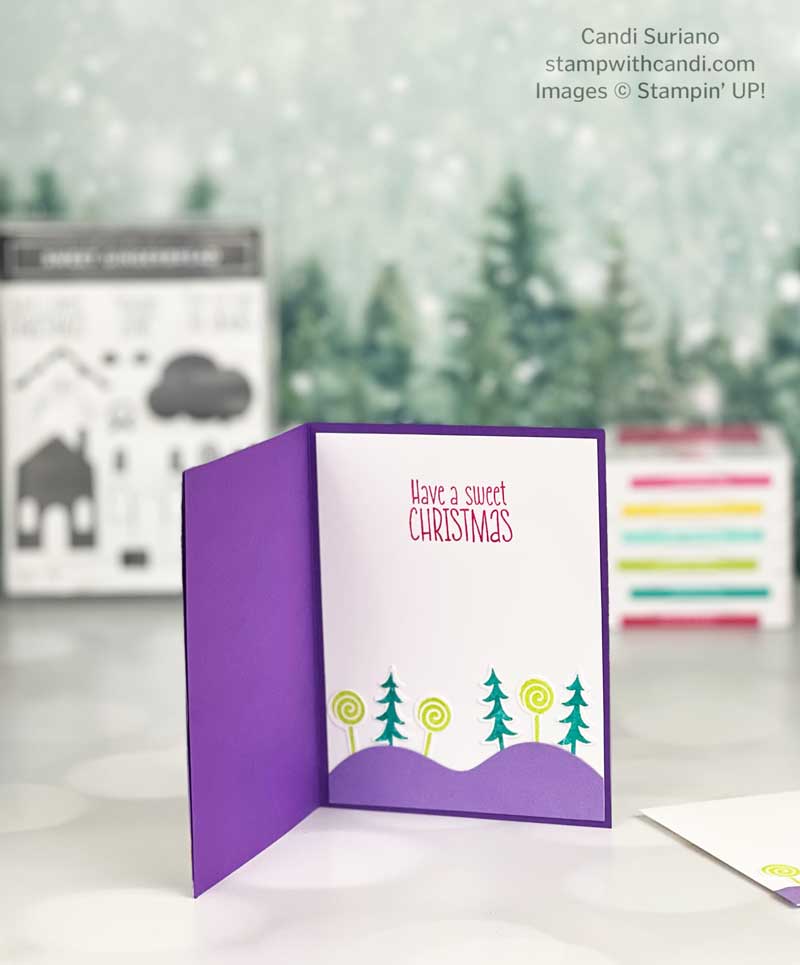
So, if you were counting, you might be wondering why I needed so many trees and lollipops. Why for the inside (and envelope) of course! I cut the snowy shape out of Highland Heather cardstock. I attached it with liquid glue to the inside liner taking care to leave enough space to tuck in the trees and lollipops. The trees and lollipops were also attached using liquid glue.
Don’t Forget the Envelope
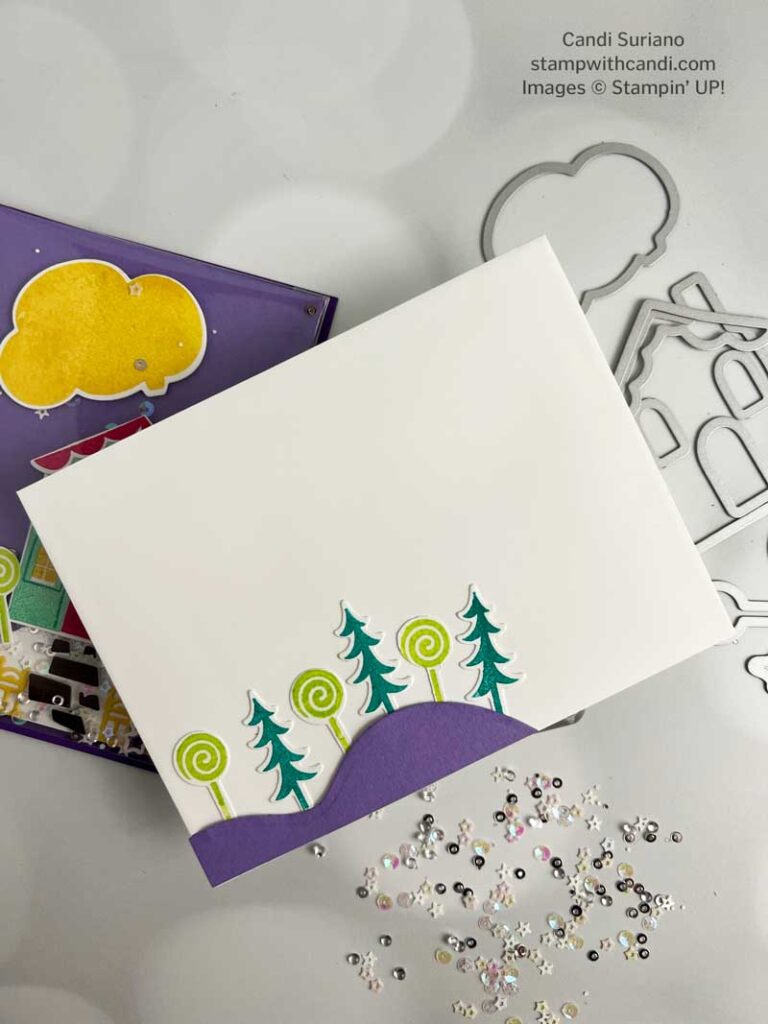
I liked the inside so much that I repeated it on the outside. I’m going to hand this card to the recipient because I’m not sure this envelope would survive the mail!
You can Make it, Too! – Sweet Gingerbread
This type of shaker card is so easy to make. No fiddling with window sheets and foam strips. You only need a clear envelope and something to shake!
Cut the Cardstock
- Cut a piece of Gorgeous Grape cardstock at 5 1/2″ x 8 1/2″. Score at 4 1/4″. Fold & crease with a bone folder.
- Cut 3 pieces of Basic White cardstock at 4″ X 5 1/4″.
- Cut a piece of Highland Heather cardstock at 4″ X 5 1/4″.
Stamp
- Stamp the cloud using Daffodil Delight on a Basic White scrap.
- Stamp the trees using Bermuda Bay on a Basic White scrap.
- Stamp the lollipops using Parakeet Party ink on a Basic White scrap.
- Color the wreaths with Gorgeous Grape ink and Polished Pink markers and stamp them on a Basic White scrap. Don’t forget to huff on them before stamping.
- Stamp the house using Coastal Cabana on a Basic White scrap.
- Stamp the door on the house using Melon Mambo.
- Stamp the windows using Daffodil Delight.
- Stamp the trim around the door & windows and on the house using Bermuda Bay.
- Stamp the roof using Melon Mambo on a Basic White scrap.
Make The Die Cuts
- Cut out the stamped images with the corresponding dies.
- Stack a Highland Heather Panel and a Basic White panel and cut with the snow die.
- Cut the fence out of Daffodil Delight cardstock.
- Attach the Early Espresso scrap to some adhesive foam. Cut using the cobblestone die.
- Cut two snow out of Highland Heather scraps making sure they are long enough to cover the white panel on the inside and about 1/3 the length of the envelope.
Assemble
- Attach the Highland Heather snow die-cut to the top of one of the Basic White panels.
- Attach the Basic White snow to the bottom of the Basic White Panel.
- Attach the cloud to the card using dimensionals.
- Add the house using dimensionals.
- Add the roof to the house using liquid glue.
- Add a wreath to the house using a mini-dminesional.
- Add the cobblestones below the door.
- Attach the lollipops and trees using dimensionals.
- Attach the fence using liquid glue, cutting it so that it leaves a path to the house.
- Attach two wreaths to the fence using dimensionals.
- Attach the Basic White liner to the inside of the card.
- Attach the two Highland Heather snow die-cuts to the envelope and the inside using liquid glue leaving a little at the top open so the trees and lollipops can be tucked under.
- Attach the trees and the lollipops to the inside and envelope using liquid glue and tucking them under the snow.
Make the Shaker and Finish
- Put the card front into a clear envelope making sure it’s all the way to the bottom and flush against one of the sides. Make sure that the flap seals in the back.
- Add some sequins.
- Close the flap making sure it’s flush with the top of the card.
- Run a strip of Tear & Tape along the side of the card. Then fold the envelope over so that it’s right up against the card.
- Use Tear & Tape to attach the card front to the card base.
I hope you enjoyed my two-step shaker card using the Sweet Gingerbreadbundle. Now it’s time to see what inspiration the others have in store for you. So, grab a beverage, sit back and relax, and enjoy the hop!
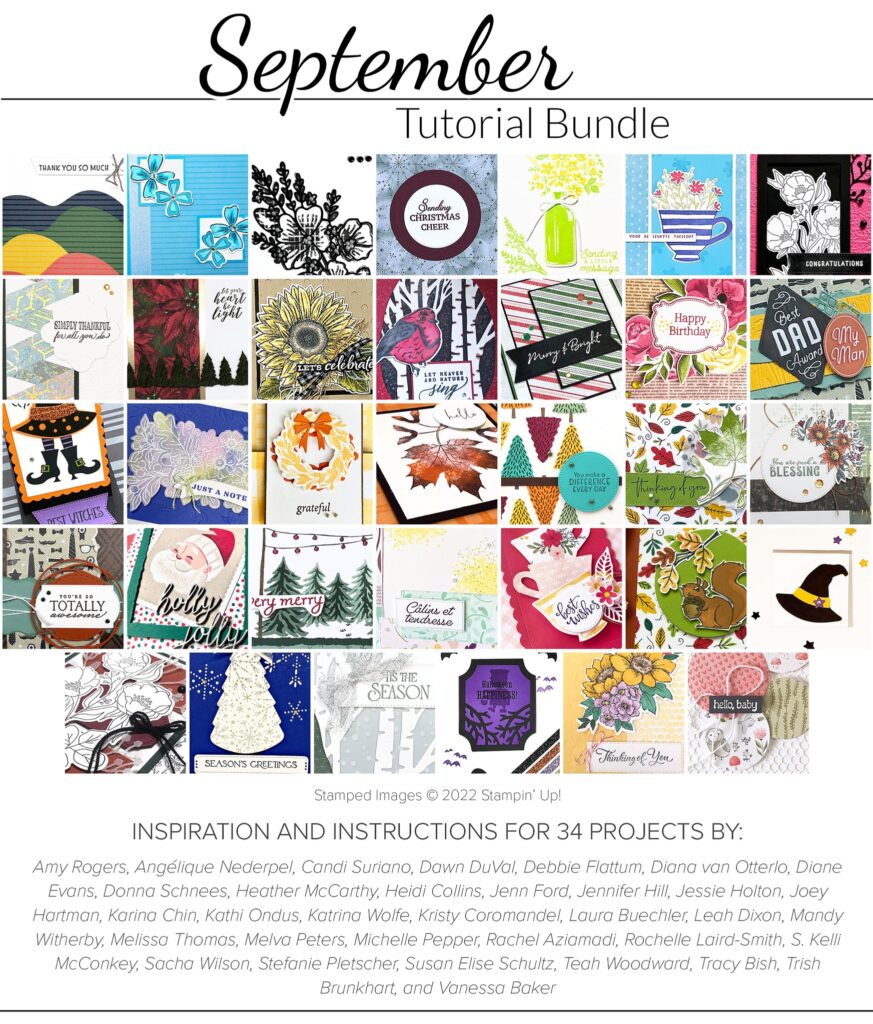
This tutorial is simply amazing. So many projects! 34 in all. And it can be yours with a $50 purchase in my online store! Click the Shop Now button below to place your order today and get this tutorial mailed to you.





Great card x
I LOVE this card. It’s too darn cute!!
Adorable card Candi, I love it x
Wow! What a fun card! Thanks for sharing!