Today I’m going to show how to use the Sweet Strawberry and Berry Blessing bundles which include the Berry Delightful DSP (Designer Series Paper) to make three cute, fun fold cards. I first saw this design on Janet Wakeland’s blog and thought not only are they cute, but they also use up a lot of DSP. During Sale-a-Bration, I always have a lot of DSP!
Today’s Project
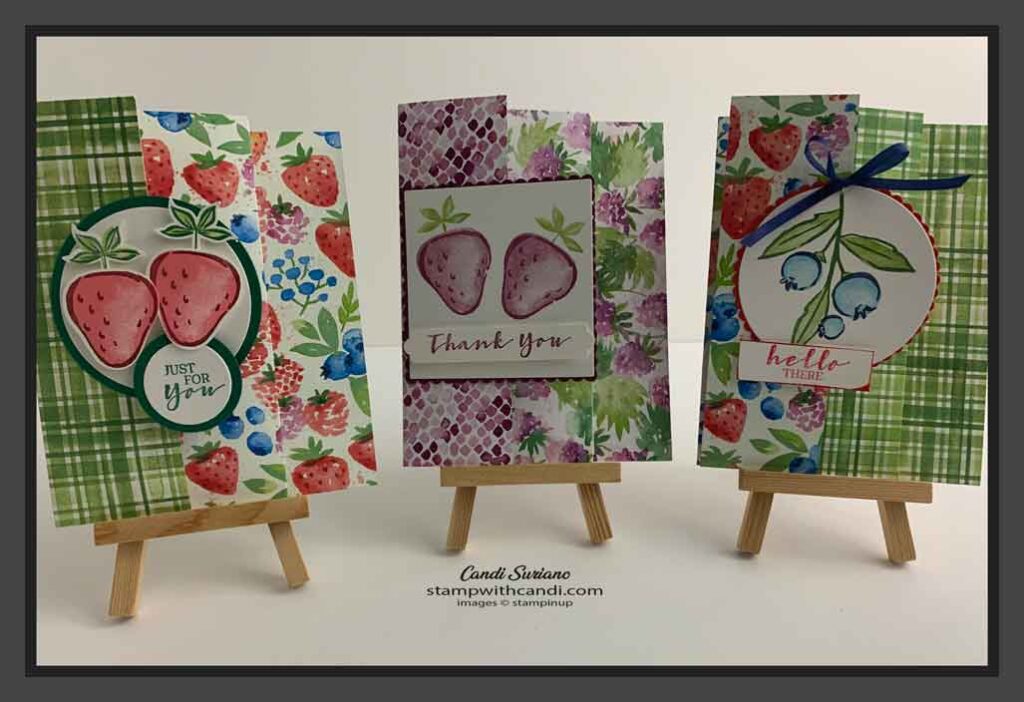
Here’s a picture of all three cards. Aren’t they cute??? And so easy to make. Although each one folds the same, they each have different details and embellishments. I’ll be describing each in detail later in the post.
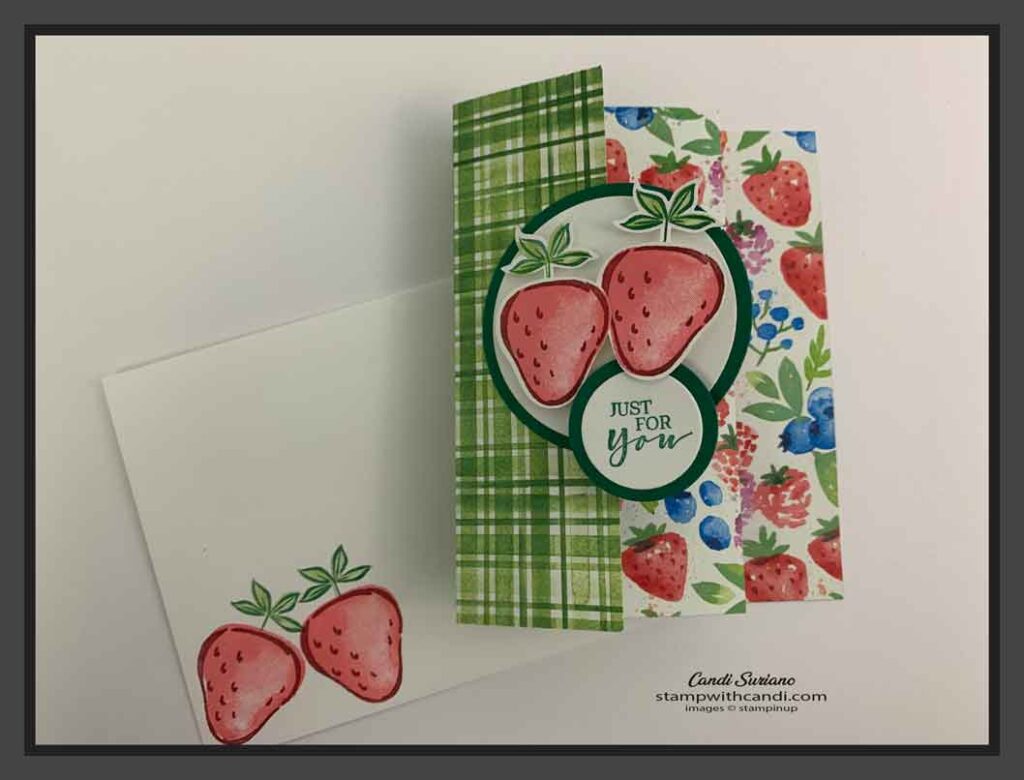
Just For YOu Strawberries
I’ll be honest, this card is very close to the one that Janet did. A few of the details are a little different. I find that when I’m trying something new, that if I make something close to the inspiration, then my creative juices get flowing and I can think of so many other things to do!
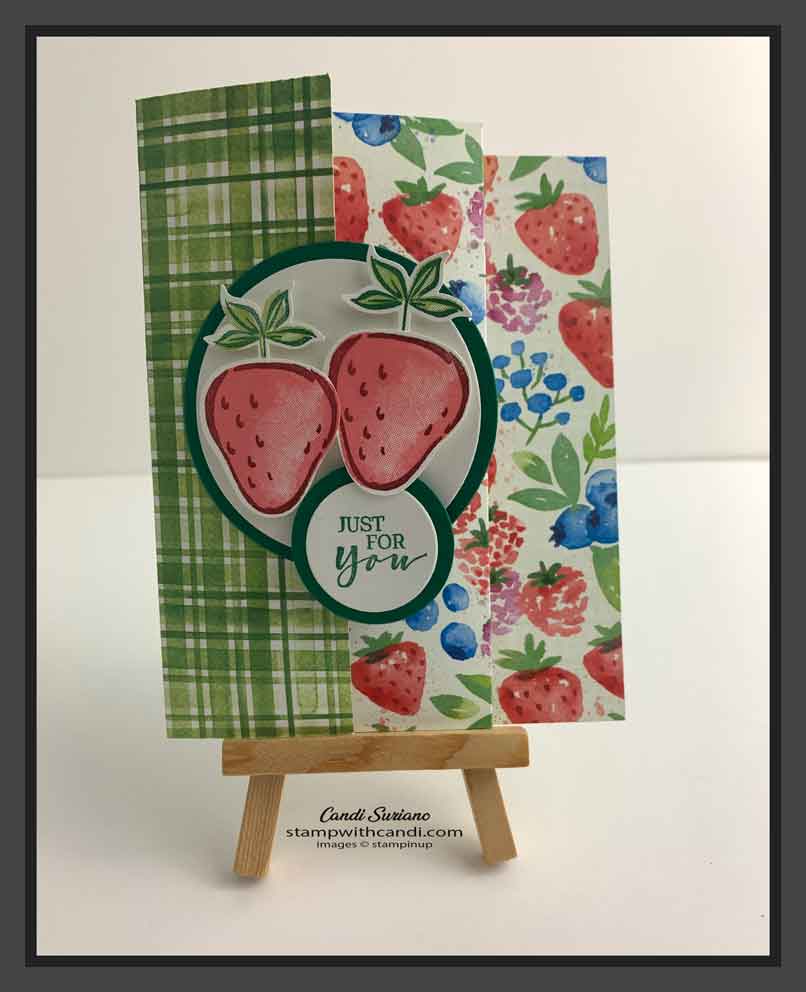
Here’s a close up of the first card. You can see that the focal point is two strawberries stamped using Cherry Cobbler for the darker areas and Flirty Flamingo for the lighter areas. I found that when stamping with this set, stamping the solid color first and then overlaying it with the darker color was easier. There’s no rule about which goes first. And, for me, it varies per stamp set!
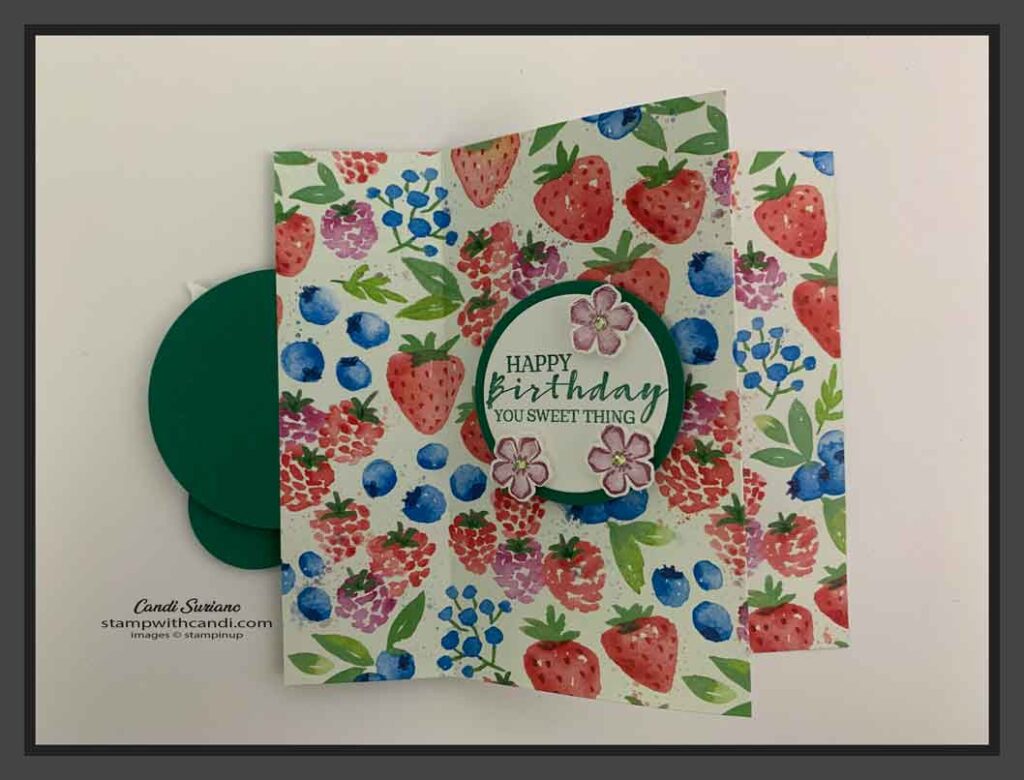
Here’s a picture of the card with the first fold open. Here you can see the stamped sentiment in Shaded Spruce and the little flowers stamped in Rich Razzleberry. To achieve the two different shades of Rich Razzleberry, I stamped off once for the lighter color and used full strength for the darker. You’ll notice that when the card is closed, the inner greeting isn’t seen! For this card, I achieved that by keeping the circles on the inner fold smaller and the shifting them to the left on the fold.
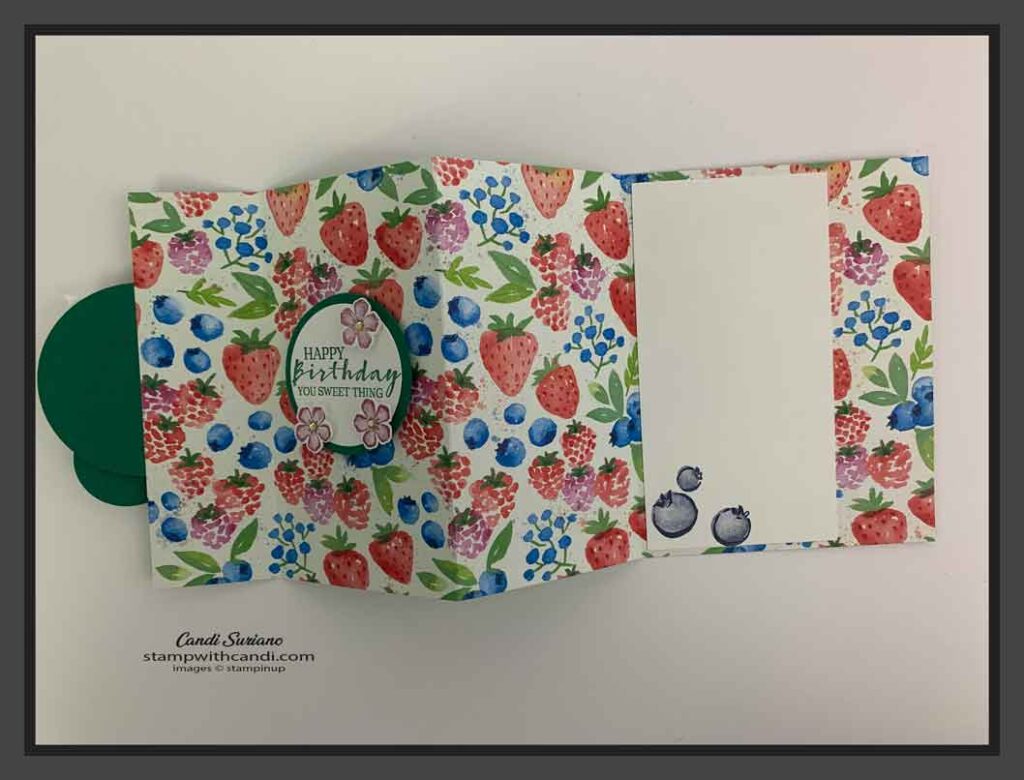
Here’s a picture of the card fully opened. There is a Basic White panel on the last panel for a message or more stamping. I stamped a few blueberries using Night of Navy ink and used stamping off to achieve the two different colors.
Not only is this fun fold cute but, it’s really, really easy to do. Here’s how.
- Cut a 12″ x 12″ piece of DSP to 5 1/2 ” by 12″.
- Starting from the right, score at 4 1/4″, 7 1/4″, 10 1/4″.
- Starting from the left fold valley, mountain, valley.
That’s all there is to it! How easy is that? Then all that’s left is embellishing. Here, the DSP does all the work!
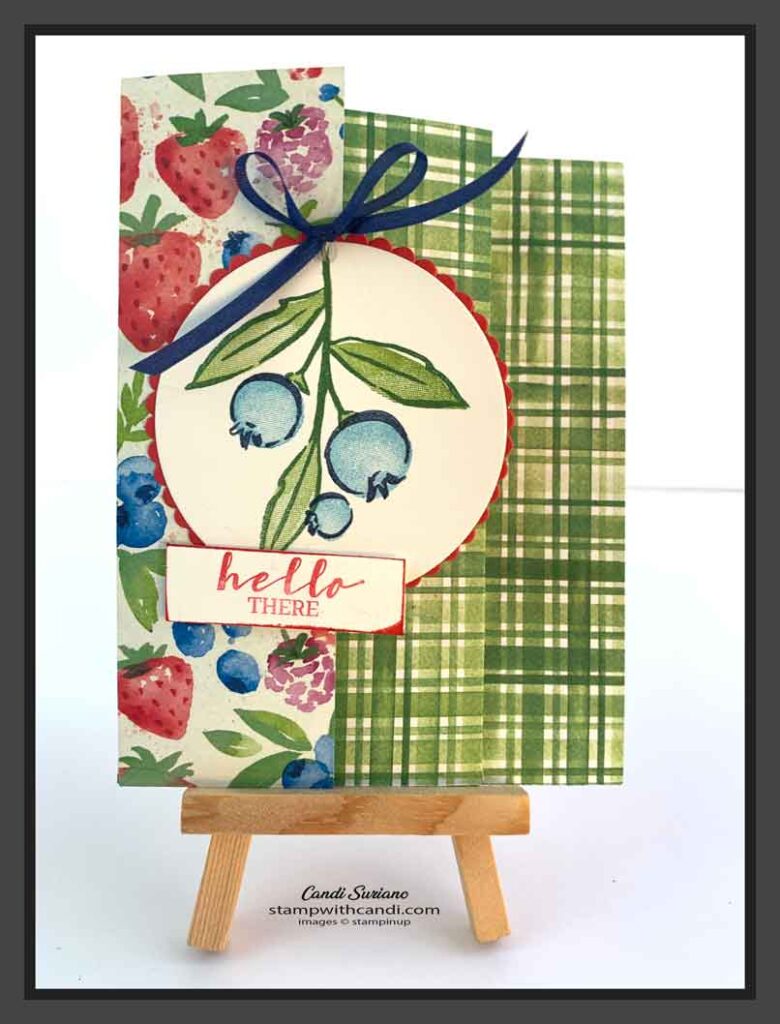
Hello There Blueberries
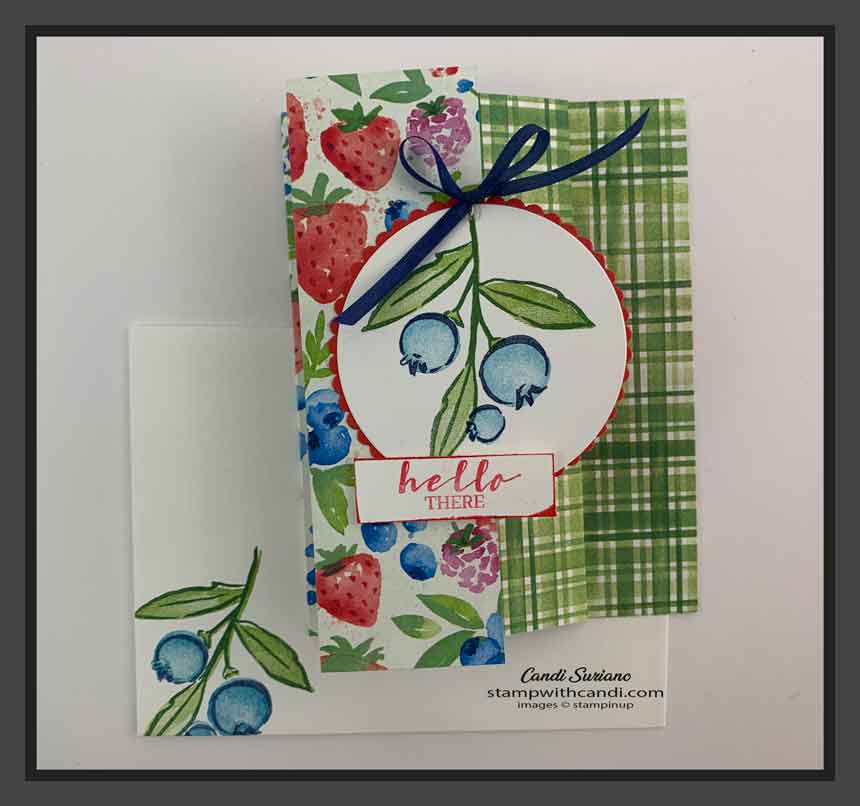
The second card uses blueberries as the focal image.
The berries are from the Berry Blessing stamp set that is part of a Sale-a-bration free bundle. It includes the Berry Delightful DSP and the stamp set for free with a $100 purchase before shipping and tax. I used Night of Navy ink, stamped off for the lighter color and full-strength Night of Navy for the darker color. I also used stamping off to achieve two colors for the leaves, this time with Granny Apple Green ink. The sentiment was stamped using Poppy Parade ink.
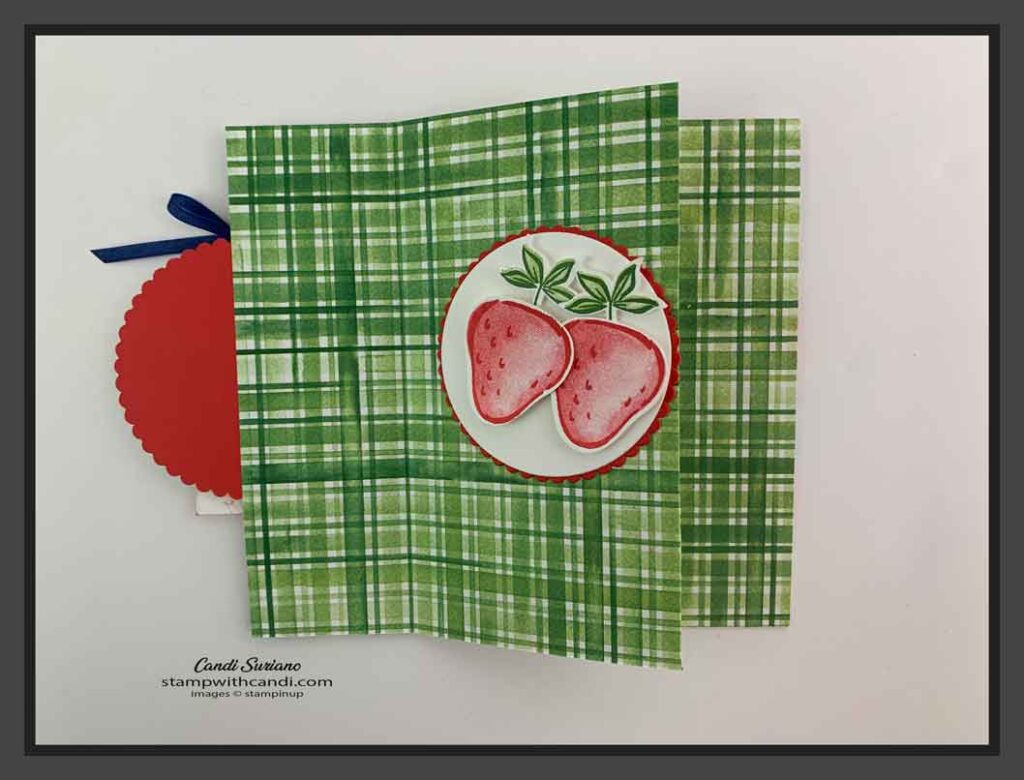
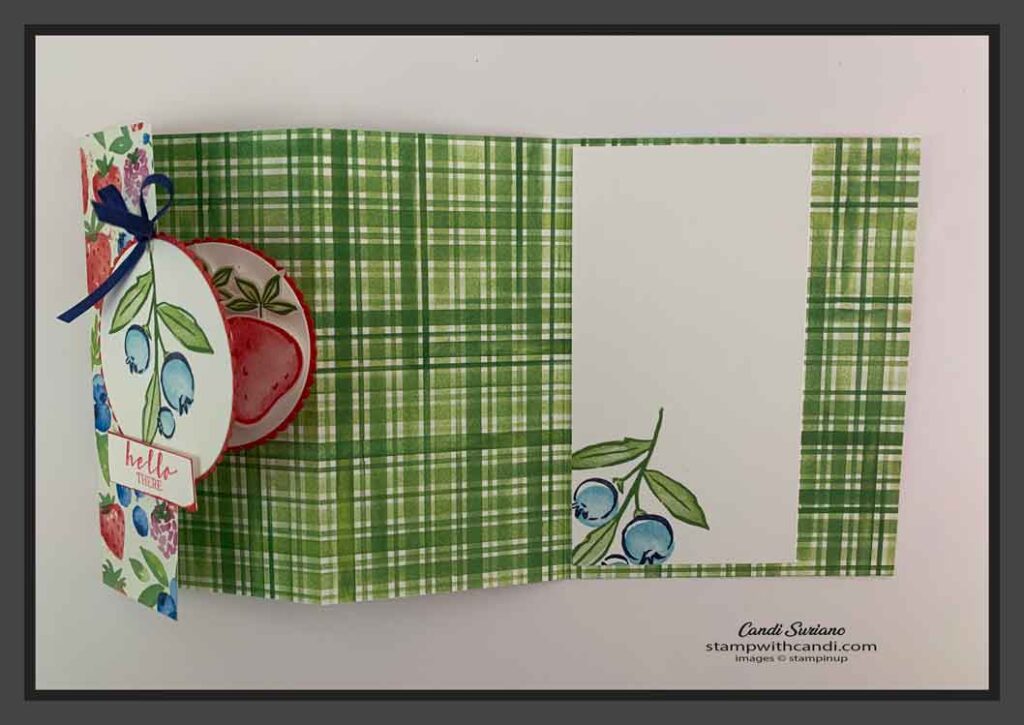
Here’s a picture of the inside of the first fold. Notice how this focal image is more to the right than the last. Basically, you put some adhesive on the back and line up the front of the focal image with the back of the image on the first fold. Then fold together and press down. Your image is aligned perfectly so it doesn’t show when the card is closed!
The strawberries were stamped using Poppy Parade ink which turns out to be the perfect color for strawberries! Who knew? I used Shaded Spruce and Granny Apple Green on the leaves.
Here is a picture of the card fully open. The strip on the last panel is 5 3/8″ x 2 7/8″. I stamped the blueberries and leaves before attaching it to the panel so that I could stamp off the edge of the paper.
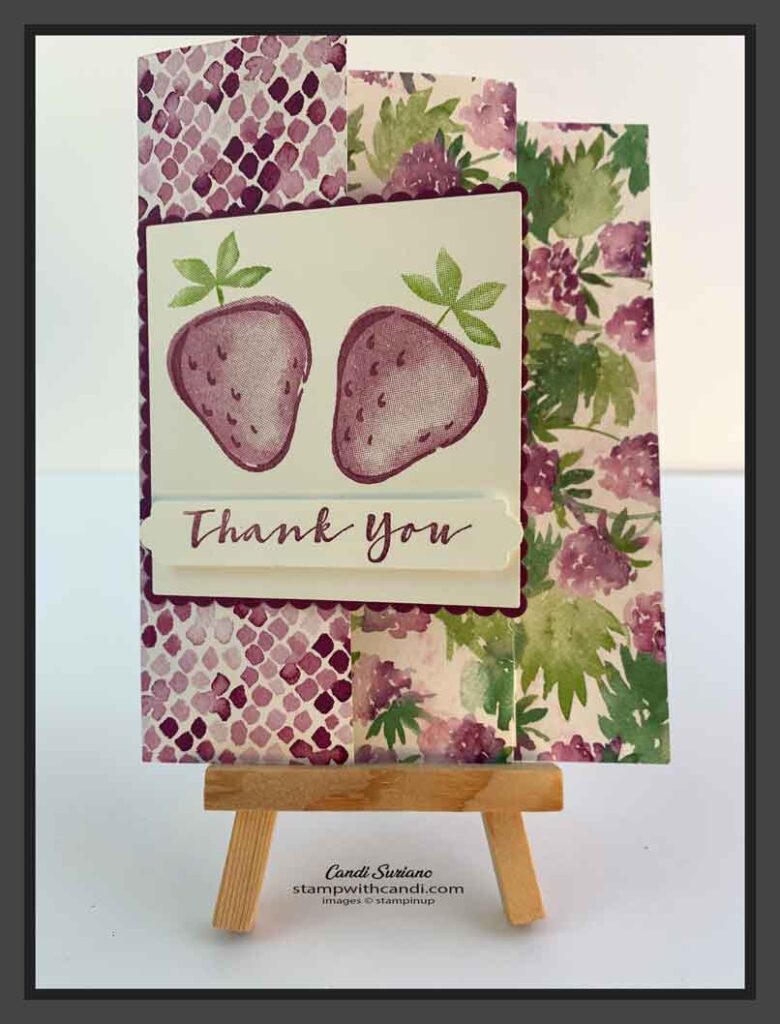
Thank YOu Berries
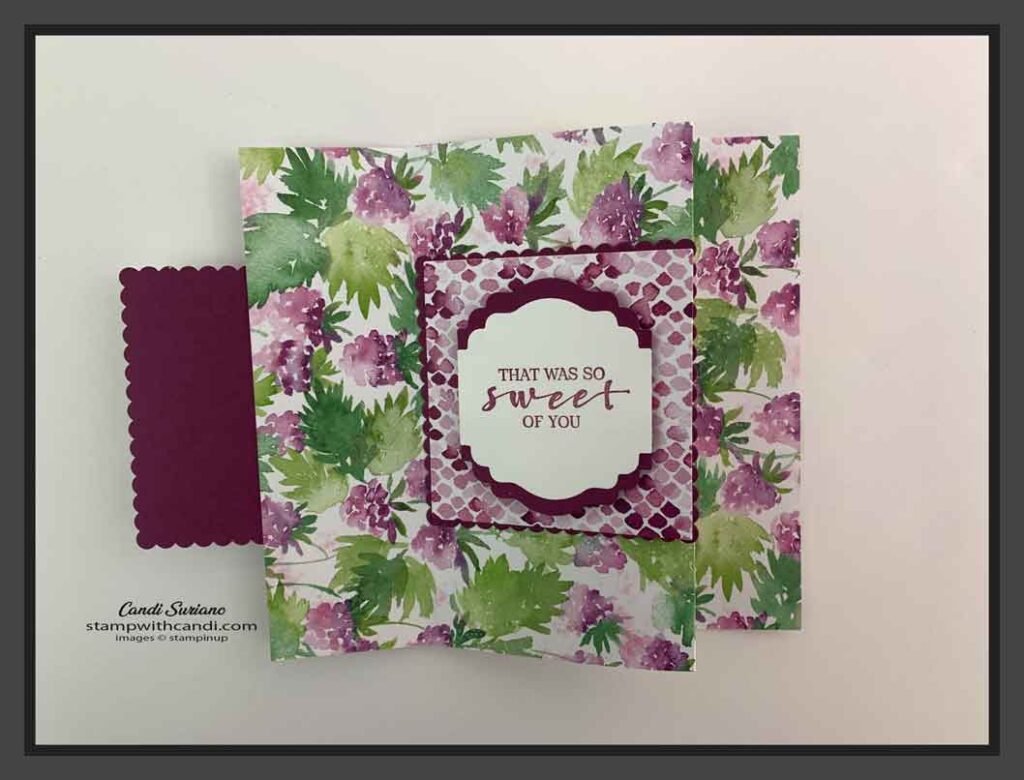
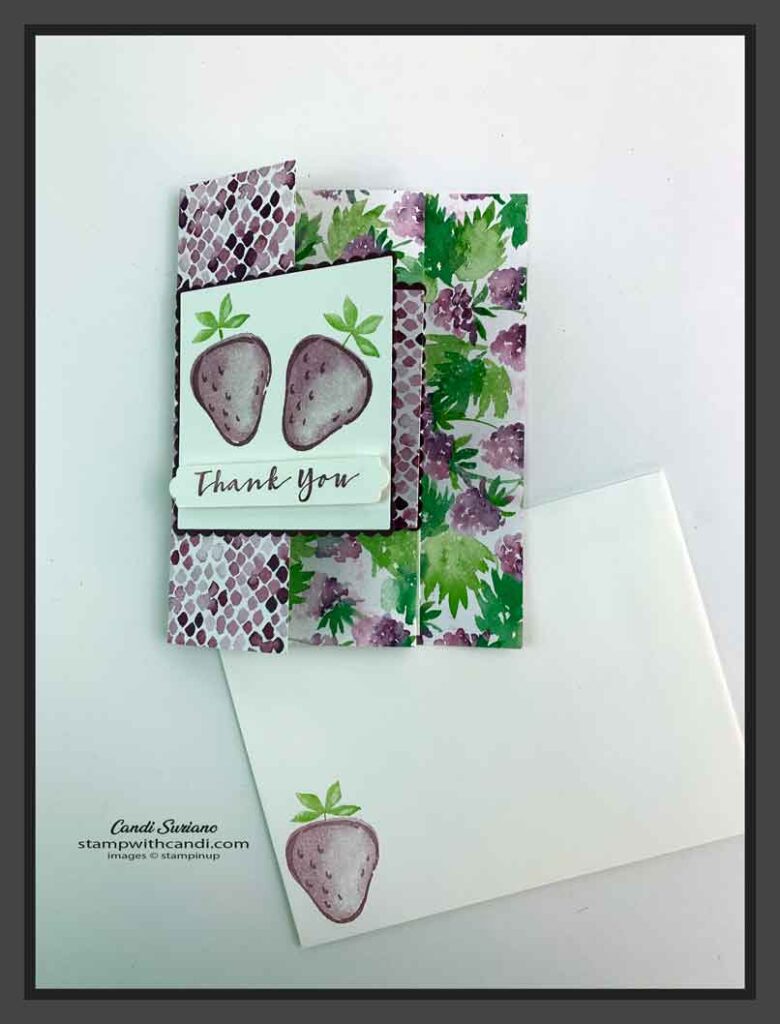
The third card uses my favorite paper from the pack. I love the purples and greens together.
For this card I used Rich Razzleberry ink stamped off to get the two shades. The sentiment was also stamped using Rich Razzleberry ink. I used the Lovely Lablels Pick a Punch on the ends of the sentiment. I could have colored a pearl with the Rich Razzleberry Blends and added them to each side of the sentiment. I’m not sure why I didn’t!!! I may have to rectify my lapse!
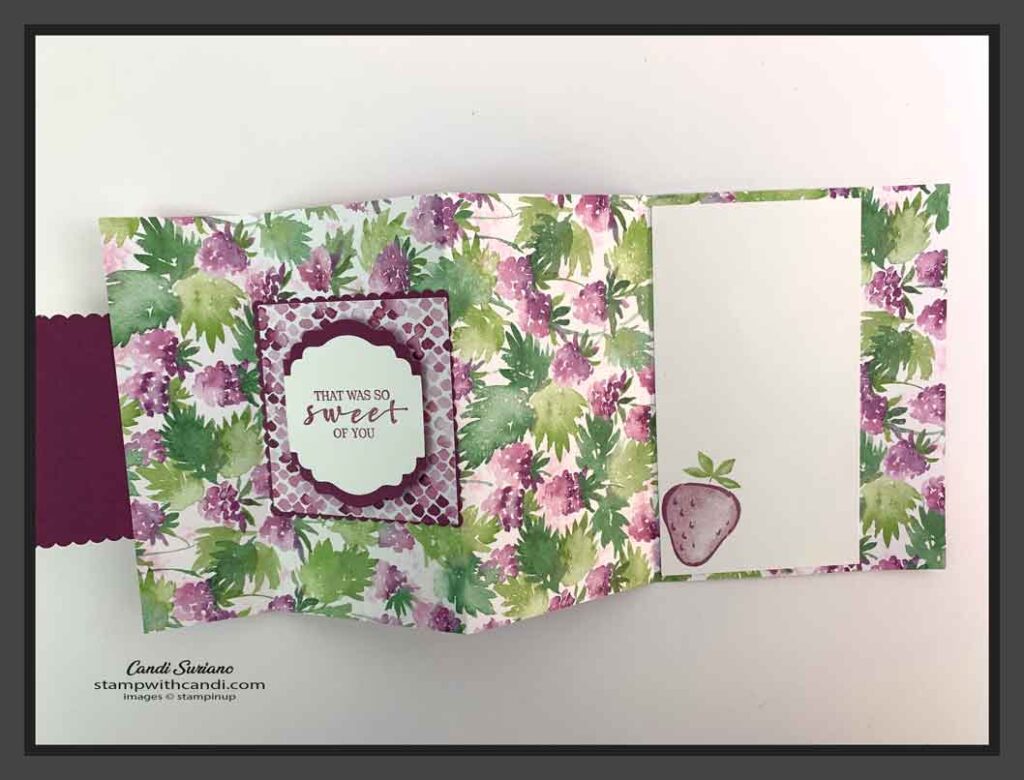
The first fold for this card, has another focal sentiment stamped in Rich Razzleberry ink and punched with the Label Me Lovely Punch. I punched a second punch out of Rich Razzleberry cardstock which I cut in half and then attached to the top and bottom of the die cut using liquid glue. This trick works well with any punch that has straight sides because you can’t tell where the cut out has been cut! The sentiment was mounted on a square cut from the DSP using the Layering Squares dies matted with a scalloped square from the same die set.
Here’s a picture of the card fully opened. I did the same treatment of the last pane by adding a Basic White panel stamped with the fruit in a corner.
Don’t Forget the Envelope
Here are pictures of the cards and their envelopes.
As you can see, I just stamped the same fruit as the front focal and back panel image on the outside of the envelope.
If you’d like to try to recreate this card, you can find a list of the products I used at the end of this post. Need a demonstrator or a catalog? Drop me a line and I’ll put one in the mail. And, f you ever have any questions, please feel free to comment or email me. And, don’t forget to Pin this post so you can find it again!
