In today’s post, I’m going to show you a different use for Stampin’ Up!’s Take Your Pick Tool! Yes, it can help with embellishments, poke paper out of dies, remove stray dots of embossing powder, and a whole lot of other things that I’m sure that you’ll see on the rest of the hop. But I’m going to use the Pansy Patch bundle to show you how you can use the Take Your Pick Tool to make your flowers pop!
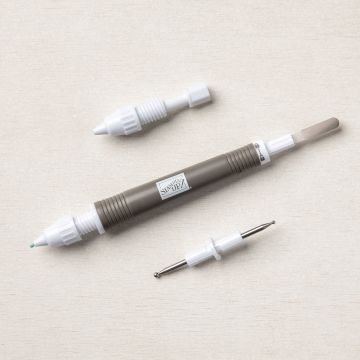
The Take Your Pick Tool shown above has 5 different tips. It has a putty tip to pick up embellishments and stray embossing powder and a spatula tip that’s great for scooping up embellishments. The paper piercer tip is great for poking holes or also picking up embellishments. There’s also a die brush tip that can be used to get paper bits out of dies. But, the tip I’m going to show you is the stylus tip. Most people use it for scoring, but I use it for flower making!
Today’s Project – Take Your Pick and Pansy patch
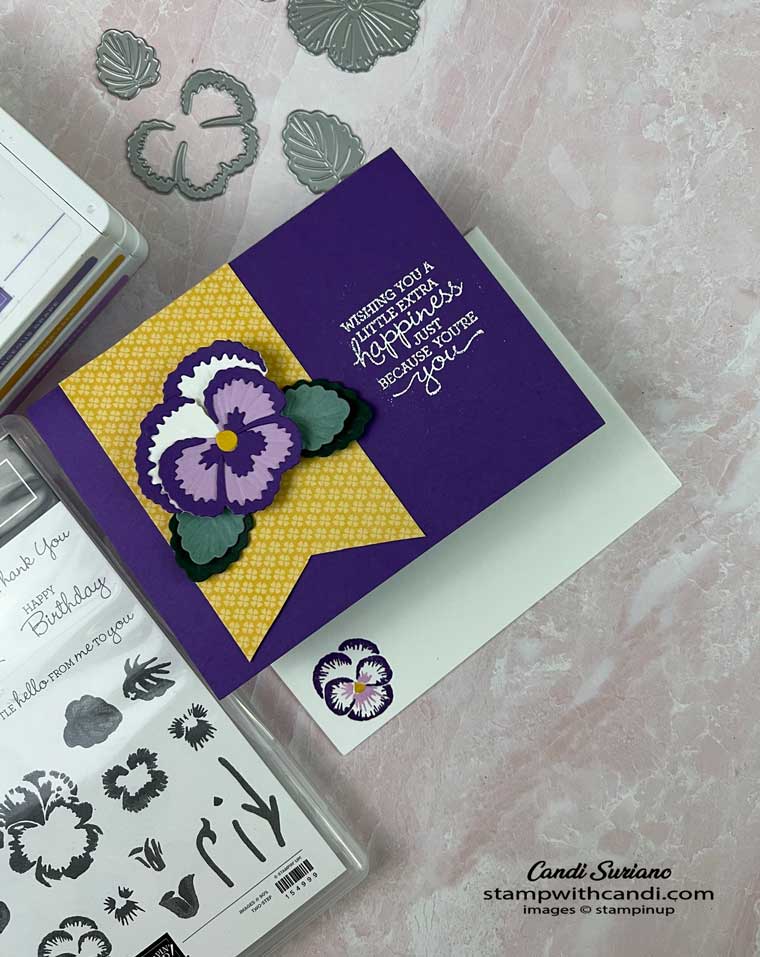
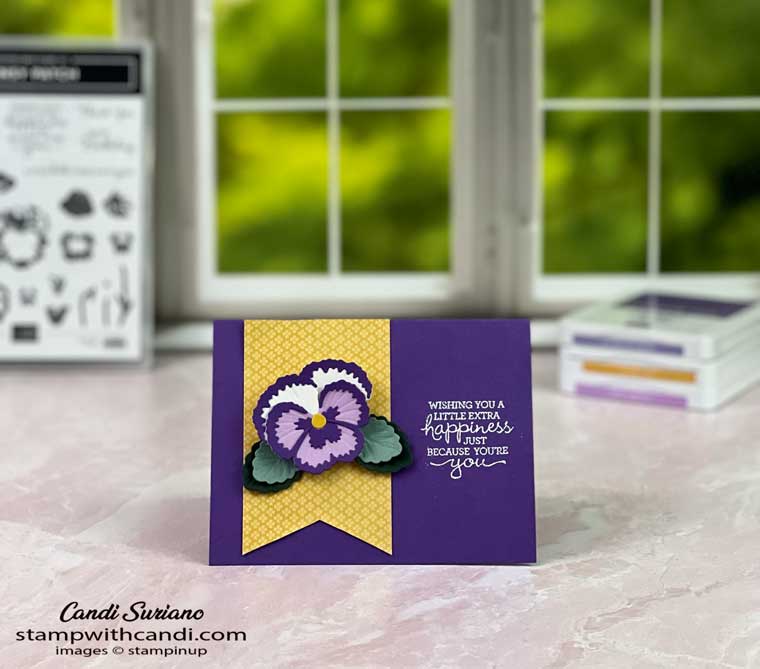
This card is much easier to make than it looks. The base is Gorgeous Grape with a piece of the Pansy Petals Designer Series Paper as a focal point. The sentiment was stamped with Versamark ink and then heat embossed with Basic White embossing powder from the Basics Embossing Powders and the heat tool.
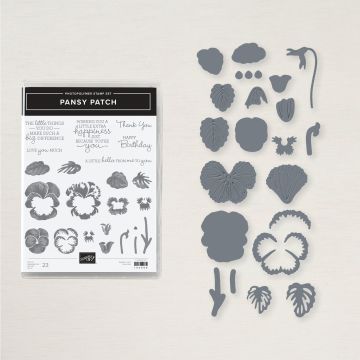
The Pansy Patch bundle contains both stamps and dies. The stamps are two-step because pansies are always multicolor which is what makes them a bit of a challenge to stamp or die-cut. The dies create 2 sizes of leaves and 3 sizes of pansies. For my card, I used the largest pansy.
Today’s Color Palette
It’s spring and one of the first annuals of spring is pansies! They come in so many colors and they look like smiling little faces. I just love them!
Creating The Pansies
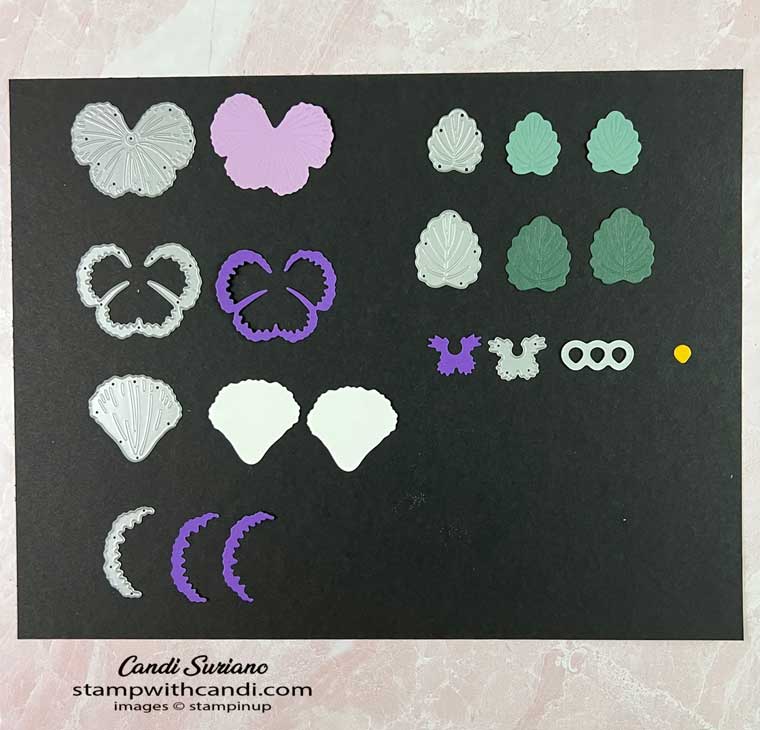
The dies can be daunting, especially if you’re not all that familiar with pansies. This cutting guide shows the dies I used for my flower.
If you look closely at the dies and die-cuts, you’ll see that the dies also emboss the die-cut. And, that’s where I use the Take Your Pick Tool. I run the stylus down the embossed line and the flower gets dimension. And, then I ‘stir’ the tip a bit and the flower pops up even more. You have to see it done so watch my video to see what I mean.
https://www.youtube.com/watch?v=B9BOjRQUoxI
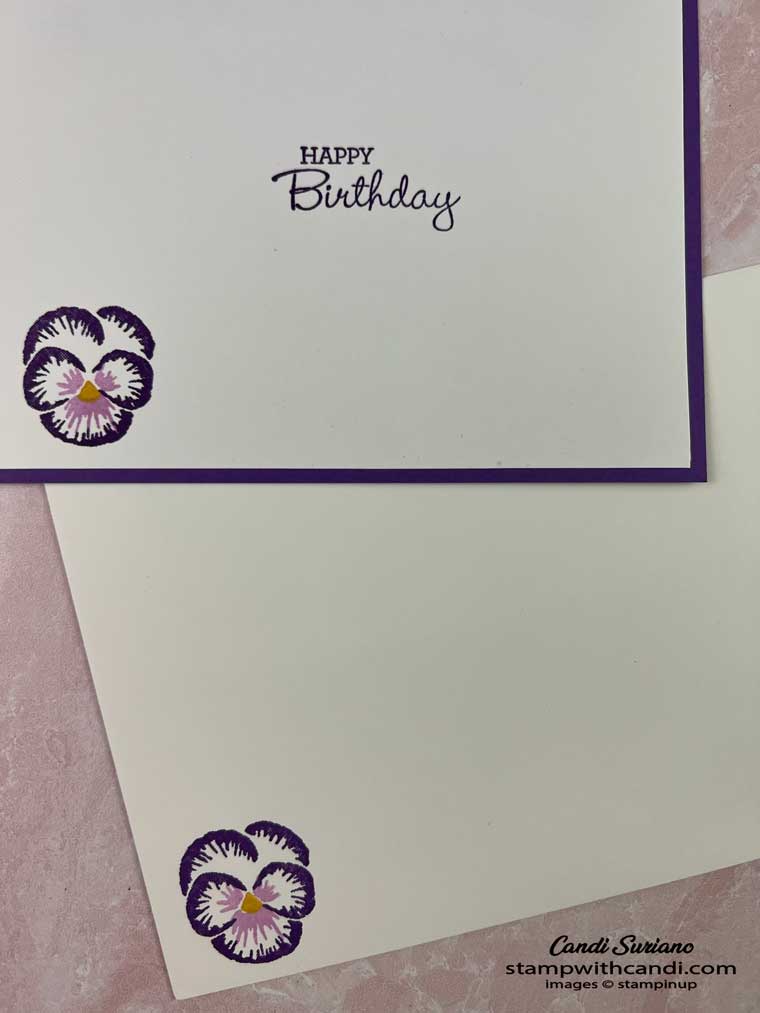
Make the Inside Pretty & Don’t forget the Envelope
I stamped the small pansy on the envelope and the Basic White Envelope using the color palette of the die-cut flower.
Even this head-on view shows the leaves popped up. But, I didn’t use dimensionals to attach them. I merely used the Take Your Pick Tool’s stylus end to achieve that dimension.
Now it’s time to see what the rest of the team has in store for you. I’m sure you’ll find a lot of ideas for using the Take Your Pick Tool!
The Take Your Pick Tool is an invaluable resource to have in your toolbox. Although I focused on using the stylus end for my flowers, I also used it to get the paper out of the dies and to get stray embossing powder off the paper before heat embossing.
I hope you enjoyed today’s card. A list of the supplies needed for this card can be found at the end of this post. The new Annual Catalog is coming! Get yours by emailing me at candi@stampwithcandi.com. I’ll pop a catalog in the mail and include a little surprise.




Beautiful card! Love the colours
Love it!!!
Love the purple and yellow together! It looks like a real pansy! I do love pansies!
So beautiful! Thanks for the tips!