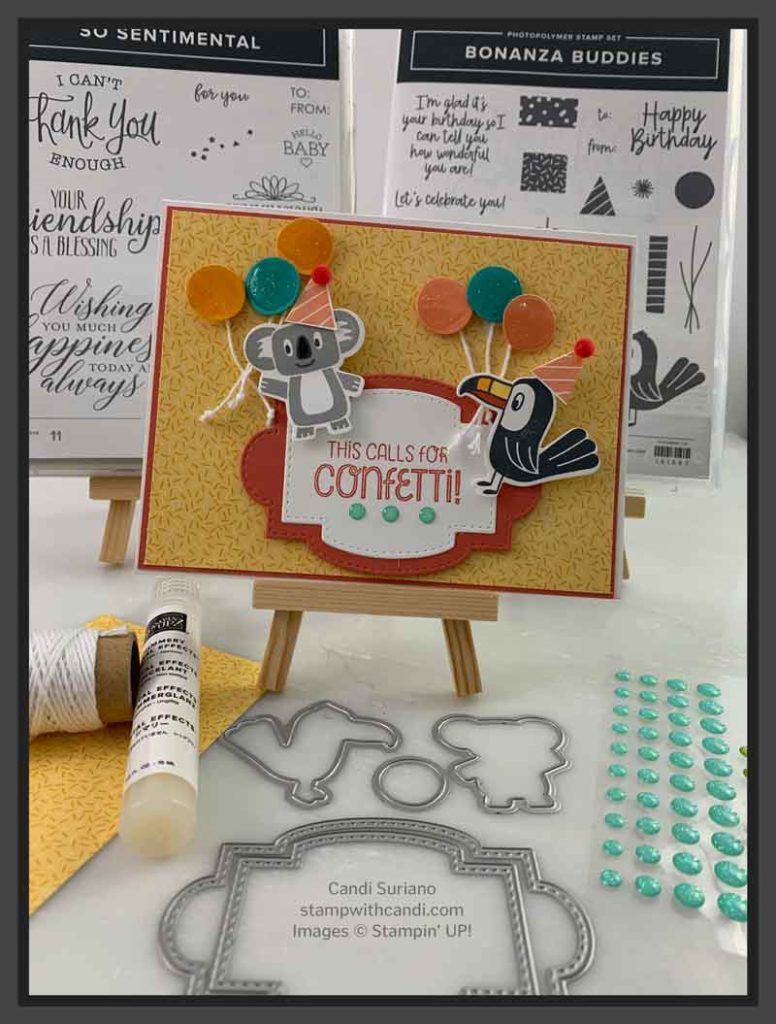
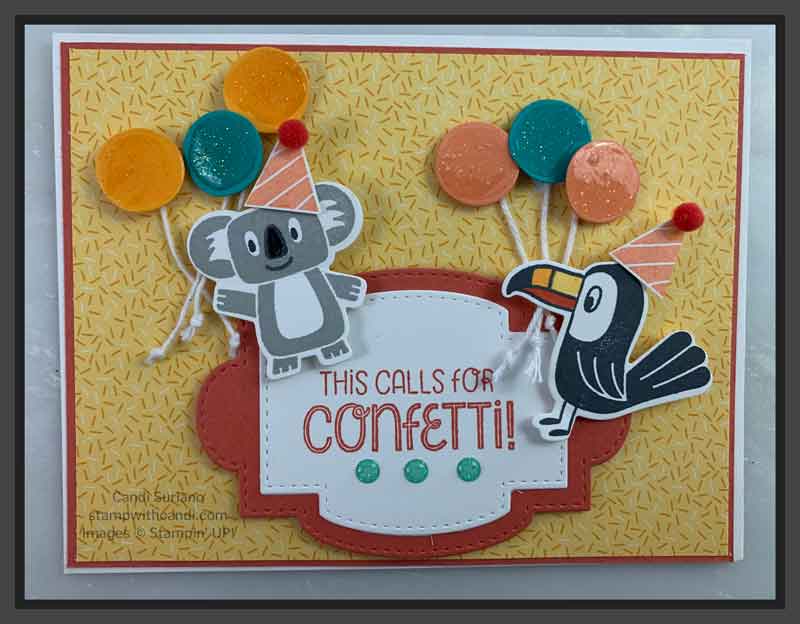
This Calls for Confetti – what a fun, playful sentiment! And, it pairs perfectly with the Birthday Bonanza Designer Series Paper (DSP) with its fun confetti patterns. Take a look.
Today’s Project
I picked one of the confetti patterns from the Birthday Bonanza DSP, which helped me pick my color palette of Terracotta Tile, Mango Melody, and Bermuda Bay. Next, I layered the DSP on a Terracotta Tile layer that was then layered on the Thick Whisper White card base. I then used the Stitched So Sweetly dies to create the image layer and matting layer. I know I’ve said this before, but I just love those dies! So many creative possibilities with them. Finally, I stamped the “This Calls for Confetti” sentiment on a scrap of Whisper White cardstock to complete the card.
I always use the Thick Whisper White cardstock for my card bases because it can handle heavy layers without buckling. I use the regular Whisper White for sentiment and other layers because it’s thinner and doesn’t add bulk to the card.
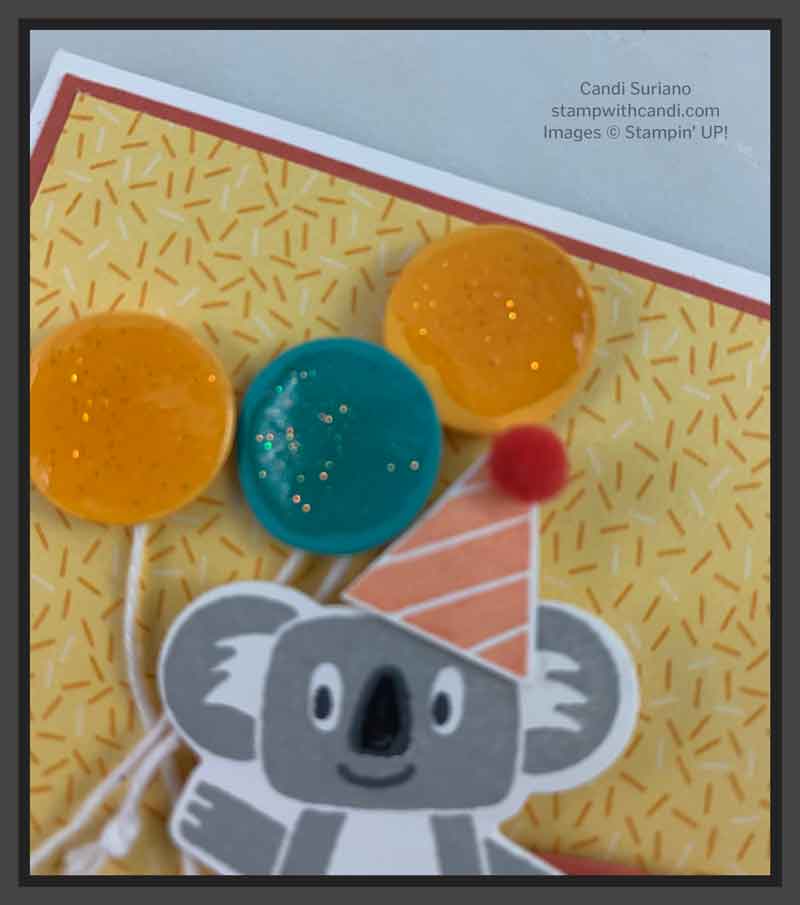
The tucan’s beak and the koala’s hand are just begging to hold a bouquet of balloons! And, the pompons give some extra pop to the hat. But my favorite part is the Shimmery Crystal Effects on the balloons. It makes them so shiny and sparkly. You can see in the picture below how sparkly they are!
I also like the pop of sparkle from the Glitter Enamel Dots below the “This Calls for Confetti” sentiment. This is such a fun, sparkly card!
Today’s Color Palette
I did add another color with the Coastal Cabana Glitter Enamel Dots. But, it’s such a small accent and is so close to Bermuda Bay, that I didn’t think it was important enough to include in the color palette.
Make the Inside Pretty
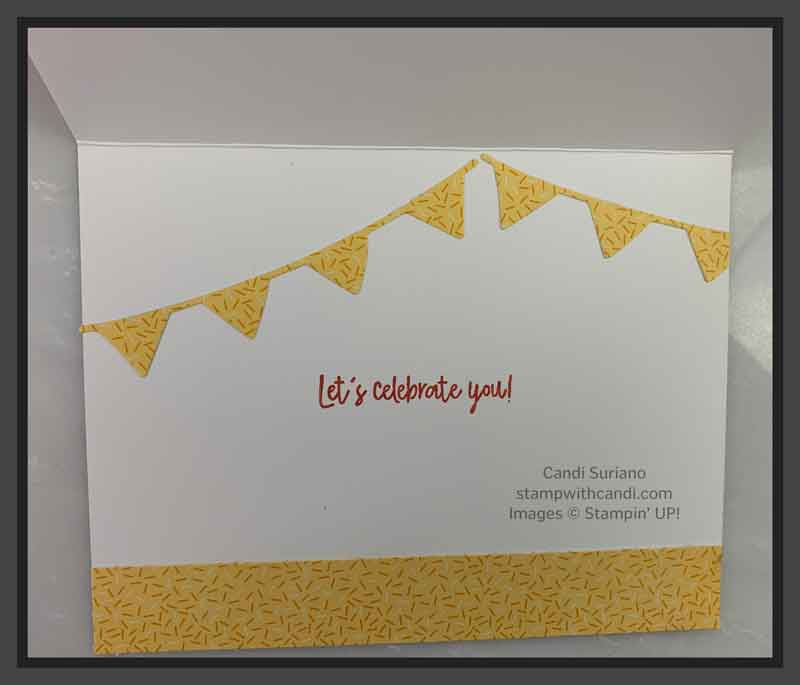
For the inside, I cut banners and a 3/4″ strip from the DSP and adhered them to the inside of the card. Then I stamped the sentiment in Terracotta Tile ink just below the banners.
Don’t Forget the envelope
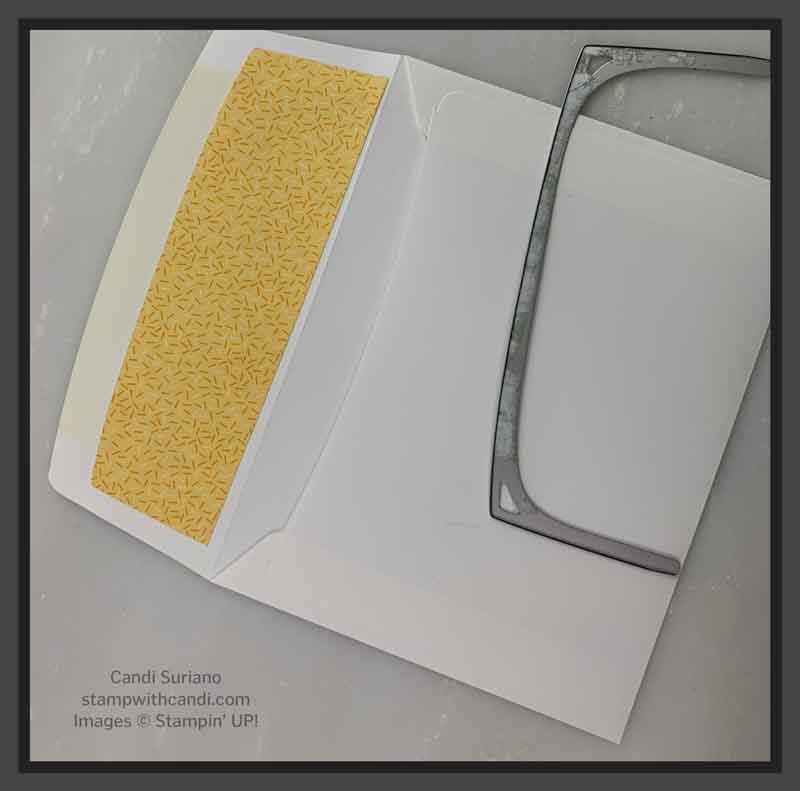
I will never give up my Beautiful Layers dies when they retire because they have an envelope flap liner die. I love how a lined envelope looks. It’s like an extra surprise when you open the envelope. And, because it’s on the inside, it isn’t likely to get damaged by a mail sorter. It’s pictured below with the envelope. You can see that it’s well-loved. For the longest time, I didn’t know what that die was for. So, one day, I cut it out and realized it’s an envelope liner!
Don’t you agree that a lined envelope looks special?
If you’d like to make this card, the instructions are below. And, at the end of the post, you can find a list of the supplies I used. Clicking on any item will take you to my online store where you can purchase them.
I hope you enjoyed today’s cards. If you don’t yet have a demonstrator, I’d love to be yours. If you ever have any questions or need a catalog, please feel free to comment or email me. And, don’t forget to Pin this post so you can find it again!
