Crafty Collaborations
Crafty Collaborations is composed of Stampin’ Up! demonstrators from around the world. Each month we participate in multiple collaborative projects including blog hops, like this one, tutorials, and swaps to inspire all of us in our passion for crafting. Our goal is to create, share, and inspire every crafter to keep our creative energy flowing.
Today’s Project
Today the Crafty Collaborations team is hopping to show different punch techniques. I chose the Treasured Tags Pick a Punch to show how you can layer sentiments using this punch.
My cards were inspired by Jackie Bolhuis who showed how to use a similar punch last year. I’ve used these punches in many cards because it’s so easy to make cute layers. Jackie also inspired the cards. It’s a great way to use up all those little strips that we accumulate.
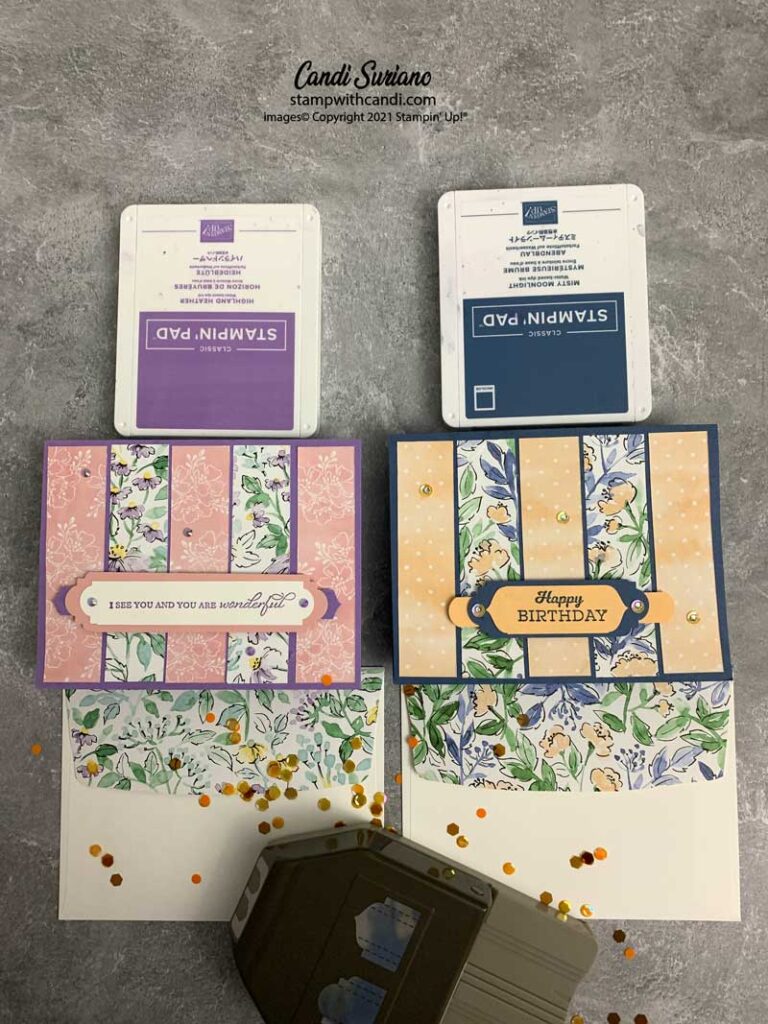
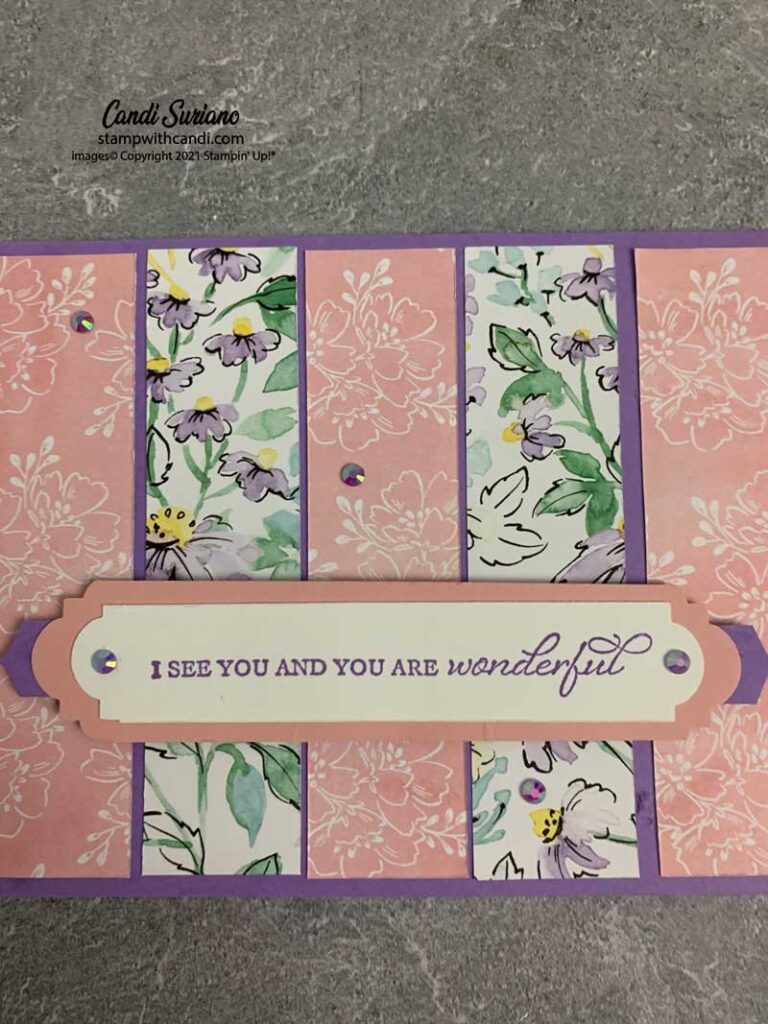
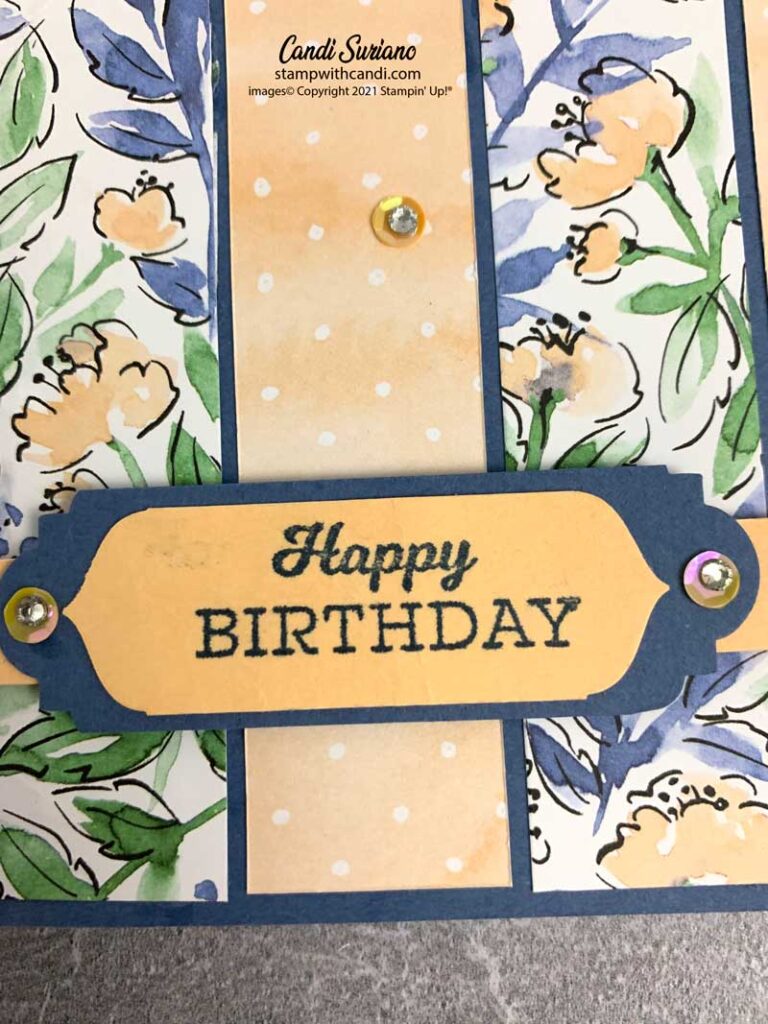
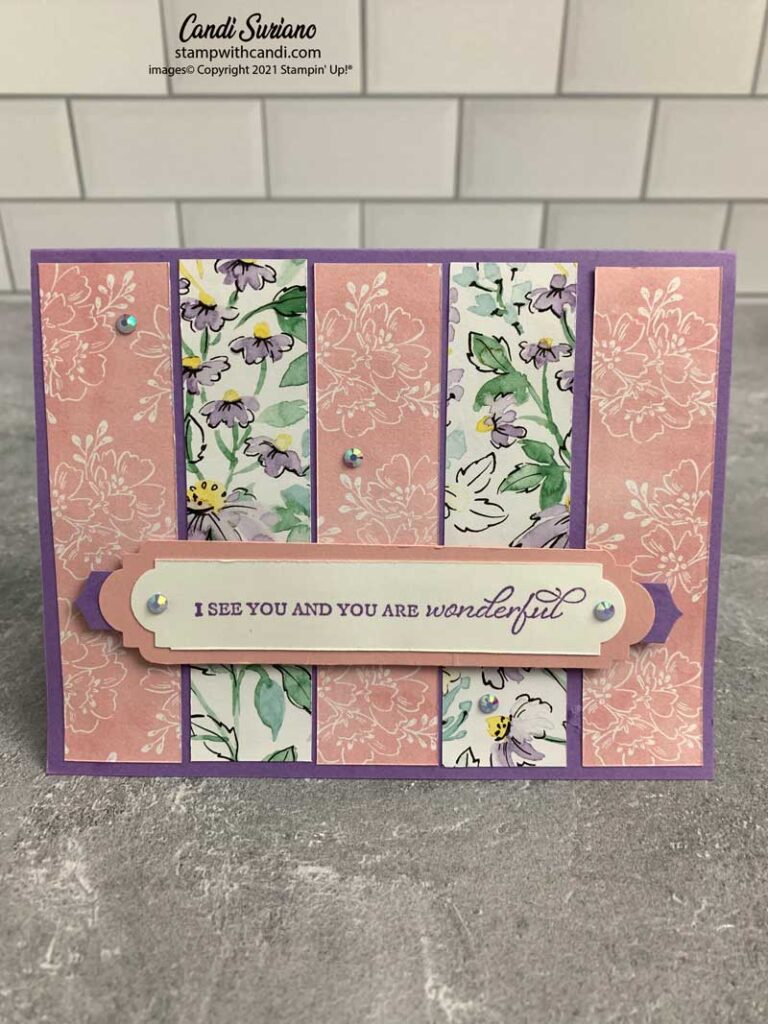
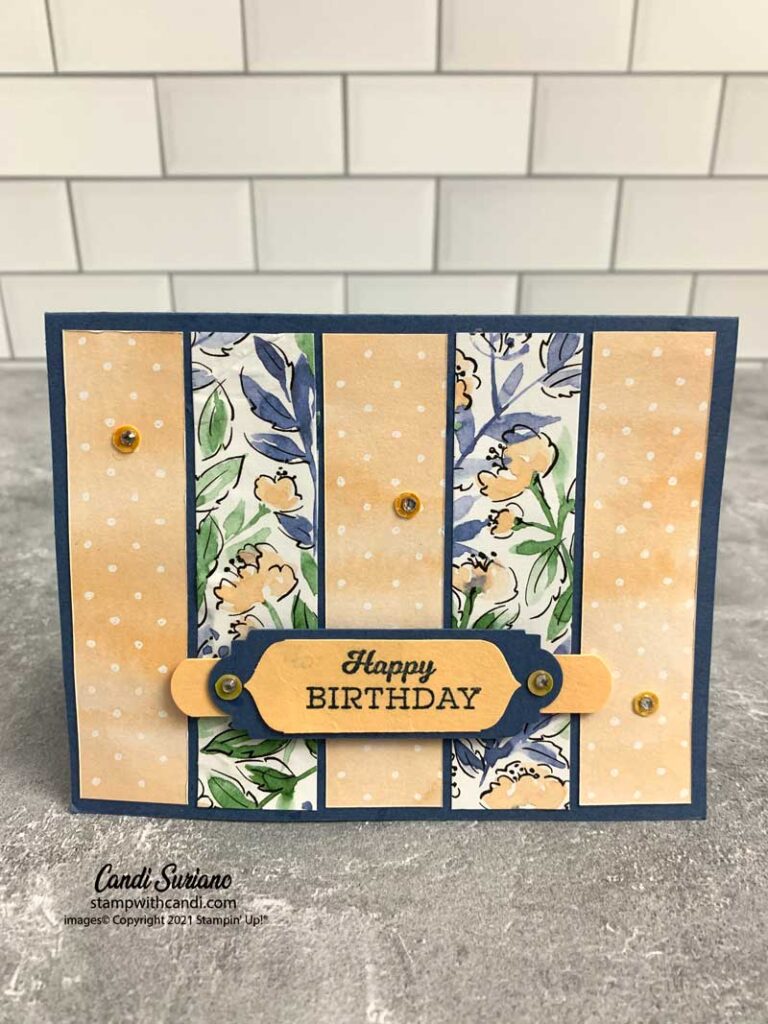
For these cards, I used the Hand-Penned DSP in one-inch by 4-inch strips which I attached to the card base. The trick to lining them up is to work from the outside in. In other words, attach the strips to the left and right sides. Then move next to the left and right sides. Finally, attach the center.
Here’s a closer look at the cards.
You can see how the strips were attached. I’ve seen examples of this technique where the strips are all different and randomly places. I’m a little too OCD for that!
Punch Details
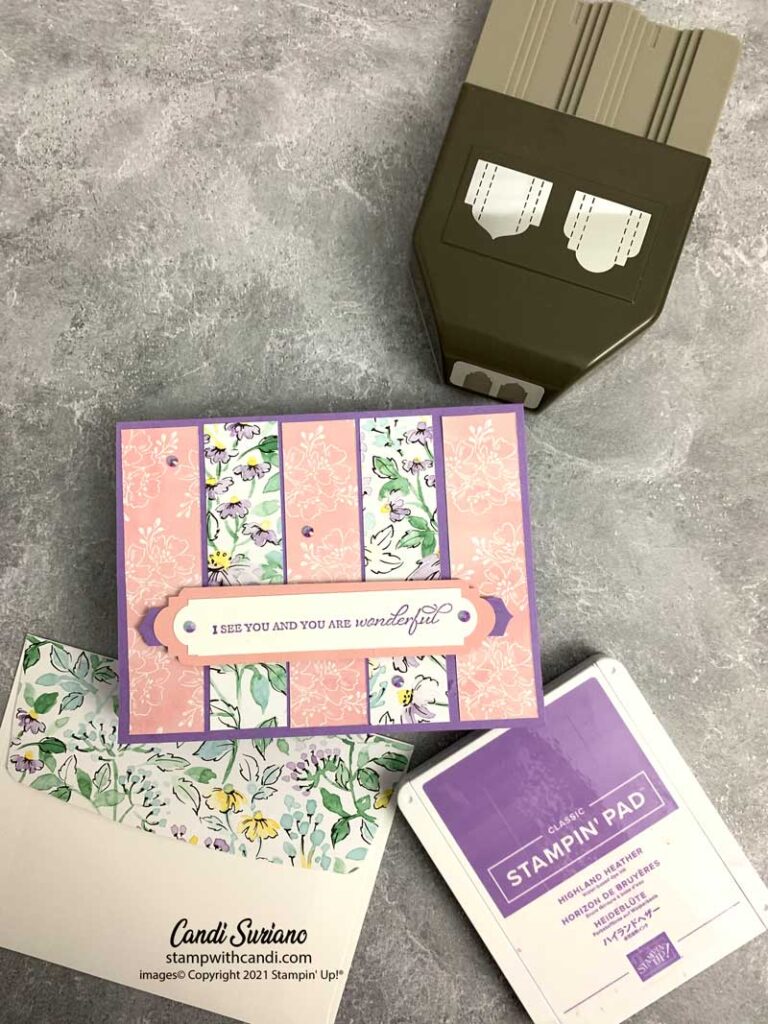
This photo shows the detail on the Highland Heather card. I cut a 3/4″ piece of Basic White, 1″ piece of Blushing Bride, and a 1/2″piece of Highland Heather cardstock, then used the punch on each end. of the strips. There’s a trick to getting the correct length. Punch the left end. Save the scrap from the punched piece. Place this piece on the right end at the length you want. Cut the excess off the right end. Now you’re ready to punch the right end. For step-by-step instructions with pictures, see this post.
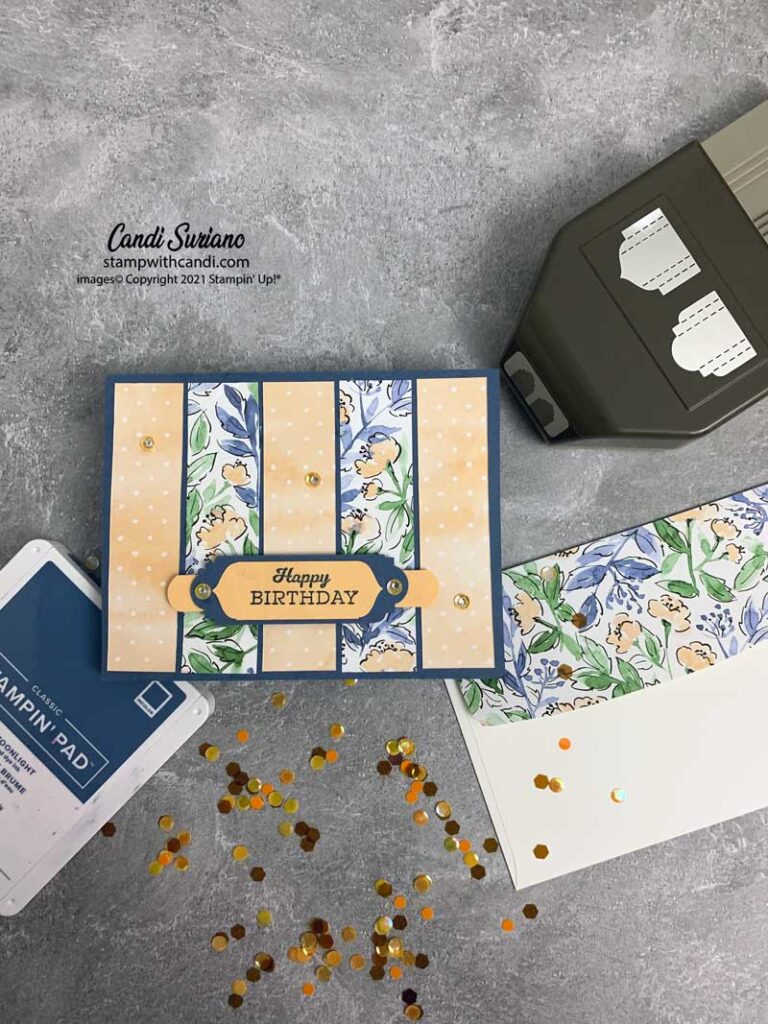
Here’s a detailed look at the Misty Moonlight card. I used the other side of the punch for this card and used the same trick to get the length correct. This card is embellished with some sequins from Sequins for Everything topped with a rhinestone. I love the way they sparkle off each other.
The sentiments are from the In Your Words stamp set which is free for a $300 purchase or party during the current SALE-A-BRATION. I love these sentiments. The one on the Misty Moonlight cards is going to get a lot of use by me!
Make the Inside Pretty
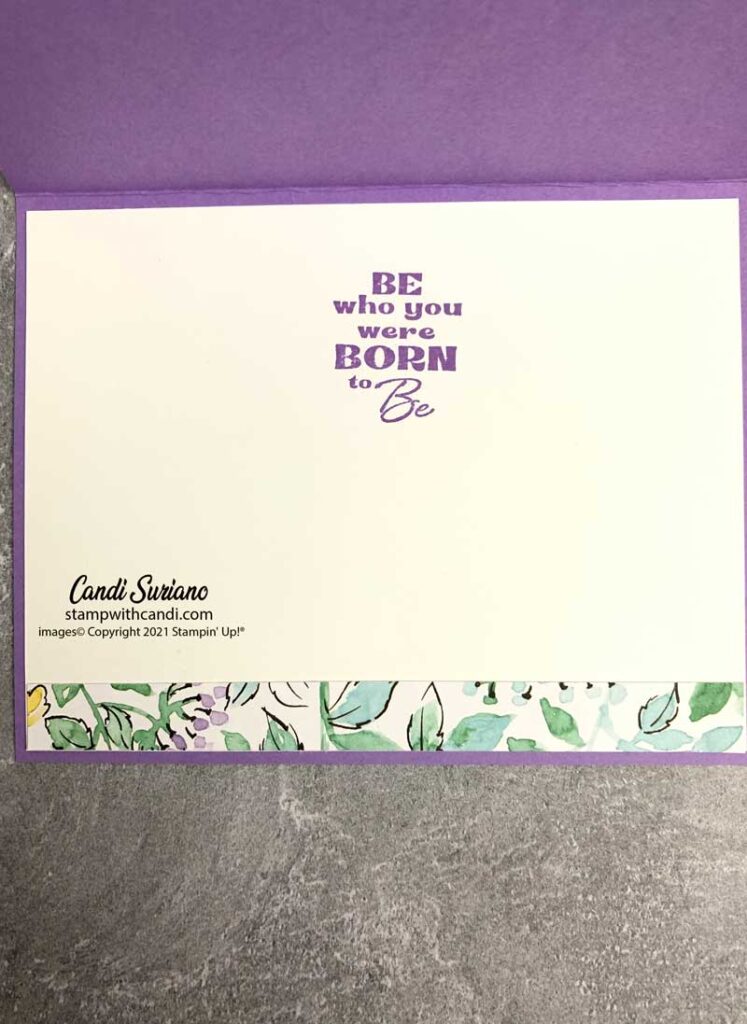
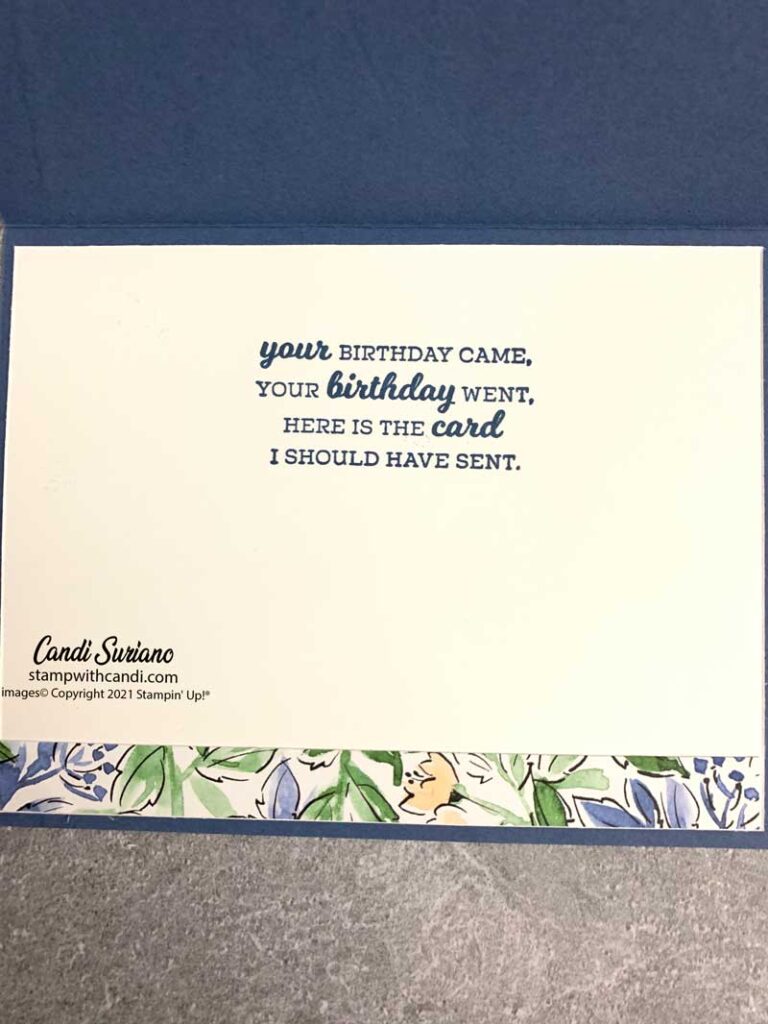
The insides of both cards are the same – a stamped sentiment and a strip of DSP.
Don’t forget the envelope
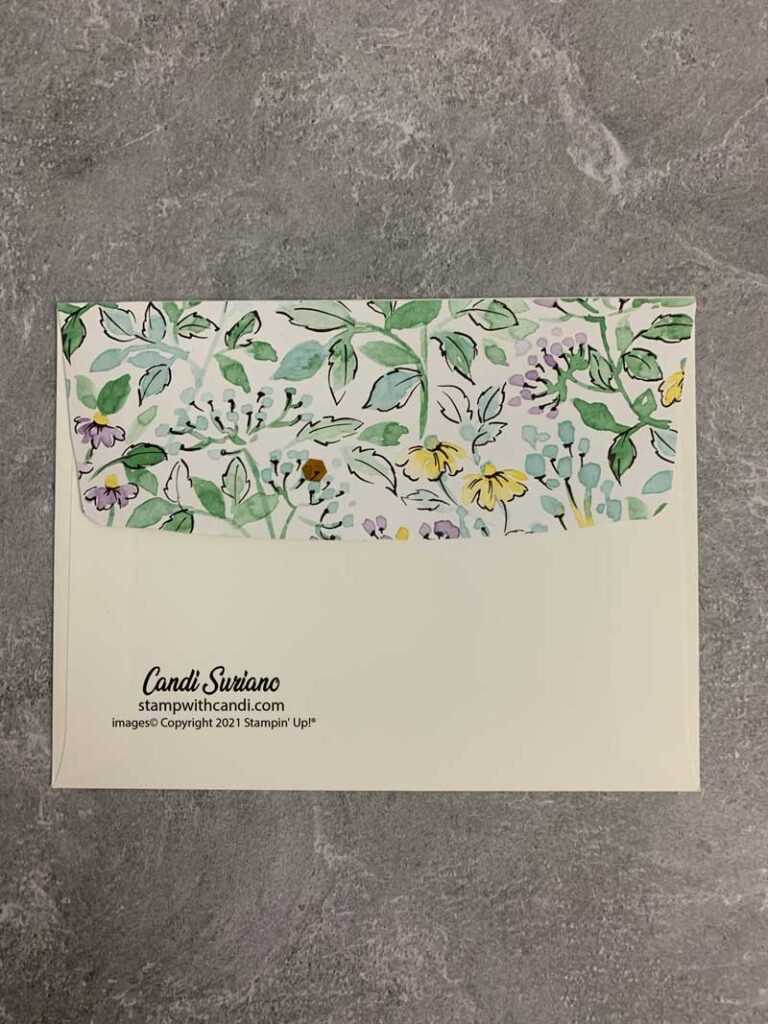
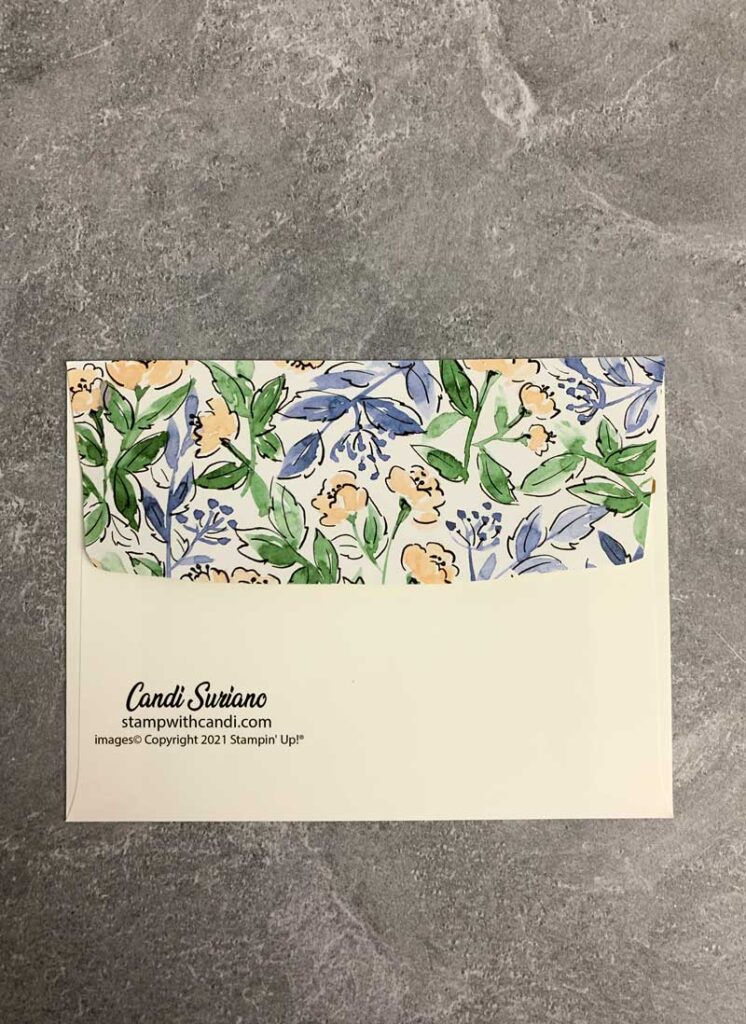
Both envelopes were decorated with the same DSP as the front and inside.
These cards were so easy to put together and so cute! I made a whole lot of them with different sentiments and themes to have on hand. I like to have cards on hand for those times when I need one and don’t have time to make one.
Now it’s time for some more collaborative fun. Grab a beverage, sit back and enjoy the hop! You should find some awesome ideas and inspiration as others share their projects made with the Waves of the Ocean suite.
Here’s one last look at the cards.
If you’d like to try to recreate this card, you can find a list of the products I used at the end of this post. Need a demonstrator or a catalog? Drop me a line and I’ll put one in the mail. And, f you ever have any questions, please feel free to comment or email me. And, don’t forget to Pin this post so you can find it again!


Love them!!! Thanks for Sharing.
Love your projects
Such pretty cards ?
Pretty cards x