Stamping with Friends is a group of demonstrators from around the world who participate in blog hops on the first and third Saturday of the month. Today’s theme is the 2022-2023 Annual Catalog. As you may have noticed, I’ve been in a Christmas mood so I picked the Trimming the Tree stamp set. And, even better, Trimming the Tree is part of the September Perfect Partners promotion. What does that mean? There are dies!!! And, it’s a bundle. Yep, it’s one of the 6 stamp sets that have matching dies available but only for September and only while supplies last.
Today’s Project – Trimming the Tree
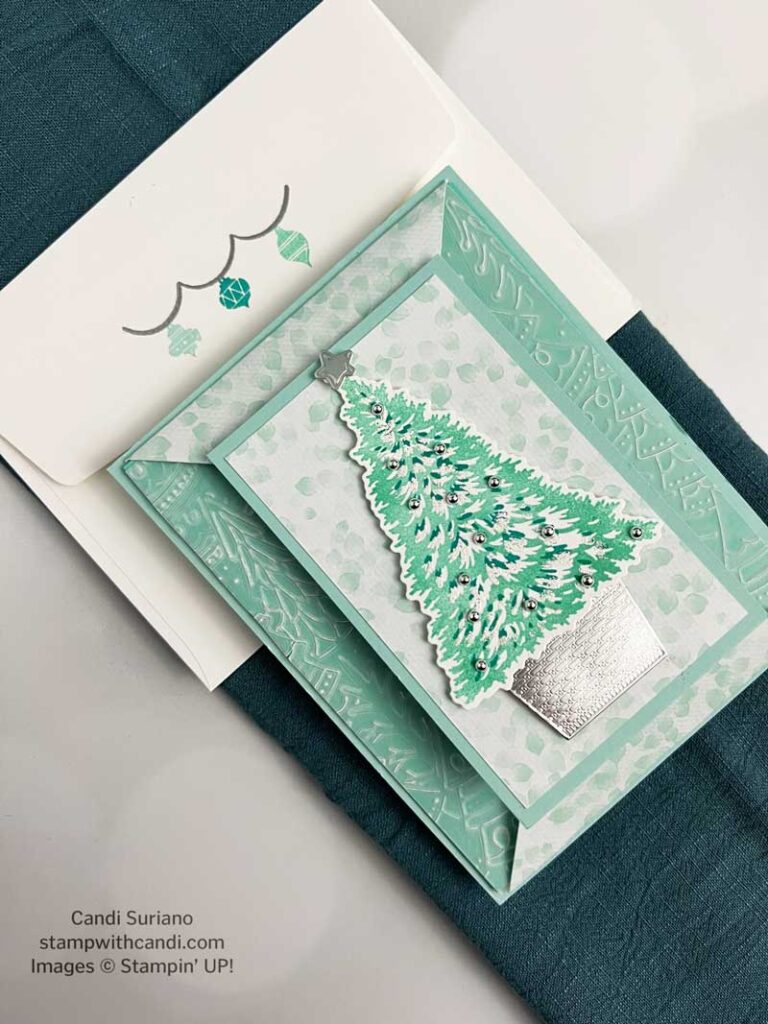
Not only am I using the Trimming the Tree Perfect Partners bundle, but I also did a Double Flap fun fold inspired by this post from Connie Stewart. It looks hard but was really quite easy. Pictures and instructions can be found later in this post.
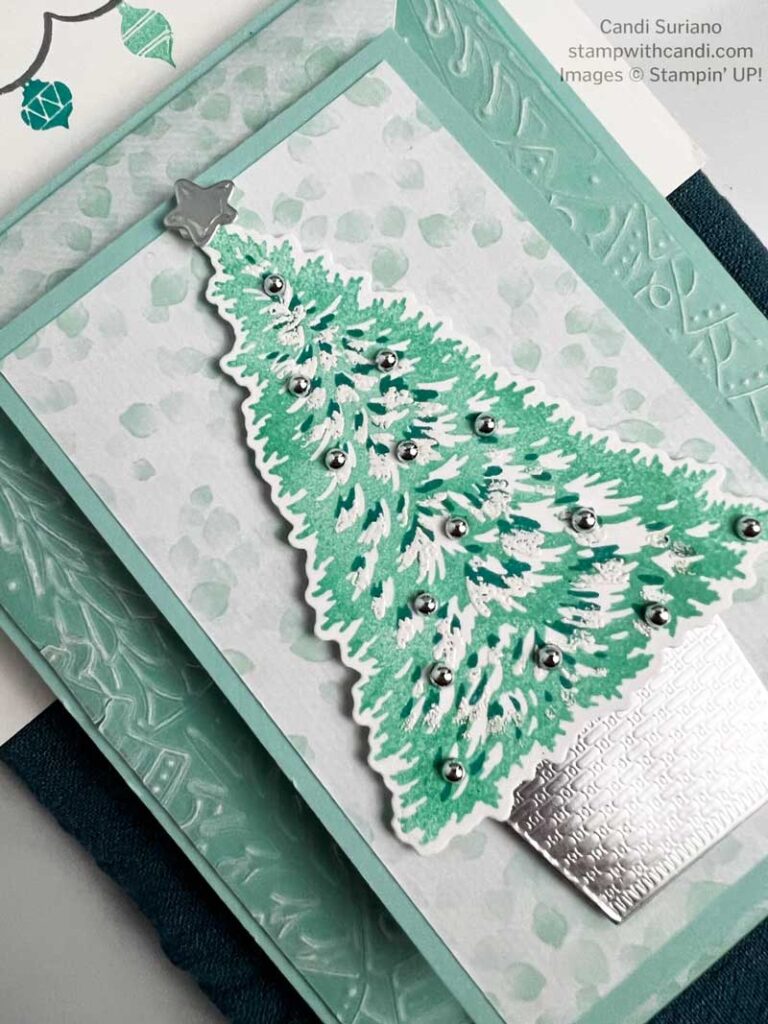
I stamped the tree using Coastal Cabana ink and the overlay in Bermuda Bay. I struggled a bit to get the overlay right, but it’s not supposed to be exact anyway. Then, I stamped the overlay again using Versamark ink and embossed it with white embossing powder to give it some shine. A silver star and base added some more shine. Finally, I finished it off with the silver Festive Pearls.
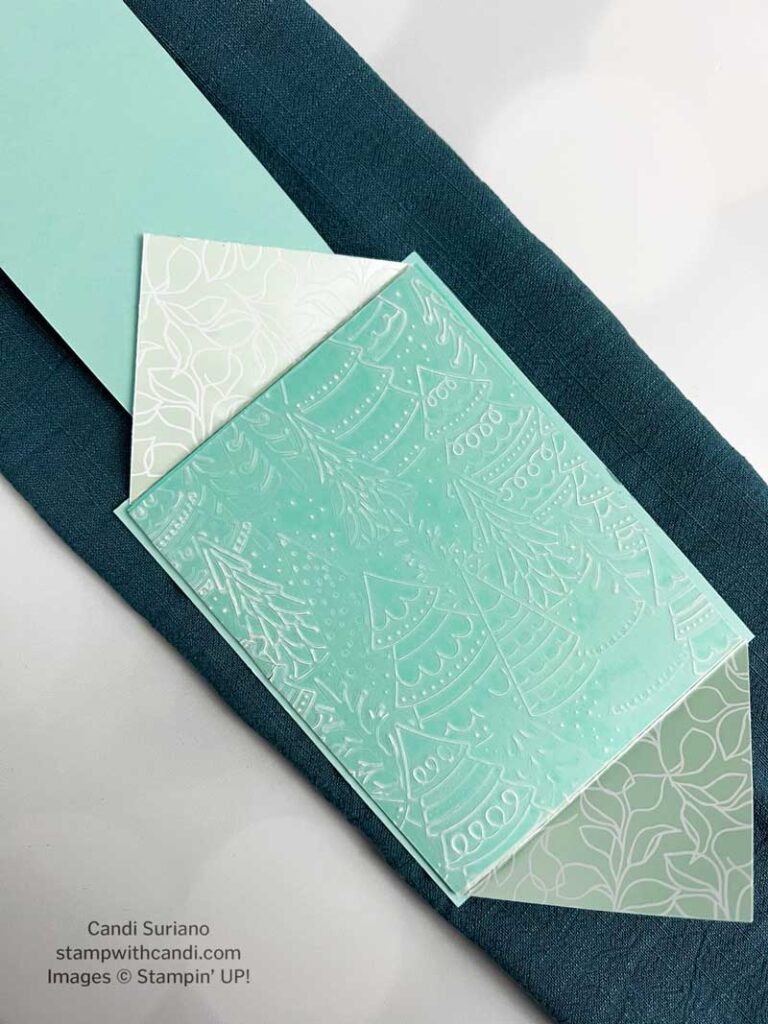
The paper is from the Splendid Day collection. I knew I wanted to do the Double Flap fun fold and so I went looking through my DSP. I think this pattern is perfect for this card because both sides work with for the flap as you can see in the image below.
The front of the inside card needed some interest so I used the Whimsical Woodland, Vellum cardstock, and adhesive sheets to create it.
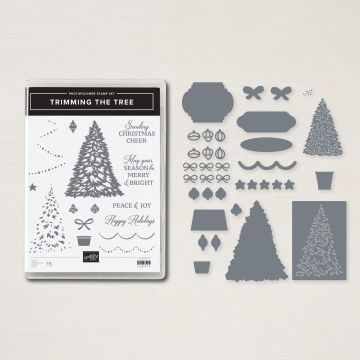
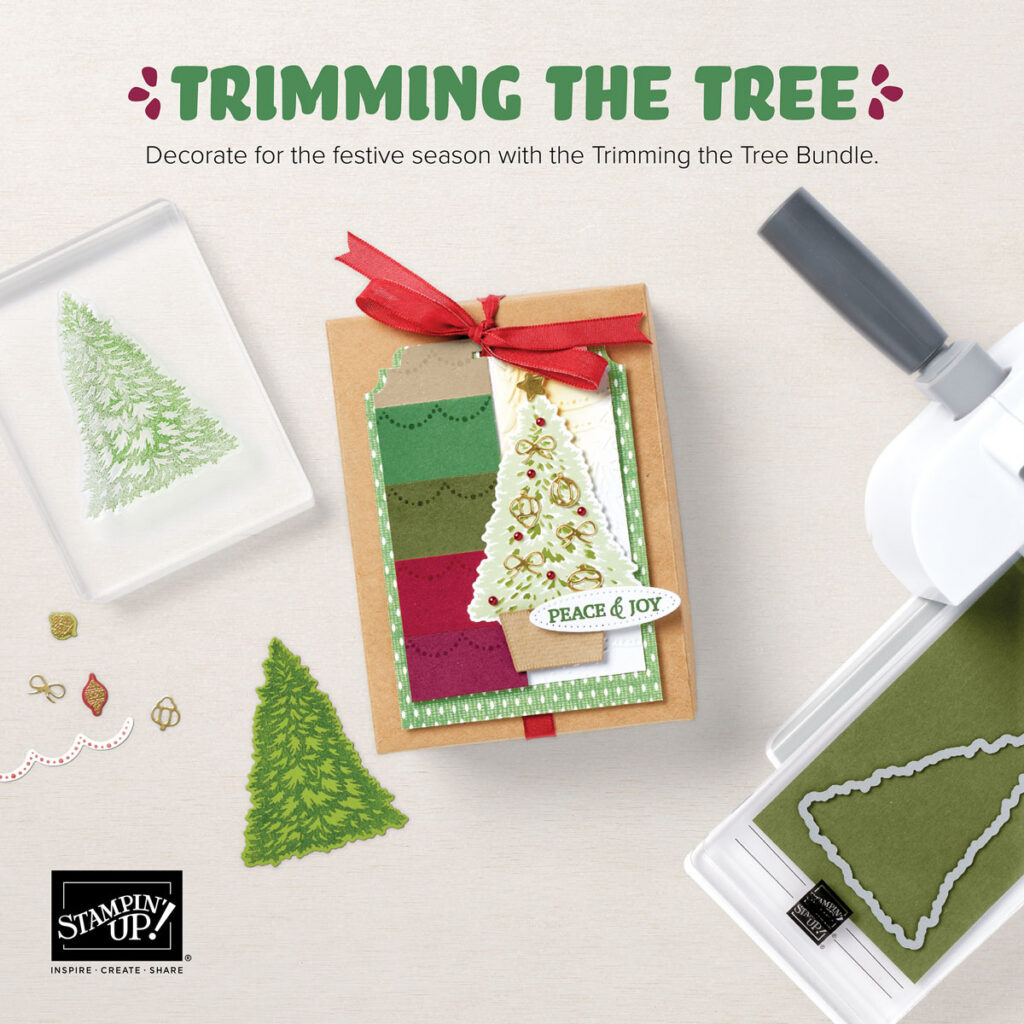
Trimming the Tree Bundle
I was so happy when Trimming the Tree carried over into the Annual Catalog. This set has so many possibilities for creating decorated trees from garland to ornaments to bows which all can be cut with the dies. And, did you notice there are multiple dies per shape. Fewer trips through the Stampin’ Cut and Emboss die cutting machine. Plus there are dies that fit the sentiment – another win for me. Finally there are stars for the top of the tree and to use as decorations on the tree. And, if you don’t feel like stamping the tree there are dies to cut a tree with some popped up leaves. There is also a small base for the tree and a an embossed base.
Perfect Partners – Trimming the Tree
The Perfect Partners promotion features dies for 6 stamp sets – Apple Harvest, Fresh Cut Flowers, This Birthday Piggy, Trimming the Tree, Waterfall Canyon, and Yeti To Party. I don’t know about you, but I love having matching dies. It amplifies the creativity over what you can do with only stamps. The image above shows what you can do with Tree Trimming Dies.
Today’s Color Palette
I chose a non-traditional color palette for this card. After I chose the DSP, I used colors that coordinated with it – Coastal Cabana, Bermuda Bay, and Pool Party. Coastal Cabana is the main color with Bermuda Bay used for the dark accents on the tree. I introduced Pool Party so that I would have 3 colors for the inside and envelope.
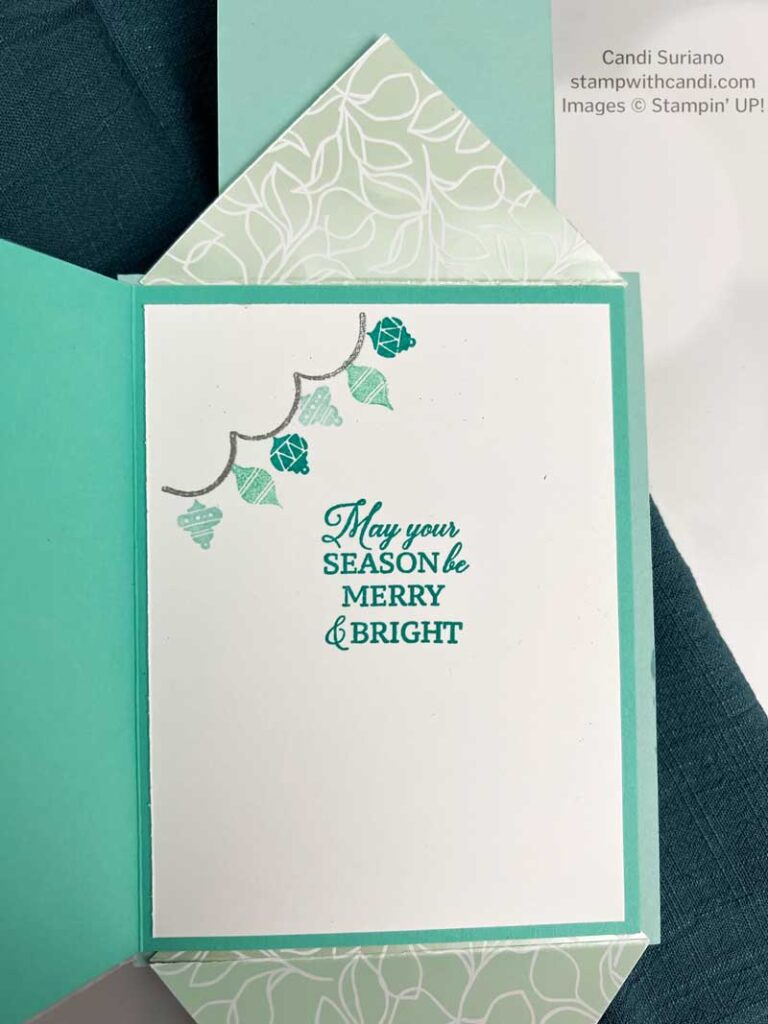
Make the Inside Pretty
Bermuda Bay is perfect for the sentiment. I heat embossed the garland element using Silver Embossing Powder and then stamped the onraments in the three colors – Coastal Cabana, Bermuda Bay, and Pool Party.
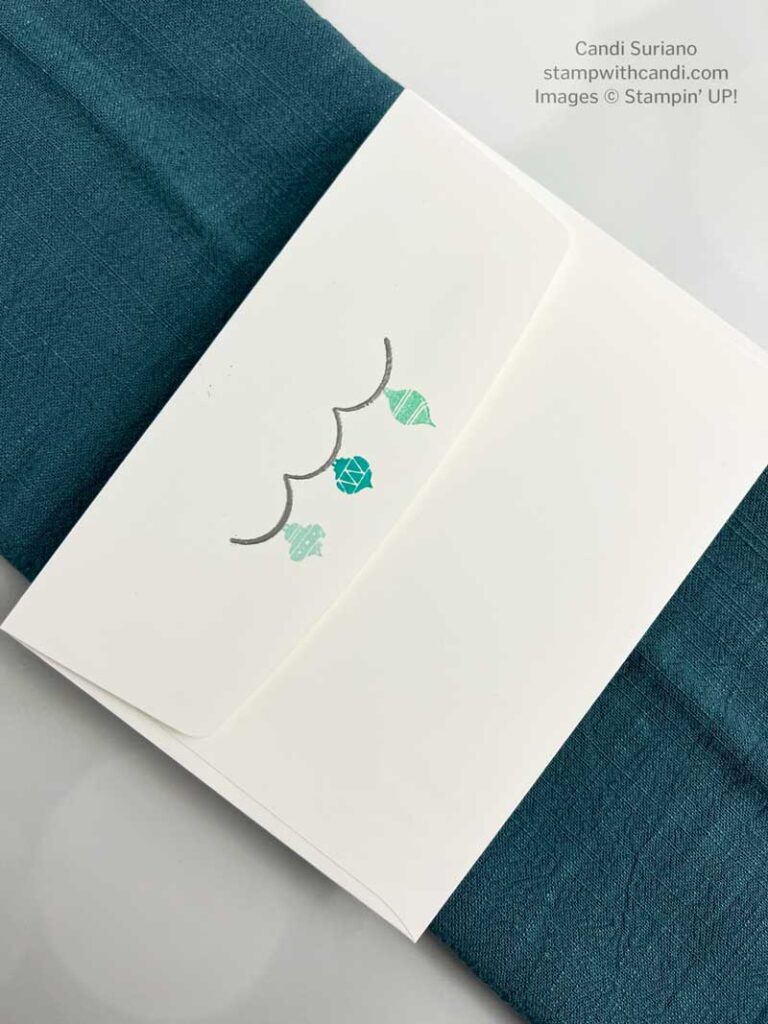
Don’t Forget the Envelope
I used the same treatment on the envelope flap as I did in the corner of the inside. Other positions , I considered were extending the garland (too busy) and on the front. This was my favorite!
You Can Make it, Too! – Trimming the Tree
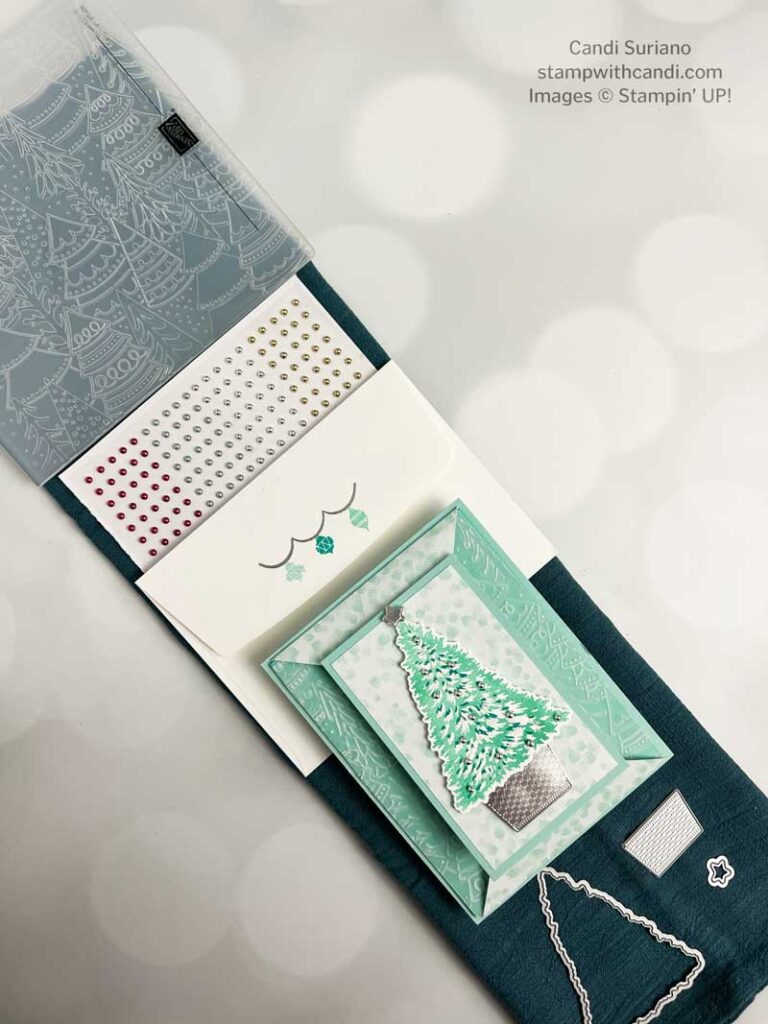
The above image shows some of the supplies I used for this card – Tree Trimming dies, Festive Pearls, and the Whimsical Woodlands 3D embossing folder.
Cut the Cardstock
- Card Base – Cut a piece of Bermuda Bay cardstock at 5 1/4″ X 8″. Score it at 4″.
- Card Back – Cut a piece of Coastal Cabana at 5 1/2″ X 4 1/4″.
- DSP for triangle flaps – Cut a piece of DSP at 3 1/2″ X 3 1/2″. Cut it into two pieces on the diagonal. Score on the long side at 1/2″.
- DSP for front flap – Cut a piece of DSP at 2 1/2″ X 4″.
- Front Flap – Cut a piece of Coastal Cabana at 2 1/2″ X 4″.
- Basic White Liner – Cut a piece of Basic White at 3 3/4″ X 5″.
- Vellum – cut a piece of Vellum cardstock at 5 1/4″ X 4″.
- Adhesive Sheet for Vellum – cut a piece of Adhesive Sheet at 5 1/4″ X 4″.
Stamp & Emboss
Front Image – Tree
- Stamp the main tree image using Coastal Cabana ink on a piece of Basic White scrap.
- Stamp the overlay tree image using Coastal Cabana ink on top of the already stamped tree.
- Stamp the overly tree image using Versamark ink. Sprinkle with White Embossing powder. Heat set.
- Cut the tree using the Tree Trimming dies.
- Cut the star and tree base from Silver Foil.
- Attach the Adhesive sheet to the Bermuda Bay card front. Emboss using the Whimsical Woodland 3D embossing folder.
Inside – Sentiment & Ornaments
- Stamp the sentiment using Bermuda Bay ink on the Basic White Liner.
- Stamp the garland image using Versamark ink. Sprinkle with Silver embossing powder and heat set.
- Stamp the ornaments as if hanging from the garland using Bermuda Bay, Coastal Cabana, and Pool Party ink.
Envelope
- Stamp the garland image using Versamark ink on the middle of the envelope flap. Sprinkle with Silver embossing powder and heat set.
- Stamp the ornaments as if hanging from the garland using Bermuda Bay, Coastal Cabana, and Pool Party ink.
Assemble The Card
- Add the Basic White liner to the inside of the Bermuda Bay card base.
- Peal the Adhesive sheet from the Whimsical Woodland embossed image. Attach the embossed vellum to the card. front.
- Attach the trianges to the back of the card on the score lines. This allows the front of the card to open. See the image below which shows the front flap open but not the inside. The Make the Inside Pretty section shows the card front flap open.
- Attach the front DSP to the Coastal Cabana mat.
- Attach the tree, star, and base to the DSP using Stampin’ Dimensionals and Mini Dimensionals.
- Attach the Coastal Cabana Mat to the top triangle using dimensionals. Tip: Line up the flap first. Then add the dimensionals to the flap. This prevents getting the dimensionals from extending beyond the triangle.
- Attach the Coastal Cabana back to the back of the card. this hides the folded over part of the triangle.
- Finsh with silver pears from the Festive Pearls embellishments. These are so, so pretty! You can see a detailed view below. It’s hard to photograph shiny objects as you can see in the tree base!
Time To Hop
I hope you are inspired by my card to make your own Double Flap fun fold card. If you have any questions, don’t hesitate to email me! Now it’t time to hop. So grab a beverage, sit back and relax, and enjoy the hop!
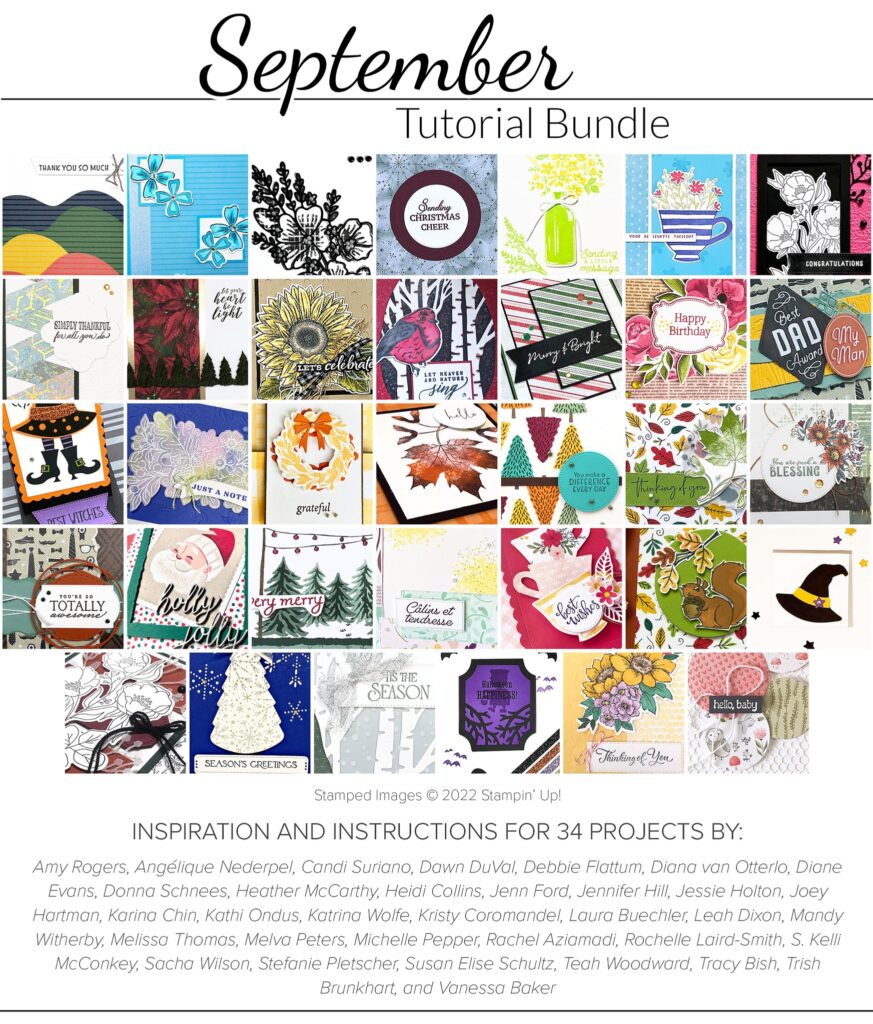
The Crafty Collaborations September Tutorial is simply amazing. Step-by-step instructions with pictures for 34 different projects using current Stampin’ Up! products. It’s free with a $50 purchase in my online store. You don’t want to miss this one!



Cute card Candi, love it x
Thank you, Mo!
So beautiful.
Thank you, Cathy!
Pretty card Candi
Thank you, Melva!