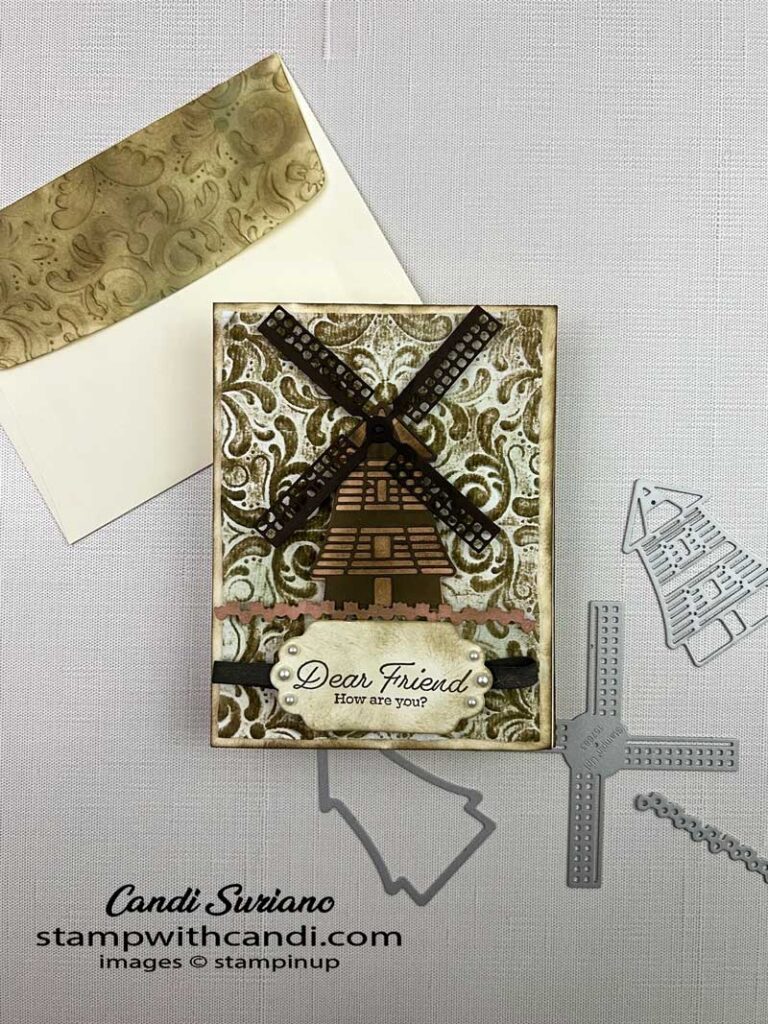
Crafty Collaborations is hopping today to share vintage techniques for cards. Although most ‘vintage’ cards show flowers, I chose to use the Windmill Fields dies for my card. I think almost any focal image can be used in a vintage card. To me, the elements of a vintage card are sepia tones, frayed edges, curled edges, and distressed and inked images.
Today’s Project
Before you see the card, I have a confession to make. This style of card is way out of my comfort zone. I like clean and simple or bright and colorful, or almost anything but vintage. So, you’ll be the judge of my success. Let me know in the comments if you think I hit it on the head!
Toilet Paper Technique
This card uses the ‘toilet paper’ technique. I know that’s not quite the name you’d expect, but what it means is the embossed layer of the card is 3 or 4 layers of toilet paper spritzed until damp and then while wet embossed with a 3D embossing folder. In this case, I used the Parisian Flourish 3D embossing folder. How do you know whether to use 3 or 4 layers of toilet paper? Well, it depends on how plush your toilet paper is. Now, why would you want to emboss toilet paper? Well, damp toilet paper gives you a very deep embossing. Once embossed, put it aside to dry.
Once the toilet paper dries, you then take your stamp pad and rub it over the embossed image. In my sample, I used Soft Suede ink with a light touch. My first sample wasn’t quite right because I added too much Soft Suede. You want enough to get it on the raised parts but not so much that the windmill doesn’t pop.
After inking the raised part, take a blending brush and some Pool Party ink and add just a bit of ink to the toilet paper. This gives it more depth and a bit of a patina which is what we’re going for when doing vintage.
Now that the toilet paper is done, attach it to a 4″ x 5 1/4′ piece of Very Vanilla cardstock using liquid glue. Then trim the toilet paper to fit using regular scissors. Don’t use your paper snips because they just shred the toilet paper, unless, that’s the vintage look you’re going for. Finally, attach the Very Vanilla layer to the card front using Stampin’ Seal. TIP: The Very Vanilla layer helps give the toilet paper some stability so don’t skip it!
Windmill Fields Dies Vintage style
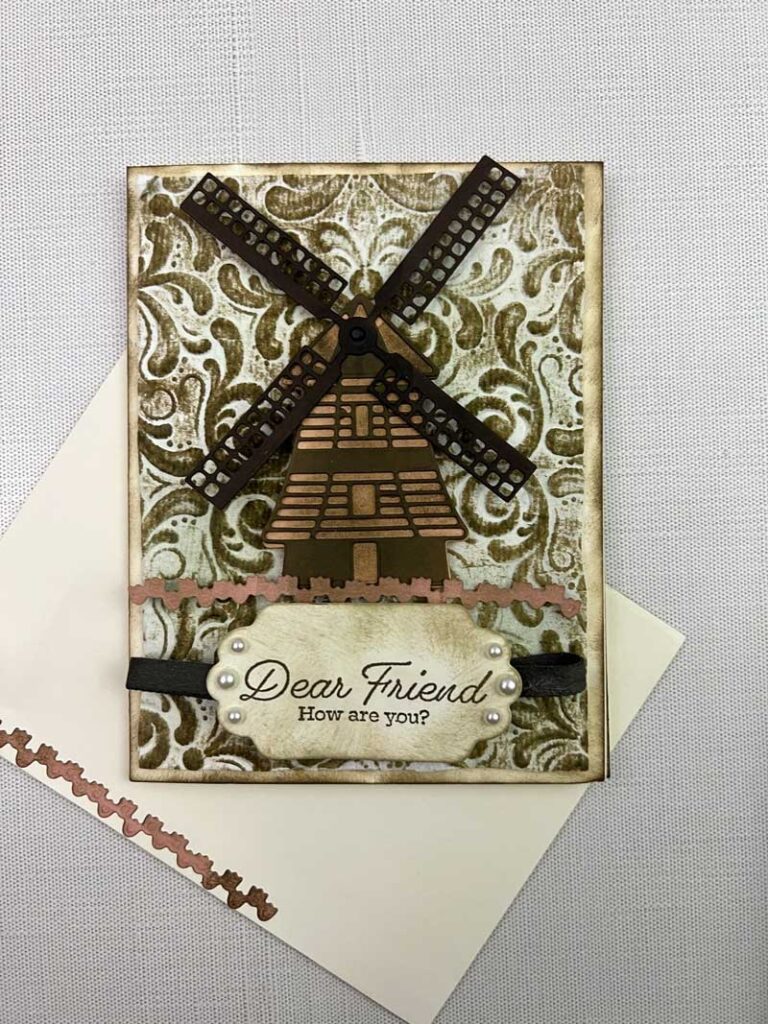
The next element on my card is the windmill from the Windmill Dies. It is composed of 3 elements, the windmill base in Petal Pink, the windmill detail in Soft Suede, and the windmill vanes In Early Espresso. To get that vintage look, ink each element with Soft Suede and a blending brush. TIP: Use adhesive sheets on the windmill detail. Then when you pull off the sheet, all the little bits come with us and it makes attaching it to the windmill base easy peasy.
If you want the vanes to turn, attach the vanes to the windmill using a round brad. Otherwise, attach the vanes using a glue dot and stick a tiny pearl that has been colored with the Basic Black Stampin’ Blends over the hole. Finally, attach the windmill to the card front using dimensionals.
I wasn’t sure about the row of tulips between the windmill and sentiment. It was like being at the eye doctor and choosing which is better? 1 or 2? If you’d like to add the tulips, use the Windmill Field dies to cut them from Petal Pink ink. Then vintage them using Soft Suede ink and a blending brush.
The Sentiment
The sentiment is from the Eden’s Garden stamp set. I love the script and sentiments in that set. They exude vintageness to me. I’m making up a lot of words and phrases in this post. I hope I’m not confusing you! After using Soft Suede ink to stamp the sentiment and cutting it out with the Seasonal Layers dies, I attached 3 pearls to each end. Again, pearls scream vintage to me, but they may be just a little too much.
I wanted to include some ribbon on the front because that is another common vintage element. So, I attached a loop of Early Espresso Faux Linen ribbon underneath the sentiment and then attached them to the card front using dimensionals.
Today’s Color Palette
Today’s color palette is way, way, way outside of my comfort zone. Nothing bright, pink, purple, or red can be found on this card. Even the little bit of pink is dirtied up by Soft Suede. But, that’s what you get with a vintage card!
Make the Inside pretty
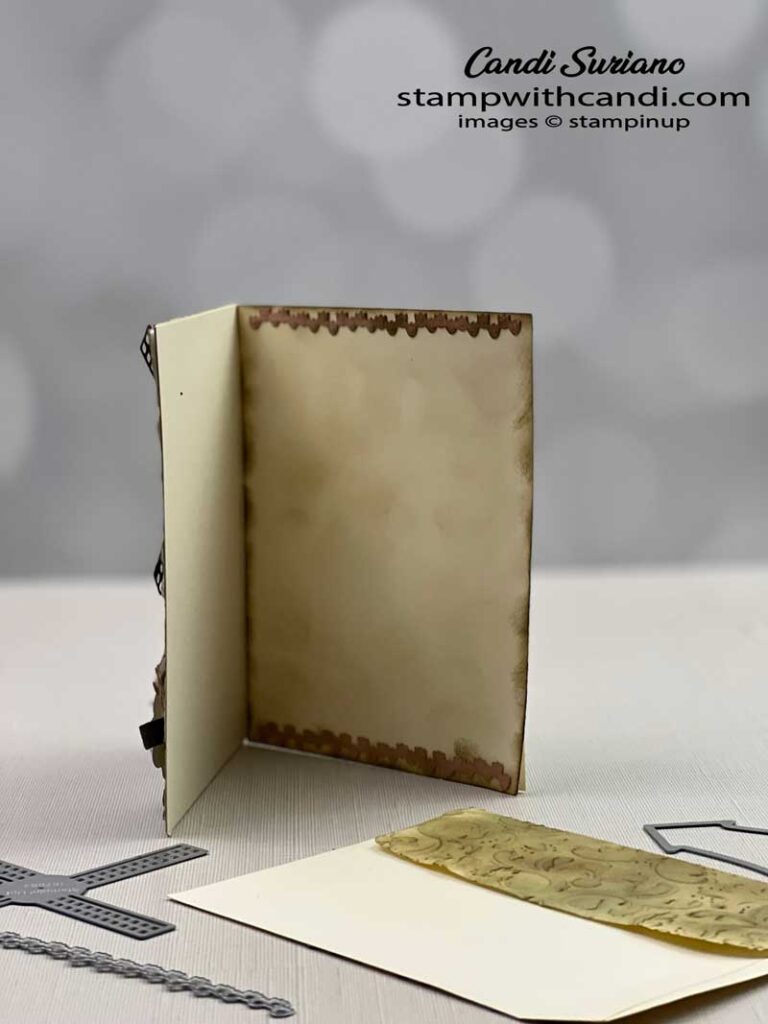
The inside uses the same flower strip as the card front. It was cut from Petal Pink cardstock and inked with Soft Suede ink and a blending brush. Then, I attached one strip to the top of the inside and one strip to the bottom.
Both the card front and card inside have a base layer of 4 1/4″ x 5 1/2″ of Very Vanilla cardstock that has been inked on the edges using Soft Suede ink. This gives the mat of the inside and outside a vintage look.
Dont’ forget the envelope
Two different treatments on the envelope make this card special. The first puts a strip of distressed tulips on the front of the envelope. The other embosses the envelop using the same Parisian 3D embossing folder.
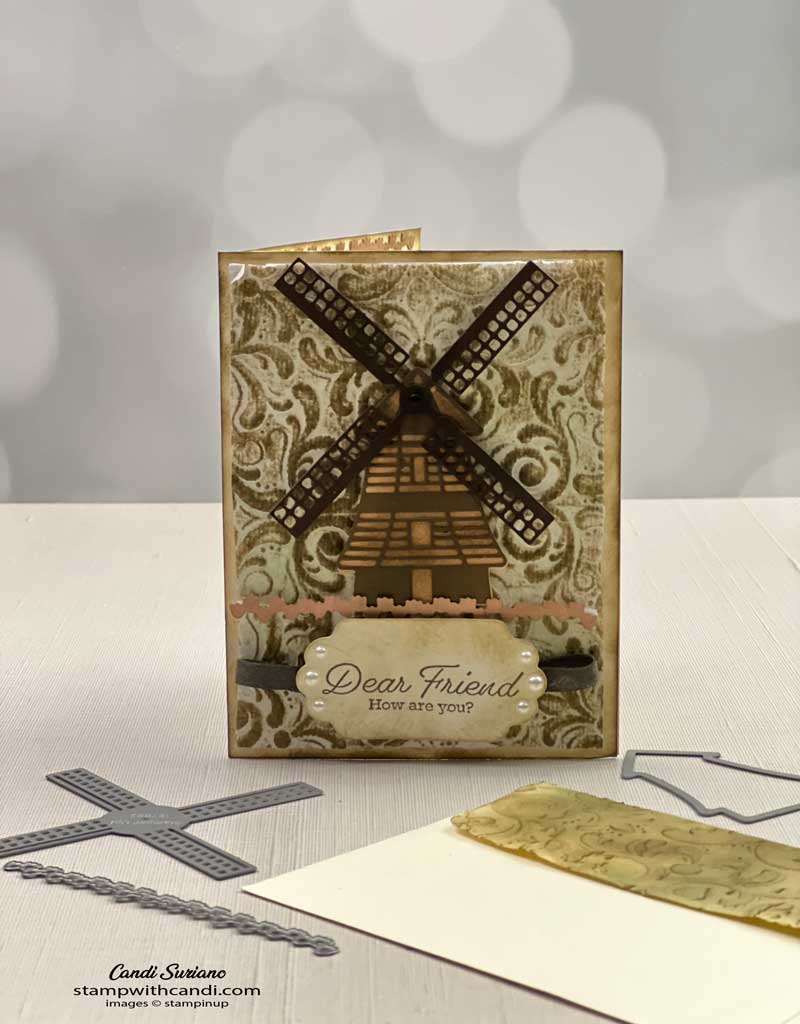
If you look closely, you can see that the embossing on the card front is much deeper than on the envelope flap. That’s because the wet toilet paper can be compressed more by the folder than the envelope flap. I used Crumb Cake and Pool Part inks on the envelope flap. I think I like Soft Suede better. It makes for a richer look. I’ll probably redo the envelope before sending this card on.
Here’s one last look at the card.
Now it’s time for some more collaborative fun. Grab a beverage, sit back and enjoy the hop! You should find some awesome ideas and inspiration as others share their projects made with the Waves of the Ocean suite.
If you’d like to try to recreate this card, you can find a list of the products I used at the end of this post. Need a demonstrator or a catalog? Drop me a line and I’ll put one in the mail. And, f you ever have any questions, please feel free to comment or email me. And, don’t forget to Pin this post so you can find it again!



Love this. Thanks for sharing.
Love your card! Wonderful details!
You nailed it! Gorgeous card
Love your card!
OMG this is stunning!! What a great use of the windmill. TFSxx
Stunning Card. I will definitely be trying our the Toilet Paper Technique xx
Such a lovely card, think I am going to have a go with some toilet paper! 🙂
Great card, love it!
Stunning card Candi, that windmill is gorgeous x
Love your card. It’s so rich looking
Great tips on the toilet paper technique. I’ve never tried it.
Absolutely gorgeous